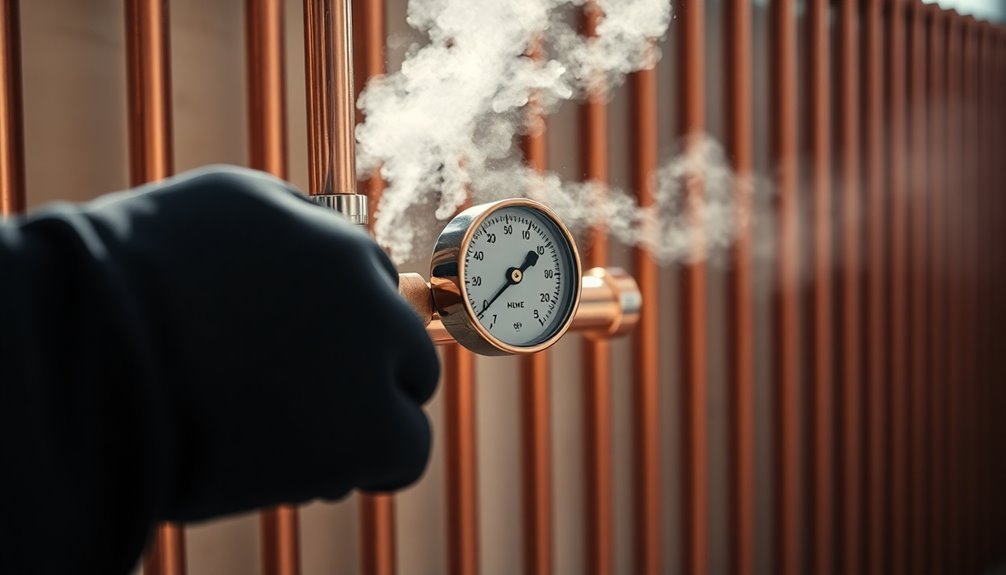
To relieve pressure in your radiant heating system without hiring a pro, start by turning off the boiler for safety. Locate the pressure relief valve and open it slowly, monitoring the gauge as you release some water. If the pressure is still too high, use bleed valves at the highest radiators to release trapped air. Check and adjust the expansion tank's air pressure to match the system's cold pressure, ideally between 12-15 psi. If necessary, tweak the settings on the pressure reducing valve. By following these steps, you can efficiently manage your system's pressure and enhance its performance. You'll discover more tips along the way!
Understanding Radiant Heating Systems
Radiant heating systems are a modern solution for achieving comfortable warmth in your home. They operate by circulating warm water through tubes installed beneath your floors, ensuring even heat distribution without the noise or dust associated with traditional forced air systems. Monitoring savings and investments is also important in managing the costs of running such systems effectively. Implementing regular payment alerts can also help ensure you stay on top of maintenance costs.
You'll appreciate how these systems can be designed with multiple zones, allowing you to tailor temperatures in different areas for enhanced comfort and efficiency.
To maintain ideal performance, it's vital to monitor system pressure, which typically ranges from 12-15 psi when cold. If you notice air in the system, bleeding it's essential, and having a pressure relief valve installed can help manage excess pressure, ensuring your radiant heating system runs smoothly and lasts longer. Additionally, using expense management apps can streamline the process of tracking maintenance and operational costs associated with your heating system.
Common Pressure-Related Issues
While enjoying the benefits of a radiant heating system, you might encounter various pressure-related issues that can affect its performance.
Here are some common problems to watch out for:
- Fluctuating Pressure: Readings below 12 PSI may indicate a leak or air accumulation in the system. Regularly monitoring these levels can assist in identifying cost-saving opportunities before they escalate. Implementing timely payment alerts for maintenance can help ensure that your heating system remains in optimal condition.
- Pressure Drops: A drop to 15 PSI after two weeks suggests slow leaks that need addressing to maintain efficiency.
- High Pressure: Readings around 30 PSI can trigger the pressure relief valve, signaling a need for immediate attention.
- Expansion Tank Issues: Verify the expansion tank pressure matches the system pressure to prevent over-inflation and higher hot pressure readings.
Regularly checking these factors helps guarantee a smooth-running radiant heating system. Additionally, maintaining comprehensive management of your system's components can enhance overall performance and efficiency.
Importance of Maintaining Pressure
Maintaining the right pressure in your radiant heating system directly impacts its efficiency and performance. Ideally, you want to keep the system pressure around 12-15 psi when cold.
If it drops below 12 psi, you risk inadequate heating and potential freezing, which can lead to costly repairs. On the other hand, if pressure exceeds 25 psi, you strain components, increasing the risk of leaks. Your expansion tank plays an essential role in stabilizing system pressure, so verify its pre-charge matches your system's pressure. Additionally, understanding financial health can provide insights into budgeting for necessary maintenance and repairs, ensuring your system remains in optimal condition. Moreover, having a clear budgeting framework can help you allocate funds efficiently for ongoing system upkeep. A well-maintained system can also reduce the need for expensive repairs, which can arise from neglecting regular pressure checks.
Regularly checking the pressure reducing valve settings and overall system pressure helps you catch issues early, guaranteeing your radiant heat system runs smoothly and lasts longer.
Initial Steps for Pressure Relief
Before you start relieving pressure in your radiant heating system, it's crucial to prioritize safety by turning off the power to the boiler.
Follow these initial steps to get started:
- Locate the pressure relief valve on the boiler or near the expansion tank, and have a container ready to catch any discharged water.
- Slowly open the pressure relief valve using a lever or knob, monitoring the pressure gauge closely as excess pressure escapes. Setting up custom reminders can help ensure timely maintenance checks and promote financial awareness regarding ongoing maintenance costs.
- If pressure remains high, use the bleed valves at the highest points in the system to release trapped air, improving circulation.
- After relieving pressure, check the system's water levels and adjust the fill valve to maintain an operating pressure between 12-15 PSI when cold. Additionally, ensure you have clear communication regarding payment terms to avoid any misunderstandings during the maintenance process.
Checking the Expansion Tank
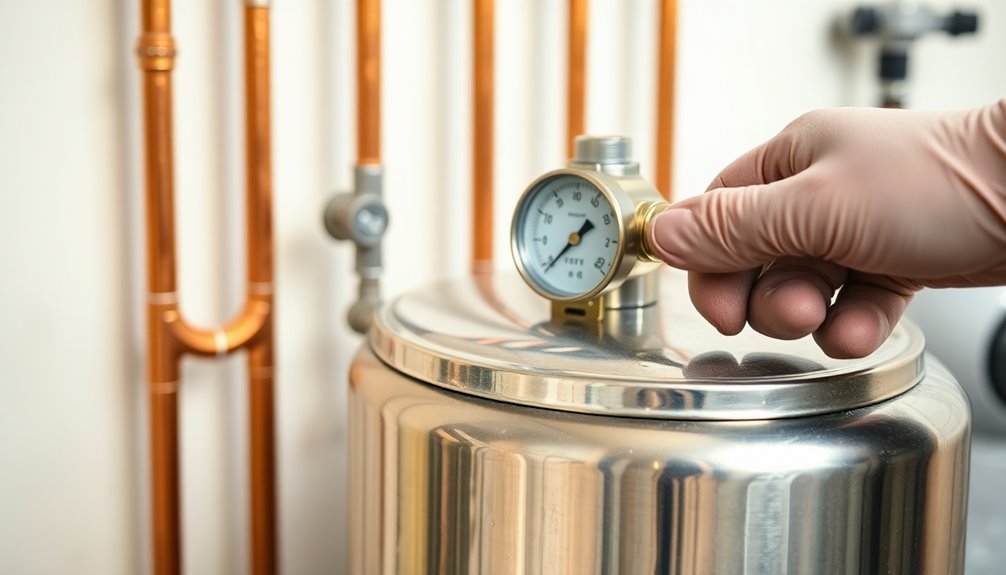
Before you check the expansion tank, locate it in your radiant system, usually near the boiler.
You'll want to guarantee it's pre-pressurized to match your system's cold pressure, typically around 12-15 psi. If it's not, you may need to adjust the air charge to keep everything running smoothly. Additionally, ensuring your system is properly tracked for spending habits can help maintain its efficiency and prevent future issues. Proper expense tracking solutions can also help you identify areas where costs can be reduced, further enhancing the overall performance of your radiant system. Utilizing automated investment management tools can also provide insights that lead to better financial decision-making regarding maintenance costs.
Expansion Tank Location
While checking the expansion tank, it's crucial to locate it near the boiler, as it's directly connected to the water supply line. This placement guarantees efficient management of pressure fluctuations in your radiant heating systems.
To promote peak performance, keep these points in mind:
- Pressure Match: The expansion tank should be pressurized to align with the system's cold water pressure, typically between 12-15 psi.
- Air Cushion: Look for a noticeable air cushion; a waterlogged tank may need replacement or recharging.
- Inspect Regularly: Check for signs of leaks, corrosion, or damage that could impact pressure management.
- Use a Gauge: Verify the expansion tank's pressure with a tire pressure gauge to prevent over-pressurization.
Checking Proper Pressure
How can you guarantee your expansion tank is functioning properly? Start by turning off the system and checking the pressure gauge. You want it to read at least 12-15 psi when cold, as this is the normal operating pressure for radiant heating systems.
Next, use a tire pressure gauge to inspect the expansion tank's pre-charge pressure; it should match the cold water pressure. If the tank's waterlogged, filled with water instead of air, it may need replacing to avoid pressure fluctuations.
Regular maintenance is key—check the air charge annually. If the pressure in the expansion tank exceeds the system pressure considerably, adjust it to prevent over-inflation, which can lead to higher hot pressure and potential system damage.
Adjusting Air Charge
Once you've confirmed that your expansion tank is in good condition, it's time to adjust the air charge to ensure peak performance.
Follow these steps to guarantee proper function:
- Turn off the boiler and let the system cool down.
- Measure the air pressure at the Schrader valve using a tire pressure gauge; it should match the system's cold water pressure (ideally 12-15 psi).
- If the air charge is low, use a pump to add air, but don't exceed the tank's maximum rating.
- After adjusting, make certain to bleed the system using the bleed valve to eliminate trapped air, preventing pressure fluctuations and inefficiencies.
Regular monitoring of the expansion tanks is essential to avoid issues down the line.
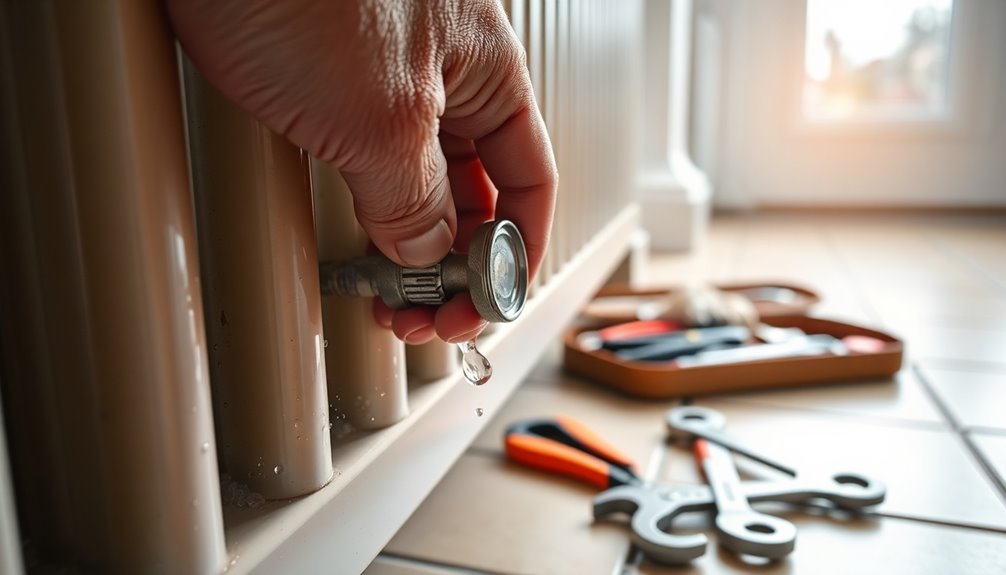
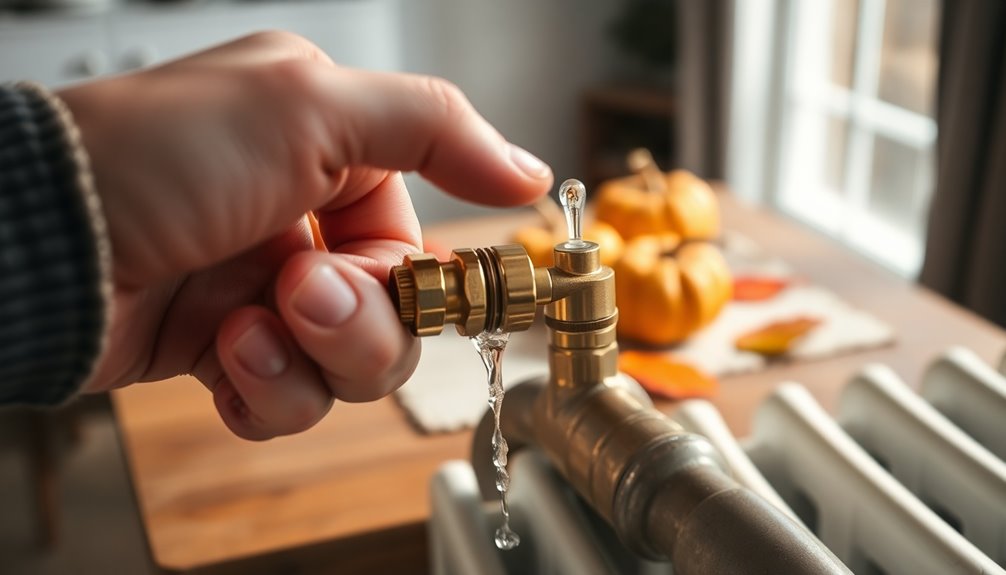
Bleeding Radiators Effectively
Have you ever noticed cold spots on your radiators during chilly days? If so, it's time for bleeding radiators.
Start by turning off the boiler and letting the system cool down. This keeps you safe from burns.
Use a radiator key or flat screwdriver to open the bleed valve at the highest point of the radiator. Allow trapped air to escape until water flows steadily, which means it's free of air.
As you do this, keep an eye on the pressure; it should stay between 20-25 PSI. If pressure rises, add water using the boiler's fill valve.
Make sure to collect any spilled water in a container and clean up drips with a cloth.
Repeat for all radiators for even heating.
Identifying Leaks in the System

Identifying leaks in your radiant heating system is essential for maintaining efficiency and comfort.
Start monitoring your pressure gauge regularly; a consistent drop in pressure might indicate a slow leak.
Here are some effective methods to pinpoint leaks:
- Inspect plumbing connections: Look for signs of moisture or corrosion, as leaks often happen at these points.
- Use an infrared (IR) camera: This can help you detect hidden leaks, though it may have limitations based on environmental conditions.
- Conduct a high-pressure test: Isolate the system and increase the pressure. A significant drop during this test can reveal leak sources.
- Check for air bubbles: Presence of air or water in connecting tubing may indicate leaks needing immediate attention.
Monitoring Pressure Gauge Accuracy
After locating any leaks in your radiant heating system, it's important to validate your pressure gauge is accurate. Regularly check the gauge to ascertain it reflects the system's true pressure, which should be between 12-15 psi when cold.
If the gauge is old or malfunctioning, replace it, as inaccurate readings can lead to improper maintenance and pressure-related issues. Use a calibrated pressure gauge to cross-verify your readings; discrepancies might indicate faults in the gauge or ongoing leaks.
Also, inspect the connection points and fittings for any signs of wear or damage, as these can affect pressure readings. Document your pressure readings over time to identify fluctuations, helping you diagnose leaks or other issues within the system.
Adjusting Pressure Reducing Valves
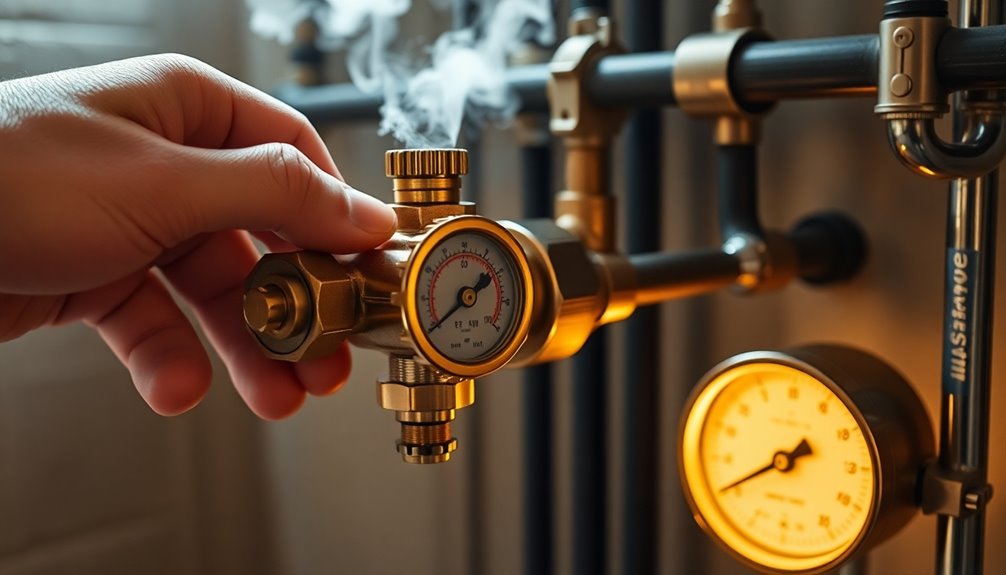
Adjusting pressure reducing valves (PRVs) is essential for maintaining the efficiency of your radiant heating system. To guarantee ideal operation, typically set between 12-15 psi, follow these steps:
- Locate the adjustment screw on the PRV, often found on the top or side.
- Turn the screw clockwise to increase pressure or counterclockwise to decrease it.
- Check the pressure gauge after making adjustments to confirm you've reached your desired pressure.
- Confirm the system is cold and pressure is stable before making adjustments to avoid inaccurate readings.
Regularly inspect your PRV, as a faulty valve can cause pressure fluctuations, leading to inefficiencies or damage in your radiant heating systems.
Troubleshooting Noisy Pipes
If you're hearing noise from your pipes, it's likely due to trapped air in your radiant heating system.
Start by identifying any air pockets and then bleed your radiators properly to restore quiet operation.
Regular maintenance can keep your system running smoothly and efficiently.
Identify Air Traps
Noisy pipes in your radiant heating system can signal the presence of air traps, which not only disrupts your comfort but also hampers efficiency.
To identify these air traps, follow these steps:
- Listen closely for unusual sounds, like gurgling or flowing river-like noises, indicating trapped air.
- Inspect the pipes by feeling along them; cooler areas may suggest where air has accumulated, affecting water flow.
- Check your air vents to verify they're not clogged, as this can prevent proper circulation.
- Use bleed valves at the highest points in the system to release trapped air and restore steady water flow.
Regular monitoring and maintaining pressure between 12-15 PSI will help keep your system running smoothly.
Bleed Radiators Properly
After identifying air traps, it's important to address them by bleeding your radiators properly.
First, turn off the power to the boiler to stop circulating hot water. Grab a radiator key or screwdriver and open the bleed valve at the top of the radiator. Let the trapped air escape until a steady stream of water flows out.
Keep a container handy to catch any spills and monitor the system pressure, maintaining it between 20-25 PSI as you add water if needed.
Start bleeding from the radiator farthest from the boiler and work your way back to guarantee all air pockets are removed.
After bleeding, check for any unusual noises or persistent air issues that might need further inspection.
Seasonal Maintenance Tips
To guarantee your radiant heating system operates efficiently, it's crucial to perform seasonal maintenance before the cold weather sets in.
Here are four key steps you shouldn't skip:
- Check System Pressure: Confirm the pressure stays between 12-15 PSI. Low pressure means inadequate heating, while high pressure risks damage.
- Inspect the Expansion Tank: Monitor its air pressure and adjust it to match the system pressure to prevent fluctuations.
- Tighten Connections: Inspect and tighten all valves and connections to prevent leaks, ensuring peak performance.
- Schedule an Annual Flush: Remove sediment and mineral buildup to improve heat transfer and extend your system's life.
When to Seek Professional Help
Even with regular maintenance, issues can still arise in your radiant heating system that require professional assistance.
If you notice pressure fluctuations exceeding 30 psi, it's essential to call a professional before your system suffers damage. Persistent pressure drops that don't stabilize after bleeding may indicate leaks or failing components, demanding expert investigation.
If airlocks are suspected but standard bleeding techniques fail, a professional can uncover hidden issues. Additionally, if you've replaced multiple components like the expansion tank and pressure reducing valve without resolving the problem, it's time to seek specialized help.
When your DIY troubleshooting doesn't yield results, involving a licensed plumber can provide the insights and solutions necessary to restore your system's efficiency.
Conclusion
So, you thought managing your radiant heating system was just for the pros, huh? Well, now you know that with a bit of know-how and some elbow grease, you can tackle pressure relief yourself! By checking the expansion tank, adjusting those pesky valves, and keeping an eye on seasonal maintenance, you can keep your system humming along smoothly. Just remember, when in doubt, it's okay to call in a pro—after all, who wouldn't want a little extra help?