Foam board insulation is a budget-friendly choice for energy efficiency, especially with 1-inch boards between block and stud walls. It offers a high R-value, effectively controls moisture, and helps eliminate thermal bridging, ultimately reducing your heating and cooling costs. For installation, gather your tools, accurately measure, and guarantee snug fittings to maximize insulation performance. Avoid common mistakes like leaving gaps. If you’re curious about more tips and installation techniques, keep exploring the guide further.
What Is Foam Board Insulation?
Foam board insulation is an effective solution for enhancing your home’s energy efficiency. It consists of rigid foam board insulation sheets that come in standard sizes of 4′ x 8′, with thicknesses typically ranging from 0.5 to 2 inches.
You can choose between two main types: EPS (expanded polystyrene) and XPS (extruded polystyrene), each offering different strengths and moisture resistance. Closed-cell foam boards are particularly advantageous in damp areas, like basements, due to their waterproof properties.
Foam board insulation also provides a higher R-value per inch compared to traditional fiberglass, making it a superior choice for insulating your walls. When you install it, using the right cutting tools is essential to guarantee a snug fit and peak thermal performance. Additionally, utilizing automated reporting can help track the costs associated with home insulation projects effectively.
Benefits of Using Foam Board Insulation
Using foam board insulation can greatly improve your home’s energy efficiency, leading to lower heating and cooling costs. Its rigid structure not only provides effective moisture control but also helps prevent mold growth. Additionally, sustainable packaging solutions can further enhance your home’s eco-friendliness by reducing waste during installation.
Improved Energy Efficiency
When you choose foam board insulation for your walls, you’re taking a significant step toward improving energy efficiency in your home.
This insulation acts as an effective thermal barrier, achieving impressive R-values like R26, which is vital for energy codes in zone 3. Foam board’s lower thermal conductivity means reduced heat loss in winter and minimized heat gain in summer, leading to lower energy bills.
Plus, the continuous insulation it provides eliminates thermal bridging, enhancing your home’s overall thermal performance and comfort.
Being moisture-resistant, foam board insulation also helps maintain a healthier indoor environment, important in areas prone to dampness.
Investing in foam insulation not only boosts energy efficiency but also contributes to your home’s longevity by preventing moisture-related damage.
Moisture Control Benefits
While many homeowners focus on energy efficiency, the moisture control benefits of foam board insulation shouldn’t be overlooked.
This rigid foam insulation acts as a moisture barrier, effectively preventing moisture infiltration and reducing the risk of condensation and mold growth. Its impermeable nature provides a significant thermal break, helping to maintain consistent humidity levels, especially in moisture-prone areas like basements.
When you install foam board insulation alongside a 6 mil poly vapor barrier, you enhance moisture control, allowing trapped moisture to escape while blocking new moisture from entering.
Plus, its easy-to-cut design fits snugly in wall cavities, minimizing air gaps that could lead to moisture issues.
Cost-Effective Insulation Solution
Foam board insulation stands out as a cost-effective solution for homeowners looking to enhance energy efficiency without breaking the bank.
With an impressive R-value of around 5 per inch, foam boards provide excellent wall insulation, ensuring significant energy savings in both new and retrofitted spaces. By minimizing thermal bridging, you can effectively lower heating and cooling costs, keeping your home comfortable year-round.
Plus, their moisture-resistant properties help prevent mold growth, safeguarding your home’s structure. Lightweight and easy to handle, you can quickly install insulation with minimal tools, reducing labor costs.
Additionally, foam board insulation dampens sound transmission, creating a quieter, more private living environment. It’s a smart investment for comfort and savings.
Where Do You Need Foam Board Insulation?
Where can you effectively use foam board insulation to enhance your home’s energy efficiency?
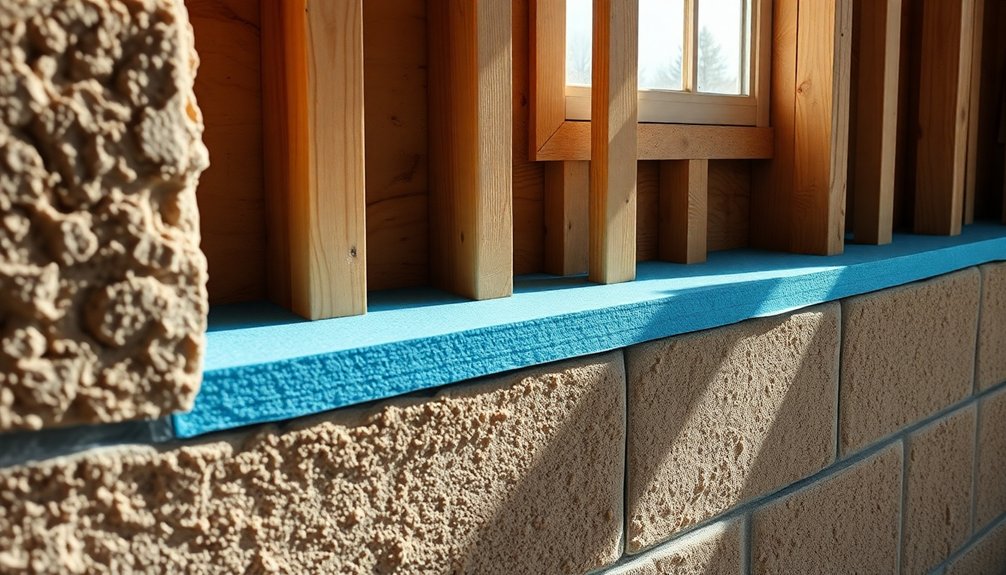
Foam board insulation is perfect for wall cavities, especially between block and stud walls. This 1-inch thick insulation provides excellent thermal resistance, often achieving an R-value of around 5. By installing foam board, you can prevent thermal bridging and lower your heating and cooling costs.
In damp areas, like basements, opt for closed-cell foam board to resist moisture effectively. Make certain you measure and cut the boards to fit snugly between the studs, and don’t forget to install a vapor barrier to keep moisture issues at bay.
This combination outperforms traditional batt insulation, making it a smart choice for your insulation needs. Additionally, utilizing expense management apps can help you track costs associated with insulation projects, ensuring better financial planning and budgeting.
Tools and Materials Needed for Installation
To successfully install 1-inch foam board insulation, you’ll need a few essential tools and materials.
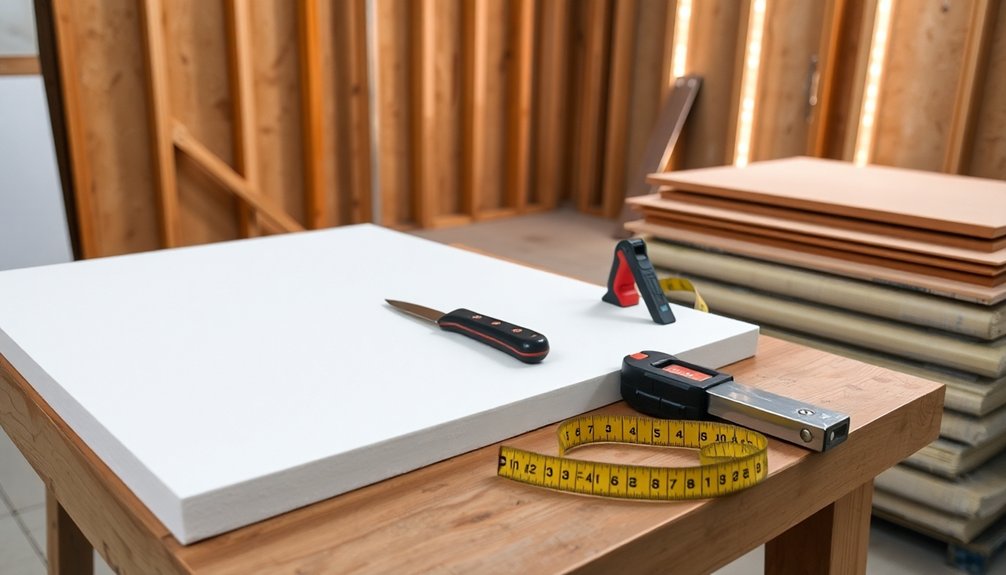
Start with utility knives for cutting the foam boards and a straightedge to guide your cuts. Don’t forget a measuring tape for precise measurements, along with a marker and framing square to mark and align the foam boards accurately before installation.
You’ll also need construction adhesive or button cap nails to securely attach the foam boards to the wall studs. Having polypropylene sheathing tape on hand is advisable for sealing any joints between foam boards, enhancing your insulation’s effectiveness.
If you’re planning to use furring strips for attachment to cement or masonry block walls, a pneumatic nail gun will make the job easier. Additionally, consider utilizing expense tracking apps to manage costs associated with your insulation project effectively.
Step-by-Step Guide to Installing Foam Board Insulation
To get started with installing foam board insulation, you’ll need specific tools and materials, including a utility knife and construction adhesive.
First, you’ll measure your wall cavity spacing to guarantee a proper fit.
Then, follow the installation process step-by-step for the best results. Additionally, consider using budgeting apps to manage your expenses effectively while undertaking home improvement projects.
Tools and Materials Needed
Before diving into your foam board insulation project, gather the essential tools and materials to guarantee a smooth installation process. You’ll need a few key items to effectively install the foam board insulation and manage moisture issues.
- Utility knife for cutting the foam board
- Measuring tape for accurate measurements
- 6 mil poly vapor barrier to control moisture
Also, consider construction adhesive or button cap nails to secure the foam board to the studs.
Remember to maintain a 3/4-inch gap between the foam board and the block wall to prevent condensation. Sealing joints with joint tape is optional but can enhance insulation effectiveness and minimize air leakage.
With these tools and materials ready, you’re set for your project!
Installation Process Overview
Getting started with foam board insulation requires a clear step-by-step approach to guarantee effective installation.
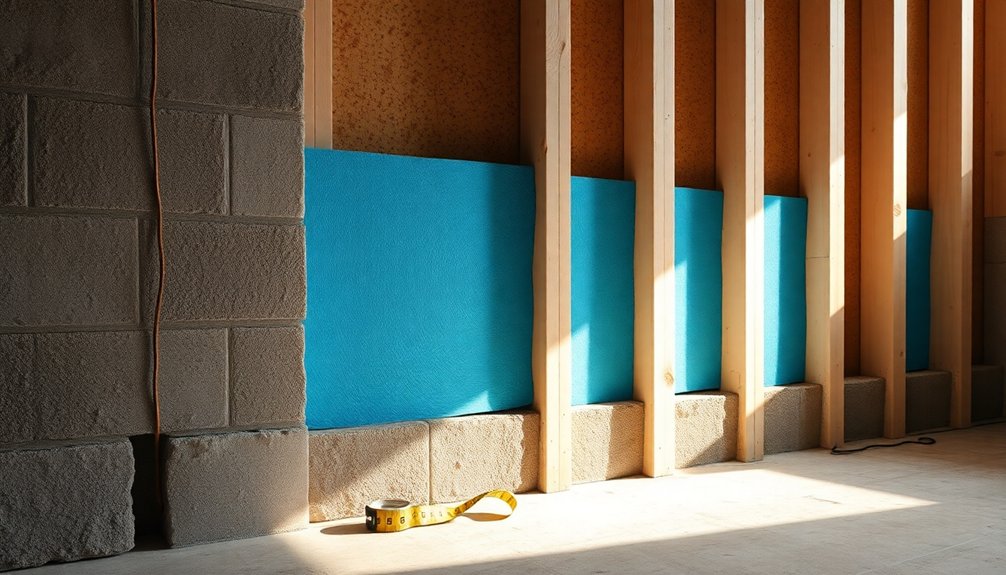
First, measure the distance between the studs in your wall, noting the standard spacing of 16 or 24 inches on center. Cut your 1-inch foam board to fit snugly within these stud cavities.
Next, install the foam board insulation using construction adhesive or button cap nails, ensuring it’s tightly against the block wall for maximum thermal performance. Seal the joints between boards with polypropylene sheathing tape to prevent air leaks.
Then, install a vapor barrier, like a 6 mil poly film, over the insulation to manage moisture.
Finally, fill any gaps with fire-resistant expanding foam or caulk to create an airtight seal and comply with local building codes.
Common Mistakes to Avoid During Installation
When installing foam board insulation, avoiding common mistakes can greatly impact your home’s energy efficiency. To guarantee ideal results, keep these points in mind:
- Accurately cut the foam board to fit snugly between the studs; gaps can lead to thermal bridging.
- Always install a moisture barrier before placing foam board against concrete block walls to prevent moisture buildup and mold growth.
- Don’t forget to seal all joints and gaps with polypropylene sheathing tape or spray foam to enhance insulation performance.
Additionally, if you plan to apply drywall, remember to install furring strips over the foam board. This not only provides a stable attachment surface but also maintains a necessary moisture gap.
Stay compliant with building codes for fire safety! Furthermore, consider utilizing cashback programs to save on materials while enhancing your insulation project.
Maintenance Tips for Foam Board Insulation
To maintain the efficiency of foam board insulation, regularly inspecting it for signs of moisture intrusion or mold growth is essential. Trapped moisture can compromise insulation effectiveness and lead to structural issues. Make sure to seal any air gaps between the foam board and adjacent surfaces with caulk or spray foam to maintain strong air and moisture barriers. Keep the insulation clean and free from dust, as debris can reduce performance and attract pests. It’s also important to monitor humidity levels, ensuring they stay below 50% relative humidity to prevent mold growth. If you’re making renovations or repairs, check the integrity of the foam board insulation and reapply necessary sealing measures to preserve its efficiency. Additionally, implementing timely payments for any insulation-related expenses can help maintain financial control during home maintenance projects.
Comparing Foam Board Insulation to Other Insulation Types
How does foam board insulation stack up against other types? When comparing foam board insulation to fiberglass insulation, you’ll find several advantages.
Foam board is rigid, offering higher R-values per inch, making it more effective in tight spaces like between block and stud walls.
- It provides an air barrier, reducing leaks and boosting energy efficiency.
- Unlike fiberglass, foam board insulation is moisture-resistant, making it ideal for basement walls where dampness is a concern.
- Installation is quicker and requires fewer tools, as it can be cut to fit and adhered directly.
While foam board may have a higher upfront cost, its energy efficiency translates to long-term savings, making it a smart investment for your home. Additionally, monitoring savings and investments can help you assess the overall cost-effectiveness of your insulation choices.
Conclusion
In the domain of home insulation, foam board is your steadfast ally, a shield against the elements. By choosing this cost-effective solution, you not only enhance your home’s comfort but also save on energy bills. Remember, a little effort today can lead to cozy warmth tomorrow. So roll up your sleeves, follow the steps, and transform your space into an energy-efficient haven. With foam board insulation, you’re not just investing in your home; you’re investing in your peace of mind.