To caulk your bathroom countertop with silicone on a budget, start by cleaning the area thoroughly—remove old caulk and grime with a scraper and denatured alcohol. Apply masking tape for clean lines, then load your caulk gun and apply silicone in a steady bead. Smooth it out with a tool or credit card for a professional look. Finally, clean up excess caulk with denatured alcohol and dispose of materials properly. There’s more to perfecting this project!
Preparing the Area for Caulking
Before you start caulking your bathroom countertop, it’s essential to prepare the area properly.
Begin with thorough cleaning; use a spray bottle filled with a suitable cleaner to remove dirt, grime, and any remnants of old caulk. This step guarantees a strong bond for the new silicone.
Next, apply masking tape along the edges of the countertop and wall to create clean lines and prevent excess caulk from spreading onto unwanted areas.
Make sure the surface is completely dry before applying the silicone caulk, as moisture can hinder adhesion and promote mold growth.
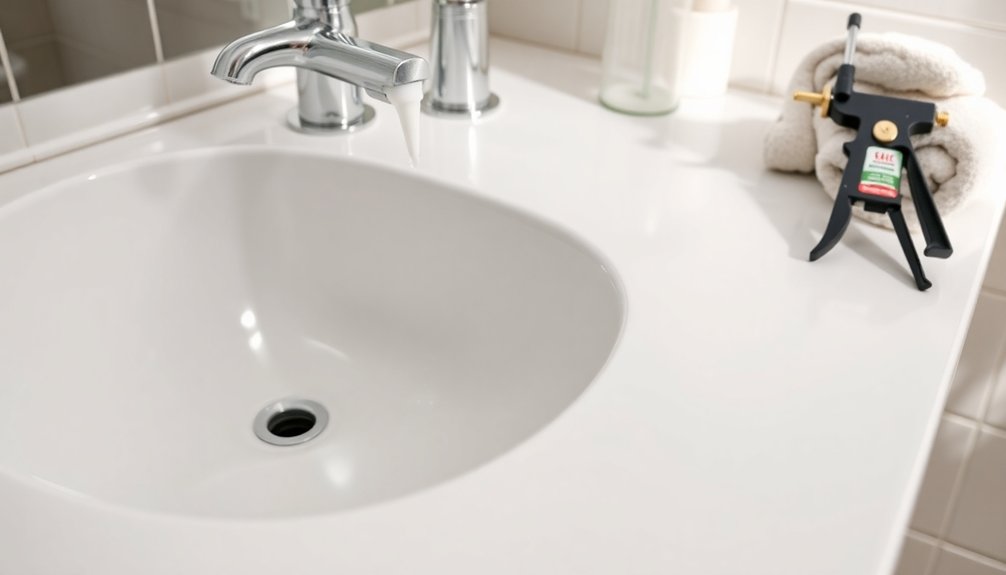
Finally, gather all necessary tools, including a caulking gun, denatured alcohol for cleanup, and a smoothing tool like a credit card for finishing touches. Additionally, consider utilizing receipt scanning technology to keep track of expenses related to your bathroom renovation projects.
Removing Old Caulk
When you’re ready to tackle removing old caulk, you’ll need a utility knife or a caulk removal tool to cut along the edges carefully.
Don’t forget to wear gloves and guarantee good ventilation, especially when using denatured alcohol to clean the area afterward. Additionally, timely payments can help you manage the costs associated with maintaining your bathroom, ensuring you keep your budget on track.
These safety precautions will help protect you while making the job easier and more efficient.
Tools for Removal
Removing old caulk can be a straightforward process if you have the right tools on hand. Start with a utility knife or razor blade to carefully cut along the edges of the old caulk, loosening it from the surface.
For stubborn remnants, a caulk removal tool or scraper works wonders without damaging your countertop. You might also consider applying denatured alcohol with a spray bottle to soften the silicone caulk, making removal much easier.
Remember to work in small sections to keep the task manageable and guarantee thoroughness. Always wear protective gloves and eyewear to safeguard against sharp tools and caulk debris during the removal process.
With these tools, you’ll make quick work of that old caulk!
Safety Precautions Required
As you tackle the task of removing old caulk, it’s crucial to prioritize safety to protect yourself from potential hazards.
Always wear gloves and safety goggles to shield your skin and eyes from sharp tools and harmful substances. Use a utility knife or caulk remover tool to carefully cut along the edges of the old caulk, making sure not to damage the underlying surface.
Properly dispose of the old caulk, as it may harbor mold or allergens that can be harmful if touched or inhaled. To minimize exposure to any fumes released, ventilate the area by opening windows or using a fan.
After removal, clean the area thoroughly with denatured alcohol for silicone or water for acrylic to guarantee a strong bond for new caulk.
Cleaning Surfaces Thoroughly
Before you start caulking, it’s essential to clean the surfaces thoroughly.
Remove any old caulk and debris with a scraper, then use denatured alcohol to wipe everything down.
Make sure the surface is completely dry before applying the new silicone for the best adhesion. Additionally, using tools like expense tracking tools can help you manage the costs associated with home improvement projects effectively.
Remove Old Caulk
To achieve a solid bond for your new caulk, it’s important to eliminate any remnants of the old caulk. Start by using a caulk removal tool or a utility knife to carefully cut and scrape away the old caulk. Be cautious not to damage the underlying surface during this process.
Once you’ve removed the old caulk, it’s time to clean the surface thoroughly. Use denatured alcohol to eliminate any residue left behind, ensuring a clean surface for the new silicone caulk.
After cleaning, inspect the area for any remaining debris or contaminants that could affect the effectiveness of your new caulking job. Make sure the surface is completely dry before applying the new silicone caulk for ideal adhesion.
Use Appropriate Cleaner
Once you’ve successfully removed the old caulk, the next step is to assure the countertop surface is impeccably clean.
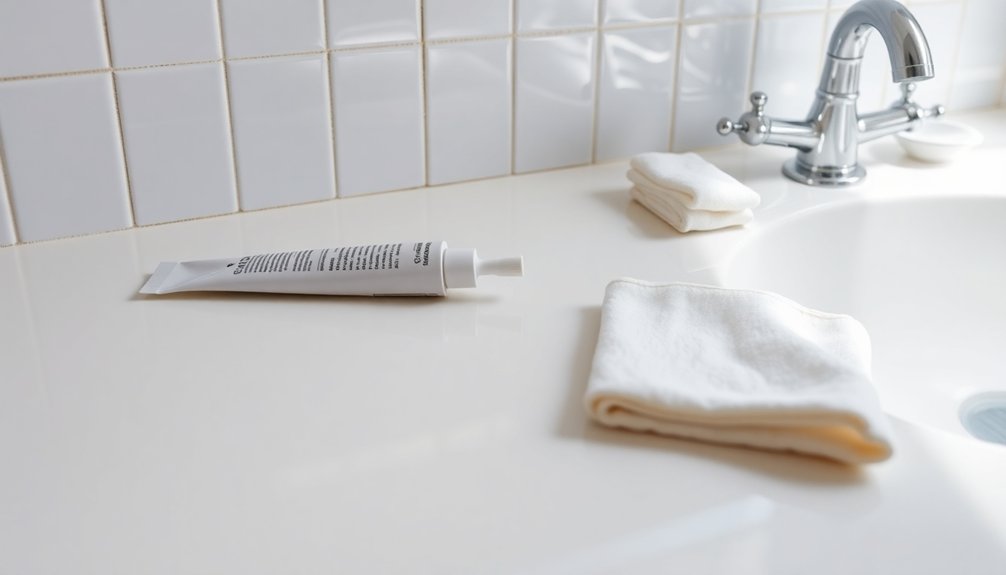
Use an appropriate cleaner like denatured alcohol to prepare the surface for new silicone caulk. Soak a lint-free cloth in the denatured alcohol and wipe down all areas where the caulk will be applied.
This not only removes dust and grease but also assures any old debris is cleared away, preventing contamination.
Don’t rush—take your time to check for any missed spots, as thorough cleaning is key to achieving a strong bond.
Dry Surface Completely
A dry surface is vital for the success of your caulking project. Begin by removing any old caulk or debris from your countertop to guarantee proper adhesion.
Clean the area thoroughly with a suitable cleaner to eliminate dirt, grime, and soap scum. After cleaning, it’s imperative to allow the surface to dry completely; moisture can compromise the effectiveness of the silicone caulk.
To achieve a truly clean surface, wipe down the area with denatured alcohol, which helps remove any lingering residues.
Also, pay attention to the ambient temperature and humidity levels, as these can affect both the curing process and adhesion of the caulk.
Taking these steps guarantees a strong, lasting seal.
Applying Silicone Caulk
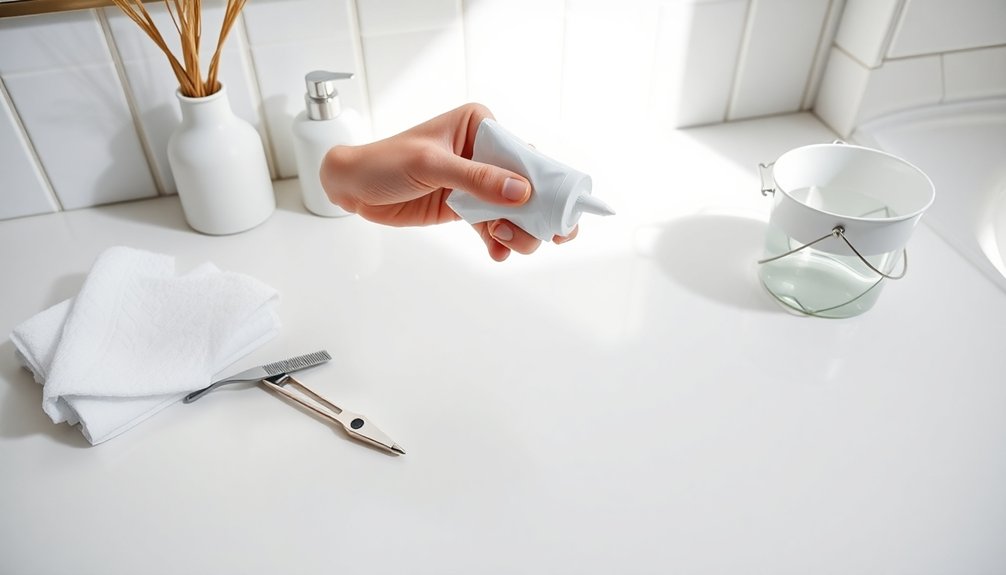
Applying silicone caulk requires careful attention to detail for the best results. Start by ensuring you’ve got clean and dry surfaces; this step is essential for proper adhesion.
Load your caulk gun and maintain gentle pressure as you apply silicone caulk along the joint, creating a consistent bead. It’s best to work in a well-lit area so you can accurately judge the amount of caulk you’re using and avoid over-application.
Once you’ve applied the caulk, use a credit card to smooth out the caulked area, which will give you a professional finish while removing any excess material. Additionally, using a reliable app can help you set timely payment reminders for any supplies needed for your project.
Finally, before any cleanup, spray denatured alcohol onto the caulked surface to help dissolve residue, making it easier to wipe away.
Smoothing the Caulked Joint
To achieve a professional finish, smoothing the caulked joint is essential after application.
Start by applying silicone caulk with gentle pressure to create an even bead along the seam. Once it’s applied, grab a credit card to carefully smooth and shape the joint. This will help you achieve an even finish while removing any excess caulk.
For better results, consider spraying denatured alcohol on the caulked area before using the credit card; it makes the smoothing process easier. As you run the edge of the credit card along the joint, focus on maintaining a clean line to prevent messy edges.
Controlling the caulk amount during application helps avoid overflow and creates a polished appearance. Additionally, using expense tracking apps can help you manage costs associated with home improvement projects effectively.
Proper Cleanup Techniques
Cleaning up after caulking can be a breeze if you use the right techniques. For effective cleanup of silicone caulk, you’ll need denatured alcohol, as water won’t do the trick.
Fill a spray bottle with denatured alcohol for easy application and control. Spray the area where the excess caulk is, and then use a paper towel to wipe it away.
Applying gentle pressure while caulking can help minimize the amount that needs cleanup later. Always remember to work in a well-ventilated area to avoid inhaling fumes from the denatured alcohol. Additionally, clear communication about the caulking process can prevent misunderstandings and ensure a smoother application.
Following these steps guarantees a clean finish without the hassle of stubborn silicone caulk lingering on your surfaces.
Conclusion
Now that you’ve mastered the fine art of caulking, you’re practically a bathroom Picasso—minus the paint splatters and existential dread! Who knew sealing up a countertop could rival a weekend at a spa? So, while the world grapples with crises, you’re here, wielding silicone like a hero, saving your bathroom from the horrors of mold and mildew. Remember, every glorious caulk line is a demonstration of your budget-savvy genius. Bravo, you bathroom warrior!