Creating your own worm bin with Rubbermaid containers is an easy, frugal way to compost. Start with two 18-gallon containers—one with airflow holes and one without. Drill holes in the top container for drainage and elevate it on wood blocks. Add shredded newspaper or office paper as bedding, ensuring it's damp like a sponge. Introduce red wigglers to the bedding, where they'll happily munch on your kitchen scraps. Monitor moisture and worms' activity regularly to keep your compost healthy. You'll soon enjoy rich fertilizer while reducing waste—keep going to discover more tips on maintaining your worm bin!
Understanding Vermicomposting
Understanding Vermicomposting
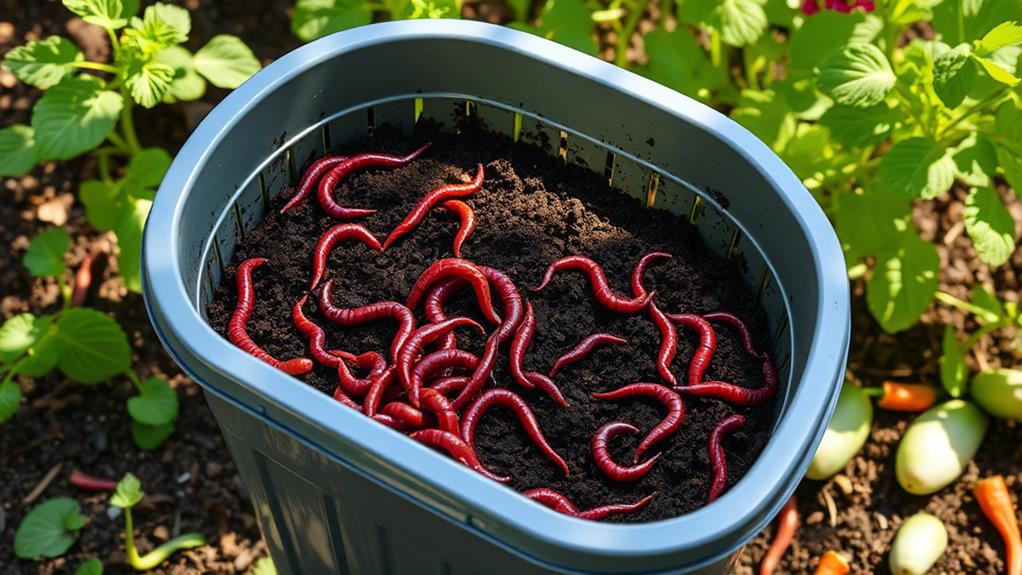
Vermicomposting turns your kitchen scraps into valuable fertilizer using red wigglers, those tiny wriggling creatures that work wonders in breaking down organic waste. This eco-friendly method is perfect for you if you have limited space, as it can be done indoors without unpleasant odors.
By choosing to vermicompost, you not only reduce the amount of waste you produce but also enhance your soil health. Additionally, engaging in sustainable practices like vermicomposting aligns with sustainable delivery practices, making it an even more impactful choice. The nutrient-rich worm castings produced can greatly promote plant growth.
To get started, you can easily make a Worm Bin from a Rubbermaid container. You'll create a dark, moist environment that allows the worms to thrive and reproduce, doubling their population about every 28 days.
It's an engaging way to learn about composting and the ecological benefits of recycling organic materials. Just remember to limit the types of food you give them to guarantee they stay healthy and happy.
Vermicomposting isn't just a way to manage waste; it's also a rewarding experience that connects you with nature while providing an excellent resource for your plants. So, plunge into and start your vermicomposting journey today!
Essential Materials for Your Worm Bin
To set up your worm bin, you'll need two 18-gallon Rubbermaid containers.
Make sure to choose high-quality containers that can withstand moisture and heat, as they'll house your composting worms.
Start by drilling airflow holes in the top container while keeping the bottom one intact for moisture collection.
With the right materials and setup, your worms will thrive and help you create rich compost.
Additionally, consider utilizing efficient tracking tools like expense management apps that streamline financial organization for your composting supplies.
Required Materials Overview
Creating a successful worm bin requires a few fundamental materials that work together to support your worms' health and productivity.
Start with two Rubbermaid containers, ideally 18-gallon size, to guarantee proper airflow and drainage for your compost bin. You'll need a drill equipped with an E8 inch drill bit to create holes in the top container, which is critical for adequate ventilation and moisture escape.
Next, grab some wood blocks. These are necessary to elevate the top container, preventing it from sinking into the bottom one and maintaining the effectiveness of the drainage holes.
For bedding, shredded newspaper or office paper makes a great choice, providing a comfortable environment for your worms.
Lastly, don't forget about water! It's essential for maintaining moisture consistency in the bedding, which should be kept at a neutral pH to keep your worms thriving.
Together, these materials create an ideal compost bin that supports your worms and enhances your composting efforts. With these fundamentals, you're well on your way to establishing a productive worm bin!
Container Setup Steps
Setting up your worm bin involves a few straightforward steps that guarantee a thriving environment for your composting worms.
Start with two Rubbermaid containers, each ideally 18 gallons. Make certain one container has drainage holes for excess moisture while the other remains hole-free to catch it. Use a drill with an E8 inch drill bit to create multiple holes in the top container, promoting proper airflow and drainage.
Next, elevate the top container using wood blocks. This prevents it from sinking and guarantees effective drainage, keeping your worms secure.
For bedding, prepare a mixture of shredded newspaper or office paper that's moistened to a wet sponge consistency. This helps maintain a neutral pH, vital for ideal worm health.
Step-by-Step Worm Bin Setup
To set up your worm bin, you'll first need to gather the required materials, including two Rubbermaid containers.
Budgeting for this project can help manage costs effectively, allowing you to invest in tools for financial tracking that will assist with future projects.
Once you have everything, you can start constructing the bin by drilling holes for airflow and drainage.
Required Materials Overview
A successful worm bin composting setup requires just a few essential materials to get started.
First, grab two Rubbermaid containers, ideally 18 gallons each. One container will need drainage holes drilled in the bottom for aeration, while the second container will remain intact to catch any excess moisture. Use an ⅜ inch drill bit to create several evenly spaced holes in the top container for airflow.
Next, elevate the top container using wood blocks. This setup allows moisture to drain while preventing worms from escaping and ensuring proper airflow.
To create a comfortable environment for your worms, prepare bedding by mixing shredded newspaper or office paper with water until it reaches a wet sponge consistency. This moisture level is vital for maintaining ideal worm health.
Constructing the Bin
With your materials ready, you can start constructing your worm bin.
Begin by taking your two Rubbermaid containers, ideally 18 gallons in size. Use a drill with an E8 inch drill bit to create holes in the top container for airflow and drainage. The bottom container should remain hole-free to catch excess moisture.
Next, elevate the top container using wood blocks placed in the bottom container. This setup prevents the top from sinking and guarantees proper drainage while keeping your worms safe.
Once your containers are ready, prepare the bedding. Mix shredded newspaper with water until it reaches a wet sponge consistency, maintaining a neutral pH of around 7 for healthy worms.
After preparing the bedding, it's time to introduce your worms. Simply dump them directly onto the bedding, allowing them to burrow down into their new environment. This helps them acclimate by escaping the light.
Proper Bedding Technique
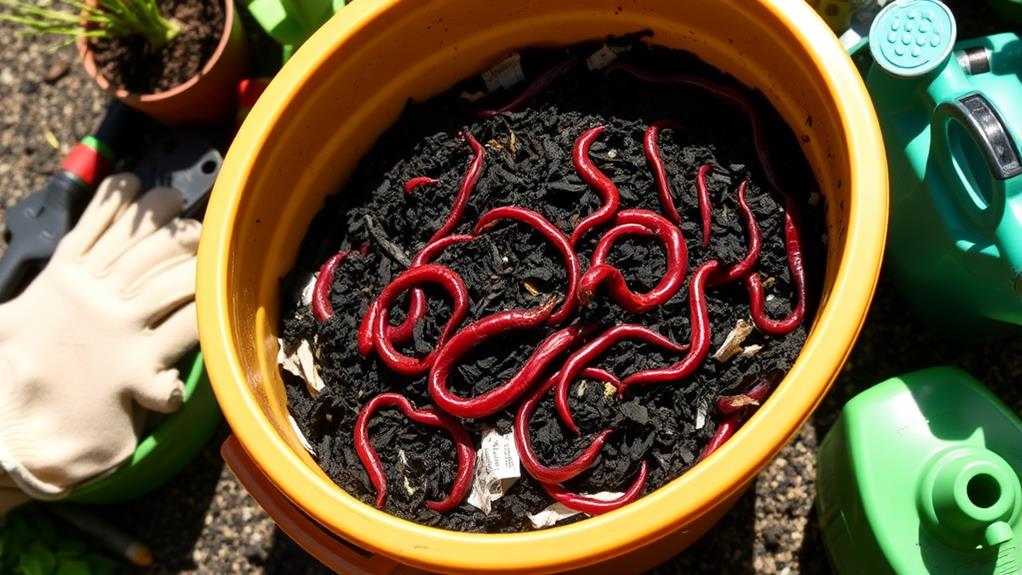
Creating the ideal bedding for your worm bin is vital for keeping your worms healthy and happy. Start by shredding newspaper or office paper into small strips. Mix these strips with water until it reaches a wet sponge consistency. This moisture level is essential, as it helps maintain a neutral pH of around 7, which is best for your worms.
Next, incorporate some gritty substances like dirt or sand into your bedding mix. This aids the worms' digestion process. Layer the prepared bedding evenly in the bottom of the top Rubbermaid container, ensuring it's deep enough for your worms to burrow and feel secure.
To help with food scraps, create small holes in the bedding. This not only provides a place for the scraps but also helps reduce odors and keeps pests at bay when covered with additional bedding material.
Lastly, regularly check and adjust the moisture levels of your bedding. You want to avoid it becoming too dry or soggy, as either extreme can negatively impact your worms' health and activity.
With the right bedding technique, your worm bin will thrive!
Preparing Bedding and Adding Worms
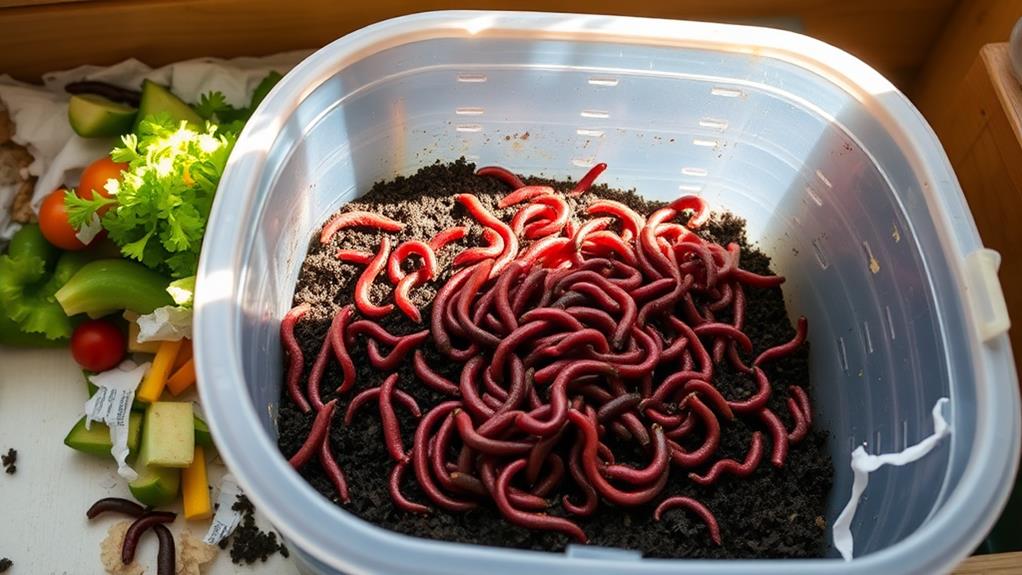
Preparing the right bedding for your worm bin is essential for the health of your worms. Start by shredding some office paper and mixing it with water until it feels like a wet sponge. This moisture balance is critical; too dry or too soggy conditions can harm your worms.
Aim for a neutral pH of around 7 in the bedding to create a favorable environment. You can also add gritty materials like dirt or sand to help with their digestion. Smart shopping recommendations can assist you in finding affordable materials for your worm bin setup.
Once you've prepared the bedding, it's time to add your worms. Simply dump them directly onto the bedding and let them burrow down on their own. They'll seek out the darkness, which is essential for their comfort.
Be mindful of the types of food you plan to give them later; avoid dairy, meat, and citrus peels as these can lead to odors and distress. Instead, focus on a balanced mix of kitchen scraps.
After introducing your worms, monitor their activity closely. They need some time to acclimate before you start adding food scraps consistently.
Feeding and Caring for Your Worms
How do you guarantee your worms thrive while efficiently breaking down kitchen scraps? Start by creating small holes in the bedding before adding your food scraps. This helps minimize odors while allowing air circulation.
Cover the scraps with more bedding to deter pests like fruit flies. Wet newspaper can act as a barrier over food scraps, maintaining moisture levels that your worms need. By following sustainable practices, you can create a more eco-friendly composting solution that aligns with ethical living.
Remember, each pound of worms can consume about half a pound of kitchen waste daily, so monitor their eating habits closely. Stick to a consistent feeding schedule and add food scraps every couple of weeks to prevent overfeeding.
It's vital to guarantee a balanced diet for your worms; avoid dairy, meat, and citrus peels, as these can harm them. Instead, consider adding gritty materials like dirt or sand to aid in their digestion.
Maintaining Your Worm Bin
Maintaining your worm bin is vital for keeping your composting system thriving. Regularly check the moisture levels, aiming for a consistency similar to a damp sponge. This balance guarantees a healthy environment for your worms.
Monitoring their activity and the condition of the bedding is essential; adjusting moisture or adding fresh bedding as needed can create an ideal habitat. Additionally, consider using tools for cost-effective tracking of your composting expenses, which can enhance your overall sustainability efforts.
If you notice excess dry bedding, remove it to help maintain perfect moisture levels. Document changes in worm population and health to track your bin's performance over time. This way, you can spot any issues early and address them effectively.
When feeding your worms, bury food scraps in the bedding to minimize odors and deter pests. Cover these scraps with additional bedding or damp newspaper to keep everything tidy.
Plan for follow-up evaluations every few weeks to assess the bin's performance. During these check-ins, make any necessary adjustments to guarantee your worms continue to thrive.
Conclusion
Creating your own worm bin with a Rubbermaid container is a simple and cost-effective way to compost. Imagine transforming your kitchen scraps into nutrient-rich fertilizer while reducing waste. For instance, Jane in your neighborhood started her worm bin and now grows thriving veggies, all thanks to her little composting helpers. By following these steps, you can enjoy the benefits of vermicomposting and contribute to a healthier planet. So, roll up your sleeves and get started today!