To air seal your shed with rigid foam insulation, start by inspecting for gaps and cleaning surfaces. Measure your areas and cut slightly oversized foam panels for a snug fit. Seal edges and gaps with caulk or spray foam for best performance. Don’t forget to control airflow by installing vents to prevent moisture buildup. This simple yet effective method can lead to significant energy savings, and there’s plenty more to learn about maximizing your insulation efforts.
Understanding the Benefits of Rigid Foam Insulation
When you consider insulating your shed, understanding the benefits of rigid foam insulation can really help you make an informed choice.
Rigid foam insulation boasts a high R-value, typically ranging from R-3 to R-6.5 per inch, making it effective at reducing heat transfer. Its low moisture permeability markedly prevents moisture buildup, reducing the risk of mold and rot in damp environments.
Plus, its solid structure makes installation easy, even in tight spaces. Rigid foam can be cut to fit around structural elements, enhancing air sealing and minimizing gaps. Additionally, utilizing rigid foam can lead to cost-effective solutions for managing your energy expenses in the long run.
Preparing Your Shed for Insulation
Before you start insulating your shed, it’s essential to prepare the space properly to maximize the effectiveness of the rigid foam insulation.
Begin by inspecting the structure for any gaps around windows, doors, or cracks that could lead to air leaks. Clean the interior surfaces to remove dust and debris, creating a suitable environment for the insulation.
Seal identified gaps with caulk or weatherstripping to enhance your air seal. Measure each section carefully, focusing on areas with the highest potential for heat loss, like the ceiling and walls, guaranteeing you can cut the rigid foam boards to fit snugly.
Seal any gaps with caulk or weatherstripping and measure carefully to ensure a snug fit for your rigid foam boards.
This preparation not only helps prevent moisture issues but also guarantees your insulation performs at its best. Utilizing apps with receipt scanning technology can help you keep track of your insulation expenses efficiently.
Cutting Rigid Foam to Fit Your Shed
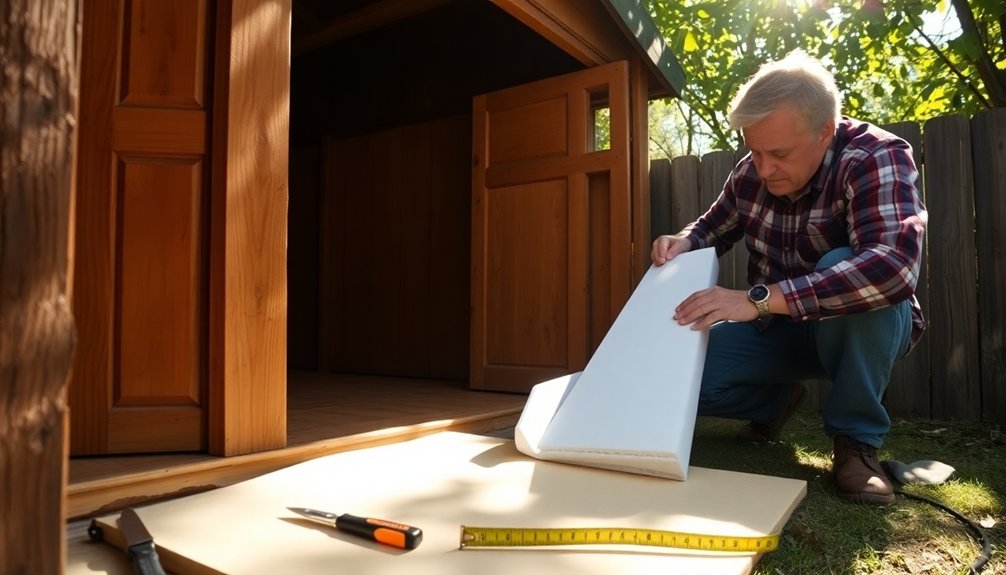
To get the best fit for rigid foam in your shed, start by measuring the dimensions of each area you want to insulate.
Use a sharp utility knife for clean cuts, and consider making the panels slightly oversized for a snug, friction fit.
Finally, don’t forget to seal the edges with caulk or spray foam to enhance insulation performance. Additionally, using budgeting apps can help you allocate funds for home improvement projects, ensuring you stay on track with your savings goals.
Measuring Shed Dimensions
Accurate measurements are essential for cutting rigid foam panels that fit your shed perfectly. Start by measuring the height, width, and depth of your shed to determine the dimensions of the rigid insulation needed.
Don’t forget to account for any irregularities, such as electrical outlets or ventilation ducts. For the ceiling, consider any slope to guarantee consistent thickness across all panels. This attention to detail helps minimize air leaks, improving insulation performance.
As you cut, label each piece to streamline installation and avoid confusion later. By carefully measuring shed dimensions, you guarantee that your rigid foam fits snugly, providing proper ventilation and maximizing energy efficiency in your shed.
Cutting Techniques Explained
Cutting rigid foam to fit your shed requires precision and the right tools to guarantee a snug fit that minimizes air leaks.
Start by measuring and marking the foam accurately; this will help you reduce waste and assure everything fits perfectly. For straight cuts, use a sharp utility knife or a hot wire cutter, and employ a straightedge or T-square as a guide.
If you need to cut around obstacles like electrical outlets or pipes, take careful measurements and switch to a jigsaw for those intricate cuts.
Remember to wear protective gear, such as goggles and a mask, to keep yourself safe from inhaling fine particles while working with rigid foam.
Fitting and Sealing Tips
After you’ve mastered the cutting techniques, fitting the rigid foam panels into your shed is the next key step. Measure each section accurately and use a straightedge for clean cuts, minimizing gaps that can hinder insulation effectiveness.
A utility knife or specialized foam cutter will help you achieve smoother edges, aiding in air sealing during installation. Be sure to account for any structural irregularities by adjusting the foam pieces for a snug fit, preventing air leaks.
To create an airtight barrier, seal edges and seams with caulk or expanding foam. Consider using a friction fit for added stability, reducing the need for adhesives and making your installation quicker and easier.
Your shed will be cozy and energy-efficient!
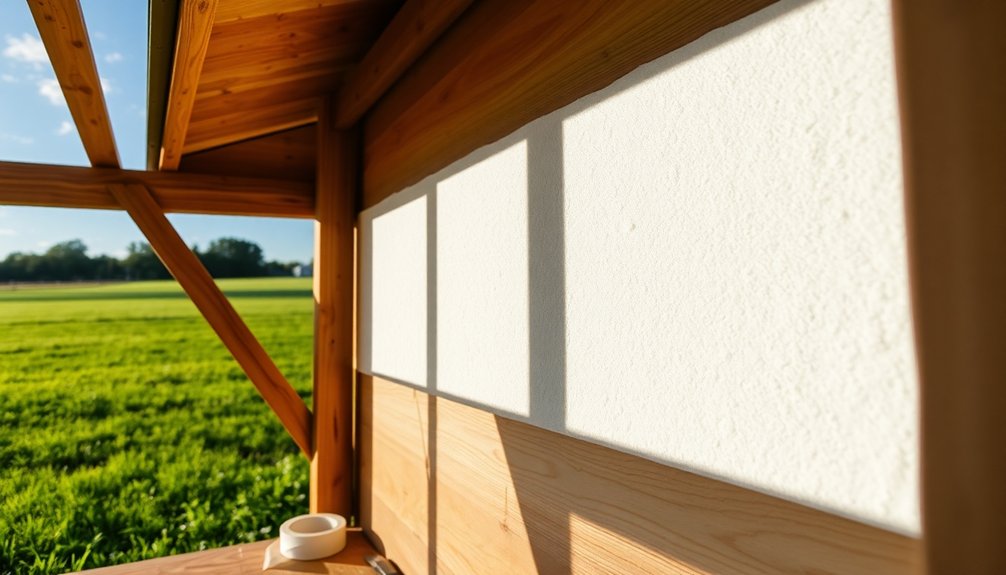
Sealing Edges and Gaps for Maximum Effectiveness
When sealing edges and gaps, choosing the right sealant is key to creating an effective air barrier. You’ll want to apply techniques that guarantee tight seams and prevent any potential leaks. To enhance your sealing strategy, consider conducting periodic audits of your insulation methods to ensure maximum energy efficiency. Let’s explore some tips to maximize your insulation’s performance and maintain energy efficiency.
Choosing Proper Sealant
Selecting the right sealant is essential for creating an airtight barrier in your shed. You have several insulation options, including expanding foam, caulk, and weatherstripping, each tailored for specific needs.
Expanding foam works wonders for larger gaps and cracks around rigid foam edges, delivering excellent air sealing and insulation when applied correctly. For smaller gaps, high-quality caulk effectively seals joints between rigid foam panels and surrounding surfaces, ensuring a smooth finish that prevents air leaks.
Don’t forget about weatherstripping for doors and windows; it provides a flexible seal that adapts to movement while maintaining airtightness. Always follow manufacturer instructions for application and curing time to achieve ideal adhesion and long-lasting air sealing effectiveness.
Sealing Techniques and Tips
To achieve maximum effectiveness in sealing edges and gaps, you’ll want to use the right techniques and materials. Canned spray foam or a froth pack is ideal for sealing edges, as they offer superior air sealing properties compared to traditional caulk.
Here are some tips to enhance your sealing process:
- Ascertain seams between rigid foam panels are tightly fitted.
- Mist the areas with moisture before applying spray foam to improve adhesion.
- Seal penetrations around electrical outlets, pipes, and ductwork.
- Regularly inspect and trim excess foam for a clean finish.
- Watch for moisture accumulation to prevent future issues.
Installing Ventilation for Airflow Management
Effective ventilation is essential for maintaining a healthy environment in your shed, as it helps prevent moisture buildup that can cause mold and mildew.
To manage airflow effectively, install vents at opposite ends of the shed. This setup promotes cross-ventilation, allowing fresh air in while expelling stale air and excess humidity.
Consider using adjustable vents or louvered openings to tailor airflow according to weather conditions and seasons. If your shed serves as a workshop or stores sensitive materials, incorporating exhaust fans can greatly enhance airflow management.
Don’t forget to regularly inspect and clean your vents to guarantee unobstructed airflow, maximizing the effectiveness of your ventilation system and preserving your insulation from moisture-related issues. Additionally, ensuring that your ventilation system is integrated with financial tools can help you track any costs associated with maintaining a healthy environment.
Enhancing Durability With Additional Weatherproofing
After guaranteeing proper ventilation for your shed, it’s time to focus on enhancing its durability through additional weatherproofing.
To ensure longevity, prioritize weatherproofing your shed after establishing proper ventilation.
A robust weatherproof barrier is vital to protect your insulation from moisture and prevent mold growth. Here are some steps you can take:
- Apply high-quality sealants and caulk to seal joints and seams between rigid foam panels.
- Incorporate a vapor barrier within the shed structure to manage moisture buildup.
- Regularly inspect weatherproofing elements for cracks or gaps.
- Upgrade to weather-resistant materials, like metal or treated wood for exterior finishes.
- Confirm that your insulation remains effective by checking the overall integrity of the shed.
Implementing these weatherproofing techniques can also contribute to a more sustainable environment, as sustainable practices promote efficient resource use and waste reduction.
These measures will greatly prolong your shed’s lifespan and improve its overall performance.
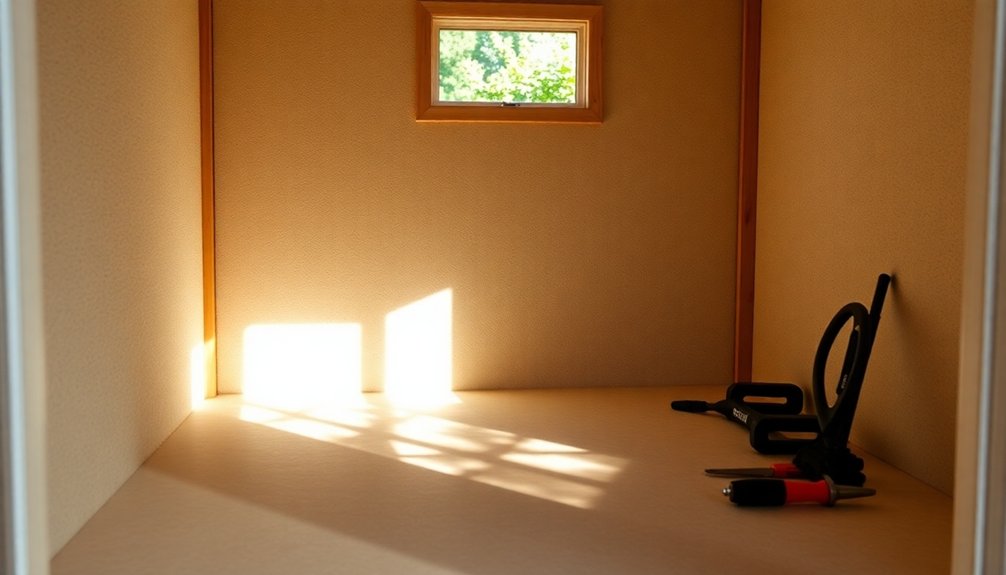
Maintenance Tips for Long-lasting Insulation
Maintaining your insulation is essential for ensuring it performs effectively over the years. Regularly inspect the insulation for signs of settling or degradation.
Check for air leaks around seams and edges, and seal any gaps with caulk or weatherstripping to prevent moisture accumulation. Proper ventilation in your shed is vital; it helps reduce humidity levels, which can lead to mold growth and compromise your insulation’s integrity.
Keep the area around the insulation clean by removing debris and dust, as these can hinder thermal performance and attract pests.
Finally, consider using insulation materials that resist mold and pests to enhance durability and minimize maintenance needs throughout the insulation’s lifespan. Additionally, utilizing expense tracking apps can help you manage costs associated with maintaining your shed effectively.
Cost Savings and Energy Efficiency Insights
Proper insulation not only keeps your shed comfortable but also plays a significant role in cost savings and energy efficiency. By air sealing with rigid foam insulation, you can drastically reduce energy costs.
Proper insulation enhances comfort while significantly reducing energy costs through effective air sealing.
Here are some key insights:
- Air leaks can account for up to 30% of energy loss.
- Rigid foam boards offer R-values between 3 to 6.5 per inch.
- Effective insulation can save you 10% to 50% on heating and cooling bills.
- A $300 investment in materials can lead to substantial long-term savings.
- Ensuring a tight seal protects tools from extreme temperatures.
- Monitoring savings and investments is crucial for effective financial management and goal achievement.
With these measures, you’ll enhance energy efficiency while enjoying significant cost savings, making your shed a more enjoyable space year-round.
Conclusion
By air sealing your shed with rigid foam insulation, you’re not just creating a more comfortable space; you’re also setting yourself up for significant savings on energy costs. Have you considered how much you could save in the long run? With the right preparation, installation, and maintenance, your shed will stay cozy and durable for years to come. So, roll up your sleeves and tackle this project—you’ll be glad you did!