For repairing cedar boards on a budget, Titebond II is a great choice. It's affordable, effective, and ideal for indoor projects. If you need something for outdoor use, Titebond III offers waterproof qualities to withstand the elements. Make sure to properly prepare the cedar's surface by cleaning off any oils and sanding it down to enhance adhesion. If you're interested in more tips on adhesive options and application techniques, there's plenty more to explore.
Understanding Cedar's Unique Properties
Cedar's unique properties make it both a popular choice for outdoor projects and a challenge when it comes to adhesion.
Its porous and less dense nature means it doesn't bond as effectively as hardwoods, which can affect the strength of your joints. The natural oils in cedar can hinder PVA glue absorption, so proper surface preparation is essential. You'll need to sand it well to enhance the grip of your adhesive. Additionally, expense tracking tools can provide guidance on budgeting for materials and adhesives, ensuring you stay within your project costs. Automating savings for your project can also help you allocate funds more effectively over time.
Additionally, consider the compressibility of cedar; the size and configuration of your joints matter. Water wicking at the base can lead to deterioration, so managing moisture is key. To ensure effective adhesion, using a glue with advanced receipt scanning technology can help in selecting the right product for your project.
While cedar may gray over time, its structural integrity remains, making it a reliable option for your projects.
Importance of Choosing the Right Adhesive
When you tackle a project with cedar, choosing the right adhesive isn't just a matter of preference; it's vital for ensuring a durable bond. The strength of the bond can vary considerably between different glues, impacting how long your repair lasts. For instance, selecting eco-friendly adhesives can contribute to reducing carbon emissions associated with traditional glue manufacturing.
For outdoor projects, opt for waterproof options like Titebond III, which can withstand moisture. While PVA glues like Titebond II are popular, they mightn't hold up as well in high-stress situations compared to epoxy or polyurethane. Regularly reviewing your investment performance can help you make informed decisions about your project materials.
Remember, cedar's unique properties, such as its oiliness, affect glue absorption, so it's important to choose a glue designed for softer, resinous woods. Additionally, utilizing automated payment solutions can help you manage your project budget more effectively.
For budget-minded repairs, consider Weldwood Plastic Resin Glue for its strong bonding capabilities and ease of use.
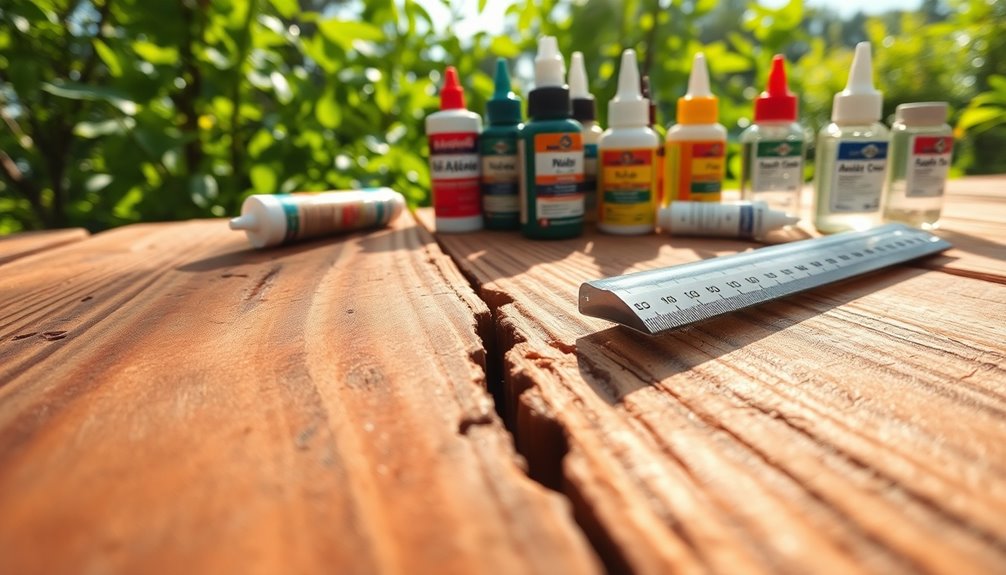
Recommended Adhesives for Cedar
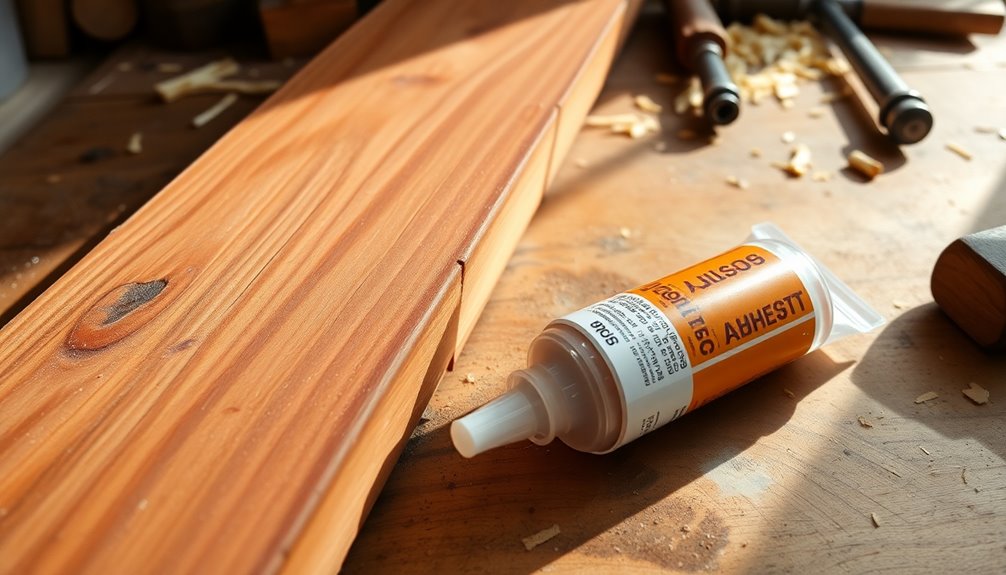
Selecting the right adhesive can make all the difference in your cedar projects. For budget-friendly repairs, Titebond II is an excellent choice, offering effectiveness at a reasonable price. Effective management of spending is crucial for ensuring you stay within your budget when purchasing materials. Additionally, using budget management tools can help you track your expenses effectively.
If you need something for outdoor use, consider Titebond III, which provides waterproof qualities and a longer working time for adjustments. Elmer's Carpenter's Wood Glue (yellow) is another affordable option that works well with cedar.
For a strong bond, you might try Weldwood Plastic Resin Glue, known for its performance and ease of use. Finally, powdered urea formaldehyde resin glue is a solid alternative, offering good sandability and strong adhesion.
Additionally, utilizing AI-driven tools can help optimize your shopping experience for these adhesives, ensuring you find the best prices and options available.
With these options, you'll be well-equipped to tackle your cedar repairs without breaking the bank.
Evaluating Glue Types for Cedar Projects
Choosing the right glue for your cedar projects is essential to guarantee durability and performance. For outdoor projects, Titebond II and III are excellent choices due to their waterproof properties, with Titebond III giving you more working time for adjustments. If you're tackling significant repairs, epoxy stands out for its strong adhesion and waterproof qualities, making it perfect for outdoor conditions. For a budget-friendly option, consider Weldwood Plastic Resin Glue, especially if you're working on canoe building. Elmer's Carpenter's Wood Glue Max also delivers strong, waterproof bonds at a lower cost. Remember to keep in mind cedar's moisture content, as excess oils can hinder glue absorption and compromise bond strength. Additionally, utilizing price comparison tools can help you find the best deals on adhesives and other materials for your projects. Using tools like Camelcamelcamel can provide insights into pricing trends and help you maximize your savings while shopping for supplies. Furthermore, exploring comprehensive product reviews can help you make informed decisions about which adhesives to purchase based on user feedback.
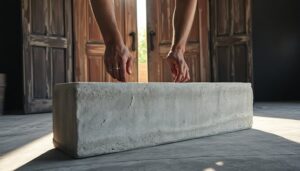
Surface Preparation Tips for Cedar
Before you start gluing cedar boards, it's important to prepare the surface properly.
You can use acetone to remove any oils, especially if you're working with denser hardwoods that might need a bit more cleaning. A quick wipe with a damp cloth can also help eliminate dust and guarantee a solid bond. Additionally, ensuring clear payment terms can streamline the procurement process for your materials, making it easier to budget for your project. Implementing expense tracking solutions can further assist in managing your overall project costs effectively. Furthermore, understanding the importance of budgeting can help you allocate funds efficiently for all aspects of your repair project.
Oil Removal Techniques
When preparing cedar boards for gluing, it's important to contemplate oil removal techniques to enhance adhesion.
While cedar's natural oils can often be managed during the gluing process, using acetone can greatly improve the bonding area. Simply wipe down the surfaces with a cloth soaked in acetone to remove any excess oils. This step isn't strictly necessary, but it can help create a smoother surface for glue application.
If you skip this treatment, don't worry too much—cedar is forgiving, especially western red cedar, which has no considerable adhesion issues even without surface preparation.
Ultimately, taking a moment to clean your boards with acetone may lead to better results in your repairs.
Cleaning Dense Hardwoods
Although cedar boards are generally easier to work with than dense hardwoods, proper surface preparation is still crucial for achieving a strong bond.
Start by cleaning the cedar surface to remove excess oil and resin, which can inhibit glue absorption. You can use acetone for this task; it effectively removes oils, enhancing wood glue adhesion.
While wiping down isn't always necessary, especially with western red cedar, it can improve bonding quality, particularly for wider laminated pieces.
Always conduct a test on scrap wood to see if any surface treatment enhances the bond for the specific type of wood glue you plan to use.
Taking these steps guarantees you're setting yourself up for a successful repair project.
Joinery Techniques That Enhance Durability
When it comes to ensuring your cedar projects stand the test of time, the right joinery techniques are essential.
While mortise and tenon joints look great, glued and screwed joints offer better durability for outdoor use.
Utilizing face screw techniques can further enhance strength and help prevent joint failure, making your furniture more resilient against the elements.
Mortise and Tenon Joints
Mortise and tenon joints stand out as one of the most reliable joinery techniques in woodworking, especially for furniture and cabinetry. These joints offer both strength and aesthetic appeal, making them a popular choice for your projects. However, they might not hold up as well outdoors compared to glued and screwed joints.
To enhance their effectiveness, consider using Gorilla glue alongside longer screws, particularly with thicker cedar boards like 2×6. Properly executed joints can distribute stress evenly, preventing screw head stripping in softer woods.
| Feature | Mortise and Tenon | Gorilla Glue |
|---|---|---|
| Strength | High | Very High |
| Outdoor Durability | Moderate | High |
| Aesthetic Appeal | Excellent | Good |
Glued and Screwed Joints
Glued and screwed joints are an excellent choice for anyone looking to enhance the durability of their outdoor furniture. By combining the strength of glue joints with the mechanical support of screws, you create a robust construction that stands up to the elements.
Using longer screws with thicker cedar pieces, like 2×6, greatly improves joint stability, preventing separation over time. It's essential to employ proper joinery techniques to avoid stripping screw heads in softer woods like cedar, ensuring a secure connection.
Compared to traditional mortise and tenon joints, glued and screwed joints offer superior resilience against outdoor conditions, making them a smart option for your projects. Embrace this technique for long-lasting, sturdy furniture!
Face Screw Techniques
Face screw techniques are essential for enhancing the durability of cedar furniture, especially in outdoor settings. When you use face screws, opt for longer screws, particularly with thicker wood like 2×6, ensuring a robust connection.
Proper drilling techniques are vital; they help prevent stripping screw heads in softer cedar, maintaining the joint's integrity. You'll find that glued and screwed joints offer superior strength compared to traditional mortise and tenon joints, making them ideal for outdoor applications.
Testing Adhesive Performance on Cedar
When testing adhesive performance on cedar, it's crucial to focus on long-grain and miter joints, as end-grain tests often lead to failure due to cedar's porous nature.
You should use a scoring rubric to evaluate the strength of the bonds formed during your tests. Many adhesives, like polyurethane glue, can effectively bond cedar, but they need to be tested on scrap pieces first.
PVA glues, such as Titebond, are known for their strong bonding capabilities, although effectiveness varies with the wood's compressibility and oil content.
For added durability and waterproofness, you might consider epoxy adhesives, despite their higher cost and complexity.
Always check moisture content, as it notably affects adhesive performance.
User Experiences With Different Glues
When it comes to choosing glue for your cedar projects, many users have found valuable insights from their experiences.
You'll discover that preferences vary based on performance in specific conditions, like humidity or outdoor use.
Plus, learning different repairing techniques and tips can help you achieve the best results with your chosen adhesive.
Preferred Adhesive Choices
While many users have their favorite adhesives for working with cedar boards, several standout options consistently receive high praise.
Titebond II is a popular choice for outdoor projects, praised for its budget-friendly price and effective bonding capabilities.
Elmer's Carpenter's Wood Glue Max also shines, offering strong, waterproof bonds that DIYers love.
For those needing extra time for adjustments, Titebond III is often recommended due to its waterproof qualities and longer working window.
Weldwood Plastic Resin Glue is another favorite, celebrated for its ease of use and excellent gap-filling properties.
Some builders prefer powdered urea formaldehyde resin glue, appreciating its sandability and compatibility with cedar as a cost-effective alternative.
Choose the one that aligns with your project needs!
Performance Under Conditions
Choosing the right glue for cedar boards can greatly affect your project's success, especially under varying conditions.
Titebond III is highly favored among users for its waterproof qualities, making it a go-to option for outdoor repairs on a budget. Many DIYers also find Elmer's Carpenter's Wood Glue Max effective, delivering strong, waterproof bonds without breaking the bank.
However, while Gorilla Glue requires moisture to cure, it can lead to messy applications, which isn't ideal for budget-conscious projects. On the other hand, Weldwood Plastic Resin Glue has garnered praise for its ease of use and performance.
Remember to test any glue on scrap wood first to verify compatibility and save time and materials during your repair efforts.
Repairing Techniques and Tips
Repairing cedar boards effectively relies not only on the right adhesive but also on the techniques you use during application. Many users have found success with Titebond II for its strong bond, while Elmer's Carpenter's Glue excels in outdoor projects. For a sturdy bond, consider Weldwood Plastic Resin Glue, which is both effective and budget-friendly.
Before applying any glue, test it on scrap cedar to gauge compatibility, especially due to cedar's natural oils. If you seek easier repairs later, powdered urea formaldehyde might be your best bet.
Here's a quick comparison of popular glues:
| Glue Type | Key Features |
|---|---|
| Titebond II | Strong bond, budget-friendly |
| Elmer's Carpenter's Glue | Great for outdoor projects |
| Weldwood Plastic Resin | Easy to use, sturdy bond |
Considerations for Outdoor vs. Indoor Use
When deciding on the best glue for cedar boards, it's crucial to contemplate whether your project will be indoors or outdoors.
For outdoor projects, you'll want adhesives that can withstand moisture and temperature changes. Titebond III is a solid choice, as it's waterproof and designed for exterior use. If you're looking for superior durability, epoxy is the best option, offering excellent waterproofness even in extreme conditions.
Gorilla Glue can also work outdoors, but it requires moisture for curing, which might lead to uneven results.
For indoor projects, Titebond I or II will suffice, though they lack the water resistance needed for outdoor applications.
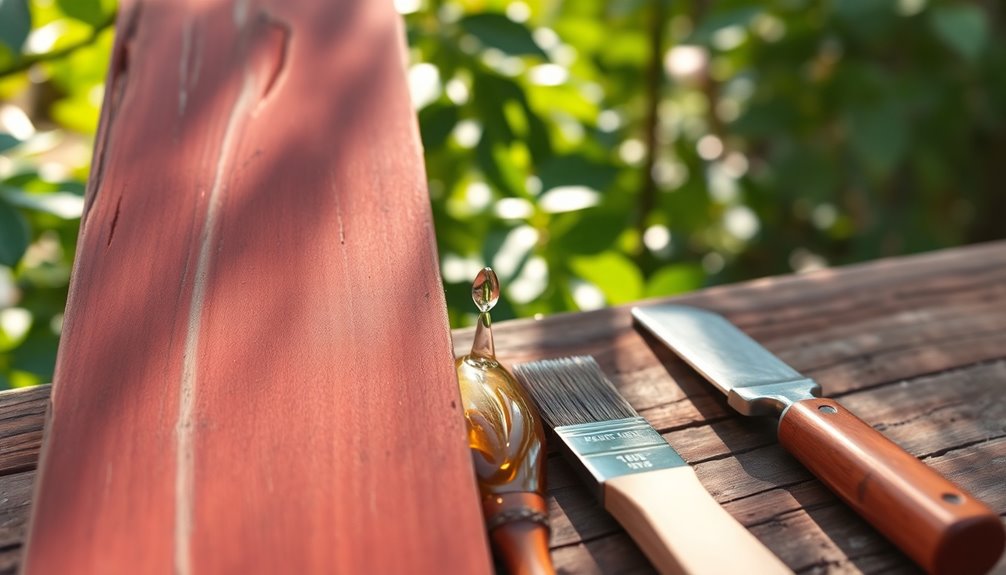
Application Techniques for Effective Bonding
To achieve a strong bond with cedar boards, start by ensuring the surfaces are clean and free from debris, as any oils or residue can impede adhesion. Although wiping may not be necessary for western red cedar, it's best to prepare the surfaces well.
Next, apply glue evenly using a notched spreader or brush to create a consistent layer that promotes effective bonding. Once the glue is applied, use clamps to hold the pieces together firmly during the curing process, allowing at least 24 hours for most wood glues to set properly.
For added durability, consider using longer screws alongside the glue, especially in outdoor applications where moisture exposure is a concern. Titebond II or Elmer's Carpenter's Glue work great for budget-friendly options.
Common Adhesive Pitfalls to Avoid
Even with the right application techniques, using the wrong adhesive can lead to frustrating setbacks in your cedar projects. One major pitfall is choosing glues that aren't waterproof; cedar's outdoor use demands adhesives like Titebond III that can withstand moisture.
Be cautious with polyurethane glues, such as Gorilla Glue, as they need moisture to activate and can create a messy situation if not managed properly.
Also, don't overlook the importance of surface preparation; oils in cedar can hinder adhesion if not addressed.
Finally, avoid expired or poorly stored adhesives, as they lose effectiveness over time. Investing in high-quality options like Titebond III can save you time and money by ensuring a strong, durable bond.
Alternative Materials for Cedar Projects
While cedar is a popular choice for many outdoor projects, there are several alternative materials that can offer similar benefits without the higher costs. Trupan is a lightweight option available in 2-inch thick sheets, great for various applications. Plywood and medium-density fiberboard (MDF) provide structural integrity at a lower price. When it comes to adhesives, urea resin glue, like Weldwood Plastic Resin Glue, performs well with cedar and can substitute traditional wood glues. Due to cedar's resinous nature, using powdered urea formaldehyde can enhance bonding in laminated pieces.
| Material | Cost | Durability |
|---|---|---|
| Trupan | Low | Medium |
| Plywood | Moderate | High |
| MDF | Low | Medium |
| Composite Wood | Moderate | High |
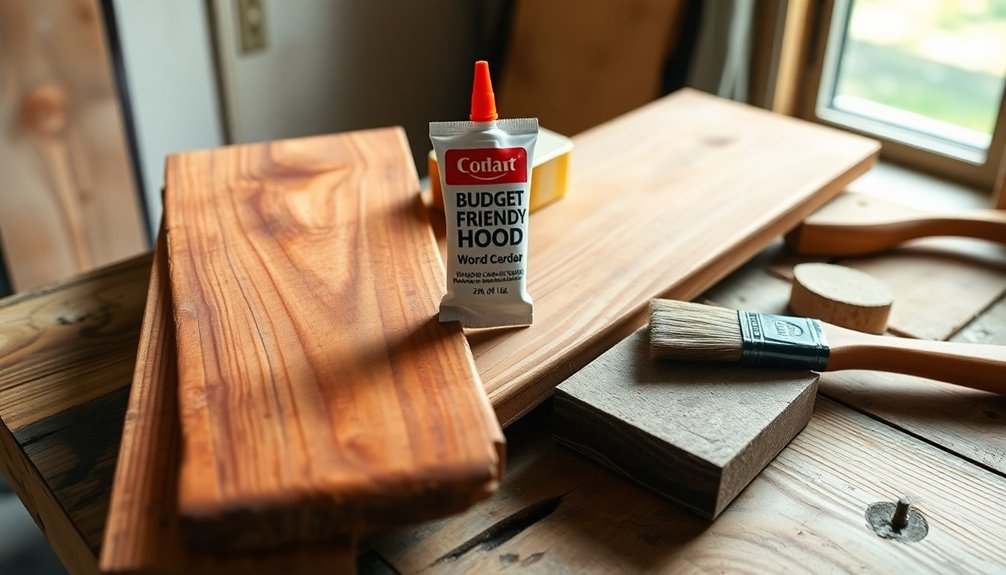
Cost-Effective Tips for Cedar Repairs
When it comes to repairing cedar boards, using the right adhesive can save you time and money.
For budget-friendly options, consider Elmer's Carpenter's Wood Glue Max, which offers strong waterproof bonds and easy cleanup—perfect for cedar projects.
Titebond III is another affordable choice, providing excellent adhesion for outdoor repairs.
If you're dealing with gaps, Weldwood Plastic Resin Glue may be worth the extra cost for its durability.
Additionally, powdered urea formaldehyde resin glue is a great option that hardens well without gumming up sanders.
Finally, Titebond II strikes a good balance between cost and effectiveness, especially if your project requires flexibility.
Choose wisely, and your cedar repairs can stay strong without breaking the bank!
Conclusion
So, next time you're staring at a pile of cedar boards, don't fret! Just grab your trusty budget-friendly adhesive and channel your inner DIY guru. Remember, it's not just wood; it's a canvas for your creative genius—if only the wood knew it was in for a sticky situation! With the right glue, you'll have those boards back in action faster than you can say "failed Pinterest project." So, go forth and bond, my fellow budget warrior!