For repairing cedar boards on a budget, PVA glue like Titebond I or II is your best choice. It offers a strong, clear bond ideal for woodworking projects and dries quickly. You’ll find it easy to clean up since it’s water-soluble, and its flexibility accommodates cedar’s natural movement. If you want more specifics on surface preparation and other adhesive options, there’s plenty more to explore to guarantee your cedar projects last.
Understanding PVA Glue and Its Benefits
When you’re working with cedar boards, understanding the benefits of PVA glue can greatly enhance your woodworking projects.
PVA glue, or Polyvinyl Acetate, is a popular choice because it creates a strong bond and offers versatility for your repairs. It dries clear and is water-soluble, so you can easily clean up any spills before it sets.
It typically takes about 24 hours to fully cure, allowing you to make necessary adjustments without the pressure of a quick drying time. The flexibility of PVA glue when dry accommodates cedar’s natural movement, ensuring your repairs remain intact over time.
Plus, it’s often available at a low cost, making it an economical option for both casual and serious woodworkers. Additionally, using expense management apps can help you keep track of your woodworking supplies and costs effectively.
Choosing Polyurethane Glue for Outdoor Repairs
When it comes to outdoor repairs on cedar boards, polyurethane glue offers outstanding benefits like water resistance and strong bonds.
To guarantee durability, remember to clamp the pieces during application and allow up to 24 hours for curing.
While it might cost a bit more upfront, its long-lasting performance makes it a smart choice for your projects. Additionally, utilizing bill tracking apps can help you manage the costs associated with home repairs efficiently.
Benefits of Polyurethane Glue
While many glues work well for indoor projects, polyurethane glue stands out as an excellent choice for outdoor repairs, especially on cedar boards.
Its moisture-activated properties allow it to expand and fill gaps, creating a robust bond that withstands the elements. This glue is highly resistant to water, ensuring your repaired cedar boards maintain integrity over time, even in wet conditions.
Though curing can take up to 24 hours, it’s worth the wait for the durability it provides. Plus, polyurethane glue is versatile enough to bond wood, metal, and plastic, making it ideal for multi-material repairs outdoors.
Just be prepared for a more challenging cleanup process; handle it carefully and use solvents promptly before it cures.
Application Tips for Durability
To guarantee a durable bond when using polyurethane glue on cedar boards, start by properly preparing the surfaces. Clean the wood of any oils or dirt, as polyurethane glue adheres best to clean, dry surfaces.
Once prepared, apply the glue, then clamp the pieces together firmly. This step is essential since it guarantees the glue fully activates and cures under pressure, creating a strong bond.
Allow at least 24 hours for the polyurethane glue to cure completely, achieving its full waterproof capabilities before exposing the repair to outdoor elements.
If you’re using screws, consider applying a small amount of paraffin wax to reduce friction, making future disassembly easier if needed.
Cost-Effective Repair Solutions
Choosing polyurethane glue for outdoor repairs on cedar boards offers a cost-effective solution that doesn’t compromise on quality. This adhesive stands out due to its unique properties, making it ideal for outdoor use.
Here are three key benefits:
- Gap Filling: Polyurethane glue expands during curing, filling gaps and ensuring a strong bond, even in fluctuating weather conditions.
- Moisture Activation: It’s moisture-activated, providing durability against rain and humidity, which is essential for outdoor projects.
- Longer Working Time: This glue allows you ample time to adjust your pieces before it sets, ensuring precise alignment.
While it may require careful cleanup, the strong, waterproof bond you get with polyurethane glue is well worth the effort for lasting repairs on cedar boards.
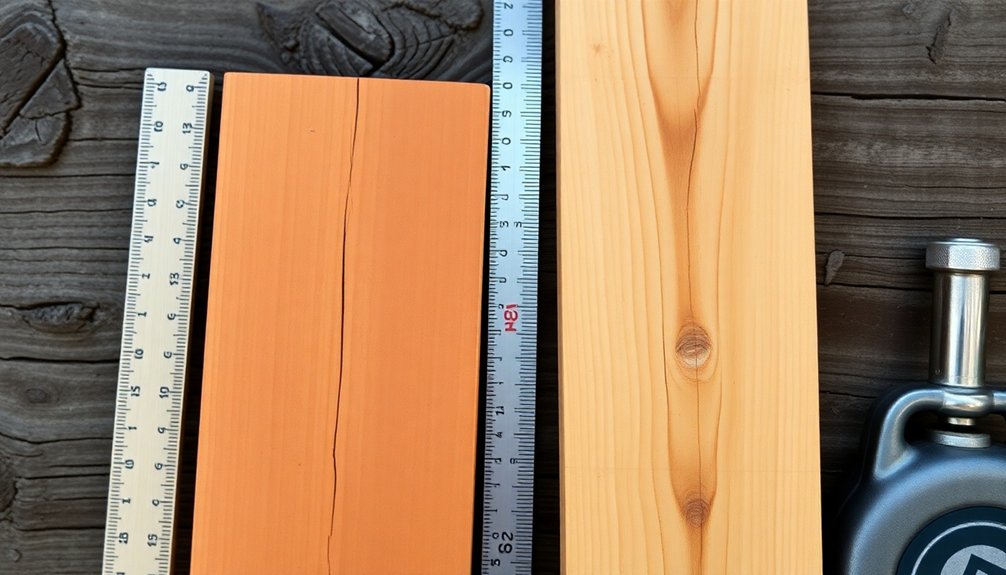
Surface Preparation for Optimal Adhesion
To achieve the best glue bond on cedar boards, start by cleaning the surfaces to remove any dust or oils.
Using acetone can be effective for oil removal, but it’s not always necessary.
Consider testing adhesion on a scrap piece to guarantee your preparation methods yield strong results. Additionally, ensuring user-friendly interfaces can enhance the overall experience of applying glue and managing the repair process.
Clean Surface Before Gluing
While you might think cedar is forgiving when it comes to glue adhesion, preparing the surface properly can make a significant difference.
To achieve a clean surface before gluing, follow these steps:
- Wipe Down: Always start by wiping the cedar boards with a clean, dry cloth to remove dust and debris.
- Use a Jointer or Planer: If you have access to tools, smoothing the surface with a jointer or planer can enhance adhesion by creating a flat bonding area.
- Check for Oils or Impurities: Verify there’s no oil or residue left on the surface, as this can weaken the bond created by wood glue.
Taking these steps will help you achieve a stronger, more durable bond in your cedar projects.
Acetone for Oil Removal
Many woodworkers overlook the importance of removing oils from cedar surfaces before gluing. Using acetone for oil removal is a straightforward way to enhance glue adhesion and guarantee a stronger bond.
Cedar’s natural oils can hinder glue performance, so applying acetone as a pre-treatment is beneficial. Even if some users report successful glue joints without it, this extra step can greatly improve durability, especially with dense tropical hardwoods.
To use acetone, simply apply it with a clean cloth, making sure the surface is dry and free from residue. While it’s optional, wiping down cedar surfaces with acetone can lead to better long-term results for your glued joints, giving you confidence in your woodwork.
Test Adhesion on Scrap
Before committing to a project, testing glue adhesion on scrap cedar pieces can save you from potential pitfalls. This simple step allows you to gauge how well different adhesives bond with cedar’s natural oils.
Here are three key points to take into account when you test adhesion on scrap:
- Clean Surfaces: Use acetone to remove oils, or skip this if you’ve had success without it.
- Moisture Content: Verify the scrap is dry; excess moisture can hinder curing and weaken the bond.
- Surface Preparation: Use a planer or jointer for a smooth, flat surface, enhancing the glue’s grip.
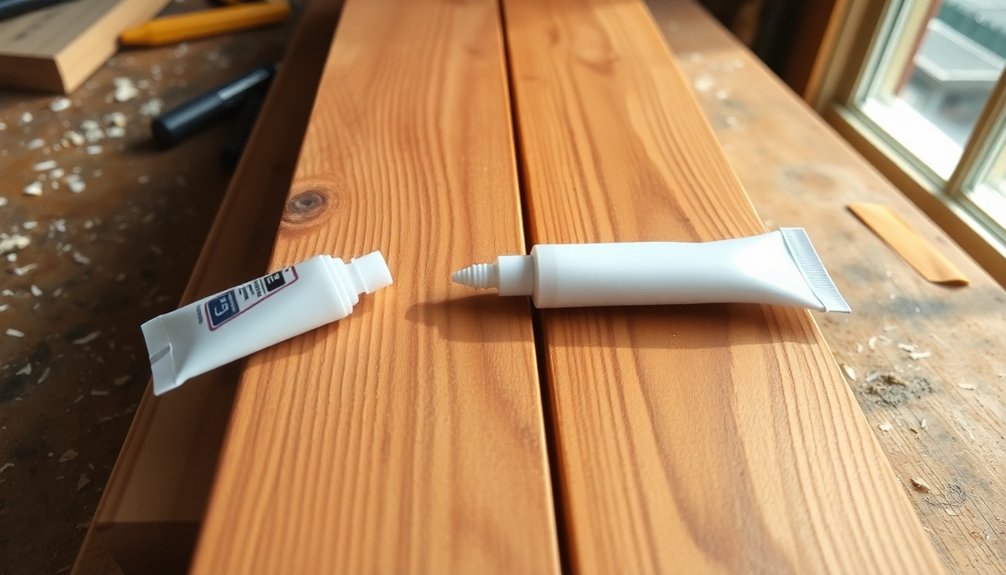
Recommended Adhesives for Cedar Projects
When it comes to selecting the right adhesive for your cedar projects, you have several reliable options that cater to different needs and budgets.
Titebond I and II are excellent choices for general use, providing solid adhesion at an affordable price. If you’re working on outdoor projects, Titebond III offers waterproof properties, giving you extra time to adjust the application.
Titebond I and II offer strong adhesion for general projects, while Titebond III provides waterproof benefits for outdoor use.
For a budget-friendly alternative, consider Elmer’s Carpenter’s Glue, which builders trust for dependable bonds. Weldwood Plastic Resin Glue is another great option, as it performs well and sands easily.
Finally, if you’re willing to invest a bit more, urea formaldehyde resin glue delivers a strong, durable bond, making it a worthwhile choice for cedar projects. Additionally, having a well-rounded financial portfolio can help you allocate funds for quality materials and tools in your projects, ensuring you achieve financial security.
Comparing Adhesive Strength and Durability
When choosing glue for cedar boards, you should consider both adhesive strength and durability.
Stronger adhesives like epoxy offer excellent performance for outdoor projects, while budget options like Titebond provide sufficient strength for indoor use.
It’s crucial to match the adhesive’s durability to your project’s specific environmental conditions for the best results. Additionally, understanding financial management tools can help you budget for quality adhesives and materials.
Adhesive Strength Considerations
Although choosing the right adhesive may seem straightforward, understanding the differences in adhesive strength and durability is essential for successful cedar board repairs.
For budget-conscious projects, consider these options:
- Titebond I: A reliable PVA glue that provides a strong bond, often outmatching the wood’s grain strength.
- Titebond II: Similar to Titebond I, but with added water resistance, making it suitable for slightly damp conditions.
- Titebond III: Offers the strongest adhesion among the Titebond range and a longer open time for adjustments.
Durability in Outdoor Conditions
Choosing the right adhesive for cedar boards exposed to outdoor conditions is essential for guaranteeing long-lasting repairs.
Titebond III is a top choice because it’s waterproof and resists moisture without losing bond strength.
Epoxy is another strong option, offering exceptional durability and resistance to temperature changes—great for extreme weather.
While Gorilla glue can be effective outdoors, it needs moisture to cure, which can create messy applications if not handled properly.
Urea resin glue provides a rigid, durable bond that withstands environmental factors well.
Don’t forget to prepare the surface by cleaning with acetone; this enhances adhesion, especially considering cedar’s natural oils.
Choose wisely to guarantee your repairs last through the elements.
Tips for Clamping and Setting Joints
To achieve a strong bond when gluing cedar boards, effective clamping is essential. Here are some tips to guarantee your joints are secure:
- Use Spring Clamps: They provide even pressure across multiple cedar strips, promoting a solid bond while you apply glue.
- Monitor Clamping Pressure: Keep it firm, but not overly tight to avoid crushing the porous wood, which can weaken the joint.
- Maintain Alignment: Utilize spacers or jigs during clamping to prevent misalignment as the glue cures.
Remember to allow the glue to cure fully, typically 24 hours for PVA glues like Titebond, and regularly check for gaps. Additionally, consider using automated savings tools to fund your future DIY projects effectively.
Wipe away excess squeeze-out to avoid interference with the bond.
Cost-Effective Solutions for Cedar Board Repairs
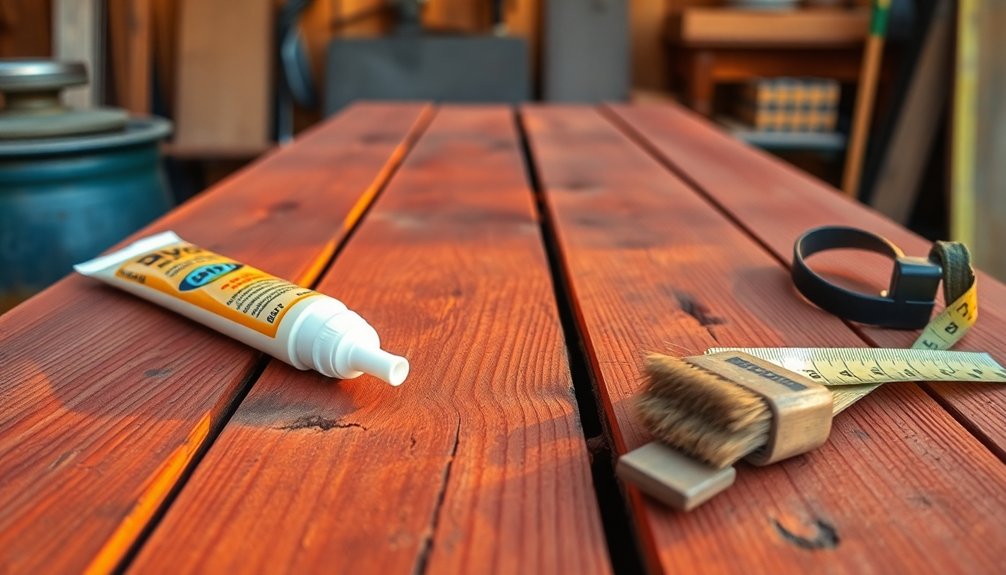
When you’re looking to repair cedar boards without breaking the bank, several cost-effective adhesive options stand out.
Many DIYers have successfully used Titebond I and II, both budget-friendly PVA glues that provide solid adhesion for cedar.
Elmer’s Carpenter’s Glue is another economical choice, known for its strong bonds across various woodworking projects, including cedar.
For a durable and easy-to-sand option, consider Weldwood Plastic Resin Glue, which offers reliable performance at a reasonable price.
While urea resin glue is slightly pricier, it delivers a long-lasting bond worth the investment.
Finally, for minor repairs, waterproof Gorilla Glue can work, but remember it requires moisture during curing, which might complicate your application process.
Additionally, using budgeting apps can help you manage costs effectively as you plan for your repair projects.
Choose wisely, and keep your repairs affordable!
User Experiences With Different Wood Glues
While exploring different wood glues for cedar repairs, you’ll find that user experiences can vary widely based on individual projects and preferences.
Here are some insights:
1. Titebond I and II: Many users praise these for their effectiveness and affordability, making them top choices for cedar repairs.
However, Titebond III may cause drying time issues.
2. Weldwood Plastic Resin Glue: This is favored for its sanding ease and strong performance, proving to be a budget-friendly option.
3. Urea Resin Glue: Some builders highlight this as a cost-effective alternative, noting its rigid bond, especially useful for veneer work. Additionally, consider how personalized recommendations can help in selecting the right glue based on your specific project needs.
Maintenance Tips for Cedar Projects
Maintaining the beauty and integrity of your cedar projects is essential for their longevity. Regularly inspect your cedar for signs of moisture damage or wear, as exposure to the elements can lead to deterioration over time.
Apply a protective finish or sealant to enhance durability and resist UV rays and moisture. Clean your cedar boards with a soft, damp cloth to prevent dirt buildup, ensuring the wood maintains its natural beauty and resistance to decay.
Enhance your cedar’s durability with a protective finish and regular cleaning to preserve its natural beauty and resist decay.
Store your projects in shaded or covered areas to minimize direct sunlight exposure, reducing the risk of warping or cracking.
Finally, consider using a UV-resistant wood preservative to prolong the life of your cedar projects and protect glue joints from potential deterioration. Additionally, incorporating sustainable practices in your maintenance routine can further enhance the longevity and ecological impact of your cedar projects.
Sustainable Practices in Woodworking
Sustainable practices in woodworking not only benefit the environment but also enhance the quality and longevity of your projects.
By integrating these methods, you can make a positive impact on both your creations and the planet.
- Choose Quality Materials: Invest in high-quality, sustainably sourced cedar. This reduces replacements and landfill waste.
- Use Durable Adhesives: Opt for Titebond III or epoxy for repairs. These adhesives extend the life of your cedar boards, cutting down resource consumption.
- Implement Maintenance Techniques: Regularly treat cedar with eco-friendly finishes. This enhances durability and minimizes future repairs, promoting sustainable usage. Additionally, ethical practices in sourcing and using materials contribute to a more sustainable woodworking environment.
Conclusion
In the world of cedar repairs, choosing the right glue is like finding the perfect anchor in a stormy sea. By using PVA or polyurethane glue, you’re ensuring your boards stay united against the elements. With a little preparation and the right adhesive, your cedar projects can withstand the test of time. So, gather your tools, make wise choices, and watch your cedar wood flourish, standing tall like a mighty tree in the forest of craftsmanship.