
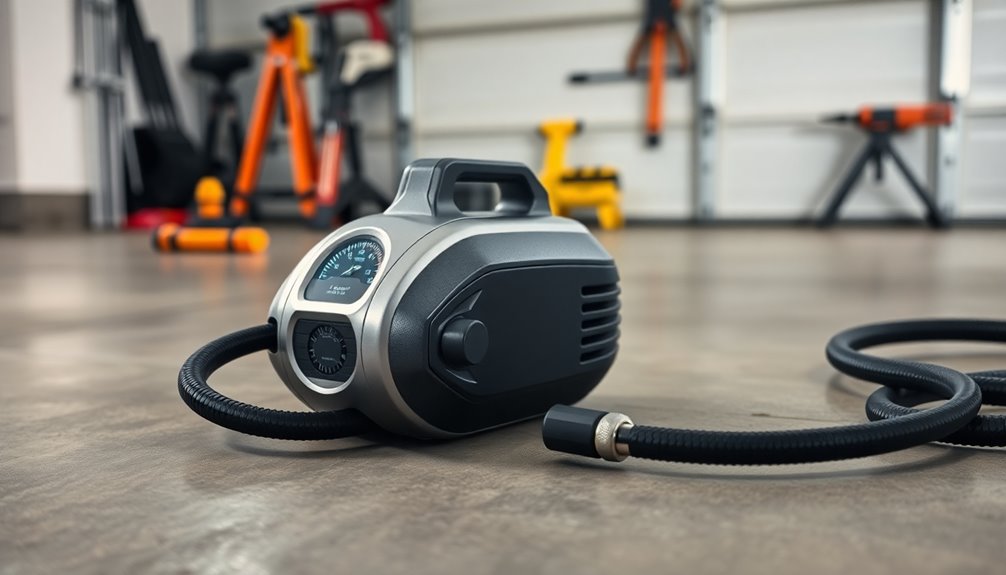
If you want to create a DIY automatic shut-off tire inflator, you'll need some essential components like an inline air regulator, a brass quick-release plug, and a reliable air hose. Start by assembling these parts to guarantee secure connections and prevent leaks using Teflon tape. You can set a predetermined PSI, allowing the inflator to shut off automatically when the target pressure is reached, enhancing efficiency. This setup not only saves time but also protects your tires from over-inflation. Curious about specific components and tips? Keep going to reveal more insights into building your perfect tire inflator!
Benefits of Automatic Tire Inflation
When you choose an automatic tire inflation system, you not only enhance safety but also simplify your tire maintenance routine.
With an automatic tire inflator, you can set a predetermined PSI, ensuring your tires are never under-inflated or over-inflated. This feature allows you to multitask while the inflator does the work, saving you valuable time. Additionally, clear payment terms can help you budget for tire maintenance costs more effectively. The importance of financial awareness cannot be understated, as it helps you allocate resources for tire care efficiently.
The automatic shut-off feature minimizes the risk of tire damage by stopping inflation when the desired pressure is reached. Plus, maintaining ideal tire pressure enhances fuel efficiency and overall vehicle performance.
In adverse weather conditions, these systems make tire inflation efficient and hassle-free, eliminating the challenges of manual inflation. Moreover, similar to how AI-driven recommendations can enhance customer experiences, an automatic tire inflation system provides convenience and peace of mind.
Enjoy the peace of mind that comes with effortless tire care!
Common Manual Inflation Challenges
Although manual tire inflation can seem straightforward, it often presents several challenges that can frustrate vehicle owners.
For one, it can take up to 10 minutes per tire, making it a tedious process. Weather conditions like rain and mud can complicate manual tire inflation, leading to discomfort and inefficiency. Additionally, utilizing sustainable practices in the production of tools, such as tire inflators, can help reduce environmental impact. Regularly monitoring savings and investments ensures that you can allocate resources effectively for necessary purchases like a tire inflator.
If you're off-roading, standard air compressors mightn't offer the convenience you need for frequent adjustments. Plus, inconsistent tire pressure from manual inflation can result in poor traction and increased tire wear over time.
When you're traversing different terrains, like asphalt, sand, or mud, it's essential to have a reliable and efficient inflation method. This is where an automatic tire inflator can make a significant difference. Additionally, opting for sustainable delivery practices can ensure that your new tire inflator arrives with minimal environmental impact.
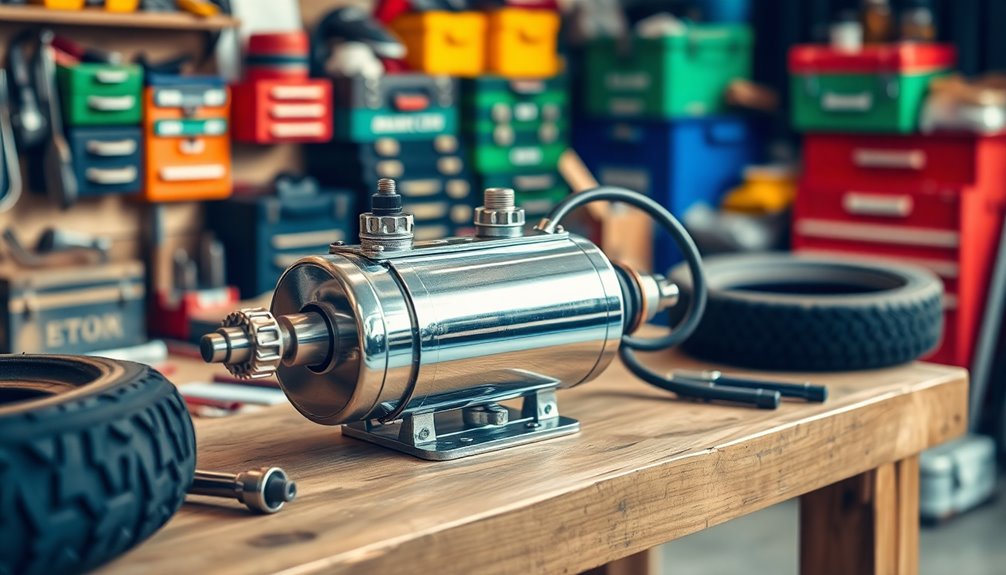
Essential Components for Assembly

To build an effective DIY automatic tire inflator, you'll need several key components that work together seamlessly.
Start with an inline air regulator, like the Parker 14R118FC, adjustable between 2-125 psi to maintain proper tire pressure. Utilizing expense tracking tools can help you keep an eye on the costs associated with purchasing these components.
You'll also require a 1/4 in. NPT male brass quick-release plug for secure connections, making setup and disassembly easy. This is crucial for effective financial management to ensure you stay within budget while assembling your inflator.
A Goodyear 3 x 3/8 rubber whip hose, rated for 250 PSI, is essential for transferring air from the compressor to the tire.
Don't forget a CTA Tools 1930 straight lock-on air chuck for a tight seal on the tire valve, and a digital air gauge to accurately monitor tire pressure.
These components guarantee your automatic tire inflator functions effectively and safely. Additionally, incorporating a receipt scanning feature can help streamline expense management for purchasing these components.
Step-by-Step Assembly Guide
Now that you've gathered all the essential components and tools, it's time to get started on the assembly process.
You'll follow a clear step-by-step guide to guarantee everything fits together perfectly. Budgeting apps can provide valuable insights that help you allocate resources efficiently for your DIY project. Additionally, understanding portfolio diversification can inspire you to invest wisely while managing your finances.
Plus, I'll share some safety and maintenance tips to keep your tire inflator running smoothly. Additionally, staying organized while working on this project can improve efficiency, similar to how bill tracking tools help manage financial tasks effectively.
Required Components and Tools
When assembling your DIY Automatic Shut-Off Tire Inflator, you'll need specific components and tools to guarantee everything works effectively.
Start with an inline air regulator, like the Parker 14R118FC, to manage pressure accurately. You'll also need a 1/4 in. NPT male brass quick release plug, and a Goodyear 3 x 3/8 Rubber Whip Hose rated for 250 PSI.
Secure a CTA Tools 1930 Straight Lock-On Air Chuck to the whip hose, connecting it to an air gauge for monitoring tire pressure.
Don't forget to apply Teflon tape or pipe sealant on all joints to prevent leaks.
Essential tools include hose ear clamps/pliers for securing hoses and Teflon pipe tape for leak prevention.
Assembly Process Overview
Assembling your DIY Automatic Shut-Off Tire Inflator involves five key steps that guarantee a smooth and efficient setup.
First, attach a 1/4 in. NPT male brass quick release plug to the intake side of the air regulator for easy connections.
Next, connect the Goodyear 3 x 3/8 Rubber Whip Hose to the output ports of the regulator, ensuring it's secure to prevent air leaks.
At the end of the whip hose, use the CTA Tools 1930 Straight Lock-On Air Chuck for a reliable attachment to tire valves.
Before connecting to an air compressor, set the regulator to your desired PSI and apply Teflon tape or pipe sealant at all joints.
Finally, double-check for leaks before testing the automatic tire inflator's functionality.
Safety and Maintenance Tips
To guarantee your DIY tire inflator operates safely and efficiently, it's crucial to follow a few essential safety and maintenance tips:
- Secure all connections with Teflon tape to prevent air leaks.
- Regularly check and replace worn or damaged hoses and fittings.
- Set the regulator to the desired PSI before connecting to the compressor.
- Always wear personal protective equipment, like gloves, during operation.
Choosing the Right Air Compressor
Selecting the right air compressor is essential for building a DIY automatic shut-off tire inflator that meets your needs.
Prioritize models with a 100% duty cycle to prevent overheating during extended use. Make certain the compressor provides at least 15 SCFM of airflow for efficient tire inflation. Additionally, using tools like Google Shopping can help you easily compare prices and find the best deals on compressors.
If you value portability, consider a compressor that's easy to transport for off-road adventures, rather than one that's fixed in your vehicle. Additionally, evaluate the pressure rating to verify it can reach the maximum PSI required for your tires.
Many enthusiasts recommend VIAIR compressors due to their reliability, making them a solid choice for your automatic tire inflator project. Utilizing price comparison tools can also help you find the best deals on compressors to fit your budget.
With the right compressor, you'll enjoy hassle-free tire inflation every time.
Recommended Product Options
When it comes to building your DIY tire inflator, there are several recommended products that can enhance your setup.
To guarantee peak air flow and performance, consider incorporating the following options:
- Longacre 50581 Auto-Fill Tire Inflator/Deflator – Popular, but consider upgrading the chuck for better performance.
- Interstate Pneumatics TW100 Hose – Offers durability and flexibility for various inflation needs.
- Coilhose Pneumatics CH15A Chuck – Designed for easier attachment during tire inflation.
- VIAIR Compressor – Look for models with a 100% duty cycle to avoid overheating during prolonged use.
Incorporating automated notifications can help you manage and track your tire inflator's maintenance schedule efficiently.
Testing Your Inflator's Performance
To test your inflator's performance, start by evaluating its inflation speed and pressure accuracy.
Fill a tire to a known starting pressure and time how long it takes to reach your target PSI, keeping an eye on the pressure gauge.
Make sure to repeat the test under different conditions to get a complete picture of your inflator's capabilities.
Inflation Speed Assessment
Evaluating your DIY tire inflator's performance is essential to ensuring it meets your needs effectively. The inflation speed of your automatic tire inflator can vary, so consider these factors:
- Tire size impacts how quickly air fills.
- Compressor type affects overall performance.
- Regulator efficiency influences airflow and speed.
- Be mindful of pressure nearing the target PSI.
For instance, a small electric compressor can inflate a 255/80R17 tire from 20 to 50 psi in about 3 minutes, taking nearly 6 minutes to reach 60 psi.
As the tire pressure rises, inflation slows, requiring careful monitoring to prevent over-inflation. Testing multiple trips will help confirm your DIY setup's reliability and efficiency during practical use.
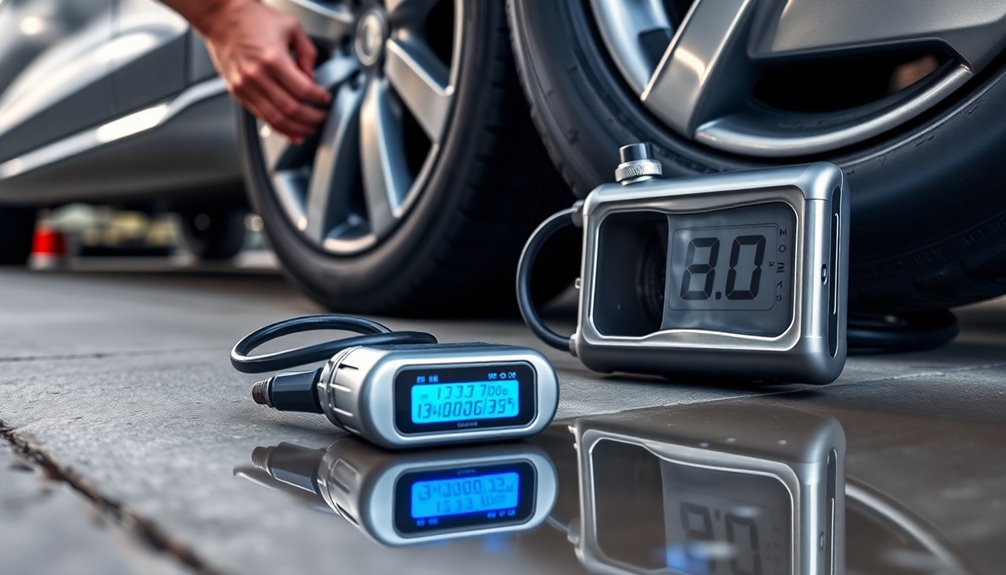
Pressure Accuracy Verification
How can you guarantee your DIY tire inflator is giving you accurate pressure readings? Start by using a calibrated pressure gauge to compare the readings against your inflator's gauge at various PSI levels, like 30, 40, and 50 PSI. This will help you assess its pressure accuracy.
Conduct multiple tests to verify your automatic tire inflator consistently performs well across different settings. Pay attention to its shut-off functionality; it should stop inflating right at the set pressure without overshooting.
Additionally, monitor the inflation rate, as it should gradually decrease as it nears the target PSI. Finally, test on different tire sizes and types to verify your inflator meets the necessary specifications for all your vehicle's needs.
Alternative Inflation Methods
When it comes to inflating tires, alternative methods can make the process quicker and more efficient. You might consider these options to enhance your tire maintenance routine:
- Manual tire inflator with a clip-on lever for hands-free operation.
- Dual-hose systems that allow simultaneous inflation of multiple tires.
- Digital gauges with alarms to monitor pressure and prevent over-inflation.
- Quick disconnect fittings for faster setup and storage.
These methods complement your automatic tire inflator, ensuring you maintain accurate tire pressure easily.
Additionally, using air chucks designed for closed flow can prevent air loss during inflation, making your process even more reliable.
With these alternatives, you'll find tire inflation less of a chore and more efficient than ever.
User Experiences and Feedback
When you use a DIY tire inflator, you'll likely appreciate how easy it's to set your desired pressure and let it do the work.
Many users find they can multitask efficiently during inflation, tackling other vehicle checks or prepping for their trip.
Some folks even suggest simple modifications like pressure switches to enhance control and reliability, making the process even smoother.
Ease of Use
Although many tire inflators require constant monitoring, DIY models with automatic shut-off features make the process much easier for users. You can set your desired PSI and let the inflator handle the rest, enhancing safety and convenience.
Users rave about the ease of use, highlighting benefits like:
- Multitasking: Inflate tires while you prepare for your trip.
- Over-inflation prevention: Automatic shut-off reduces risks.
- Weather resilience: Inflate tires in adverse conditions comfortably.
- Time efficiency: Quickly fill larger tires without hassle.
These features not only improve your experience but also guarantee that you can focus on your adventure.
Integrating digital gauges with alarms can further enhance your journey by keeping you updated on pressure levels.
Efficiency During Inflation
Many users have shared their positive experiences with the efficiency of DIY tire inflators during inflation.
They've noted that filling a tire from 20 to 50 psi takes about 3 minutes, saving you valuable time. When paired with digital gauges, users enjoy even greater efficiency, thanks to real-time pressure readings.
The regulator design guarantees consistent pressure output, preventing over-inflation and enhancing safety. With the automatic tire inflator's shut-off feature, you can multitask without worrying about monitoring the process constantly.
Additionally, discussions in the community reveal that connecting multiple hoses for simultaneous inflation can boost efficiency further, making this a popular enhancement among DIY enthusiasts.
Common Modifications Suggested
As users immerse themselves in the world of DIY tire inflators, they've come up with several modifications to enhance performance and efficiency.
Here are some popular suggestions:
- Incorporate bi-directional regulators for quicker adjustments in tire pressure.
- Use quick disconnect fittings to streamline switching between inflation and deflation.
- Design for simultaneous inflation of multiple tires to save time during off-road prep.
- Experiment with larger locking chucks to improve the seal on valve stems and reduce air loss.
These modifications not only improve the functionality of your automatic tire inflator but also make your tire maintenance routine more efficient.
Whether you're off-roading or just maintaining your vehicle, these tweaks can make a significant difference.
Technical Specifications to Consider
When building a DIY tire inflator, several key technical specifications are essential for success.
First, choose a regulator that allows precise PSI settings, enabling automatic shut-off when your target pressure is reached.
Integrating a pressure switch is vital, as it stops the compressor at the desired PSI, preventing over-inflation and guaranteeing tire safety.
Make sure the regulator can handle airflow rates of at least 15 SCFM to maintain efficient inflation speeds.
Also, evaluate the compatibility of your components; confirm the pressure gauge, hoses, and fittings suit the tire sizes you'll be working with.
Finally, incorporate check valves to prevent air backflow when the compressor is off, helping maintain consistent tire pressure and ensuring system reliability.
Resources for DIY Builders
Building your own tire inflator not only saves money but also gives you the freedom to customize it to your needs. You'll find a wealth of resources to guide you on this DIY journey.
Here are some key components to evaluate for your automatic tire inflator:
- 50-foot roll of 1/4 Flexzilla air hose
- Inline air regulator
- Pressure gauge
- Shut-off valve and brass fittings
You can easily source these parts online, often from retailers like Amazon. The total cost for your DIY setup will be around $130 to $140, a great deal compared to commercial options.
Plus, assembly only takes about 20 minutes, and you can access community support for detailed instructions and parts lists to help you along the way!
Innovations in Tire Inflation Technology
Recent advancements in tire inflation technology have transformed how you maintain ideal tire pressure, making the process safer and more efficient than ever.
Automatic tire inflators now come equipped with built-in auto shut-off features that let you set your desired PSI levels, ensuring precise inflation without the risk of over-inflation.
The integration of pressure switches enhances your experience by automatically stopping the compressor when target pressures are reached.
Some advanced systems can even inflate or deflate multiple tires simultaneously, which is a game-changer for off-road enthusiasts who want to streamline their setup.
As demand for user-friendly, affordable low-pressure switches grows, these innovations make automated tire inflation solutions more accessible and practical for everyone.
Community Insights and Contributions
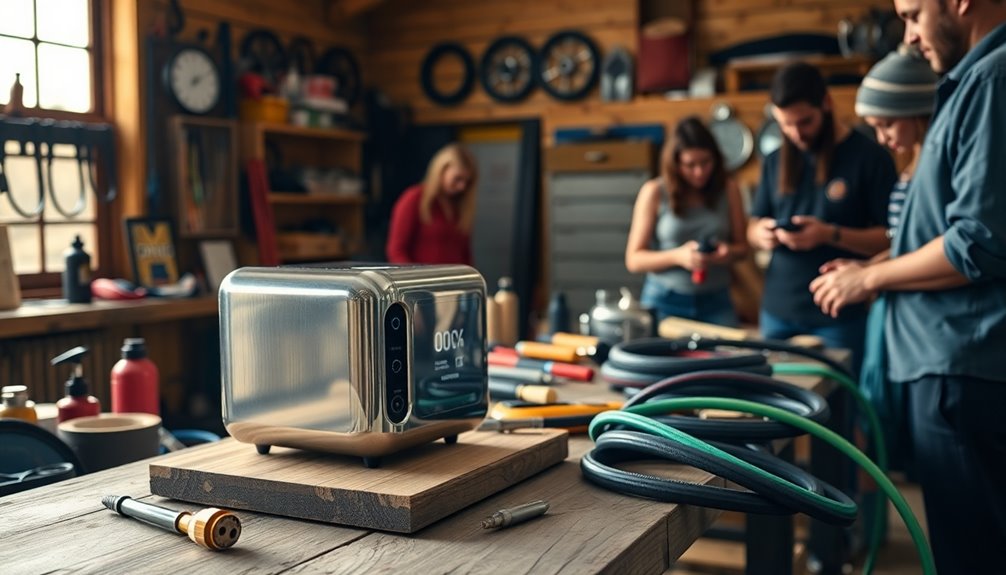
The growing interest in DIY tire inflators has led to a vibrant community enthusiastic to share insights and innovations. Members actively exchange designs for automatic tire inflators, emphasizing configurations that enhance functionality.
Key contributions include:
- Integration of pressure switches for automatic shut-off at set pressures
- Recommendations for reliable digital gauges for real-time monitoring
- Detailed build instructions and component lists for replication
- Discussions on testing for performance across various tire sizes
With feedback loops in online forums, collaboration thrives. Experienced DIYers stress the importance of thorough testing and adjustments, ensuring homemade inflators operate reliably.
Conclusion
In crafting your own automatic shut-off tire inflator, you've not just built a handy tool; you've forged a reliable companion for the open road. With each pump, you're embracing freedom while sidestepping the frustrations of manual inflation. As you drive off, tires perfectly inflated, remember that this DIY journey is a demonstration of your creativity and resourcefulness. So, roll on with confidence—your tires are as ready for adventure as you are!


