DIY dog paw wax is a great way to shield your pup’s paws from harsh winter elements like ice and salt. It creates a protective barrier, soothes irritated skin, and prevents snow buildup between toes. Made with safe ingredients like coconut oil and beeswax, you can easily customize it for your dog’s needs. Just a few simple steps can help keep your furry friend comfortable and protected. Discover how to make and apply it effectively!
Benefits of DIY Dog Paw Wax
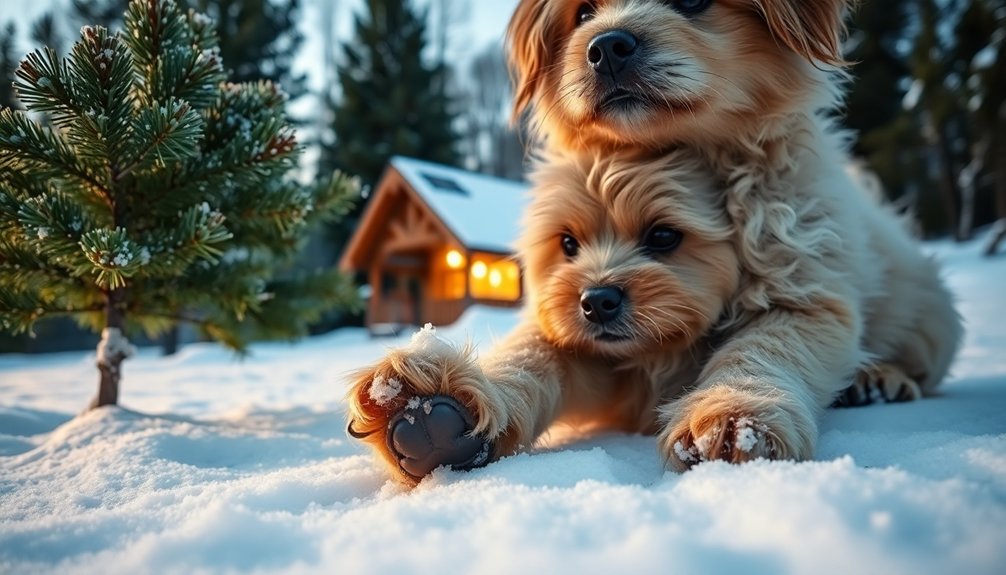
When temperatures drop and snow blankets the ground, DIY dog paw wax becomes an essential tool for protecting your pup’s paws. This paw balm forms a water-repellent barrier against ice, salt, and snow, ensuring your dog’s comfort during winter walks.
It also soothes and heals any pre-existing paw irritation, making it a lifesaver for dogs with sensitive paws. With ingredients like coconut oil and organic beeswax, you can feel confident knowing it’s non-toxic and safe for regular use.
Plus, regular application prevents ice balls from forming in the fur between paw pads, which is vital for pups with longer fur. By making your own DIY paw wax, you’re customizing a product that suits your dog’s unique needs.
Ingredients for Your Paw Wax
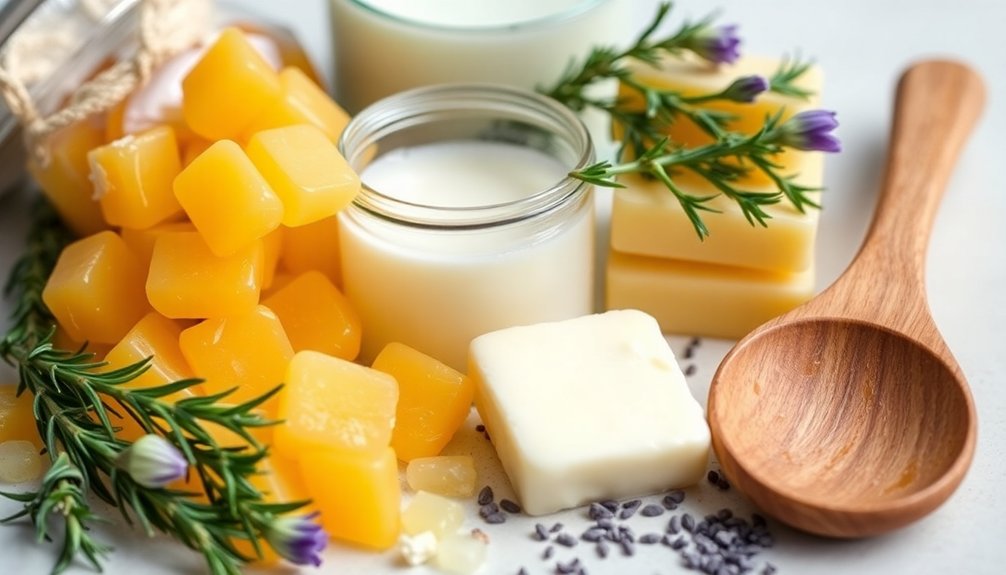
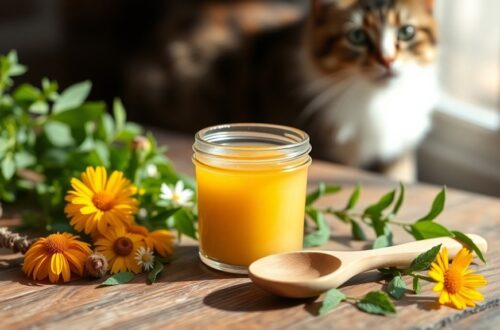
Crafting your own DIY dog paw wax is simple when you have the right ingredients on hand.
Creating your own DIY dog paw wax is easy with the right ingredients at your fingertips.
Start with 42g of dried calendula petals infused in olive oil, which soothes and heals irritated pets’ paws. Next, add 3g of Beeswax for its water-repelling properties, giving your paw wax additional structure.
Include 8g of lanolin to create a protective barrier against moisture and harsh winter elements. To achieve a gel-like consistency, incorporate 10g of cera bellina, making it easier to apply.
All these ingredients are pet-safe and non-toxic, so you don’t have to worry if your dog licks their paws after application.
With these components, you’re well on your way to protecting your pup’s paws this winter!
Step-by-Step Preparation Process
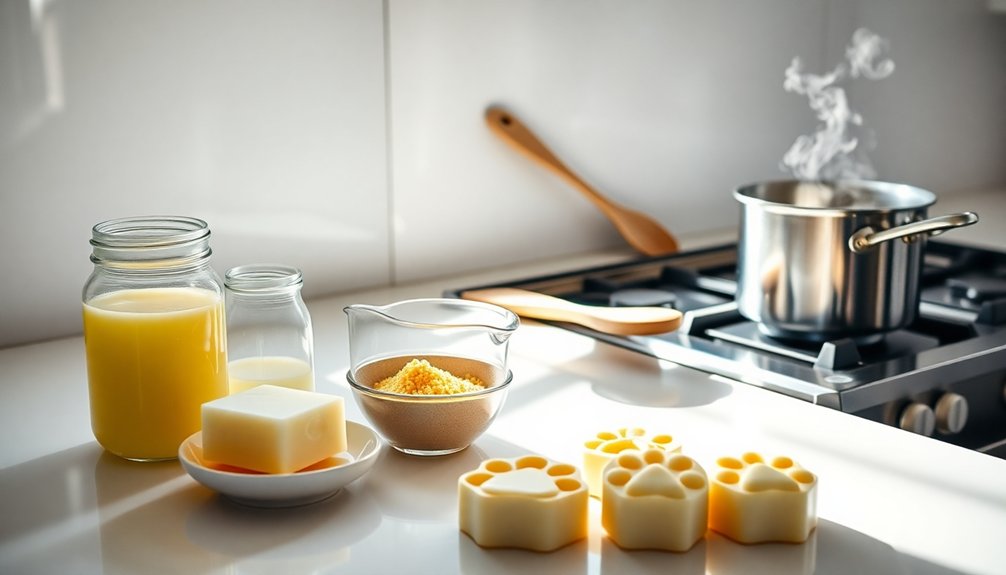
To prepare your DIY dog paw wax, you’ll start by creating a water bath. Boil about 3cm of water in a pot, then place a heat-resistant glass measuring cup inside.
Combine 3 tablespoons of olive oil, 2 tablespoons of coconut oil, and 2 tablespoons of beeswax in the measuring cup. Stir until everything is fully melted and blended into a smooth mixture.
Once melted, test the consistency with a spoon; it should be soft but not runny. If you want a firmer texture, adjust the beeswax amount.
Pour the melted balm into a heat-safe container and let it cool and solidify. You’re now ready to protect your dog’s paws from harsh winter elements!
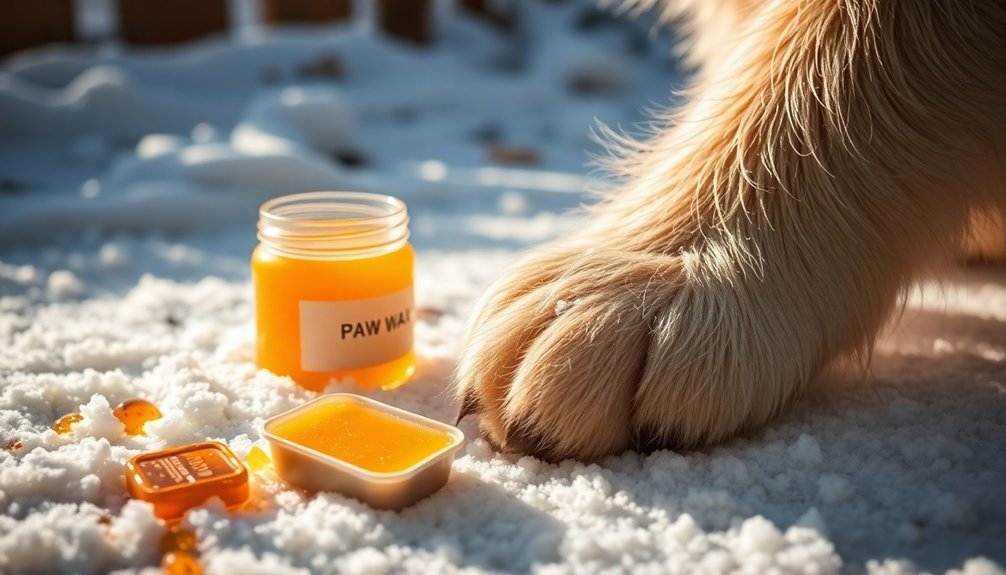
Application Tips for Optimal Protection
Applying your DIY dog paw wax effectively sets the stage for perfect protection against winter’s harsh elements.
Before walks, be certain to apply the wax generously to your pet’s paw pads and between the toes, creating a protective barrier against ice, snow, and road salt. For best results, check for even distribution to prevent ice balls from forming.
During cold weather, aim to reapply the wax regularly—4-5 times a week is ideal for maintaining healthy paws. If you notice signs of irritation or your dog walks on rough surfaces, don’t hesitate to reapply as needed.
Finally, store the wax in a cool, dry place, and always check its consistency and odor before each use to guarantee effectiveness.
Additional Paw Care Solutions
While paw wax is a great start for winter protection, you can enhance your dog’s paw care routine with additional solutions.
Consider using dog booties to shield your pup’s paws from snow, ice, and harmful de-icing chemicals during walks. Regularly trimming the fur between your dog’s paw pads prevents snow and ice from clumping, which can cause discomfort.
Using dog booties and trimming paw fur can prevent discomfort from snow and ice during winter walks.
After outdoor adventures, wipe your dog’s paws with a damp cloth to remove any de-icing products and ice build-up, reducing irritation risk.
Additionally, a homemade paw balm made with non-toxic ingredients like beeswax, coconut oil, and olive oil can provide a protective layer.
Always choose safe paw care products to keep your furry friend comfortable and healthy throughout winter.
Conclusion
By making your own dog paw wax, you’re not just protecting your pup’s paws; you’re showing them you care. Isn’t it comforting to know that with just a few simple ingredients, you can help them navigate icy sidewalks and rough terrain? So go ahead, whip up that wax and give your furry friend the protection they deserve. After all, happy paws lead to happy adventures, and isn’t that what every dog dreams of?