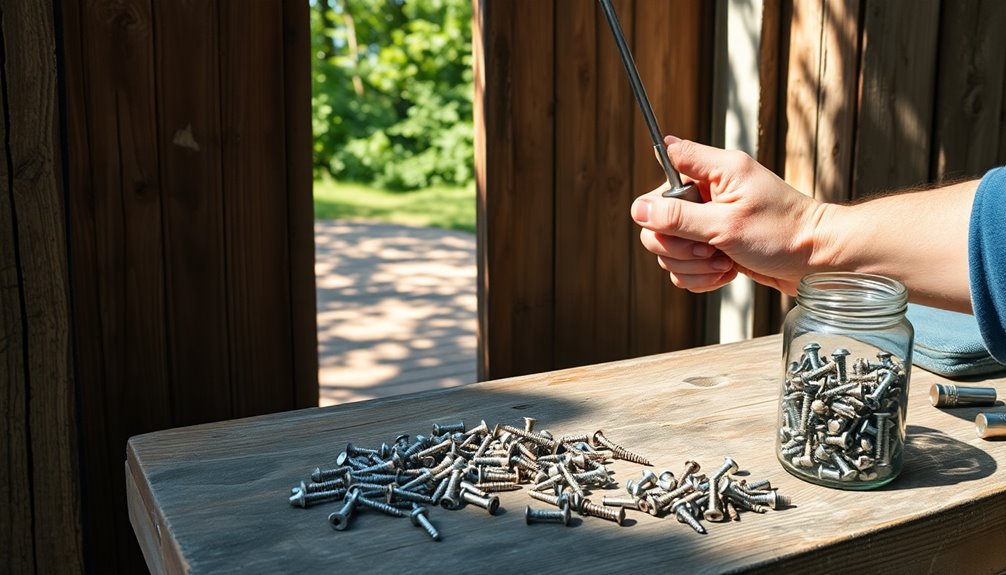
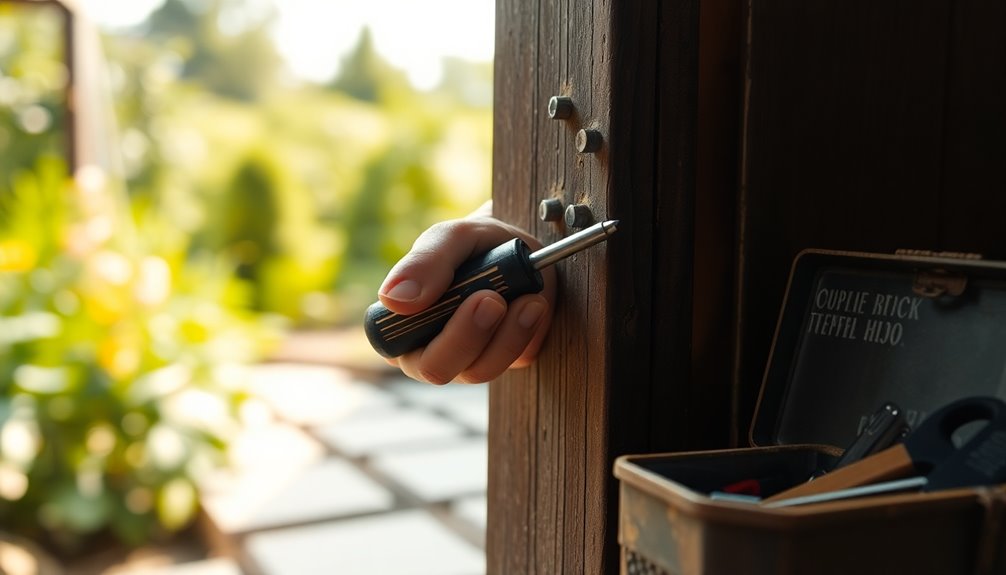
To hold screws securely in your gate, start by pre-drilling holes to prevent wood from splitting. Use screws made of stainless steel or galvanized materials for outdoor durability. If screws are loose, try the toothpick method—insert wooden toothpicks coated in wood glue into the hole before reinserting the screw. Consider adding washers to distribute load and prevent pulling. Regularly check for rust and tighten screws to maintain stability. These frugal tips can enhance your gate's integrity and longevity. There's plenty more you can do to guarantee your gate stands strong against the elements.
Importance of Proper Screw Placement
When it comes to building a sturdy gate, proper screw placement is key. I've seen many gates fail simply because screws weren't positioned correctly. By making certain that screws are appropriately sized for the material, you can create a secure fit that stands the test of time.
Make sure you place screws at intervals of no more than 12 inches along the hinges and latch areas. This evenly distributes the load, preventing stress points that can lead to sagging or misalignment. Additionally, using tools for expense tracking can help you monitor the costs associated with your materials. Apps like receipt scanning technology can streamline the process of managing expenses efficiently.
Another important step is pre-drilling holes, especially in softer woods. Pre-drilling helps avoid splitting and allows for more precise placement. When you take the time to do this, you're setting your gate up for success. Accurate categorization of expenses can also streamline your budgeting process for future projects.
Regularly inspect your screws and tighten any loose ones, as maintaining the hardware greatly contributes to the gate's functionality and security. Additionally, using tools like expense tracking tools can help you manage the costs associated with your DIY projects effectively.
Proper screw placement isn't just a minor detail; it's essential for the overall structural integrity of your gate. By following these guidelines, you can make certain your gate remains stable and functional for years to come.
Pre-Drilling Techniques for Wood
Pre-drilling is a crucial technique for guaranteeing your wood gate stays strong and intact. By creating a pilot hole, you'll prevent the wood from splitting, especially in harder types or when you're drilling near the edges. Here are some essential tips to keep in mind:
- Use drill bit sizes that are slightly smaller than the screw's shaft for a snug fit.
- Maintain the correct pilot hole depth to match the screw length, avoiding unnecessary material stress.
- Employ screw alignment techniques to keep everything straight and secure.
When selecting your drill bit, make sure it's the right size to guide the screw without forcing it in. If you're using screws with tapered heads, consider a counterbore bit to create a recessed space, allowing the screw heads to sit flush with the wood surface. Additionally, using a tool for expense tracking can help you manage your budget while investing in quality materials for your project. Expense tracking apps can provide insights into your spending, ensuring you stay within your budget.
Remember to keep a steady hand and accurate angle while drilling; this will help maintain the structural integrity of your gate. Taking the time to pre-drill properly will pay off in the long run, providing a sturdy and reliable gate for years to come.
Using Wood Glue for Stability
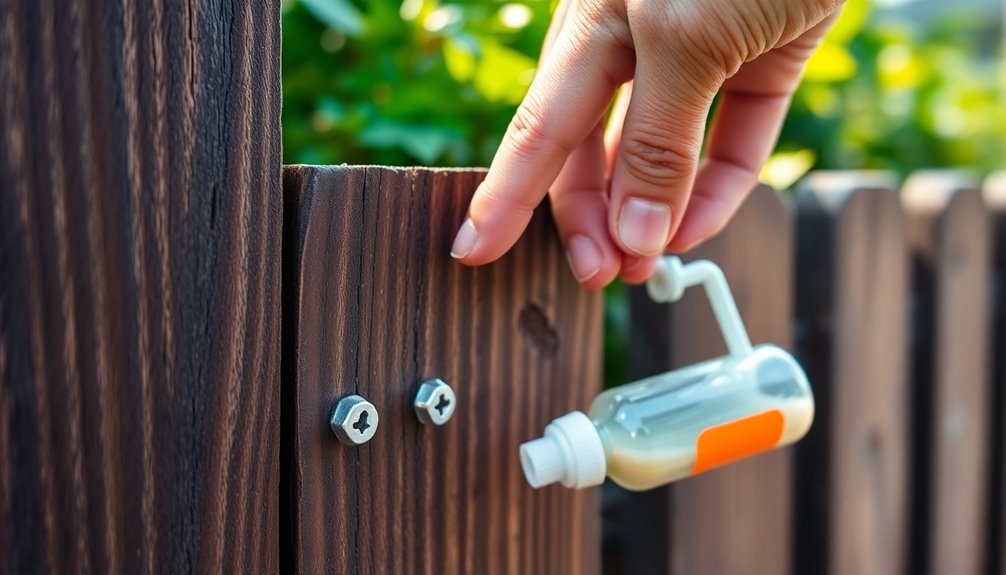
To enhance the stability of your gate, using wood glue alongside screws can be a game changer. By applying wood glue to the threads of your screws, you greatly improve their grip within the wood. This prevents loosening over time due to environmental stressors, guaranteeing your gate remains secure.
For best results, choose a high-quality wood glue that expands slightly as it dries. This feature allows the glue to fill any gaps, creating a tight seal around the screw. Additionally, opting for sustainable materials can contribute to a more environmentally-friendly project and support sustainable businesses that prioritize eco-friendly practices.
Before inserting screws, remember to pre-drill the holes and apply the glue. This glue application will enable the adhesive to seep into the wood fibers, enhancing the bond and stability. Combining these bonding techniques results in a hybrid fastening method that leverages the strengths of both screws and glue, ultimately leading to improved screw longevity.
Don't forget to let the wood glue cure fully according to the manufacturer's instructions—typically 24 hours—before applying any stress to the assembled gate. This patience guarantees maximum strength, giving you peace of mind that your gate will withstand daily use and the elements for years to come. Additionally, consider sourcing your materials from ethically transparent retailers to ensure sustainable and responsible practices in your DIY projects.
Toothpick Method for Loose Screws
Even with wood glue reinforcing your screws, you might still encounter loose screws over time, especially in outdoor settings. The toothpick method is a quick and frugal DIY tip that can help tighten those stubborn screws. This method is particularly effective for wood gates, where weathering and wear can lead to screw loosening. By incorporating sustainable practices in your repairs, you contribute positively to the environment while saving money.
To use the toothpick method, follow these simple steps:
- Insert a wooden toothpick into the screw hole.
- Break off any excess length, ensuring it fits snugly.
- Optionally, apply a bit of wood glue to the toothpick for added strength.
Using sustainable methods like this one not only helps with repairs but also promotes ethical practices in reducing waste.
The toothpick advantages include its cost-effectiveness and minimal need for tools, making it perfect for your screw maintenance needs. Additionally, this approach aligns with sustainable and ethical shopping practices by reducing the need for new hardware purchases.
With just a few wooden toothpicks, you can reinforce your DIY hardware effectively. This method not only saves you money but also extends the life of your gate by providing a tighter fit for loose screws.
Regular Maintenance of Screws
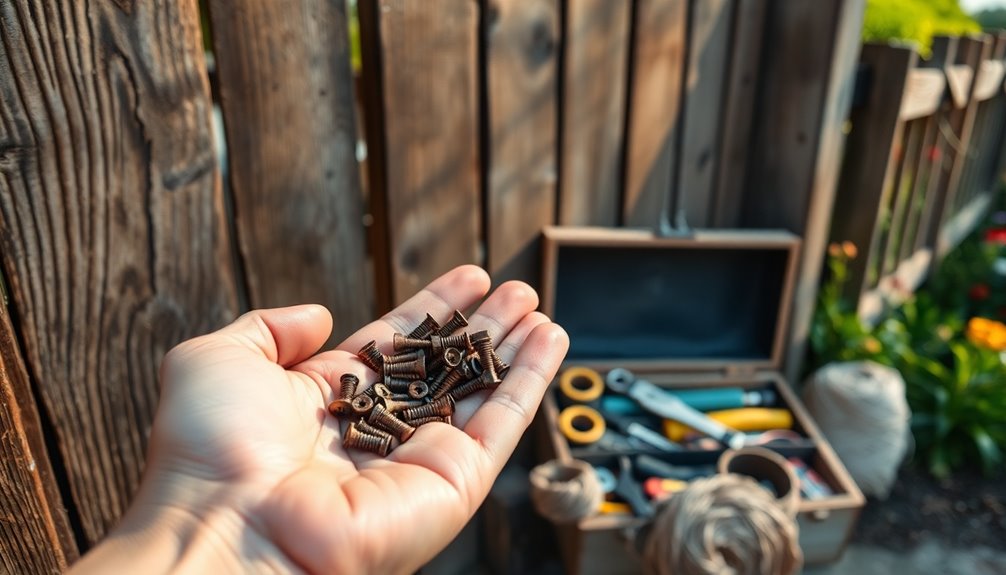
Maintaining the screws in your gate is essential for ensuring its stability and longevity. Regularly check for signs of rust or corrosion, as these issues can weaken the screws and compromise gate stability factors. Budget apps can help you track the costs associated with maintenance supplies, making it easier to manage your expenses. Utilizing tools like savings calculators can also aid in planning for larger maintenance projects.
If you notice any damage, don't hesitate to replace stripped or damaged screws immediately.
One of the best screw maintenance tips is to apply a protective coating, like rust-inhibiting spray. This simple step can greatly enhance the protective coatings benefits, extending the screws' lifespan and keeping them secure.
Additionally, tighten screws periodically, especially after heavy use or extreme weather, which can cause them to loosen.
Consider using lock washers or thread-locking adhesive to help prevent loosening due to vibrations or movement. Regular maintenance of screws is crucial for preserving the overall integrity of your gate system.
Choosing the Right Screw Types
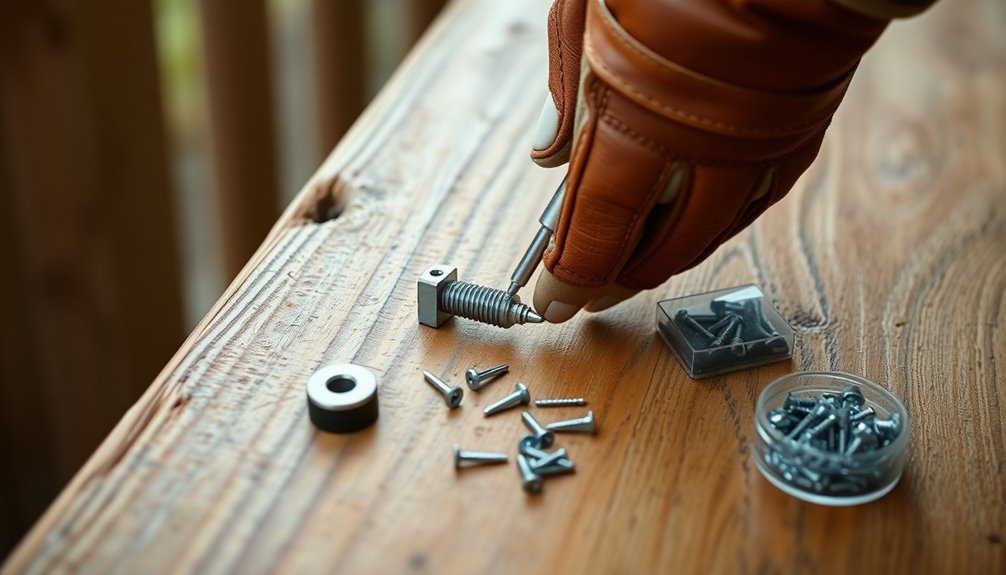
After verifying the screws in your gate are well-maintained, the next step is selecting the right types of screws for installation. A proper screw materials comparison is essential, as outdoor environments demand durability. Opt for galvanized or stainless steel screws to resist rust and corrosion.
When it comes to screw size selection, take into account the gate's material. For wooden gates, wood screws with a coarse thread provide better grip, guaranteeing a secure hold. If you're working with metal gates, self-tapping screws are your best bet. They eliminate the need for pre-drilling, making installation faster and easier.
Here are some additional options to keep in mind:
- Deck screws: Designed for outdoor use and enhanced durability, these come with special coatings to resist rust.
- Lag screws: If your gate requires added strength, these heavy-duty fasteners are perfect for larger structures or high-stress areas.
- Wood screws: Choose these for wooden gates to ensure they can withstand outdoor elements effectively.
Remember these gate installation tips to choose the right screws and achieve a long-lasting, secure gate.
Understanding Gate Material Properties
When selecting screws for your gate, understanding the properties of the material is fundamental, as each type affects how well the screws will hold.
A gate material comparison reveals that hardwood generally provides better grip than softwood, so consider using hardwood for durability. If you're working with metal gates, self-tapping screws are a must; traditional screws often can't anchor effectively in metal.
The thickness and density of your gate are significant when it comes to screw size importance. Thicker materials require longer screws to achieve ideal holding power.
Pre-drilling holes is another essential aspect of your fastening techniques overview, especially for wood, as it helps prevent splitting and guarantees screws hold firmly without damaging the structure.
Don't overlook the environment in which your gate will be used. For outdoor gates, corrosion-resistant screws are recommended to maintain durability and prevent rust, particularly in humid or rainy conditions.
Enhancing Grip With Washers
Using washers under screw heads is a smart move for your gate project.
They improve load distribution, which helps prevent screws from pulling out and guarantees a secure fit.
Plus, they're a cost-effective way to enhance the overall durability of your fastening solution.
Improved Load Distribution
To enhance the grip of screws in a gate, incorporating washers is a smart move. Washers improve load distribution, preventing screws from pulling through the wood and boosting the overall strength of the connection.
By using flat washers, you create a larger surface area for the screw head, which reduces stress on the material and minimizes the risk of wood splitting.
Consider the following when selecting washers for your project:
- Washer materials: Choose durable options like steel or stainless steel for added strength.
- Washer sizes: Verify the diameter matches your screws to maximize grip and effectiveness.
- Washer installation: Properly place washers under each screw to achieve ideal load distribution.
Additionally, using lock washers can add extra security, resisting loosening from vibration or movement.
Regularly inspect your gate and replace any worn or damaged washers to maintain its structural integrity over time.
Preventing Screw Pull-Out
How can you effectively prevent screw pull-out in your gate? One of the simplest yet most effective strategies is using flat washers under your screws. These washers distribute the load across a larger surface area, markedly reducing the risk of screw pull-out.
When you're selecting screw types, pairing standard screws with lock washers can provide extra grip, preventing them from loosening over time due to vibrations or movement.
Consider using larger diameter screws alongside appropriately sized washers for enhanced holding power. This combination minimizes the chance of strip-out, especially in softer materials.
For added reinforcement, don't hesitate to use a combination of washers and wood glue at the screw site. This will create a stronger bond and improve the overall stability of your gate.
Regularly inspect your gate to check for worn-out washers. Replacing these is vital to maintaining the integrity of your screws and preventing potential gate failure.
Cost-Effective Fastening Solution
A simple yet effective way to enhance the grip of your screws in a gate is by incorporating flat washers. These handy little components help distribute the load more evenly, promoting screw longevity and preventing them from pulling through the gate material over time.
By choosing larger diameter washers, you maximize surface area contact, which secures the screws firmly and reduces the risk of loosening.
Here are some frugal tips for using washers effectively:
- Repurpose washers from old hardware to save money while improving screw retention.
- Purchase in bulk from local hardware stores to get frugal materials at a lower cost.
- Regularly inspect and tighten screws with washers to maintain gate functionality, especially with weather changes.
Make sure the screw length is appropriate for the thickness of your gate material; longer screws paired with washers provide a more secure hold.
Impact of Weather on Screws
Weather can seriously impact the screws in your gate, leading to rust and corrosion that weaken their hold.
Plus, fluctuating temperatures can cause the wood to expand and contract, which might loosen screws over time.
To keep your gate secure, it's vital to understand these effects and take preventive measures.
Rust and Corrosion Effects
Screws are the unsung heroes of gate construction, but their effectiveness can be severely compromised by rust and corrosion. These issues can notably weaken screws, reducing their holding power and increasing the risk of gate failure, particularly in humid or coastal environments.
To keep your screws in top shape, consider the following:
- Use stainless steel screws for their high resistance to rust and corrosion.
- Opt for galvanized screws if you're looking for a more budget-friendly option with decent protection.
- Regularly inspect screws for any signs of rust, applying protective coatings when necessary.
Environmental impact factors, like salt or acidic substances, can accelerate corrosion. Consequently, it's essential to choose corrosion resistant materials based on local conditions.
Additionally, verify screws are positioned to prevent water accumulation around them, as standing water can increase rust formation.
By employing effective rust prevention methods and selecting the right materials, you can extend your screws' lifespan and maintain a sturdy gate.
Don't underestimate the importance of these small components; they're critical to your gate's durability and functionality.
Temperature Expansion and Contraction
With constant temperature fluctuations, it's vital to understand how expansion and contraction can impact the screws in your gate. As temperatures rise and fall, screws, particularly those made from steel, can expand and contract considerably—about 11-13 x 10^-6 per degree Celsius.
This thermal movement effects can lead to loosening over time, compromising the integrity of your gate. To counteract these issues, consider screw material selection carefully. Opting for stainless steel screws enhances temperature resilience, helping to minimize the impact of thermal changes.
Additionally, using a locking mechanism or adhesive can provide extra security against the loosening caused by expansion and contraction. Regular maintenance checks are important, especially after extreme weather shifts.
Inspect your screws to identify any that may have loosened due to these temperature fluctuations. By being proactive and choosing the right materials, you can guarantee your gate remains secure and functional for years to come.
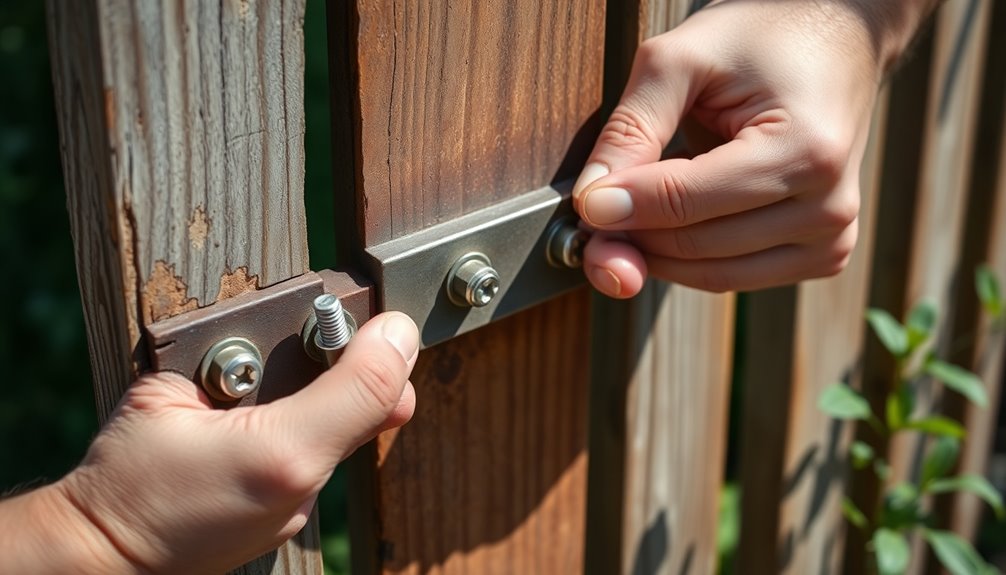
Alternative Fasteners for Gates
When securing a gate, choosing the right fasteners is essential for durability and functionality. Exploring alternative fasteners options can't only enhance the strength of your gate but also improve its aesthetic appeal.
Here are some effective choices to contemplate:
- Lag Screws: These are perfect for a strong hold, featuring coarse threads and a larger diameter that make them ideal for securing gate hardware.
- Carriage Bolts: They provide a decorative finish, adding charm while guaranteeing secure fastening, especially for hinges and latches.
- T-Nuts: These can be embedded into wood, offering a flush surface and reliable grip for your gate hardware.
When it comes to fasteners material choices, don't overlook wood screws with a weather-resistant coating for budget-friendly options.
If you're working with metal gates, self-tapping screws are a time-saver since they drill directly into the material without pre-drilling.
Opting for these alternative fasteners not only guarantees strength and longevity but also brings decorative fasteners benefits, adding visual appeal to your project.
Choose wisely to create a gate that stands the test of time.
DIY Tools for Screw Installation
When it comes to installing screws in your gate, having the right screwdriver can make all the difference.
You'll want to explore effective screw holding techniques to streamline your process and prevent any mishaps.
Let's look at some essential tools that can help you achieve a smooth installation.
Essential Screwdriver Types
Choosing the right screwdriver is vital for guaranteeing a successful gate installation and repair. Each type of screwdriver serves specific screws, and knowing which one to utilize can save you time and effort. Here are some important types to take into account:
- Flathead Screwdriver: Ideal for basic installations with screws that have a single horizontal groove.
- Phillips Screwdriver: Offers better grip and torque application, perfect for most gate hardware.
- Torx Screwdriver: Features a star-shaped tip, reducing the risk of stripping screws, making it great for security screws.
You should also think about a hex screwdriver for hexagonal screws, often found in hinges and locks, and a multi-bit screwdriver for versatility.
Remember, proper screwdriver maintenance is vital; keep your tools clean and in good condition to guarantee longevity and efficiency.
When selecting a screwdriver, verify it matches the material compatibility of your screws. Using the right tool not only makes installation easier but also protects the integrity of your gate.
With the right screwdriver in hand, you'll be well on your way to a sturdy, well-assembled gate.
Effective Screw Holding Techniques
Effective screw holding techniques can greatly streamline your gate installation process. Start by employing magnetic tools, like screwdrivers or drill bits, to easily hold screws in place. This not only prevents drops but also enhances screw alignment techniques, ensuring your screws go in straight.
For a practical hack, use tape to secure the screw head to your driver temporarily. This tape usage tip makes positioning the screw simpler and minimizes the chances of misalignment. Alternatively, consider using a rubber band between the screw head and the driver; it increases friction and helps hold the screw during installation.
Before you begin, pre-drill holes in your gate material. This creates a guide for the screws, reducing the risk of splitting the wood and ensuring a snug fit.
Additionally, keep a small container or tray nearby to organize your screws. This way, you'll have them within easy reach, further streamlining your installation process.
Cost-Effective Repair Solutions
Finding cost-effective repair solutions for your gate can save you both time and money while guaranteeing it remains functional and secure. Here are some practical tips to enhance your gate's security and longevity without breaking the bank:
- Use loose screws in your latch setup for easier adjustments, improving gate latch functionality.
- Reinforce screw holes with wood glue or wood filler for screw durability enhancements, preventing loosening over time.
- Install a stop to guarantee the gate closes correctly against the latch, reducing wear and tear.
Consider investing in a two-sided latch available at hardware stores. This affordable upgrade can greatly enhance your gate's security without a hefty investment.
Additionally, explore DIY alternatives like using a piece of wood or dowel to create a locking mechanism, which serves as a low-cost substitute for commercial gate locks.
Lastly, opt for weather resistant materials when making repairs. This choice will help protect your gate from the elements, extending its lifespan even further.
Conclusion
By following these frugal DIY tips, you can keep your gate secure and stable without breaking the bank. Imagine a gate that stands strong against the elements, each screw perfectly placed and tightened. But wait—what if a storm strikes? Will your hard work hold up? Regular maintenance and the right techniques can make all the difference. So, take action now, and guarantee your gate remains a reliable barrier for years to come. Your peace of mind is just a screw away!