
Modifying RTA cabinets on a budget is all about creativity and practicality. Start by measuring your space accurately and gathering essential tools like screwdrivers and a power drill. Use inexpensive techniques like painting or adding new hardware to personalize your cabinets without spending much. Consider DIY installation to save even more. Regular maintenance will keep them looking great for years. Keep exploring; you'll find plenty of tips and tricks to enhance your cabinets further.
Why Modify RTA Cabinets?
Modifying RTA cabinets can transform your kitchen into a space that truly reflects your style and meets your needs. With options to paint, stain, or upgrade hardware, you can create custom pieces that enhance your kitchen's aesthetics. Additionally, implementing a structured framework for your renovations can help you set clear financial objectives. Expense tracking tools like FreshBooks and Zoho Expense can assist you in maintaining financial clarity during your project.
By adding features like pull-out trays and adjustable shelves, you'll improve functionality and organization, making your home improvement project even more rewarding. Plus, upgrading existing RTA cabinets is a budget-friendly alternative to expensive custom cabinetry, allowing you to achieve a high-end look without breaking the bank.
With a wide selection of easily modified RTA cabinets available, you can tailor your kitchen to your unique preferences. Regular modifications also help maintain their appearance and extend their lifespan, keeping your investment valuable over time. Additionally, budget management tools can help you track expenses and ensure you stay within your renovation budget.
Preparing for Your RTA Cabinet Project
Before you start your RTA cabinet project, measure your installation space carefully to guarantee everything fits perfectly.
Next, gather essential tools like screwdrivers, a power drill, and measuring tape to keep your modifications smooth. Utilizing an expense tracking app can help you monitor your budget as you make modifications. Additionally, setting realistic savings goals for your project can help ensure you stay within budget.
With the right preparations in place, you'll set yourself up for success. Additionally, consider using expense management apps to keep track of your project costs effectively.
Measure Your Space
Taking accurate measurements is essential when preparing for your RTA cabinet project. Start by measuring the length, width, and height of your installation area. This will help you determine how to measure your space effectively and decide on the size and number of kitchen cabinets needed. Don't forget to note obstructions like windows or plumbing fixtures.
Ensure your surfaces are level using a level tool to avoid installation issues. Also, consider the height of your countertops and appliances for functional and aesthetic harmony. Finally, factor in any additional features, such as under-cabinet lighting.
| Measurement Type | Dimension | Notes |
|---|---|---|
| Length | Obstructions | |
| Width | Level check | |
| Height | Countertop fit | |
| Cabinet Style | Various styles | |
| Additional Features | Lighting, trim |
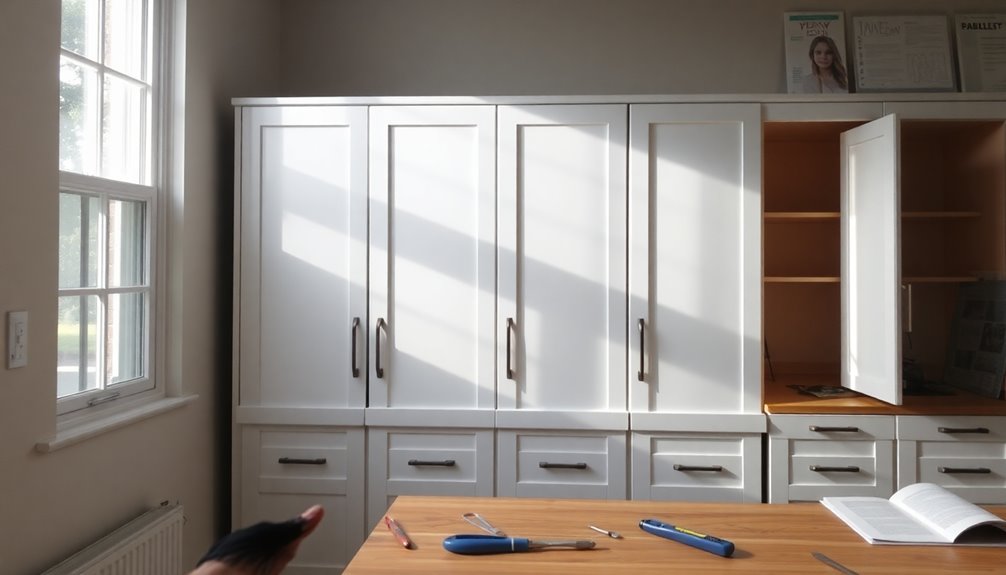
Gather Essential Tools
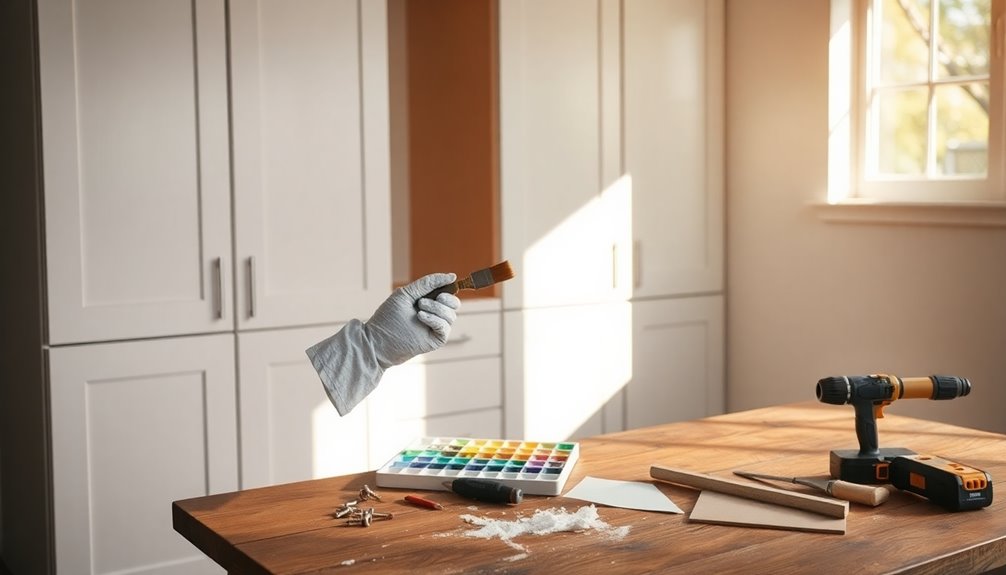
To guarantee a successful RTA cabinet project, you'll want to gather all the essential tools beforehand. Start by collecting necessary tools like screwdrivers, a power drill, measuring tape, sandpaper, primer, paint or stain, and new hardware.
Investing in quality tools, such as a level and stud finder, will help assure accurate measurements and secure installation of your cabinet options. Prepare a clear workspace with a sturdy table and drop cloths to protect your floors from dust and spills.
Labeling materials like masking tape can aid in organizing removed parts for easier reassembly. Finally, don't forget safety equipment like gloves and goggles to protect yourself during sanding and painting, especially if you're tackling this as a daily use project.
Essential Tools for Modifying RTA Cabinets
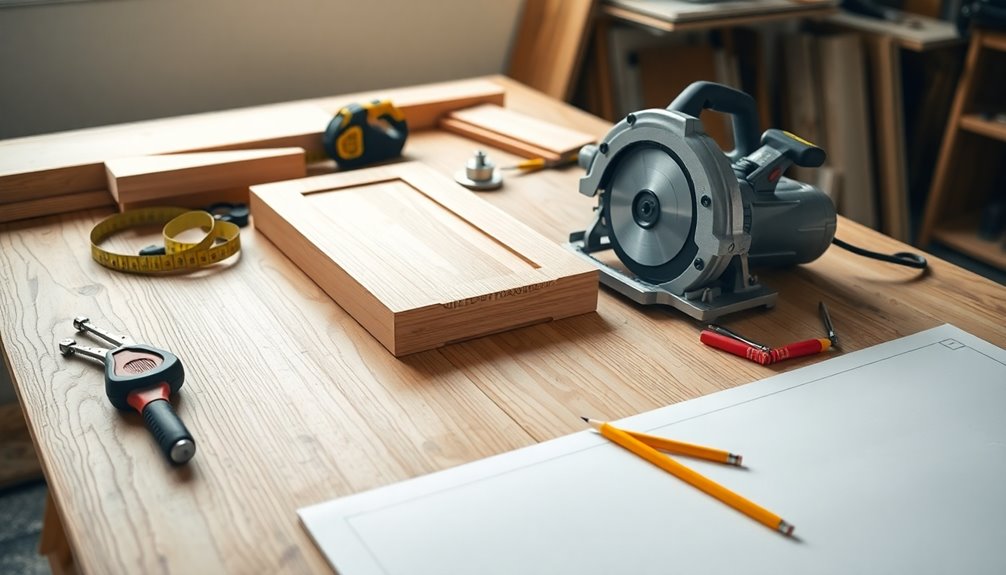
When modifying RTA cabinets, having the right tools makes all the difference in achieving a professional look on a budget.
First, make sure you gather essential tools like screwdrivers (flat and Phillips), a power drill for assembly, and a measuring tape for precise dimensions. Utilizing budgeting apps can also help you keep track of costs associated with your modifications. Additionally, effective management of spending is crucial to ensure you stay within your budget while modifying your cabinets.
Sandpaper is important for smoothing rough surfaces before you paint or stain. Don't forget primer—it's essential for ensuring your paint adheres properly and lasts longer.
Also, choose new hardware, like knobs or pulls, to enhance both aesthetics and functionality; pick these out before starting. Finally, maintain a clear workspace with drop cloths to protect your floors and keep your tools organized. Additionally, implementing a checklist for your modification tasks can help streamline the process and ensure nothing is overlooked.
Follow the instructions, and you'll be well on your way to a successful modification.
Creative Painting Techniques for RTA Cabinets
Transforming your RTA cabinets with creative painting techniques can breathe new life into your kitchen without breaking the bank.
You might look into using spray paint for a smooth, even finish; just remember to apply multiple thin coats to avoid drips. Chalk paint is another great option, offering a matte finish and vintage appeal with minimal prep. By choosing eco-friendly paint options, you can further support sustainable practices while enhancing your home's aesthetics. Additionally, selecting paints with sustainable packaging solutions can further reduce your environmental impact.
If you're feeling adventurous, try a two-tone technique by painting frames one color and doors a contrasting shade. Stenciling or decoupage can personalize your cabinets with unique patterns that reflect your style.
For a rustic charm, lightly sand edges after painting to reveal the underlying finish. These techniques can enhance your cabinets' look for years to come, so let's get started! Additionally, consider using eco-friendly fashion brands that prioritize sustainability in their materials, as this can align with your budget-friendly and environmentally conscious approach.
Choosing the Right Hardware for Your Cabinets
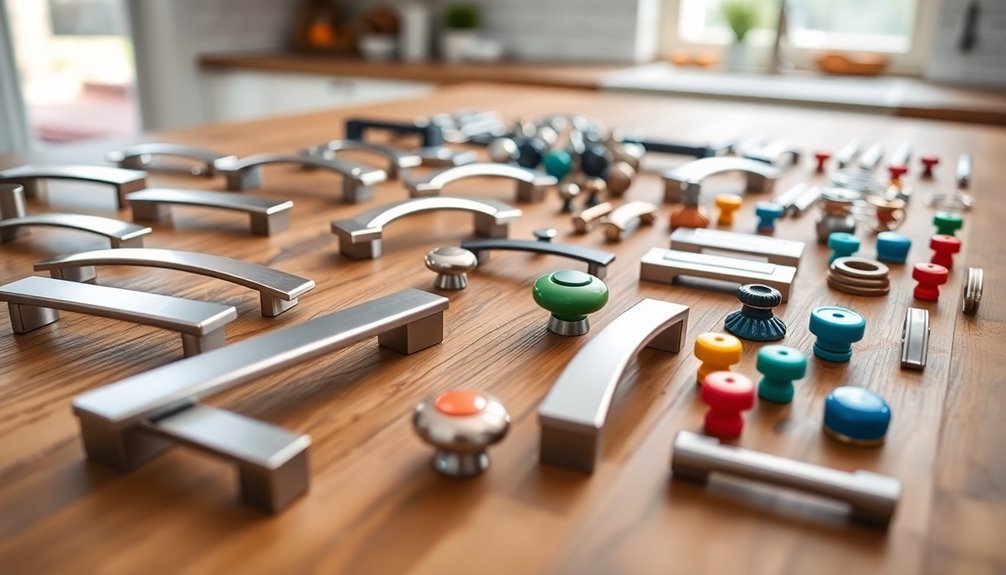
When you're choosing hardware for your RTA cabinets, focus on durable materials like stainless steel or solid brass to guarantee they stand the test of time. It's also important to match the style and finish of the hardware to your cabinets, whether you prefer modern or vintage looks. Additionally, consider how digital coupons can help you save on hardware purchases, making it easier to stay within your budget. By utilizing exclusive digital coupons, you can enhance your shopping experience while driving targeted savings on quality hardware options. Don't forget to take into account functionality; options like soft-close hinges can elevate both usability and the overall feel of your cabinets. To further maximize your savings, consider using cashback programs that can offer additional rebates on your hardware purchases.
Selecting Durable Materials
Choosing the right hardware for your cabinets can greatly impact their durability and overall aesthetic. Opt for stainless steel or solid brass, as these materials resist rust and corrosion much better than plastic or aluminum.
When making material comparisons, select knobs and pulls that feel weighty; denser materials often indicate higher quality and longevity.
Consider soft-close hinges and drawer slides made from high-quality metal to enhance functionality, making your cabinets user-friendly.
Look for options with durable finishes like brushed nickel or oil-rubbed bronze, as they resist wear and fingerprints.
Finally, choose products with a lifetime warranty; this reflects the manufacturer's confidence in their durability, providing cost-effective options for future replacements.
Matching Styles and Finishes
The right hardware can elevate your RTA cabinets from ordinary to extraordinary, enhancing both functionality and style. When choosing hardware, consider finishes that match your kitchen design—brushed nickel for modern aesthetics or oil-rubbed bronze for traditional vibes. Pay attention to knob size variations; larger cabinets need bigger hardware, while smaller ones benefit from delicate options.
Here's a quick reference to help you choose:
| Style | Color Combination | Size Variation |
|---|---|---|
| Modern | Brushed Nickel | Large |
| Vintage | Oil-Rubbed Bronze | Medium |
| Contemporary | Matte Black | Small |
Explore pull style trends, and don't hesitate to mix finishes for added visual interest!
Consider Functionality and Usability
Selecting the right hardware for your RTA cabinets can make a world of difference in both functionality and usability.
Consider adding soft-close hinges; they enhance usability by preventing slamming and creating a quieter kitchen environment. Modern cabinet pulls or knobs not only update the look of your cabinets but also improve grip, making it easier to access doors and drawers.
To maximize cabinet accessibility, opt for pull-out trays or drawer organizers, which simplify access to items in the back and reduce clutter. Incorporating lazy Susans in corner cabinets is another usability enhancement, allowing you to reach difficult-to-access items with ease.
Ascertain your chosen hardware matches your cabinet sizes to guarantee smooth operation and longevity, preventing wear and tear over time.
Enhancing Cabinet Functionality With Storage Solutions
When you want to make the most of your RTA cabinets, incorporating smart storage solutions can greatly enhance their functionality. Start with pull-out shelves to maximize accessibility in deep cabinets, allowing you to reach items without hassle. Lazy susans are perfect for corner cabinets, effectively utilizing space for spices and canned goods. Adding drawer organizers helps keep utensils and tools neatly arranged. Consider implementing adjustable shelving to customize your storage for various item sizes. Here's a quick overview of these solutions:
| Storage Solution | Benefits |
|---|---|
| Pull-out Shelves | Easy access to deep cabinet items |
| Lazy Susans | Maximizes corner cabinet space |
| Drawer Organizers | Neatly arranges utensils |
| Adjustable Shelving | Customizes for different sizes |
| Vertical Storage | Increases overall storage capacity |
Adding Decorative Molding and Trim
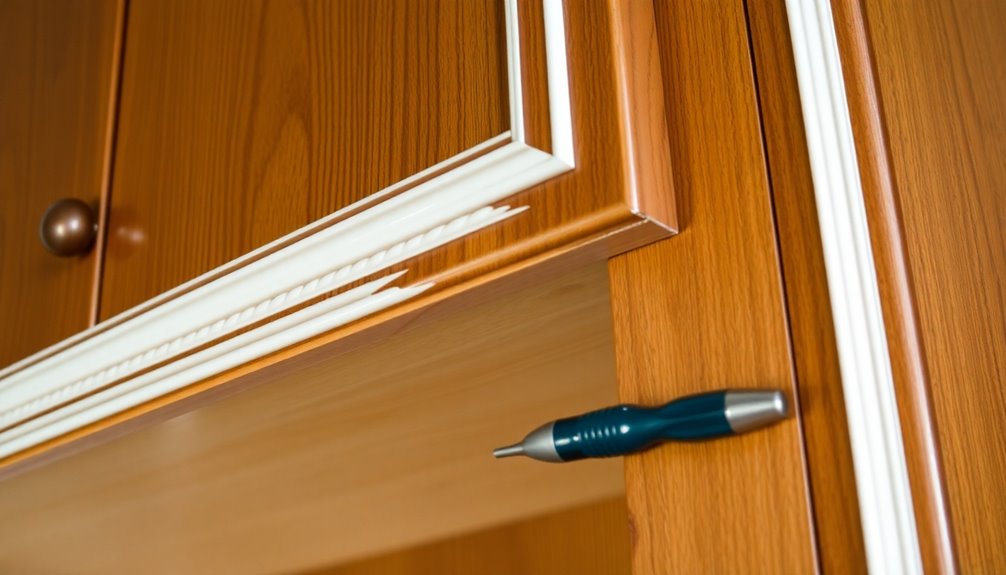
Adding decorative molding and trim to your RTA cabinets can transform their look without breaking the bank.
You'll want to explore different molding styles, choose the right installation techniques, and finish with a cohesive paint or stain that matches your cabinets.
These simple updates can make a significant difference in your kitchen's overall appeal.
Selecting Molding Styles
Choosing the right molding styles can dramatically transform your RTA cabinets on a budget. Crown molding options add height and elegance, enhancing your kitchen or bathroom's overall aesthetic.
Base molding can create a finished look at the bottom of cabinets, helping conceal gaps while adding visual interest.
Don't overlook the flexible molding benefits; these options adapt easily to curves and angles, allowing you to achieve a custom look without complicated cuts.
You can personalize your space further with decorative molding finishes, painting or staining them to match or contrast your cabinets.
Finally, consider trim kits that come pre-cut for common sizes, saving time and ensuring a professional finish while keeping costs down.
Installation Techniques
Decorative molding and trim can elevate your RTA cabinets, enhancing their visual appeal and creating a more polished look. Start by measuring your cabinet edges and planning your layout for a cohesive design. Use crown molding at the top for a built-in look, mitre the corners for a seamless finish. Consider baseboard or shoe molding at the bottom to conceal gaps and add visual interest. For a modern flair, try trim styles like beadboard or wainscoting on the doors.
| Installation Tips | Design Trends |
|---|---|
| Pre-drill holes for screws | Use bold trim colors |
| Attach with adhesive/nails | Mix and match styles |
| Finish with paint/stain | Incorporate textures |
With these techniques, your cabinets will shine!
Finishing Touches
Finishing touches can make all the difference in transforming your RTA cabinets from ordinary to extraordinary. Adding decorative molding, like crown or baseboard trim, elevates the aesthetic and gives a polished, custom look.
When choosing molding materials, consider options that match or complement your cabinet color and style for a cohesive appearance. Explore various trim styles to find what suits your kitchen best.
For tricky areas, flexible molding can easily navigate curves and odd angles without complex cuts.
Installation tips include using ready-made trim pieces or DIYing from MDF or pine, which can be painted or stained to personalize your cabinetry.
These enhancements not only beautify but also cover gaps, creating a seamless finish.
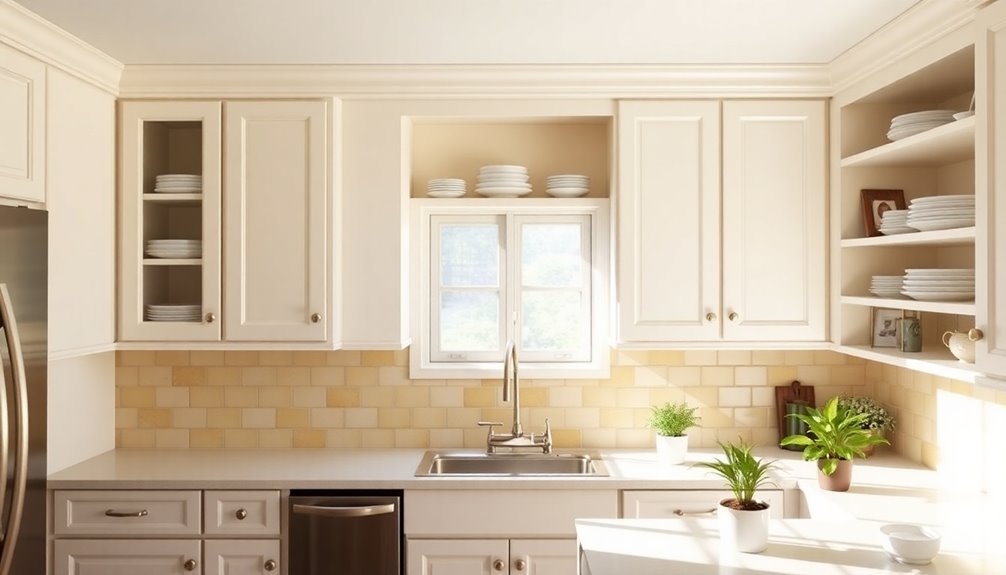
Implementing Open Shelving or Glass Inserts
If you're looking to refresh your RTA cabinets without breaking the bank, implementing open shelving or glass inserts can make a striking difference.
Open shelving benefits include creating a more spacious feel and showcasing your favorite items. To add open shelves, simply remove the cabinet doors and replace them with wood or laminate shelves that match your cabinetry.
For glass insert options, swap solid panels with tempered glass to display dishes and decor stylishly. Ascertain you use proper shelf support solutions, like brackets or additional wall studs, to prevent sagging.
Consider painting or staining the cabinet interiors for a polished look. Decorative baskets or storage containers can help maintain organization and reduce visual clutter on your newly styled shelves.
Tips for a Successful DIY Installation
To achieve a successful DIY installation of your RTA cabinets, start by taking precise measurements of your space.
Make certain to account for any uneven floors or walls, as this will guarantee a perfect fit.
Invest in quality tools like a power drill, level, and measuring tape to make the assembly process smoother.
Follow the manufacturer's assembly instructions closely to maintain stability and alignment.
Before installation, check if the floor is level; if not, use shims for adjustments.
Consider enhancing your budget cabinets with high-quality hardware, such as soft-close hinges and stylish knobs, to align with current cabinet color trends.
These DIY decor ideas and storage organization tips will elevate your space while keeping costs manageable.
Maintaining Your Modified RTA Cabinets
Maintaining your modified RTA cabinets is essential for preserving their beauty and functionality over time.
Start with cabinet cleaning tips: use a mild soap solution and a soft cloth to wipe down surfaces regularly, avoiding abrasive cleaners that can damage finishes.
Also, follow hardware inspection guidelines—check hinges and hardware periodically. Tighten any loose screws and replace worn-out parts to keep everything operating smoothly.
Implement organization strategies by avoiding overloading shelves, which can lead to warping or structural damage.
Finally, consider applying a fresh coat of paint or stain every few years to refresh your cabinets and protect them from wear and tear.
With these simple maintenance steps, your cabinets will continue to look great and function well.
Budget-Friendly Enhancements to Consider
Keeping your modified RTA cabinets in great shape opens the door to exciting budget-friendly enhancements.
One of the easiest ways to transform their look is by applying a fresh coat of paint or stain, which can cost as little as $30 per gallon. Pair this with new hardware styles, swapping out old knobs and pulls for ones priced between $2 and $10 each, to elevate their appearance.
Consider adding pull-out trays or drawer organizers for efficient storage solutions, available for under $50. Decorative molding or trim can also enhance aesthetics, costing around $1 to $3 per linear foot.
Finally, use adhesive vinyl or contact paper to create stylish updates, starting at just $10 per roll, ensuring a chic and budget-conscious makeover.
Final Thoughts on RTA Cabinet Modifications
While you might think custom cabinetry is the only way to achieve a personalized look, modifying RTA cabinets on a budget proves otherwise. By focusing on your personal style, you can achieve stunning results without breaking the bank. A cost analysis of simple modifications reveals that painting, hardware updates, and decorative trim can transform your cabinets affordably. Keep your project timeline realistic with manageable enhancements that won't overwhelm you.
| Modification | Estimated Cost |
|---|---|
| Painting or Staining | $50 – $100 |
| Hardware Replacement | $30 – $70 |
| Adding Pull-Out Trays | $60 – $120 |
| Decorative Moldings | $40 – $80 |
| Maintenance & Repairs | $20 – $50/year |
Regular maintenance guarantees your modifications stay attractive and functional over time.
Conclusion
In the world of DIY, remember that "a little creativity goes a long way." With your modified RTA cabinets, you've not only saved money but also added a personal touch to your space. Embrace the satisfaction that comes from your hard work and enjoy the transformation. Keep exploring new ideas and enhancements, and don't be afraid to experiment. Your cabinets are now a reflection of your style, so let them shine!


