
You can easily replace three window seals yourself, saving both time and money while boosting your home's energy efficiency. Start by inspecting your windows for any signs of wear or damage, like condensation or drafts. Gather tools like a utility knife, caulking gun, and chosen sealant. Remove old seals carefully and clean the area for better adhesion. Next, apply a new sealant evenly around the frame. Let it cure as per the manufacturer's instructions to guarantee a strong bond. Avoid common mistakes like skipping surface cleaning or rushing the drying process. There's more insight on perfecting this task ahead.
Importance of Window Seal Replacement
When you consider the comfort and efficiency of your home, replacing window seals is essential. It helps prevent heat loss, greatly boosting your home's energy efficiency. Additionally, using budget management tools can help you save money for home improvement projects.
Regular checks can identify broken window seals, allowing you to maintain your window before more costly damage occurs. By sealing gaps, you eliminate air leaks and reduce condensation between the panes, which protects against mould growth and improves indoor air quality. Additionally, utilizing advanced technology in home maintenance can further enhance your repair efforts.
Plus, proper sealing enhances thermal insulation, creating a more comfortable living environment. Best of all, replacing window seals is a straightforward DIY task.
You can use sealant to easily tackle this home improvement project, saving money on professional services while ensuring your windows function effectively for years to come. Moreover, maintaining your windows can lead to improved financial management as it prevents costly repairs in the future.
Assessing Your Window Seals
Regular inspections are key to maintaining the benefits of properly sealed windows. You should assess window seals at least twice a year for signs of wear.
Look out for:
- Visible condensation between panes, indicating potential seal failure.
- Drafts around the frames, which can compromise energy efficiency.
- Physical damage, such as cracks or misalignment that need addressing before you replace window seals.
Temperature changes and prolonged sunlight exposure can weaken seals over time. Budgeting for financial goals can also prevent unexpected costs associated with window maintenance. Additionally, clear payment terms can help you manage any related expenses effectively.
By regularly inspecting your windows, you can catch problems early and maintain your window seals effectively. Increased energy bills may also signal issues, so keep an eye on those, too. Additionally, tracking progress on your energy bills can help identify patterns that may indicate seal deterioration.
Stay proactive to guarantee your windows remain functional and energy-efficient.
Tools and Materials Needed
Replacing window seals requires the right tools and materials to guarantee a smooth and effective process.
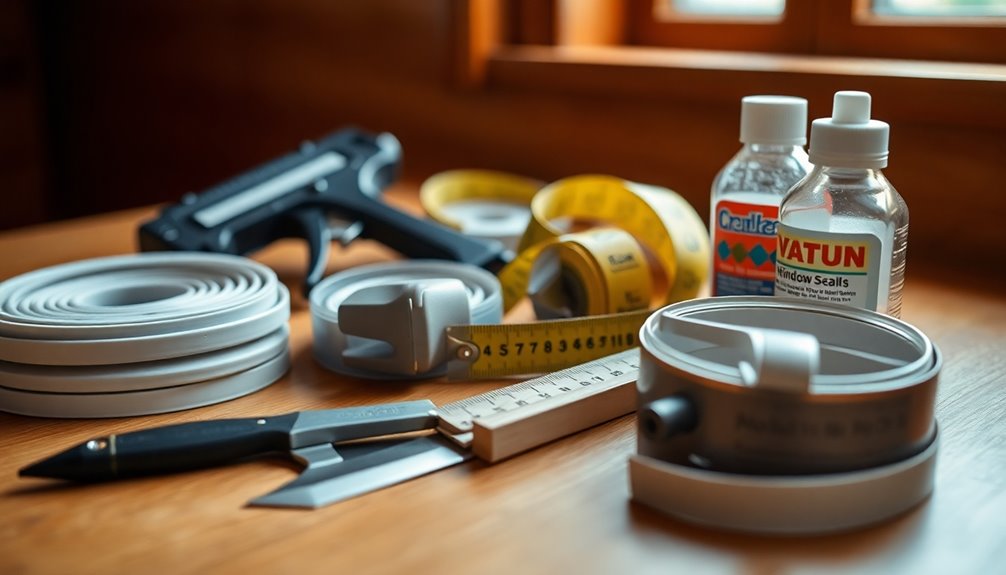
You'll need a utility knife for cutting away old sealant and a caulking gun to apply the new window sealant. Choose sealant that offers durability and flexibility, like silicone or acrylic latex, compatible with your windows. A measuring tape is essential for cutting the new sealant accurately. Additionally, utilizing budgeting tools can help you manage expenses related to home repairs effectively. Effective management of spending is crucial when tackling such projects to avoid overspending.
Don't forget your safety equipment; thick work gloves and safety goggles will protect you from debris and sharp edges.
Finally, keep cleaning supplies handy, like a damp cloth and mild detergent, to prepare the surface before applying the new sealant. Additionally, maintaining financial organization during home repairs can help you budget effectively for necessary materials.
With these tools and materials, you're set to tackle the job efficiently.
Step-by-Step Replacement Process
Now that you've gathered your tools and materials, it's time to jump into the replacement process.
You'll start by removing the old seals and cleaning the area to guarantee a strong bond with the new sealant. Remember, using the right expense tracking apps can help you manage costs associated with home repairs effectively. Additionally, tracking your spending with budgeting apps can provide valuable insights into your overall financial health. Achieving your financial goals can be easier with effective budgeting strategies.
Let's go through the steps to make your windows airtight again.
Tools and Materials Needed
To successfully replace window seals, you'll need a few essential tools and materials at your disposal. Gather the following items before you begin:
- Tools: A utility knife for cutting old sealant, a putty knife for scraping, and needle-nose pliers for removal.
- Materials: New window sealant, like silicone or polyurethane, and glass-specific glue for securing the seals.
- Safety Equipment: Thick work gloves, safety goggles, and a sturdy ladder to guarantee safe handling.
Don't forget a measuring tape to cut the new seal to the correct length, ensuring a snug fit that prevents air leaks and moisture ingress.
Once you have everything, clear your workspace to facilitate a smooth replacement process.
Installation Process Overview
Before diving into the installation process, it's crucial to make certain you've prepared your workspace and gathered all necessary tools and materials.
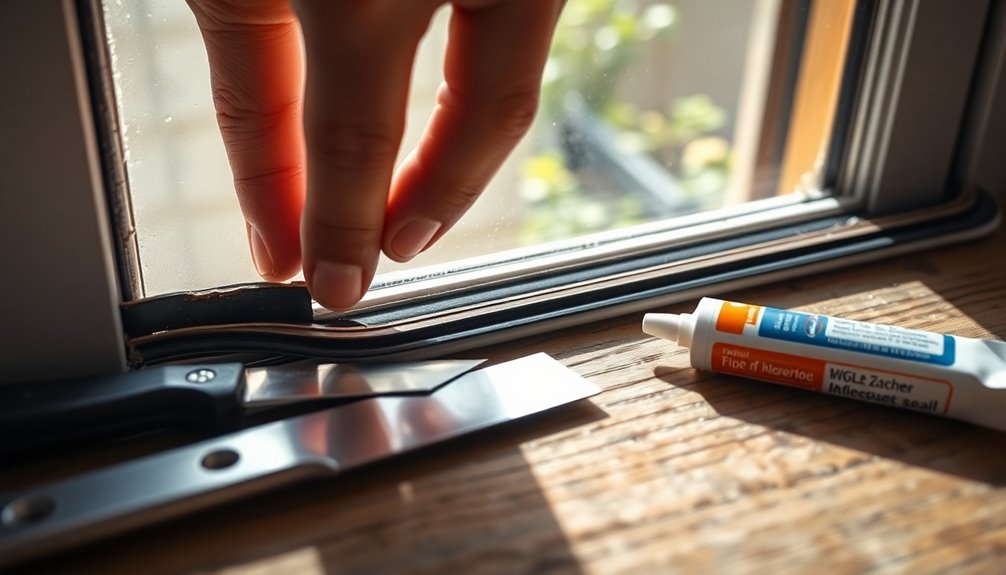
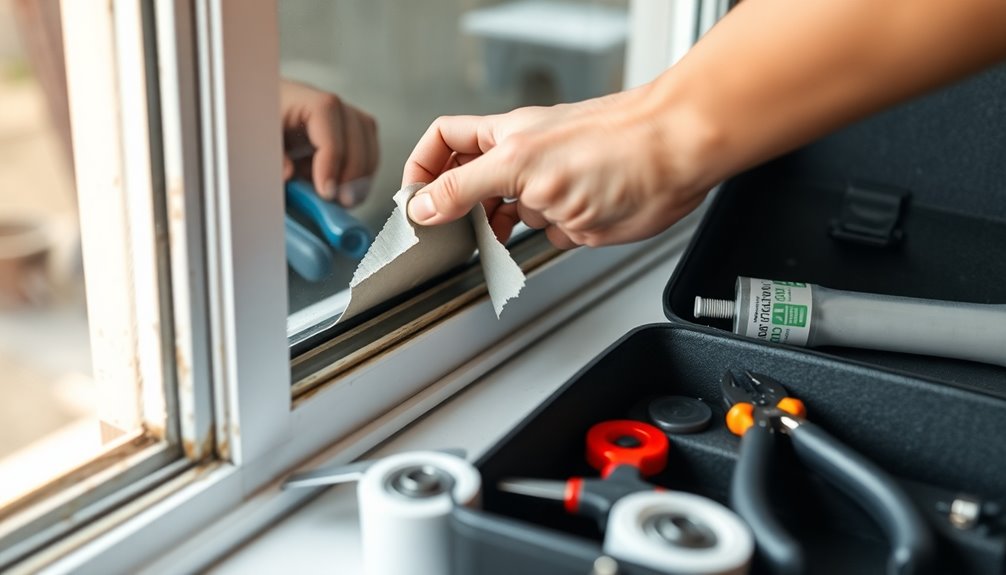
Start by removing the old seal with a utility knife, cutting and pulling away the existing sealant. Make sure to clean the gaps thoroughly to eliminate any residue for proper adhesion of the new seal.
Next, apply a thin layer of glue around the window frame, avoiding the glass, and let it set slightly. Cut the new seal to length and insert it into the gap, securing it with a drop of glue.
Finally, use a caulking gun to apply sealant along the frame, smoothing it out to guarantee no gaps remain. Let the sealant dry as per instructions.
Common Mistakes to Avoid
When replacing window seals, don't underestimate the importance of proper surface preparation. Skipping the cleaning step or leaving old sealant behind can lead to leaks and poor adhesion. Take your time to guarantee a smooth, clean surface for the best results. Additionally, using the right tools for expense tracking can help manage costs associated with home repairs effectively. Consider incorporating cashback programs to further enhance your savings on the materials needed for this project. Regular monitoring of your portfolio performance can also provide insights that help in budgeting for home improvements.
Surface Preparation Neglect
Surface preparation is essential for a successful window seal replacement, and overlooking this step can lead to a host of problems. Neglecting to clean the window surface thoroughly can result in poor adhesion, causing gaps and leaks.
Here are three common mistakes to avoid:
- Failing to remove the old sealant: Verify you completely eliminate remnants for an even surface.
- Rushing the drying process: Allow surfaces to dry fully to prevent moisture from interfering with sealant curing.
- Using inappropriate cleaning agents: Stick to mild soap and water to avoid residues that hinder adhesion.
Inadequate Sealant Removal
Neglecting proper sealant removal can sabotage your window seal replacement efforts. Failing to completely remove old sealant can prevent the proper adhesion of the new sealant, leading to ineffective sealing and potential air leaks.
Use a utility knife or putty knife to carefully scrape away all remnants of the old sealant; any residue left can compromise the new seal's performance. If stubborn old sealant remains, consider using a razor blade to guarantee a clean surface.
After removal, inspect the area thoroughly to confirm the surface is smooth. Rough spots can hinder effective sealing and lead to future failures. Proper removal of old sealant is essential; neglecting this step could result in costly reapplications down the line.
Maintenance Tips for Longevity
To keep your window seals in prime condition, regular maintenance is crucial. Follow these maintenance tips to enhance their durability and lifespan:
- Inspect seals at least twice a year for wear, gaps, or damage. Catch issues early to maintain energy efficiency.
- Clean window seals with a mild soap solution to prevent grime buildup that can deteriorate sealant over time.
- Lubricate moving parts, like window cranks and hinges, with a silicone-based lubricant to guarantee smooth operation and reduce stress on seals.
Additionally, applying a weather-resistant protective coating can help in extreme climates.
Be certain to schedule seal maintenance alongside seasonal home inspections to keep everything functioning at its best!
Conclusion
Replacing your window seals isn't just about aesthetics; it's about energy efficiency, comfort, and protection. By evaluating your seals, gathering the right tools, and following the steps outlined, you're taking control of your home's maintenance. Avoid common pitfalls, and your efforts will pay off with longer-lasting seals and lower energy bills. So, tackle this project with confidence, enjoy the process, and relish the rewards of a job well done. Your windows—and your wallet—will thank you!


