

To replace three window seals yourself, start by gathering tools like a putty knife, caulking gun, and high-quality sealant. Carefully remove old seals with a utility knife, then clean the window frames for better adhesion. Measure accurately, cut new seals, and apply them snugly to guarantee a tight fit. Regularly check your work for quality and effectiveness. You'll discover even more frugal tips and techniques to enhance your window insulation as you proceed.
Understanding Window Seals and Their Importance
Window seals play an essential role in your home's energy efficiency. When you make sure your windows are properly sealed, you prevent air leakage that can lead to significant heat loss and increased energy costs.
With a single-pane window averaging an R-value of just 1, effective sealing is vital for better insulation. Deteriorating seals allow drafts, making your heating system work harder and driving up energy consumption. Expense tracking tools can help manage costs associated with home improvements, ensuring you stay within budget. By using financial management tools, you can effectively budget for your window seal replacements and other home upgrades.
Regular maintenance and timely replacement of window seals not only enhance comfort but also prolong the lifespan of your windows. By improving your window seals, you can reduce air infiltration by up to 50%, resulting in substantial energy savings and a more comfortable living environment. Additionally, monitoring savings and investments can help you allocate funds for necessary home improvements like window seal replacements.
Investing in this home improvement pays off in the long run.
Tools and Materials Needed for the Task
To effectively replace window seals, you'll need a few key tools and materials. Start with a putty knife to remove old seals, a caulking gun for applying the new sealant, and a utility knife for cutting materials to size. High-quality sealant types, like silicone or acrylic, are essential for a durable finish. Weather stripping and possibly new window glazing will guarantee a complete seal replacement. Additionally, consider utilizing expense management apps to keep track of any costs incurred during your DIY project, which can provide detailed insights into your spending habits. Having a solid understanding of budgeting tools can further assist in planning your home improvement budget. Don't forget a measuring tape to get accurate window dimensions for a perfect fit. A heat gun or hair dryer can soften old sealant, making it easier to remove without damaging the window frame materials. These tools will help you master DIY insulation techniques and achieve professional results.
Safety Precautions to Consider Before Starting

Before diving into the task of replacing window seals, it's crucial to prioritize safety. Always wear safety goggles and gloves. This protects your eyes and hands from sharp glass edges and harmful chemicals.
Make sure your workspace is well-ventilated, especially if you're using adhesives or solvents—chemical precautions are important to avoid inhaling dangerous fumes. To further enhance safety, ensure that you have a clear understanding of your billing terms to manage any unexpected costs effectively. Utilizing tools that offer personalized reminders can help you stay on top of any expenses related to your project.
Before starting, turn off any electrical systems near the window to prevent accidents. If you need to reach higher windows, use a sturdy ladder. Verify it's placed on a flat, stable surface to maintain ladder stability and avoid falls.
Finally, check local building codes or regulations regarding window repairs to confirm compliance and enhance window safety. Additionally, consider using apps that send automated bill payment notifications to keep track of any expenses related to your project.
Step-by-Step Guide to Removing Old Seals
Removing old seals is a straightforward process that can greatly improve your window's efficiency.
Start with old sealant removal by using a utility knife to carefully cut away the weather stripping around the window frame, being cautious not to damage it.
Once you've removed the seals, clean the area thoroughly with a solvent to eliminate any residue. This prepares the surface for new application. Additionally, keep in mind that using tools like expense tracking software can help you budget for home maintenance costs effectively. Regular expense tracking can also help you identify saving opportunities for future projects.
Measure the length of the frame to guarantee you cut the new weather stripping or sealant to the correct size for a snug fit.
When applying, use proper sealant application techniques to ascertain even distribution, pressing firmly for a tight seal that minimizes air infiltration.
Finally, allow the adhesive to cure according to the manufacturer's instructions. Additionally, consider scheduling payment alerts to prevent future financial burdens associated with home repairs.
Cleaning the Window Frames for Better Adhesion
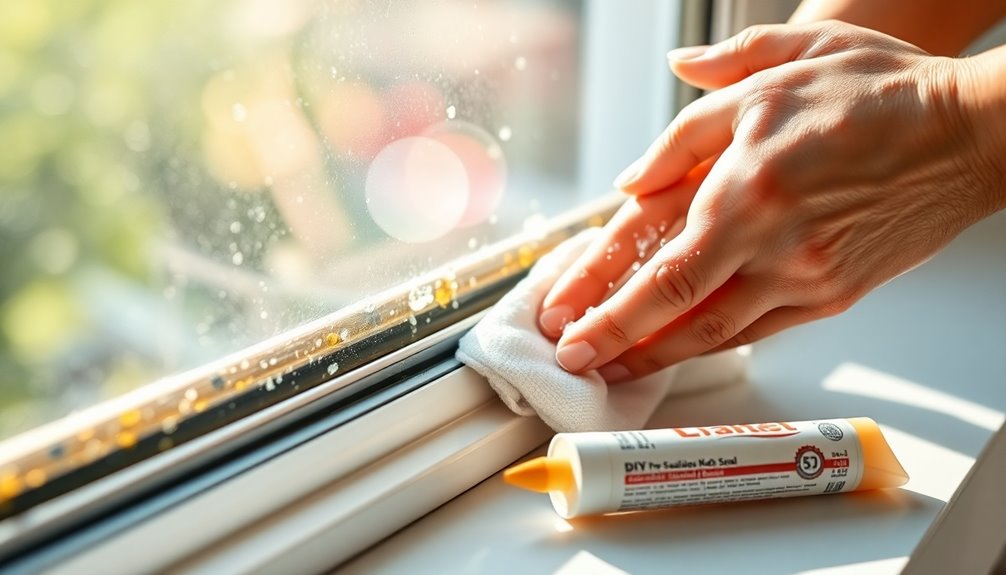
Cleaning your window frames is essential for achieving strong adhesion with the new seals.
Start by removing any old sealant or weather stripping.
Use a mixture of warm water and mild detergent as your cleaning solution, which effectively eliminates dirt, grease, and contaminants that improve product adhesion. Additionally, maintaining a clean surface can help you take advantage of digital coupons for household essentials, ensuring you save more on your home improvement projects. This careful preparation allows for better savings opportunities when purchasing your sealing materials.
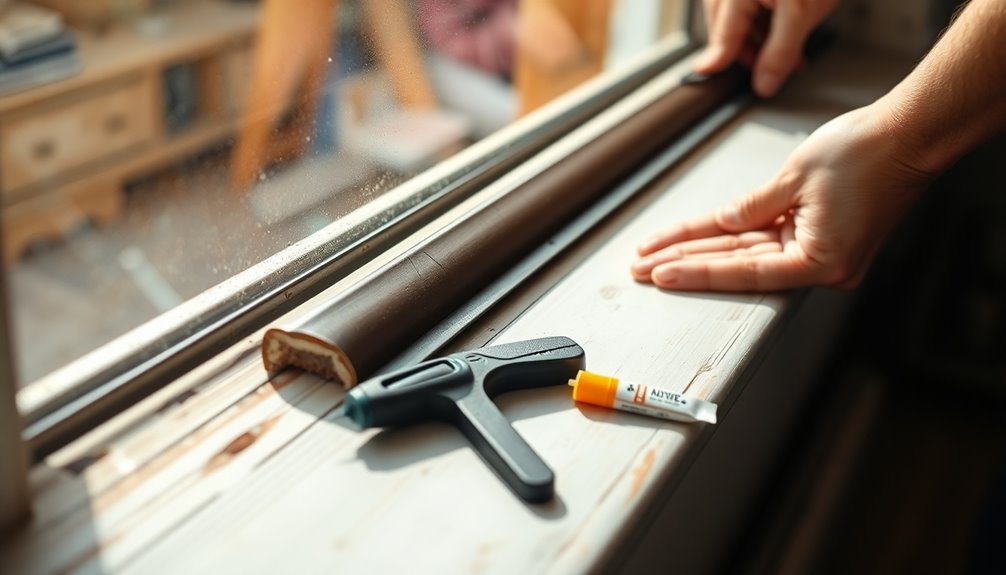
Measuring and Cutting Replacement Seals
To replace your window seals effectively, you'll need a few essential tools for measuring and cutting.
Carefully measure the existing seal dimensions, making sure to account for any angles in the frame.
Once you've got your measurements, use a utility knife or scissors to cut the new seal material to size for a snug fit.
Tools Required for Measuring
Measuring accurately is crucial for a successful window seal replacement, and you'll need a few essential tools to get the job done right.
Start with a tape measure to determine the width and height of the window frame, keeping an eye out for any size variations. For checking seal thickness, use calipers or a ruler to verify your new seal fits snugly, preventing air leaks.
It's also wise to have a straightedge or square on hand; these measuring tools help guide your cuts, guaranteeing you maintain clean, straight lines.
Always double-check your measurements before cutting, as even a small error can affect measurement accuracy and result in wasted materials or ineffective seals.
Cutting Techniques for Seals
Now that you've gathered your tools and measured the existing window seals, it's time to focus on cutting your replacement seals. Start by selecting appropriate seal materials like rubber or foam that match the thickness of your originals. Use a utility knife or scissors for clean cuts, paying attention to cutting angles for precision.
| Step | Tips |
|---|---|
| Measure | Use a tape measure accurately |
| Cut | Guarantee straight edges |
| Label | Mark each seal for clarity |
Remember to allow for slight compression when installing the seals to create a tighter barrier. Don't forget about edge finishing; it improves the overall look and functionality of your new seals.
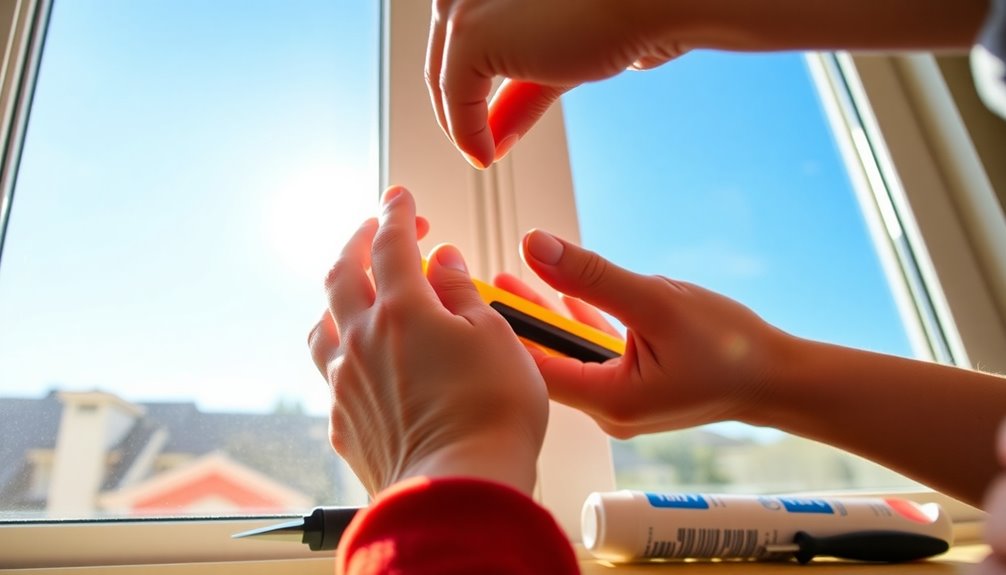
Applying New Seals for Optimal Performance
Before applying new seals, it's crucial to measure the dimensions of your existing ones accurately to guarantee a proper fit.
Make sure your window frames are clean and dry; dirt or moisture can hinder adhesion.
When choosing the right materials, consider the types of weather stripping that suit your window style. For instance, adhesive-backed foam is easy to install, while V-seal provides a tighter fit.
If you're dealing with larger gaps, the benefits of caulking can't be overlooked. Applying caulking cord fills those spaces between window sashes, reducing air infiltration and enhancing energy efficiency.
After installation, regularly check and maintain your new seals to guarantee peak performance and comfort in your home. Promptly replace any worn seals for best results.
Techniques for Ensuring a Tight Fit
To guarantee a tight fit for your window seals, focus on precise measurements and the right materials. Measure your window frame accurately to ascertain snug replacements. Use weather stripping along the top, bottom, and sides of the sash for effective window draft prevention. For larger gaps, apply caulking to block air infiltration and enhance insulation. A caulking cord can also be pressed into openings for extra winter insulation. Regularly check your seals and make adjustments as needed to maintain that tight fit; temperature and humidity changes can affect their integrity over time.
| Action | Purpose | Benefit |
|---|---|---|
| Measure accurately | Ascertain snug fit | Prevent air leaks |
| Use weather stripping | Block drafts | Improve energy efficiency |
| Apply caulking | Fill larger gaps | Enhance insulation |
Inspecting Your Work for Quality Assurance
After ensuring a tight fit with your new window seals, it's important to inspect your work for quality assurance.
Start with air leak detection by performing a simple smoke test using incense. If the smoke drifts away from the window, you've got a gap that needs sealing.
Next, check the new seals for proper adhesion by gently tugging at the edges; they should feel secure and not peel away easily.
Make sure the seals aren't pinched or twisted, as this can compromise their effectiveness. Use a level to confirm that your window operates smoothly, contributing to better window energy efficiency.
Finally, remember these seal maintenance tips and inspect your seals regularly for wear or damage, especially after extreme weather.
Additional Tips for Improving Window Insulation
Improving window insulation goes beyond just replacing seals; there are several effective strategies you can employ to enhance your home's energy efficiency.
Start by sealing air leaks around your windows, which can save you up to 20% on heating and cooling costs. Apply weather stripping to the bottom of your window sashes to block drafts, and use caulking cord to fill larger gaps during winter for better insulation.
Consider DIY solutions like Plexiglass cutouts or shrink kits for a temporary boost. Regularly check your seals as part of your seasonal maintenance tips to extend their lifespan.
These cost-saving strategies not only improve comfort but also reduce the workload on your heating system, leading to further savings.
Long-Term Benefits of Replacing Window Seals

Replacing window seals brings numerous long-term benefits that go beyond immediate comfort. By sealing air leaks, you can enjoy significant energy efficiency benefits, potentially cutting heating costs by up to 20%.
This not only enhances your home's comfort but also reduces the workload on your heating system, leading to maintenance cost reduction over time. With upgraded seals, you'll maintain a consistent indoor temperature, minimizing humidity and related issues for a healthier living environment.
Plus, investing in new window seals can contribute to a property value increase, as energy-efficient homes are highly desirable in today's market.
Conclusion
By replacing your window seals, you're not just saving money, you're improving comfort, enhancing energy efficiency, and boosting your home's value. You'll enjoy a more pleasant indoor environment, reduce heating and cooling costs, and prevent future damage from moisture. So grab your tools, follow the steps, and take pride in your handiwork. With a little effort, you're not just sealing windows; you're sealing in savings and sealing out the elements. Your home deserves it!


