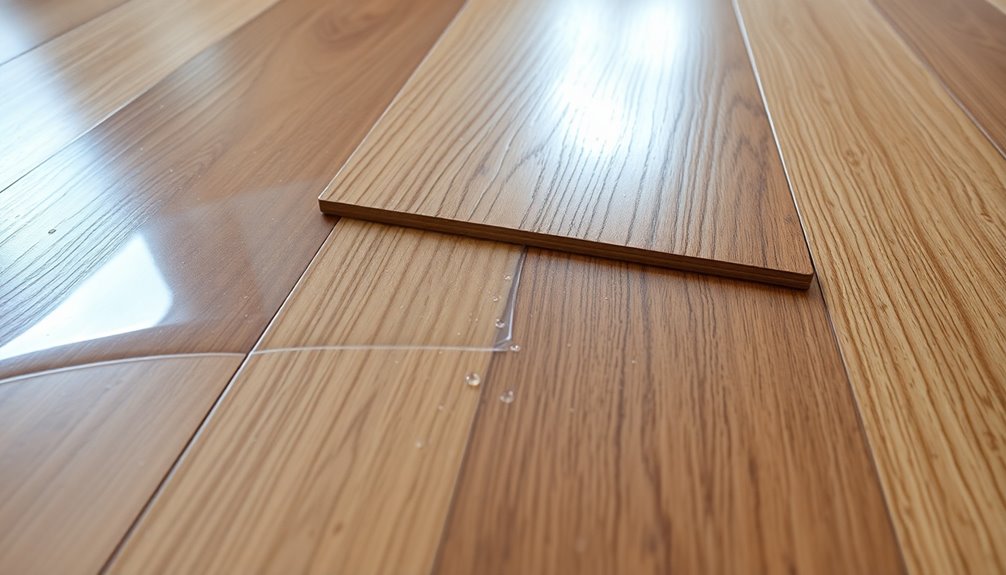
To save on moisture barriers under your click-and-lock flooring, choose budget-friendly options like polyethylene sheets. These Class I barriers offer excellent protection without breaking the bank. Make sure to properly install the barrier by overlapping seams and securing them with moisture-resistant tape. Regular inspections are key; look for punctures and address any leaks immediately. Maintaining your indoor humidity at 30-50% helps prolong the barrier's effectiveness. By investing a small amount upfront, you can prevent costly water damage repairs later on. There's more to evaluate for maximizing your savings and performance, so keep exploring your options!
What Is a Moisture Barrier?
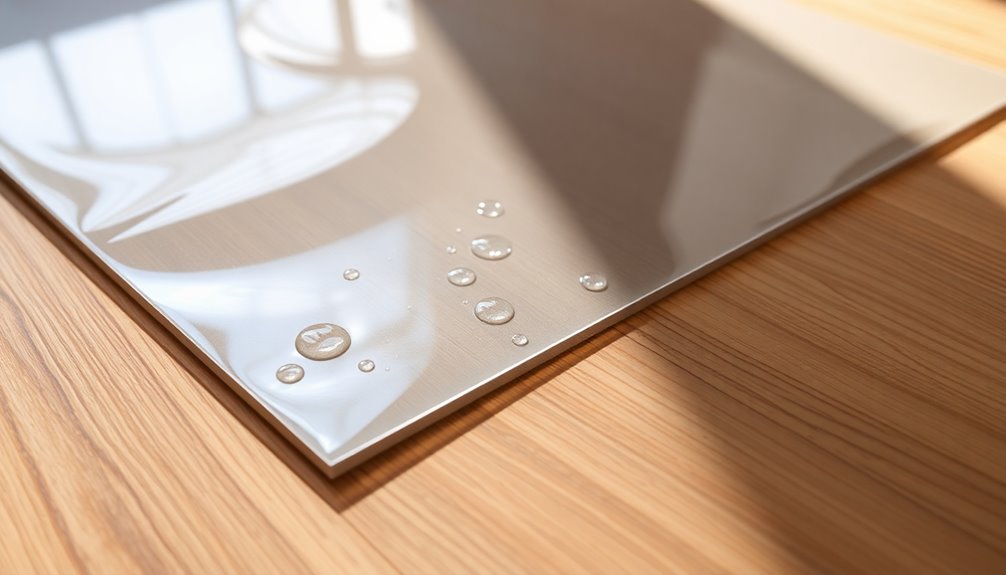
A moisture barrier is a crucial element in protecting your flooring from water damage. It's typically made from plastic and acts as a shield, preventing moisture from penetrating into your flooring systems. This is especially important in areas with high humidity or where water exposure is more likely. Ethical shopping practices can also guide you to find sustainable materials that contribute to a healthier environment. Additionally, using eco-friendly materials in your flooring can help reduce your overall environmental impact.
By installing a moisture barrier, you greatly reduce the risk of mold and mildew growth beneath your floors, which can lead to costly repairs and health issues. Additionally, choosing materials with sustainable packaging can further enhance your environmental efforts during the flooring installation process.
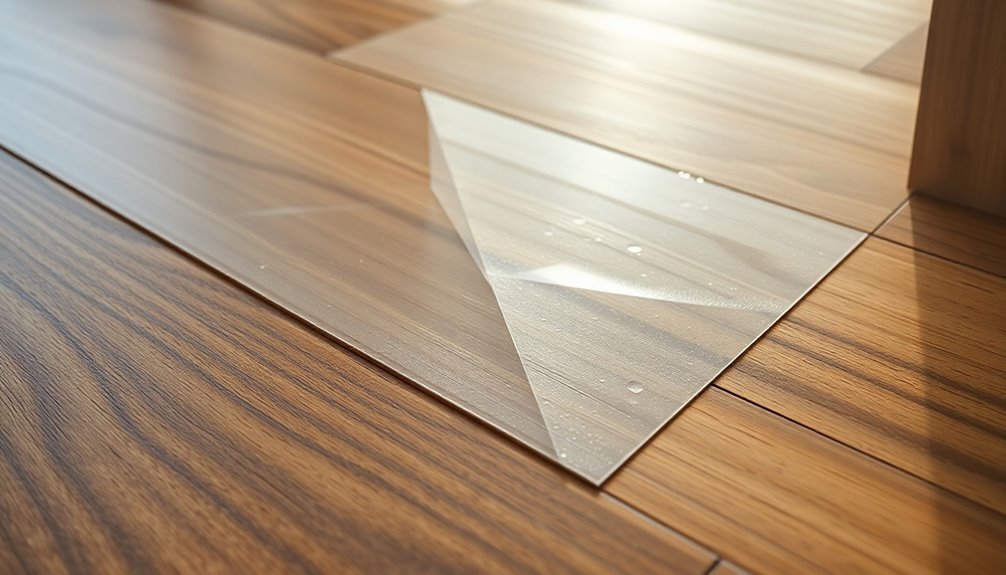
Moisture barriers come in three categories based on permeability: Class I (impermeable), Class II (semi-permeable), and Class III (permeable). If you want to guarantee maximum protection, Class I is your best option.
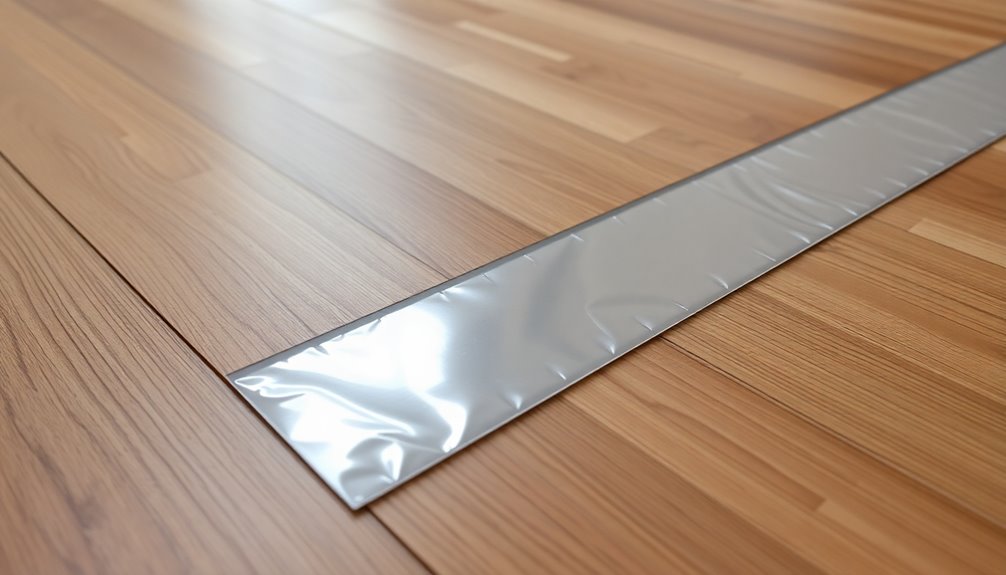
Proper installation is key; you should overlap seams by at least 6-8 inches and secure them with tape for continuous coverage.
Don't forget about regular inspections! Even small punctures can compromise your moisture barrier's effectiveness, putting your floors at risk.
Importance of Moisture Barriers
Moisture barriers play an indispensable role in protecting your flooring investment, especially when it comes to click-and-lock systems. Without them, you're risking considerable damage from water vapor that can seep in from below.
In areas prone to high humidity, these barriers greatly reduce the chances of mold and mildew growth beneath your flooring, which can lead to costly repairs and health issues. Regular reviews of your home's moisture levels can further ensure a healthy living environment. Additionally, using tools like budget management software can help you allocate funds for necessary home improvements.
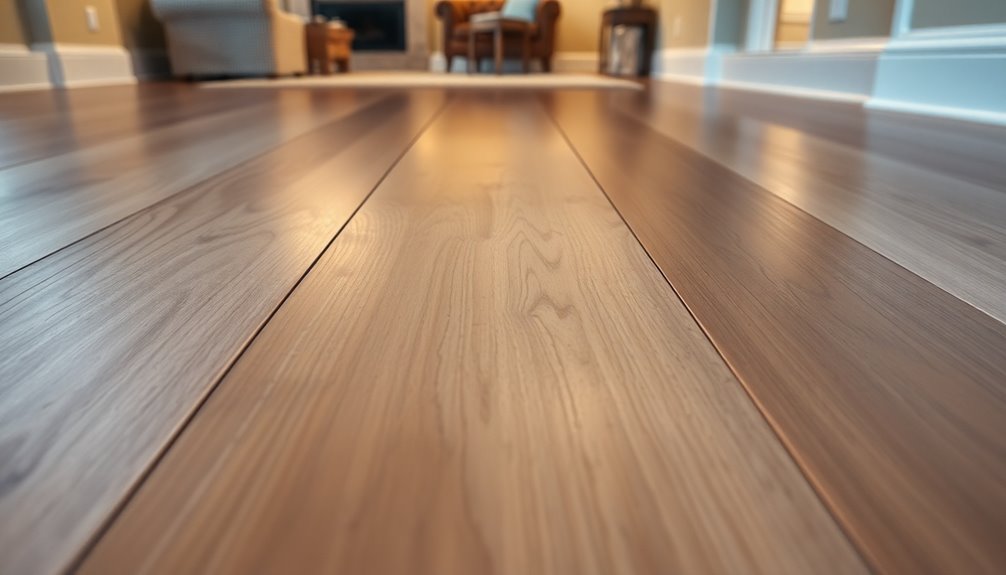
By limiting moisture penetration, quality moisture barriers can extend the lifespan of your laminate and vinyl flooring. Excessive moisture can cause bubbling, warping, or cupping, compromising the integrity of your materials. Since essential moisture levels for microbial growth are identified at 19%, controlling this factor is critical.
If you live in a humid climate or have spaces like basements, using a reliable moisture barrier is even more important. It helps mitigate the effects of vapor drive, ensuring your flooring systems remain intact.
Choosing the right type of vapor barrier, such as Class I impermeable options, guarantees maximum protection against moisture infiltration, preserving your indoor air quality and enhancing the aesthetics of your home.
Investing in moisture barriers is a crucial step in protecting flooring from potential damage. Additionally, understanding the importance of financial literacy can help homeowners make informed decisions about investing in quality materials and protective measures for their homes.
Types of Moisture Barriers

When selecting a moisture barrier for your click-and-lock flooring, you need to understand the different classifications available.
You'll find options ranging from impermeable to semi-permeable and even permeable materials, each suited for specific moisture conditions. Additionally, considering the installation details and material choices will help you achieve ideal protection against moisture damage. Many homeowners also benefit from using expense management apps to streamline their budgeting for flooring projects. Implementing a solid financial management tool can also ensure that you stay within budget while making these important home improvements. Furthermore, having a clear understanding of expense categorization can enhance your ability to allocate funds effectively during home renovation projects.
Barrier Classifications Explained
Understanding the different types of moisture barriers is essential for protecting your flooring.
Moisture barriers are classified based on their permeability into three categories: Class I, Class II, and Class III.
Class I barriers are impermeable, meaning they don't allow any liquid to pass through. Materials like glass or plastic sheets fall into this category, making them ideal for high-moisture areas where you want to prevent any moisture damage to your flooring.
Class II barriers are semi-permeable, allowing some moisture passage while still providing significant protection. These barriers, such as asphalt-coated paper, are suitable for moderately moist environments, striking a balance between breathability and protection.
On the other hand, Class III barriers are permeable, allowing easy water vapor passage. Materials like gypsum board or fiberglass insulation are in this category and are typically used in areas where moisture isn't a major concern.
When choosing a moisture barrier, consider your specific environmental conditions and the permeability rating, measured in perms, to guarantee you select the right type to safeguard your flooring effectively.
Common Material Options
Various material options are available for moisture barriers, each offering unique benefits for protecting your click-and-lock flooring.
One popular choice is polyethylene sheets. These cost-effective moisture barriers provide a Class I impermeable barrier against moisture infiltration, ensuring your flooring stays dry.
Another option is foil barriers, which not only serve as moisture barriers but also reflect heat, enhancing energy efficiency in your home.
If you're dealing with high humidity or potential water exposure, consider rubberized membranes. They offer superior moisture protection and flexibility, making them ideal for challenging environments.
Alternatively, cork underlayment is a natural material that provides inherent moisture resistance along with sound insulation and thermal benefits.
For a durable and easy-to-install choice, vinyl moisture barriers are a favorite among homeowners. They effectively shield your flooring from moisture damage while being straightforward to set up.
Each of these materials has distinct advantages, so think about your specific needs and the environment where you'll be installing your click-and-lock flooring.
Selecting the right moisture barrier can greatly impact the longevity and performance of your flooring investment.
Installation Considerations
Choosing the right moisture barrier is crucial for ensuring the longevity of your click-and-lock flooring. There are three types of moisture barriers to take into account based on permeability: Class I (impermeable), Class II (semi-permeable), and Class III (permeable). Class I barriers are the most effective at preventing moisture intrusion, making them ideal for high-humidity environments.
Plastic sheets, particularly polyethylene, are a popular and cost-effective option for moisture barriers. When installing these sheets, remember to overlap seams by at least six inches and secure them with tape to prevent moisture from seeping underneath the flooring.
It's also important to install moisture barriers over clean, dry subfloors to avoid compromising their effectiveness.
When selecting a moisture barrier, think about your flooring type and the moisture exposure level. For instance, rubberized membranes can provide superior protection compared to standard polyethylene sheets.
The right choice and proper installation will help safeguard your flooring against moisture-related damage, ensuring a beautiful and durable finish for years to come.
When to Use a Barrier
When installing click-and-lock flooring, using a moisture barrier is essential in specific situations to protect your investment. If you're laying flooring in areas prone to high humidity, like basements or bathrooms, a moisture barrier is a must. It helps prevent water damage and mold growth, guaranteeing your floors last longer. Additionally, budget apps can promote financial awareness by helping you allocate funds efficiently for home improvement projects.
You should also consider a vapor barrier when installing over concrete subfloors. Concrete can transmit water vapor, potentially warping or damaging your flooring material. If you're working on ground-level installations, especially in humid climates or areas with significant rainfall, a moisture barrier is advisable to stop moisture from infiltrating from the ground. Furthermore, incorporating a structured framework for budgeting can assist in managing the costs associated with these installations.
Additionally, keep an eye on indoor relative humidity levels. If they exceed 60%, it's best to include a moisture barrier to reduce the risk of condensation forming beneath the flooring. This proactive approach to moisture control can significantly enhance financial organization strategies for your home improvement projects.
Finally, make certain that the moisture barrier overlaps by at least 6 inches at seams and is properly sealed. This setup provides effective moisture control, giving you peace of mind and protecting your flooring investment from potential damage.
Choosing the Right Barrier
Selecting the right moisture barrier for your click-and-lock flooring is essential to guarantee long-lasting protection against moisture damage.
The right choice will help you maintain the integrity of your flooring and prevent costly repairs down the line. Here are three key factors to evaluate:
- Type of Barrier: Class I barriers, like polyethylene sheets, provide excellent impermeability and effectively prevent moisture from reaching your subfloor. Choosing a barrier made from sustainable materials can also enhance your home's eco-friendliness. Additionally, using a barrier that has a solid track record can provide price comparison accuracy for finding the best options available.
- Permeability Rating: Choose a moisture barrier with a permeability rating below 0.1 perms, especially in high-humidity areas or basements, to minimize moisture transfer.
- Manufacturer's Recommendations: Always check the manufacturer's recommendations for the flooring you're installing. Specific barriers may be required to uphold warranty coverage. Additionally, selecting a barrier that aligns with sustainable and ethical shopping practices can contribute to a more environmentally friendly home improvement project.
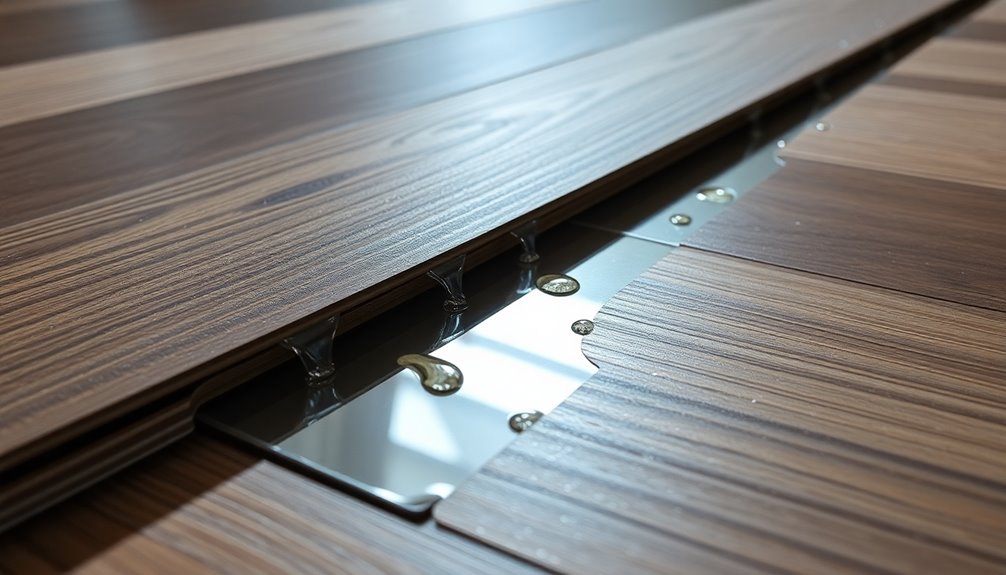
Installation Steps
After you've chosen the right moisture barrier, it's time to focus on the installation steps to guarantee peak performance. Start by confirming your subfloor is clean, dry, and free of debris. This solid foundation is vital for a successful installation.
Next, roll out the moisture barrier, making sure to overlap seams by at least 6 to 8 inches. Secure these seams with moisture-resistant tape to prevent any potential water damage.
Once the barrier is in place, trim any excess material along the edges to avoid buckling and guarantee complete coverage beneath your click-and-lock flooring.
Now, you can install your underlayment directly over the moisture barrier. Follow the manufacturer's guidelines for proper locking and alignment, as this helps maintain the integrity of the flooring.
After installation, it's important to regularly check for any signs of moisture damage. Proper maintenance is key to confirming the longevity of both your flooring and the moisture barrier.
Common Installation Mistakes
Even the most careful installations can go awry if you're not vigilant about common mistakes.
When dealing with moisture barriers, it's crucial to pay attention to detail. Here are three common pitfalls to avoid:
- Inadequate Overlap: Failing to properly overlap seams by at least six inches allows water vapor to pass through, compromising your moisture barrier. This oversight can lead to damage over time.
- Neglecting Barrier Tape: Not securing the vapor barrier with barrier tape at seams can create gaps. These gaps undermine the barrier's effectiveness, allowing moisture to infiltrate and potentially ruin your flooring.
- Direct Installation Against Concrete: Installing a vapor barrier directly against concrete without allowing for air circulation can trap moisture.
This creates an environment ripe for mold growth and flooring deterioration.
Maintenance and Monitoring
Keeping your flooring in top shape requires regular maintenance and vigilant monitoring. Start by inspecting your click-and-lock flooring for signs of moisture damage, like bubbling or warping. Catching these issues early can prevent them from worsening and save you time and money.
Maintain indoor humidity levels between 30-50% to avoid excess moisture that could compromise the integrity of the flooring and the moisture barrier underneath.
Make it a habit to address any leaks or spills immediately. Quick cleanup considerably reduces the risk of moisture penetrating the flooring system.
Periodically check the condition of the vapor barrier beneath your flooring, confirming it remains intact and effective at preventing moisture infiltration.
In high-moisture areas, especially basements, consider using moisture meters to monitor humidity levels. This proactive step helps you stay ahead of any potential issues and guarantees your maintenance efforts are effective.
By staying vigilant and performing regular checks, you can keep your flooring looking great and functioning well for years to come.
Cost of Moisture Barriers
When considering moisture barriers, you'll find that prices typically range from $0.20 to $1.00 per square foot.
This affordable investment can lead to significant long-term savings by preventing expensive moisture damage down the line.
Plus, factoring in additional materials like tape guarantees you're fully prepared for effective moisture control.
Average Barrier Pricing
How much should you expect to spend on moisture barriers? The average cost typically ranges from $0.20 to $1.00 per square foot, making moisture barriers a cost-effective solution for moisture control under your flooring.
However, it's important to factor in additional expenses that can arise during the project. Here are three key considerations:
- Material Type: Basic polyethylene sheets are often more budget-friendly, while advanced options like rubberized membranes can increase your costs.
- Additional Supplies: Don't forget about tape and underlayment, which can add to your overall project budget.
- Long-Term Savings: Investing in high-quality moisture barriers can save you significant amounts on future repairs related to water damage or mold growth.
While the initial investment might vary, it's vital to assess the long-term benefits against these costs.
Selecting the right moisture barrier not only protects your flooring but also helps prevent costly repairs down the line. By understanding average costs and considering your options, you can make a more informed decision that balances quality and budget.
Long-term Savings Analysis
Investing in moisture barriers can lead to significant long-term savings for homeowners. The average cost of moisture barriers ranges from $0.20 to $1.00 per square foot, making them an affordable option to protect your flooring in moisture-prone areas.
By choosing quality moisture barriers, you can prevent costly future repairs linked to water damage, mold growth, and necessary flooring replacements. Proper installation of these barriers not only helps extend the lifespan of your click-and-lock flooring but can also save you hundreds to thousands of dollars over time.
Regular monitoring and maintenance of your moisture barriers are essential to avoid issues related to high humidity and excess moisture, which can cause flooring warping and deterioration. Many moisture barrier products come with warranties that can enhance your long-term savings by covering repair costs associated with moisture-related damage.
Cost-Saving Tips
If you're looking to save money on your flooring project, choosing cost-effective materials for moisture barriers is a smart move.
Here are three tips to help you achieve cost savings:
- Opt for Polyethylene Sheets: These materials typically range from $0.20 to $1.00 per square foot, making them an affordable choice for your moisture barrier.
- DIY Installation: Instead of hiring professionals, consider installing the moisture barrier yourself. With the right materials and guidelines, you can easily save money on labor costs.
- Inspect and Maintain Regularly: Keep an eye on your existing moisture barriers. Regular inspections and maintenance can prevent major issues that lead to costly repairs or even flooring replacements.
Long-Term Benefits
Moisture barriers under click-and-lock flooring offer considerable long-term benefits that can enhance your home's durability and comfort. By installing a moisture barrier, you greatly reduce the risk of moisture-related issues like warping and bubbling, potentially extending the lifespan of your flooring systems by up to 15 years. This preventive measure saves you from costly repairs caused by moisture damage, which can lead to expensive replacements of both flooring materials and subflooring.
Moreover, proper moisture control helps improve indoor air quality by limiting the growth of mold and mildew, which thrive in high-humidity environments and can adversely affect your health. The average cost of moisture barriers ranges from $0.20 to $1.00 per square foot, making them a cost-effective investment when considering the potential expenses associated with moisture damage.
Additionally, regular installation of moisture barriers enhances your home's energy efficiency by preventing heat loss through damp, cold floors, which can lead to lower utility bills.
In the long run, investing in moisture barriers not only protects your flooring but also contributes to a healthier living environment and reduced energy costs.
Troubleshooting Moisture Issues
When troubleshooting moisture issues under your click-and-lock flooring, start by identifying potential moisture sources like plumbing leaks or high humidity.
Regularly monitor humidity levels to catch any fluctuations that could lead to problems.
If you notice any damage, repair it promptly to prevent further complications and protect your flooring.
Identifying Moisture Sources
Identifying moisture sources is essential for maintaining the integrity of your click-and-lock flooring. If you don't address moisture issues upfront, you could face significant damage down the line.
Here are three common moisture sources to watch out for:
- High Humidity Levels: Excessive indoor humidity can lead to moisture buildup beneath your flooring. Aim to maintain humidity levels between 30-50% for ideal conditions.
- Leaking Plumbing: Check for any leaks in your plumbing system. Even small leaks can contribute to moisture accumulation, compromising the vapor barrier and affecting your flooring.
- Groundwater Seepage: Inspect areas like basements and crawl spaces for signs of groundwater seepage. These spots are prone to water accumulation and can cause serious moisture-related problems if not managed properly.
Don't forget to conduct moisture tests using a moisture meter to gauge moisture levels in subfloors and surrounding environments.
Additionally, inspect existing vapor barriers for gaps that might allow moisture to migrate into your living spaces. Taking these proactive steps can save you from costly repairs and maintain your flooring's integrity.
Monitoring Humidity Levels
Maintaining ideal humidity levels is vital for preventing moisture-related issues beneath your click-and-lock flooring. You should aim to keep indoor humidity between 30-50% to guarantee a healthy environment for your flooring.
Regularly monitoring humidity levels is essential, especially in moisture-prone areas like basements and bathrooms. A hygrometer can help you measure these levels accurately, allowing for timely interventions if humidity exceeds recommended ranges.
Inspect your flooring for signs of moisture damage, such as bubbling or warping, which may indicate excessive humidity or inadequate moisture barrier installation.
It's also wise to conduct periodic checks of the vapor barrier's integrity to make certain there are no punctures or tears that could let moisture seep in.
If you notice high humidity levels consistently, consider using dehumidifiers to help control moisture. This extra step can greatly protect your flooring from potential damage.
Repairing Damage Promptly
Addressing moisture damage as soon as it appears is essential for preserving the integrity of your click-and-lock flooring. Ignoring signs like bubbling or warping can lead to further degradation and costly repairs.
Here's how to tackle moisture issues effectively:
- Inspect Regularly: Check beneath your flooring for leaks or condensation. If moisture levels exceed 19%, you risk microbial growth and additional damage.
- Remove and Dry: If you notice damage, promptly remove the affected planks. Dry the area thoroughly to prevent long-term issues before replacing them.
- Monitor Humidity: Use moisture meters to keep track of humidity levels, aiming for 30-50%. This helps avoid moisture-related problems and maintains your moisture barrier's effectiveness.
For persistent moisture issues, you might need to take into account sealing concrete surfaces or installing a new vapor barrier.
By addressing moisture damage quickly and effectively, you can save yourself from extensive repairs and guarantee the longevity of your flooring.
Don't wait—act now to protect your investment!
Resources for Further Learning
When you're considering moisture barriers for your click-and-lock flooring, tapping into reliable resources can make all the difference. Understanding the various types of moisture barriers, like Class I (impermeable) and Class II (semi-permeable), is essential in preventing moisture damage.
Make certain to consult the manufacturer's installation guidelines, as they provide tailored recommendations for selecting and installing the right moisture barrier for your specific flooring type.
Proper installation techniques are critical. Overlapping seams by at least 6 inches and securing them with tape guarantees continuous coverage, enhancing the barrier's effectiveness.
Additionally, monitoring indoor humidity levels between 30-50% helps maintain ideal conditions, reducing the risk of moisture-related issues beneath your flooring.
Don't forget the importance of regular inspections. Keeping an eye on both the flooring and underlying moisture barriers can help you identify early signs of moisture damage.
This proactive approach not only prevents costly repairs but also extends the lifespan of your flooring. By utilizing these resources and best practices, you'll be well-equipped to protect your investment and enjoy your click-and-lock flooring for years to come.
Conclusion
In the end, investing in a moisture barrier for your click-and-lock flooring isn't just smart—it's essential. As you tackle your flooring project, remember that the right barrier can save you from costly repairs down the line. Coincidentally, while you protect your investment, you're also creating a healthier home environment. So, take the time to choose wisely, and you'll reap the long-term benefits of durability and peace of mind, ensuring your space remains beautiful for years to come.