
Replacing a worn-out range hood rotary light switch is a simple DIY task that can save you money. First, assess your range hood's condition and gather essential tools like screwdrivers and a multimeter. Always turn off the power at the circuit breaker to guarantee safety. After removing the old switch and wiring, install the new one and reassemble everything. You'll enjoy better kitchen lighting and functionality. Stick around to discover more tips and alternative solutions to enhance your range hood!
Understanding the Problem: Why Your Range Hood Light Switch Fails
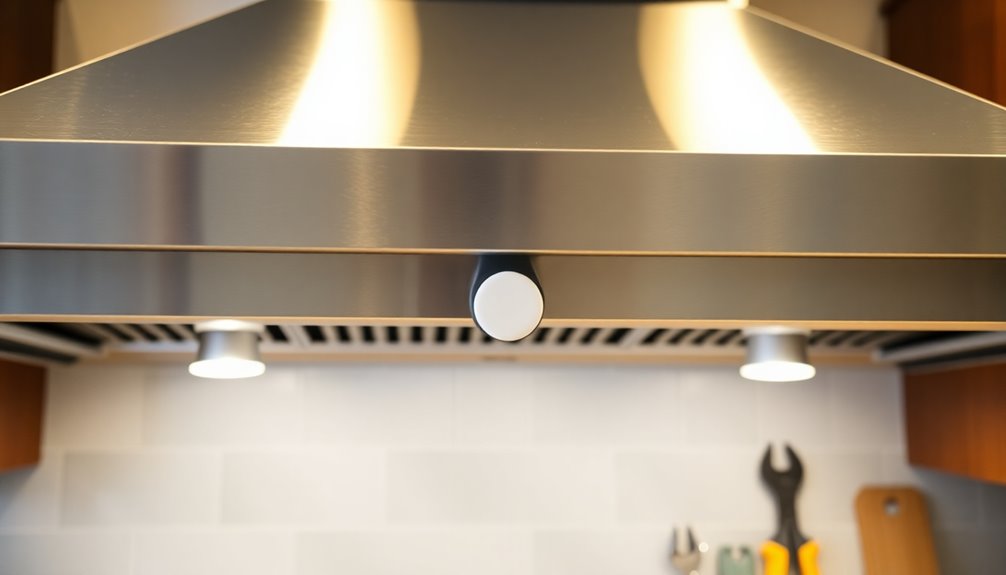
When you use your range hood light frequently, it's easy to overlook the wear and tear that can lead to its switch failing.
Models with rotary or rheostat controls are particularly susceptible, as constant turning can wear out the internal components. Environmental factors like grease buildup and heat exposure can further damage these switches, causing them to fail prematurely. Regular maintenance, such as cleaning around the switch area, is essential to prolong the lifespan of your range hood light switch. Additionally, understanding the importance of expense categorization can help you budget for necessary repairs or replacements, ensuring you are financially prepared when issues arise. Proactive financial management can also assist in planning for unexpected home repairs. Implementing budgeting tools can make it easier to allocate funds for these types of expenses.
If you own an older range hood, you might struggle to find replacement parts, especially for models like the Broan Micromate 12000. Plus, many of these switches are designed in a way that makes repair access difficult, often requiring disassembly.
Assessing the Condition of Your Range Hood
Your range hood's performance is closely tied to its overall condition, so evaluating it regularly can help you catch potential issues before they escalate.
Start by inspecting for visible signs of wear, like rust or physical damage that could affect functionality. Check the filters for grease buildup; clogged filters hinder airflow and efficiency. Utilizing budgeting apps can also help you track any repairs or maintenance expenses related to your range hood, ensuring you stay within your financial limits. Regular monitoring of these expenses fosters disciplined savings habits that contribute to effective financial management.
Pay attention to the noise level during operation; excessive noise might indicate a failing motor. Evaluate the quality of light your range hood provides—dim or flickering lights could signal electrical issues, often related to the light switch.
Finally, consider the age of your range hood. If it's over 10-15 years old, it might be time to reassess its efficiency and potential replacement. Additionally, conducting periodic audits of your range hood's condition can help you optimize its performance and longevity.
Tools and Materials Needed for the Replacement
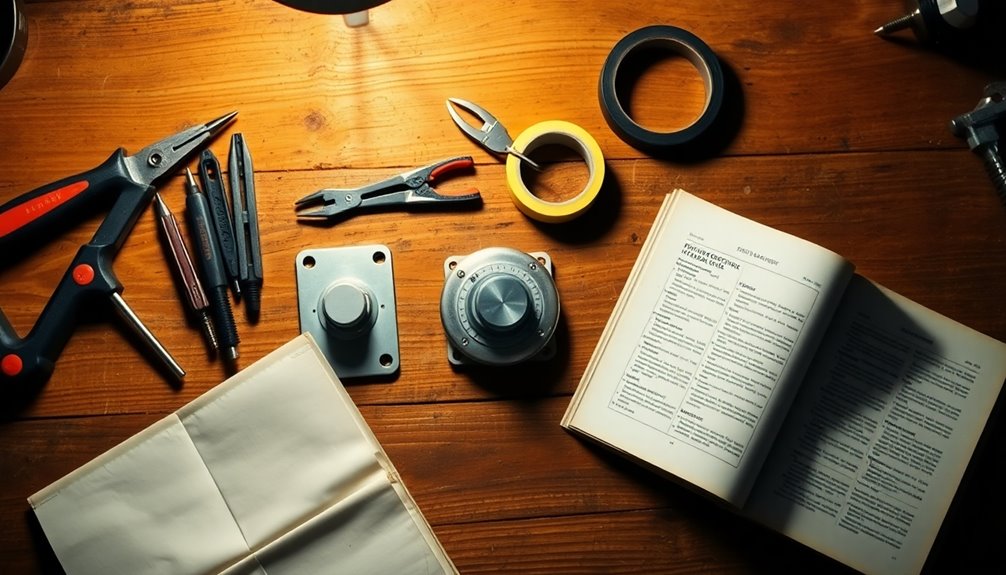
Before you start replacing your range hood light switch, gather the essential tools and materials.
You'll need a screwdriver set, an Allen key, and a compatible replacement rotary switch, among other items. Having everything ready will make the replacement process smoother and more efficient. Additionally, having a good understanding of user-friendly interfaces can help you navigate the installation instructions more easily. Using a tool with automated reporting features can also streamline your project tracking, ensuring you stay organized throughout the replacement process. Furthermore, choosing a tool that supports integration options can enhance your overall project management experience.
Essential Tools Required
Replacing a range hood light switch requires a few essential tools to guarantee the process goes smoothly.
You'll need a flathead screwdriver for removing screws and a Phillips screwdriver to secure the components. An Allen key is also important for knob removal, so make sure you have the right sizes for your specific model.
A multimeter is essential for testing electrical connections and verifying that the power is off before you start, ensuring your safety.
If you need to trim or reconnect wires, wire strippers will come in handy.
Don't forget a small container or magnetic tray for organizing screws, and a camera or smartphone to take reference photos of the wiring setup for easier reassembly.
Material Specifications Needed
Having the right tools is just the beginning; understanding the materials you'll need for the replacement is equally important. You'll specifically need a new switch, like the Broan SR561138, which operates at 3A and 120 VAC. Additionally, consider these essential items:
| Material | Purpose |
|---|---|
| Broan SR561138 | New rotary light switch |
| Screwdriver | Remove screws |
| Allen key | Adjust the knob |
| Two-part epoxy | Reinforce weak points |
| Safety gear (gloves, goggles) | Protect during disassembly and installation |
A clean workspace with adequate lighting will help you avoid losing small components. This preparation sets you up for a smooth replacement process!
Safety Precautions: Ensuring a Safe Working Environment
Ensuring a safe working environment is essential when replacing your range hood light switch, especially since electrical repairs can pose significant hazards.
Before you start, always turn the power off at the circuit breaker to prevent electrical shock. Use insulated tools to minimize the risk of accidental contact with live wires. Additionally, timely payments for necessary repairs can prevent financial strain. Budgeting apps can help you manage these expenses effectively.
Wearing safety goggles is a smart choice to protect your eyes from debris while disassembling the range hood. Keep your work area dry and free of liquids to reduce electrical hazards.
Finally, having a first aid kit nearby is vital; familiarize yourself with its contents in case of minor injuries during the repair. Additionally, consider setting up timely payment reminders to stay organized with your budget, ensuring you can cover any unexpected repair costs.
Following these precautions will help create a safer DIY experience.
Turning Off Power: The First Step in Your DIY Project
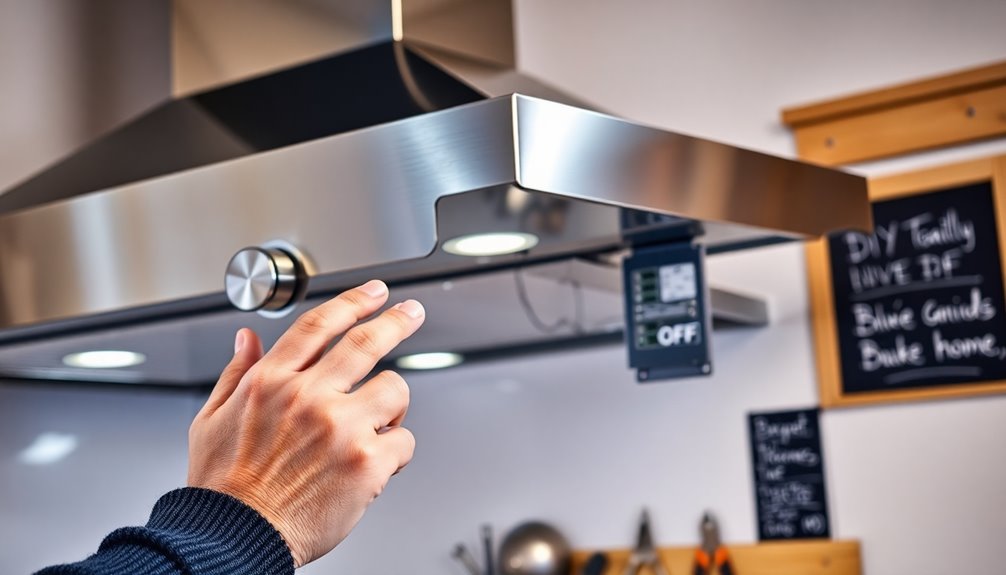
After taking the necessary safety precautions, the first step in your DIY project is to turn off the power to your range hood.
Locate the corresponding circuit breaker and switch it off to guarantee safety and prevent electrical hazards. Once you've done that, confirm that the power is off by using a non-contact voltage tester on the switch or light fixture. It's essential to verify no live current is present. Real-time insights into your electrical system can help ensure a safe working environment. Regularly monitoring your electrical setup can enhance risk assessment for safety.
Keep a flashlight handy, as the workspace might be dim without power. If you have multiple breakers, consider labeling the one you turned off or snapping a photo for future reference. Additionally, understanding the importance of tracking progress can help you stay organized throughout your DIY project.
After your repairs, double-check that everything is securely reassembled before restoring power to the circuit.
Disassembling the Range Hood: Step-by-Step Guide
Before you start disassembling your range hood, it's essential to prioritize safety by turning off the power.
You'll need a few basic tools, like a screwdriver and an allen key, to make the process smoother.
With everything set, you're ready to take the first steps toward replacing that light switch.
Safety Precautions First
When you're ready to disassemble your range hood, prioritizing safety is essential to avoid accidents.
Start by turning off the power at the circuit breaker to prevent electrical hazards. Remember, safety precautions first!
Next, wear safety gear like gloves and goggles to protect yourself from sharp edges and debris.
Carefully remove the grease filters, as they might obstruct your access to screws and panels.
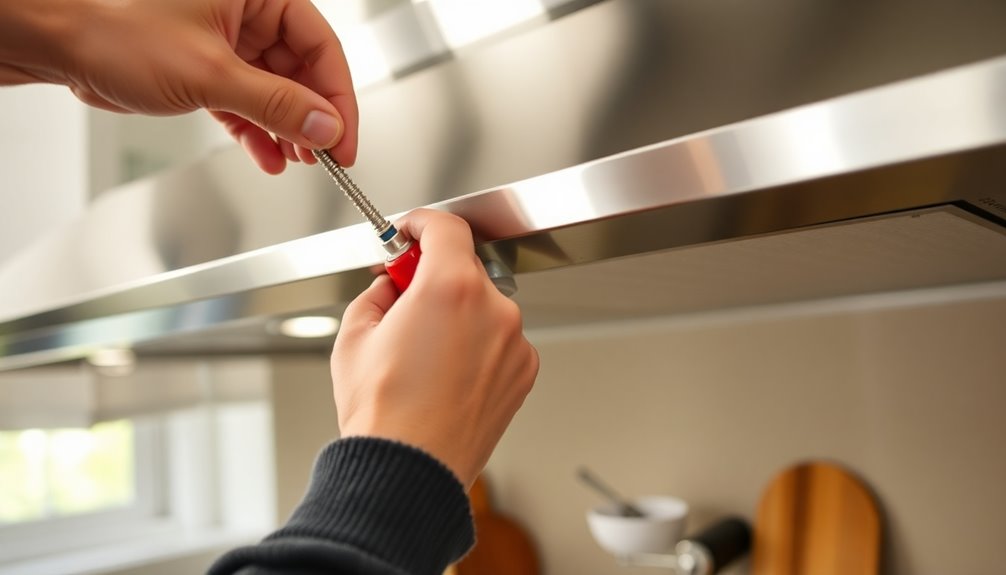
Once that's done, locate and unscrew the four screws securing the front panel, noting their specific positions.
One screw will be hidden inside the filter channel, while the others are on both sides.
Using appropriate tools, like an Allen key, will help you remove the knob without damaging surrounding components.
Stay safe!
Tools Required for Disassembly
To successfully disassemble your range hood, you'll need a few essential tools on hand. First, grab a standard screwdriver to remove screws, as it's one of the primary tools required for disassembly.
An Allen key is necessary for knob removal, helping you access the internal components. You may also need a socket wrench for securing screws.
Before diving in, don't forget to turn off the power at the breaker to guarantee safety while you work with the light and wiring.
To make your task easier, start by removing the grease filters. This gives you better access to the screws that hold the front panel in place, leading you closer to replacing the light switch.
Accessing the Light Switch: Tips for Efficient Disassembly
Although disassembling your range hood may seem challenging, following a few simple steps can make accessing the light switch straightforward. Start by ensuring the power is turned off for safety. Next, remove the grease filters by pulling down on the handle. This step provides better access to internal components.
| Step | Action | Notes |
|---|---|---|
| 1. Power Off | Switch off the power supply | Safety first |
| 2. Remove Filters | Pull down the handle and drop the back | Easier access |
| 3. Unscrew Front Panel | Locate and remove four screws | One in filter channel |
| 4. Lower Panel | Gently lower the panel to access the light switch | Watch for wiring connections |
| 5. Take a Photo | Document existing wiring before disconnecting | Helps with reconnection |
Now you're ready to move on to replacing the fan switch!
Removing the Old Switch: Key Techniques
Carefully remove the old switch to guarantee a smooth replacement process.
First, make sure the power's turned off at the breaker—this prevents any electrical hazards.
Next, take out the grease filters by pulling the handle and dropping the back down for easier access to the switch.
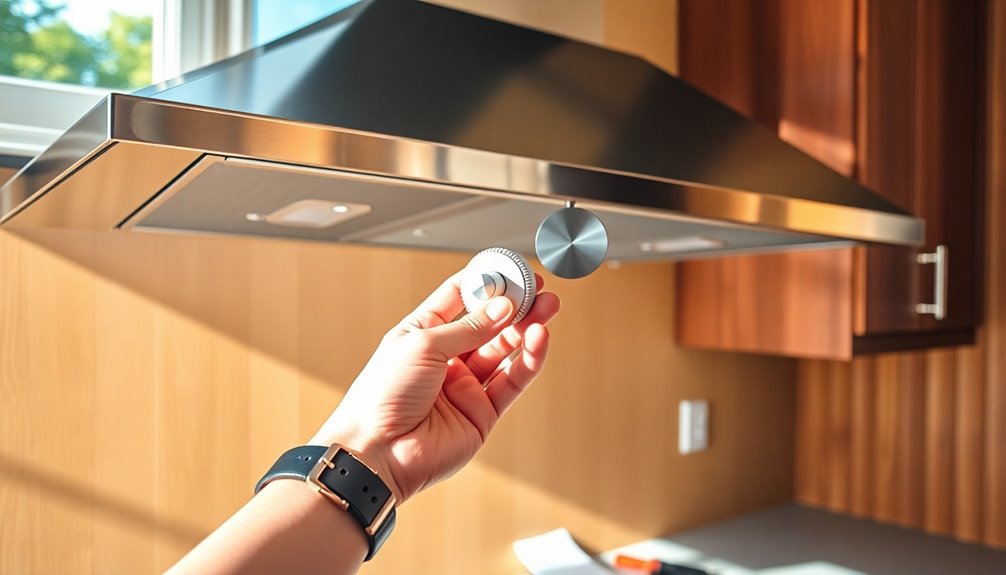
To begin removing the old switch, use an allen key to take off the knob, locating the hole around the knob's perimeter.
After that, find and remove the four screws securing the front panel, including the one inside the filter channel.
Once the panel is lowered, you'll need to remove the nut holding the old switch in place.
This lets you pull it off from the back side, completing the removal process.
Choosing the Right Replacement Switch
When you're picking a replacement switch for your range hood, it's essential to match the specifications and guarantee compatibility with your existing setup.
You'll want to source options that are O.E.M. authorized and check local stores for availability to save time.
Keep installation considerations in mind, like orientation and complexity, to make the process smoother.
Switch Specifications and Compatibility
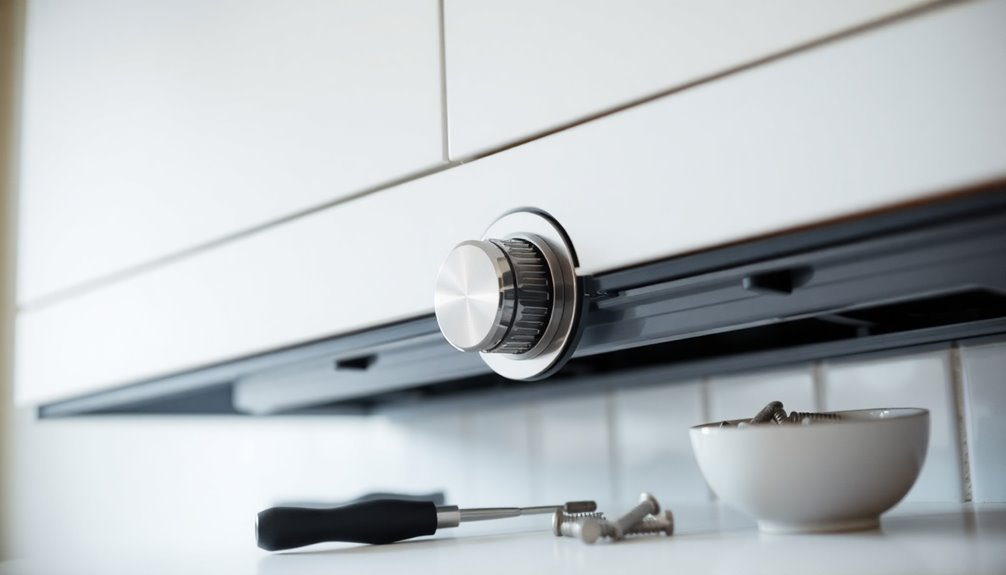
Choosing the right replacement switch for your Broan range hood is essential to guarantee proper functionality and safety.
Start by ensuring the switch specifications match your electrical system, specifically 3A / 120 VAC. Look for a switch designed for panel mounting and featuring a normally open contact type to work correctly with your setup.
Since your original model was a rotary type, consider a rotary switch for ease of operation and dimming functionality.
Additionally, verify the actuator type, as the original switch had a push-button design, impacting user experience.
Finally, check compatibility with your specific Broan model; switches like the Broan SR561138 are tailored for various Broan range hood models, ensuring a seamless fit.
Sourcing Replacement Options
After confirming your replacement switch's specifications and compatibility, it's time to explore your sourcing options.
Start by checking local electrical supply stores for O.E.M. parts, like the Broan SR561138 switch, which fits various Broan models and has great customer feedback.
If you prefer a wider selection, consider online marketplaces like Amazon and eBay. Just make sure to read product reviews and verify specifications before you buy a replacement switch to avoid fit or operation issues.
Additionally, take a clear photo of your existing wiring setup to guide you during installation.
If you can't find a direct replacement, look into custom or fabricated switches that meet the same electrical ratings as your original switch.
Installation Considerations and Tips
Before diving into the installation process, it's crucial to guarantee that your replacement switch meets all necessary specifications. Make sure the voltage (120 VAC) and amperage rating (3A) match your original switch for proper functionality.
Look for switches with a similar mounting type and actuator design to avoid complicated modifications during installation. You might also consider a switch with a larger plate or dimming capabilities to enhance usability.
Don't forget to check customer reviews to spot any potential issues with orientation or installation clarity.
Finally, always take a reference photo of your existing wiring configuration before disconnecting the old switch. This step will help guarantee you accurately reconnect the new switch, making the process smoother.
Installing the New Switch: A Detailed Process
To guarantee a smooth installation of your new range hood light switch, start by shutting off the power at the breaker for safety.
Next, carefully remove the knob from the old switch using an allen key. Take a picture of the wiring configuration for reference. Unscrew and take out the old switch from its mounting hole, then disconnect the wires, noting their original positions.
Now, install the new switch by connecting the wires according to your reference picture, ensuring everything aligns correctly. Secure the new switch in place.
Finally, restore power to the range hood and test the new switch to confirm it functions properly before moving on to the reassembly process.
Reassembling the Range Hood: Final Steps
Once you've installed the new light switch, it's time to reassemble the range hood. Start by carefully sliding the light panel back into position, aligning it with the screw holes. Secure it using the four screws you removed earlier.
Next, reinsert the grease filters, ensuring you position the back of the filter first before pushing it into place.
Don't forget to reconnect any wiring according to the reference picture you took during disassembly, as incorrect connections can lead to malfunctions.
Once everything is securely in place, restore power to the range hood.
Finally, clean the work area thoroughly, making sure no tools or debris are left inside, to maintain a safe cooking environment.
Testing the New Switch: Ensuring Proper Functionality
With the range hood reassembled, it's time to check that the new light switch is working properly.
First, restore the power and turn the switch on to confirm the light functions.
Test the dimming feature by rotating the switch through its full range, ensuring smooth operation and consistent brightness.
If something seems off, double-check your wiring connections against the reference picture you took earlier.
Keep an ear out for unusual sounds or flickering lights, as these could indicate loose connections or compatibility issues.
If you notice any problems, document your testing results and adjustments for future reference.
If the switch fails to perform, you might need to replace the whole unit again.
Alternative Lighting Solutions for Your Kitchen
If you're looking to brighten your kitchen, consider LED light bars for sleek, efficient counter lighting that can withstand moisture.
Battery-operated options like puck lights offer flexibility without the hassle of wiring, perfect for quick fixes.
Plus, magnetic LED lights let you adjust illumination easily, ensuring you always have the right light for cooking or entertaining.
LED Light Bar Options
When upgrading your kitchen lighting, consider the versatility of LED light bars as an alternative solution.
LED light bar options like waterproof vertical bars are perfect for illuminating counters while reducing water exposure risks. You could also explore LED tape lights, which install easily under your range hood, allowing you to customize lighting intensity and color.
If you need portable solutions, battery-operated LED puck lights can enhance visibility in hard-to-light areas without complicated setups. Magnetic LED lights are another option, easily attaching to metal surfaces for adjustable positioning.
Many of these modern LED options feature adjustable brightness, making them efficient for various cooking tasks while helping you save on energy costs.
Battery-Operated Lighting Solutions
Battery-operated lighting solutions offer a practical way to brighten up your kitchen without the hassle of wiring or electrical outlets.
These lights, like LED puck lights and waterproof vertical LED light bars, provide flexibility and can be installed easily in tight spaces or under cabinets. Many come with adjustable brightness settings, allowing you to customize the ambiance while cooking.
Rechargeable options are available, so you won't need constant battery replacements, making maintenance a breeze. Plus, battery-operated lighting solutions are energy-efficient, utilizing LED technology for prolonged usage and lower energy costs.
With their portability and resistance to moisture, these lights are ideal for enhancing visibility and style in your kitchen.
Magnetic LED Light Ideas
Magnetic LED lights provide a flexible and straightforward lighting solution for your kitchen, effortlessly attaching to metal surfaces without the need for complicated installations.
You can easily enhance visibility under cabinets or inside drawers using puck lights or strip lights, creating an inviting atmosphere. Many of these lights are battery-operated, making them perfect for areas without direct electrical access.
Plus, with adjustable brightness settings, you can customize your kitchen's illumination to suit your needs. Consider options with rechargeable batteries to save on replacements and promote eco-friendly practices.
Additionally, look for magnetic LED lights with adhesive mounting or built-in motion sensors for added convenience and energy efficiency. Illuminate your space creatively and practically!
Tips for Future Maintenance and Care of Your Range Hood
To keep your range hood functioning effectively, regular maintenance is essential.
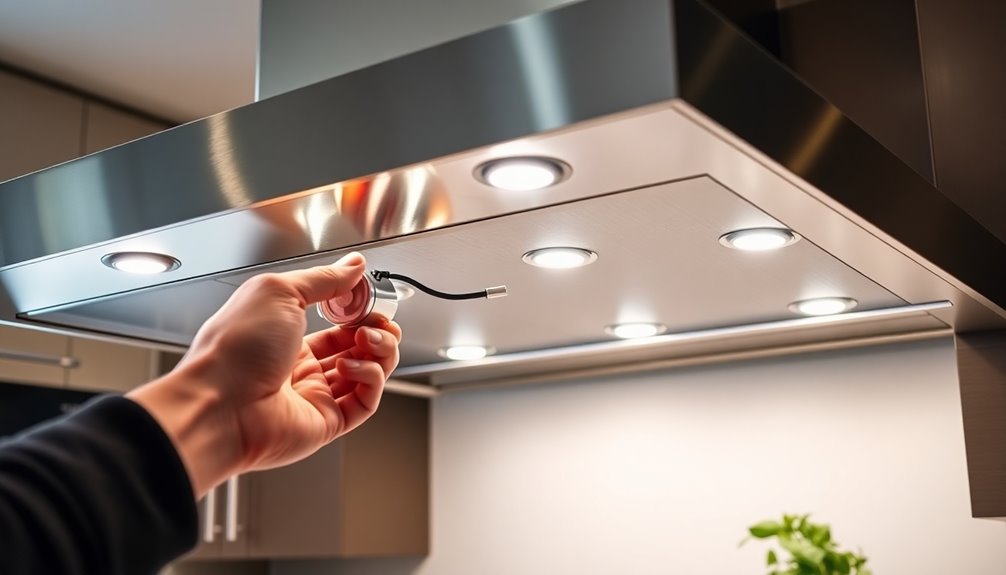
Clean the grease filters every 1 to 3 months to maintain peak airflow and reduce fire risks. If the light broke, inspect the bulbs and replace them as needed.
Wipe down both the exterior and interior surfaces weekly with a damp cloth and mild detergent to prevent grease buildup.
Periodically check the fan operation; any unusual noises or vibrations might signal a need for professional servicing.
Additionally, verify the ductwork is clean and free from obstructions at least once a year for effective ventilation.
Conclusion
In summary, replacing your range hood rotary light switch is a budget-friendly DIY project that can enhance your kitchen's functionality. Did you know that over 50% of homeowners neglect regular maintenance on their range hoods, leading to premature failure? By taking the time to assess and care for your appliance, you not only save money but also guarantee a brighter, safer cooking environment. So, roll up your sleeves and enjoy the satisfaction of a job well done!


