To stop the peeling on your exterior window sills, start by scraping off loose paint and sanding the surface for a smooth finish. Make certain to clean the area thoroughly before applying a high-quality primer like Aqualock Plus, followed by three thin coats of durable paint. Avoid common mistakes like skipping prep work or using low-quality products. With the right techniques and maintenance practices, you can guarantee your window sills look great year after year. Discover more tips to keep them in top shape!
Understanding the Problem: Why Do Window Sills Peel?
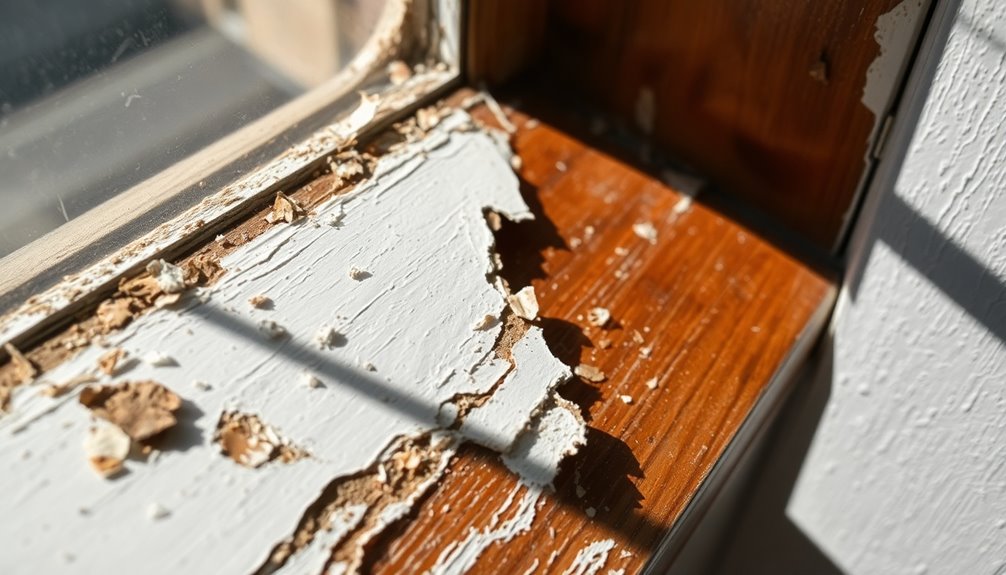
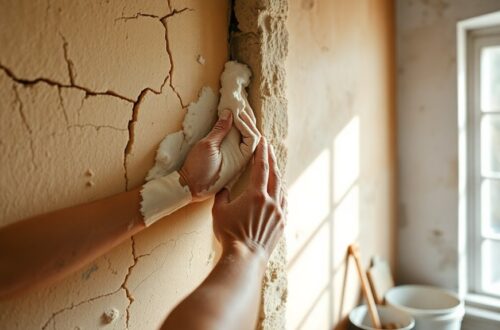
When you notice your window sills peeling, it’s often a sign that moisture has made its way beneath the paint. This moisture intrusion weakens the paint’s adhesion, causing it to flake off over time.
Peeling window sills often indicate moisture beneath the paint, weakening adhesion and leading to flaking over time.
Extended sun exposure can worsen the issue, especially if matt paint is applied over gloss without a proper primer, creating a weak bond. Poor preparation during previous painting jobs, like not scraping old paint or using an unsuitable primer, can lead to recurring peeling.
Additionally, condensation from inside your home or rain and snow on the exterior can create pressure under the paint film, resulting in cracks. To combat this, proper sealing, caulking, and regular maintenance are essential to keep water away from your window sills. It’s also important to identify weak spots that may allow moisture intrusion, ensuring your repairs are effective.
Essential Tools for Fixing Peeling Window Paint
To effectively fix peeling window paint, you’ll need a few essential tools.
Start with a paint scraper, sanding sponge, and some rags for surface prep.
Don’t forget aqualock primer and painter’s tape to guarantee a smooth and lasting finish. Additionally, using construction adhesive can help reinforce any loose areas before repainting for a more durable result.
Essential Painting Tools Needed
Fixing peeling window paint requires the right tools to guarantee a smooth and lasting finish.
Start with a paint scraper to effectively remove any flaking paint, ensuring a clean surface for your repair. Once you’ve scraped away the old paint, grab a sanding sponge to smooth the area before applying primer.
A quality paint brush is essential for achieving even coats, so invest in one that feels comfortable in your hand. Don’t forget painter’s tape to protect adjacent surfaces, giving you clean lines as you paint.
Finally, use drop cloths to shield the surrounding area from splatters and debris. With these essential tools, you’ll set the stage for a successful window sill restoration.
Surface Preparation Supplies Overview
Before you plunge into painting your window sills, it’s essential to gather the right surface preparation supplies.
Start with a paint scraper to remove any loose paint, ensuring a smooth foundation for your new coat. Next, use a sanding sponge to smooth the surface, eliminating rough spots and imperfections.
Don’t forget a rag to clean away dust and debris—this step is critical for proper adhesion. Protect surrounding areas with painter’s tape for clean lines and to avoid accidental smudges.
A drop cloth will catch drips and spills, keeping your workspace tidy. Finally, consider a shop vac to eliminate dust after sanding, ensuring your surface is pristine and ready for primer and paint application.
Recommended Primer and Paint
Choosing the right primer and paint is crucial for achieving a durable finish on your exterior window sills.
For your primer, Aqualock Plus is the recommended primer due to its moisture control and mildew resistance, which helps prevent future peeling. Start with a thin layer and apply a second coat after 30 minutes for ideal adhesion.
When it comes to paint, Benjamin Moore’s Simply White in semi-gloss is an excellent choice for a clean, long-lasting look. Apply three light coats of this exterior paint, allowing 30 minutes to an hour of drying time between each coat.
Finally, remember to remove painter’s tape while the last coat is still wet to guarantee a neat finish without peeling.
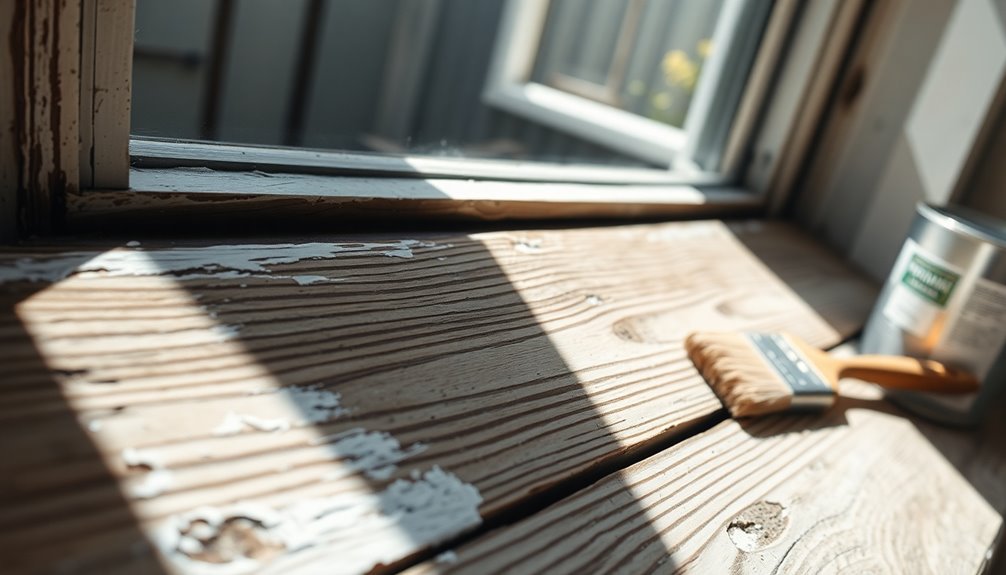
Step-by-Step Guide: Scraping and Sanding Your Window Sills
Scraping and sanding your window sills is essential for a smooth and lasting finish. Follow these steps to get the job done right:
Scraping and sanding window sills ensures a smooth, lasting finish—follow these steps for the best results.
- Use a paint scraper or wire brush to remove all loose, flaking paint, especially in the corners where damage is often worse.
- After scraping, grab 220-grit sandpaper or a sanding sponge to smooth the edges where bare wood meets existing paint for a seamless look.
- Clean the surface thoroughly with a rag or Shop Vac to eliminate dust and debris before you proceed.
Don’t forget to apply painter’s tape around the windows and hardware to protect surfaces from overspray while sanding and painting. Proper maintenance, including regular inspections of insulation, will help prevent moisture issues that can contribute to exterior damage.
A little effort now will save you from more flaking down the line!
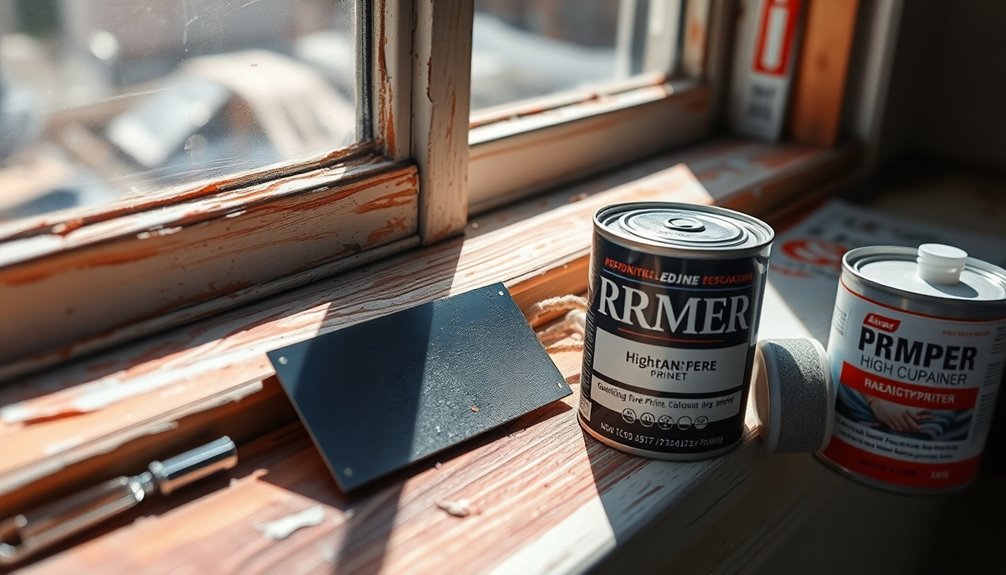
The Importance of Using the Right Primer for Exterior Paint
When it comes to achieving a durable and flawless exterior paint job, using the right primer is essential. Opt for a primer with built-in moisture control, like Aqualock Plus, to prevent future peeling.
A quality primer effectively seals porous surfaces and blocks water stains, creating a solid foundation for your topcoat. For ideal adhesion, apply a thin layer of primer, then add a second coat after 30 minutes to enhance durability.
It’s vital to use a primer specifically designed for exterior applications, as it resists mildew and extends the life of your paint job. Properly primed surfaces can last up to four years before needing rework, saving you time and effort in the long run. Additionally, just like using washable electrostatic filters for HVAC systems can improve air quality and reduce maintenance costs, selecting the right primer can ensure long-lasting results in your painting projects.
How to Choose the Best Paint for Your Window Sills
After priming your window sills, picking the right paint is key to achieving a long-lasting finish. Here’s how to make the best choice:
- Go for exterior acrylic latex paint: It’s durable and weather-resistant, perfect for outdoor exposure.
- Choose a semi-gloss or gloss finish: This not only looks great but also provides better moisture protection, reducing peeling.
- Look for mildew and UV resistance: Paints with these features minimize degradation from sunlight and the elements.
Brands like Benjamin Moore or Behr offer high-quality formulations designed specifically for exterior applications, ensuring your window sills stay beautiful and protected. Additionally, selecting the right paint can prevent common mistakes that lead to deterioration and peeling.
Taking the time to select the right paint will save you from constant upkeep in the long run.
Techniques for Applying Paint to Achieve a Smooth Finish
To achieve a smooth finish on your window sills, start with proper surface preparation by scraping and sanding any loose paint.
Once the surface is clean, use the right brush application methods to guarantee even coverage. Proper technique will set you up for a professional-looking result.
Surface Preparation Techniques
Start by thoroughly scraping off any loose or peeling paint from your window sills. This guarantees a clean surface for better adhesion of new paint.
Follow these essential surface preparation techniques to achieve a smooth finish:
- Sand the edges with a sanding sponge or 220-grit sandpaper to create a seamless changeover.
- Clean the area meticulously with a rag or shop vac, removing all dust and debris.
- Apply a suitable primer, like Aqualock Plus, to seal the surface and enhance paint longevity.
Once you’ve prepped your peeling window sills, finish with three light coats of high-quality exterior paint.
Allow adequate drying time between coats for the best results. Your window sills will look refreshed and last longer!
Proper Brush Application Methods
While applying paint to your window sills, using the right brush techniques is essential for achieving a smooth, professional finish.
Start with a high-quality paintbrush that has synthetic bristles, as they work well with water-based paints and help create a flawless painted surface. Apply the paint in long, even strokes, following the grain of the wood to minimize brush marks.
To maintain a wet edge, work in sections, preventing lap marks and ensuring a seamless look. Dip your brush lightly in paint to avoid overloading it; tapping off excess on the can’s rim helps.
For best results, apply multiple thin layers, allowing adequate drying time between each coat for a durable, smooth surface.
Common Mistakes to Avoid When Painting Window Sills
When painting window sills, overlooking essential preparation steps can lead to frustrating results. You don’t want to deal with peeling paint year after year. Avoid these common mistakes:
- Skipping Scrape and Sanding: Don’t neglect to remove all loose or old paint. If you don’t, your new paint won’t adhere properly, and you’ll face recurring flaking.
- Ignoring Primer Quality: Always use a high-quality primer with moisture resistance. This prevents water damage that leads to peeling.
- Forgetting Painters Tape: Without tape, you risk messy edges and paint overlaps, creating an unsightly appearance that can contribute to peeling. Additionally, using natural oils can help protect the sills from moisture and prolong the life of your paint job.
Maintenance Tips to Prevent Future Peeling
To keep your exterior window sills looking great and prevent future peeling, regular maintenance is essential.
Start by inspecting your window sills regularly for any signs of damage or peeling. Address these issues promptly to avoid further deterioration.
Regularly inspect your window sills for damage or peeling and address issues promptly to prevent further deterioration.
Verify proper sealing where the windows meet the wood to prevent moisture intrusion, a primary cause of peeling paint. Maintain proper drainage to direct water away from the sills, reducing exposure that can lead to damage.
Before painting, apply a high-quality primer with moisture control properties to enhance adhesion. Additionally, using budget-friendly filters can improve your home’s air quality, which helps maintain the overall condition of your windows and sills.
Finally, schedule routine maintenance checks and repaint every few years with durable exterior paint.
These maintenance tips will help protect your window sills and keep them looking fresh and intact.
When to Seek Professional Help for Window Repairs?
How do you know when it’s time to call in a professional for window repairs? If you notice any of the following, it’s time to seek professional assistance:
- Extensive rot or structural damage: If your window sills are compromised, leave repairs to the experts.
- Failed DIY attempts: If your fixes for peeling paint and gaps haven’t worked, professionals have the right tools and techniques for lasting results.
- Lead-based paint concerns: Homes built before 1978 may have lead paint, so hiring a certified professional is vital for safe removal.
Additionally, if you find yourself spending over $500 annually on repairs, it may be time to consider whether a full replacement is a more cost-effective option.
Don’t let potential issues escalate.
Getting professional help not only guarantees a proper fix but also protects your home and loved ones from further damage.
Conclusion
By following these steps, you can say goodbye to those pesky peeling window sills for good! With the right tools, techniques, and maintenance, your sills will look as fresh as a daisy year after year. Remember, it’s all about preparation and quality materials. Don’t let peeling paint take over your home—be proactive and keep your windows looking fabulous! And if the problem persists, don’t hesitate to call in the pros; sometimes, it’s just too big of a paint job to tackle alone!