
To extract a stripped screw using only graphite and grit, start by applying a small amount of graphite directly to the screw head. Then, sprinkle gritty material around it for added traction. Use a flat-head or Phillips screwdriver, applying steady, downward pressure while turning counterclockwise. If the screw resists, adjust the grit or apply more graphite for better grip. This technique can save you time and effort, and there’s more to explore on effective methods.
Understanding Stripped Screws: What Happens?
When you try to remove a screw and find that the screwdriver just slips, you’re likely dealing with a stripped screw. This happens when the screw head gets damaged, preventing a solid grip.
Stripped screws can be a frustrating challenge, as a damaged head prevents a secure grip for removal.
Common causes include using the wrong size screwdriver, applying too much force, or rust weakening the screw. Softer metals are especially prone to stripping, so it’s essential to use the right tools.
Once stripped, these screws can be tough to remove, often requiring specialized techniques. To avoid this headache, make certain you choose the correct screwdriver and apply just the right amount of pressure during installation or removal. Understanding these factors can help guarantee your tools work well and prevent future stripping issues. Additionally, using natural alternatives for lubrication can help reduce friction and prevent potential stripping during installation.
Why Do Graphite and Grit Work for Extraction?
When you’re trying to extract a stripped screw, graphite and grit work together to make the process smoother.
Graphite acts as a lubricant, reducing friction, while grit increases surface traction for a better grip. This combination fills in gaps around the screw head, allowing for more effective engagement with your tool. Additionally, using the right tools can enhance financial organization in your projects, making the extraction process more efficient.
Increased Friction Properties
Graphite and grit work effectively together for extracting stripped screws because they enhance friction properties in a unique way.
The gritty texture of materials like sand increases surface interaction, providing a stronger grip on the stripped screw head. This combination fills the gaps in the screw, allowing for better engagement with your tool.
Regarding friction mechanics, the graphite reduces any unwanted slipping while the grit boosts the overall friction. As a result, you can achieve improved torque application when turning the screw counterclockwise.
This method isn’t only effective but also cost-effective, utilizing common materials that make it accessible for quick DIY repairs. You’ll find it easier to extract that stubborn screw than you thought possible!
Lubrication Benefits
The effectiveness of graphite and grit in extracting stripped screws largely comes from their lubrication benefits. Graphite acts as a dry lubricant, promoting friction reduction between the stripped screw and your tool. This makes it markedly easier to turn the screw during extraction.
Meanwhile, grit adds texture, enhancing grip on the stripped head when combined with graphite. This combination not only improves contact surface but also dislodges rust or debris that could be keeping the screw stuck.
Using these lubrication types together mitigates the risk of further damaging the screw head, especially in metal screws. By applying these simple extraction techniques, you boost your chances of successful removal while preserving the integrity of your tools and screws.
Enhanced Grip Mechanism
Although many may underestimate the power of graphite and grit, their unique properties greatly enhance grip during screw extraction.
Graphite acts as a natural lubricant, reducing friction, while grit increases friction, providing a better grip for your tools. By applying these friction improvement strategies, you create a textured surface application that helps your screwdriver engage more effectively with the stripped screw head.
This combination is particularly useful when traditional extraction tools aren’t available, making it a practical solution for DIY enthusiasts.
Remember, applying steady pressure while using graphite and grit amplifies your enhanced grip techniques, making it easier to turn the screw counterclockwise for removal.
With the right approach, you’ll tackle that stubborn screw with confidence.
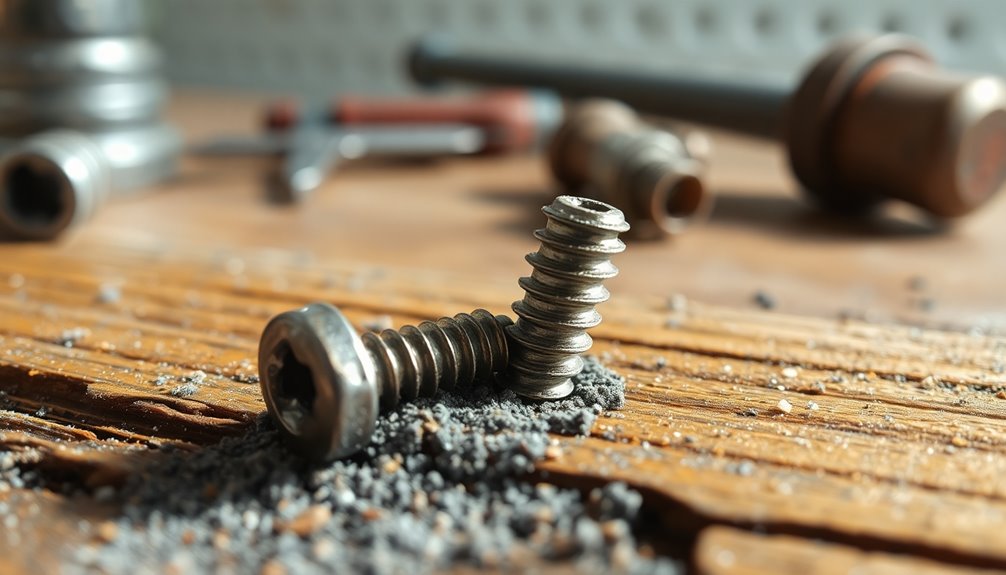
Tools You Need for the Job
When tackling the challenge of extracting a stripped screw, having the right tools on hand can make all the difference. First, grab a container for graphite powder, which enhances grip when sprinkled on the screw head.
You’ll also need grit, like sandpaper, to roughen the screw’s surface, increasing friction for better grip with your tool. Depending on your screw type, have a flathead or Phillips screwdriver ready to utilize effective screw extraction techniques.
A drill is essential if you plan to use specialized removal bits or create a slot in the screw head. Finally, keep a pair of pliers nearby for extra torque, avoiding common tool mistakes that can complicate alternative extraction methods. Additionally, ensuring that your tools are well-maintained can contribute to increased efficiency during the extraction process.
Preparing the Stripped Screw for Removal
Before you plunge into removing a stripped screw, take a moment to assess its condition and the surrounding area. Identify the screw type and its head design, as this will inform your screw extraction techniques.
If the screw is heavily damaged or rusted, you might need to adjust your approach. Next, clean the area around the screw to eliminate debris that could complicate your removal efforts. A clean workspace enhances your grip and control.
Once that’s done, you can prepare to apply graphite and grit, essential for increasing lubrication and friction. Consistent downward pressure during extraction will improve your chances of success. Additionally, ensure that you evaluate different finishes based on the screw’s location, as this can affect your extraction strategy.
Applying Graphite: How Much Is Enough?
When applying graphite to a stripped screw, you only need a pinch or two to boost grip without making a mess.
The right amount can make all the difference, as too much can create a slippery surface that hinders your efforts. Additionally, it’s essential to refrigerate cut onions properly to prevent spoilage, which is similar to ensuring the right conditions for effective tool usage.
Let’s explore how to find that sweet spot and the importance of using finely ground graphite for effectiveness.
Optimal Graphite Application Amount
To effectively extract a stripped screw, applying the right amount of graphite is essential. Start with a small amount, roughly the size of a pea, to create a lubricating effect.
One of the common application mistakes is using too much graphite, which can lead to a messy situation. Instead, practice ideal application techniques by evenly distributing the graphite across the stripped area. This maximizes friction and enhances your chances of success.
Allow the graphite to settle for a few minutes before attempting to turn the screw, as this helps it penetrate the threads. If you find graphite isn’t working, consider alternative lubricants, but remember that steady downward pressure is key for effective removal.
Grit Levels for Effectiveness
Finding the right grit level of graphite can markedly impact your success in extracting a stripped screw. When you’re choosing grit selection strategies, consider that finer grit levels enhance lubrication, while coarser grit can increase friction.
Start with a small amount—about the size of a pea—applied directly to the screw head. This helps reduce friction and improve grip. However, applying too much graphite can create a slippery surface, so adjusting grit levels is essential for ideal grit performance.
You may need to experiment with different grits to see what works best for your specific screw condition. Remember to apply consistent downward pressure while turning the screwdriver counterclockwise to maximize the effectiveness of the graphite.
Choosing the Right Grit: Types and Uses
Choosing the right grit is essential for effectively extracting a stripped screw. Grit variations determine how swiftly you can remove material and the finish you’ll achieve.
Coarse grits (40-60) are great for quick material removal, while medium grits (80-120) balance speed and finish. Fine grits (180-220) are best for achieving a smoother surface after extraction.
When making your grit selection, consider the material of the screw and the level of damage. For harder materials, silicon carbide works well, while aluminum oxide is perfect for general purposes. Proper grit applications maximize friction and grip, ensuring better engagement with the stripped screw, making your extraction efforts more effective. Furthermore, understanding proper maintenance techniques can enhance the longevity of your tools and their effectiveness in tasks like screw extraction. Choose wisely, and you’ll get the job done efficiently!
What Is the Role of Friction in Screw Extraction?
When dealing with a stripped screw, understanding the role of friction can greatly enhance your extraction efforts. Friction is the force resisting motion between surfaces, and it’s essential in screw extraction techniques.
By increasing friction coefficients between your screwdriver and the stripped screw head, you can improve grip and torque application. Using graphite can boost this friction, while grit further enhances resistance to slipping.
It’s imperative to maintain consistent downward pressure during this process, as it maximizes surface interactions and contact area, improving your chances of success. Moreover, utilizing materials that enhance energy efficiency can lead to more effective extraction methods.
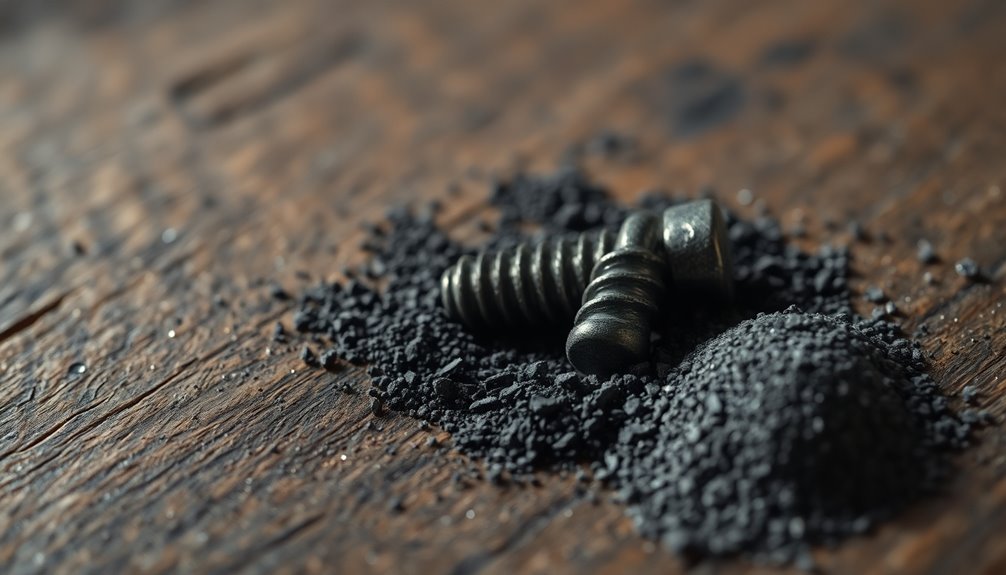
Step-by-Step: Applying Graphite and Grit
To successfully extract a stripped screw, start by applying graphite powder directly onto the screw head. This helps reduce friction and improves grip.
Next, sprinkle a bit of gritty material, like sand or fine gravel—great grit types for traction—around the screw. This will create additional texture for better grip.
Now, take your flat-blade screwdriver or other screw extraction tools and press firmly into the screw head, turning counterclockwise while applying steady downward pressure.
If the screw remains stuck, don’t hesitate to add more graphite and grit. Regular filter maintenance is essential for ensuring optimal performance during this process, so adjust your pressure technique as needed.
How to Use Your Screwdriver Effectively
Using the right screwdriver can make all the difference in effectively extracting a stripped screw. First, choose a screwdriver type that matches the screw head size and shape; this maximizes grip and minimizes further stripping.
When turning the screwdriver counterclockwise, apply consistent downward pressure to enhance grip and prevent slipping. If the screw resists, placing a rubber band between the screwdriver and the screw head adds friction for a better hold.
For particularly stubborn screws, consider using a rotary tool to create a slot, allowing a flat blade screwdriver to work more effectively. Always maintain a slow and steady motion, adjusting your pressure as needed to avoid damaging the screw and increasing your chances of successful extraction. Additionally, using expense management apps can help you keep track of any tools or materials purchased for such projects.
Maintaining Downward Pressure: Why Does It Matter?
Consistent downward pressure plays an essential role in extracting a stripped screw effectively. By applying steady pressure, you markedly enhance the grip on the screw, making it easier to turn counterclockwise.
This approach minimizes the risk of your screwdriver slipping, which can lead to further damage to the screw head. The friction generated from downward pressure also improves screw engagement, especially when using extraction techniques like the rubber band method or specialized tools.
It’s vital to adjust your pressure according to the screw’s condition; too little may result in failure, while too much can cause additional stripping. Slow, deliberate movements while maintaining downward pressure increase your chances of successful extraction without complications. Additionally, using proper regular maintenance on your tools can help prevent situations where screws become stripped in the first place.
Common Mistakes to Avoid When Extracting a Screw
When you’re extracting a stripped screw, rushing the process can lead to even more damage.
It’s essential to assess the screw’s condition first; ignoring this step may result in using the wrong tools or techniques.
Take your time and focus on a careful approach to guarantee a successful extraction.
Rushing The Process
Rushing the extraction process can lead to mistakes that complicate your efforts and damage the screw further. When you apply excessive force without evaluating the screw condition, you risk stripping it even more, increasing extraction consequences.
Instead of relying on hasty rushing techniques, take a moment to gather your tools and materials. Proper time management is essential; neglecting it can lead to poor decisions and ineffective removal attempts.
Make sure to use steady downward pressure while turning the screw to prevent slipping. If your initial technique fails, don’t hesitate to experiment with different methods. A patient approach can save you time and frustration in the long run, ensuring a successful extraction.
Ignoring Screw Condition
Many people overlook the condition of a stripped screw, which can lead to ineffective extraction attempts. To avoid this mistake, take time for proper assessment before diving in.
Here are three key screw assessment techniques:
- Evaluate Damage: Check for rounded edges or rust, as this can dictate your extraction tool choices.
- Identify Screw Type: Recognizing whether you’re dealing with a Phillips, flat, or hex screw is essential to prevent using the wrong tools.
- Consider Depth: Assess how deep the screw is; deeper screws may need specialized techniques for proper access.
When to Try Alternative Methods?
If traditional screwdriver techniques aren’t working and you can’t get a grip on the stripped screw, it’s time to contemplate alternative methods.
Start by evaluating the screw condition; if the screw is made of soft metal, applying graphite can help reduce friction and improve grip.
You might also consider more aggressive extraction methods if the screw proves particularly stubborn. Using grit or creating a new slot with a rotary tool can enhance traction when standard techniques fail.
Experimenting with these alternative extraction methods can lead to successful removal when all else has been ineffective.
Tips for Stubborn or Damaged Screws
When you’re up against a stubborn or damaged screw, a few tricks can make all the difference.
Try applying a mix of graphite powder and grit to boost grip, and don’t underestimate the power of patience and persistence.
Sometimes, a little creativity in your approach can lead to successful extraction.
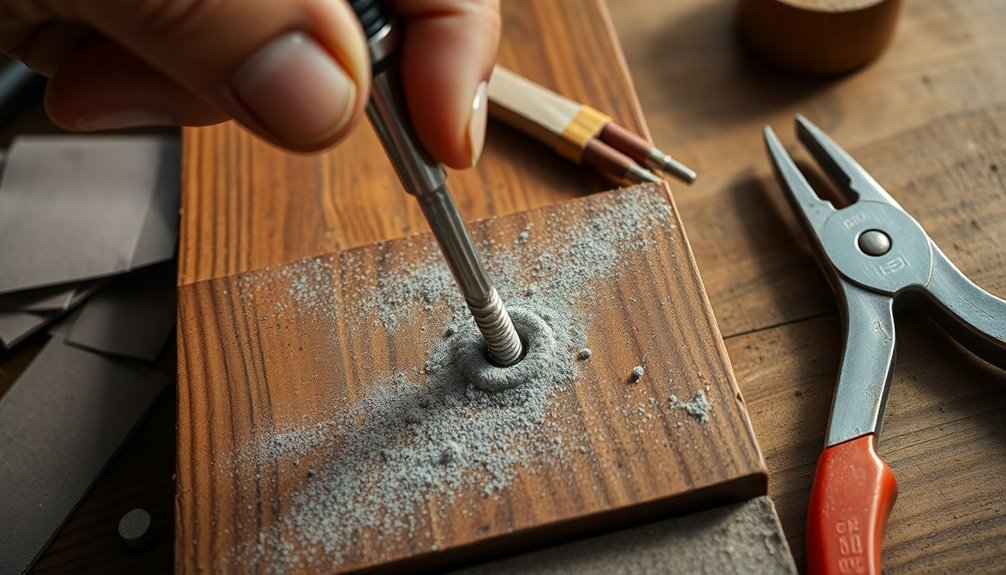
Graphite Powder Application
Applying graphite powder can be a game-changer for stubborn or damaged screws. This method not only reduces friction but also enhances the contact area for better torque application.
Here are some effective application techniques to guarantee successful screw removal:
- Sprinkle Graphite: Lightly dust the graphite powder onto the screw head, allowing it to fill any gaps around the threads.
- Press Firmly: Use a small tool or cloth to press the graphite into the screw head, maximizing its effectiveness.
- Turn with Pressure: Employ a rubber band or a screwdriver with a firm grip to turn the screw counterclockwise while maintaining steady pressure.
If the screw remains stuck, reapply the graphite and let it settle for a few minutes before retrying.
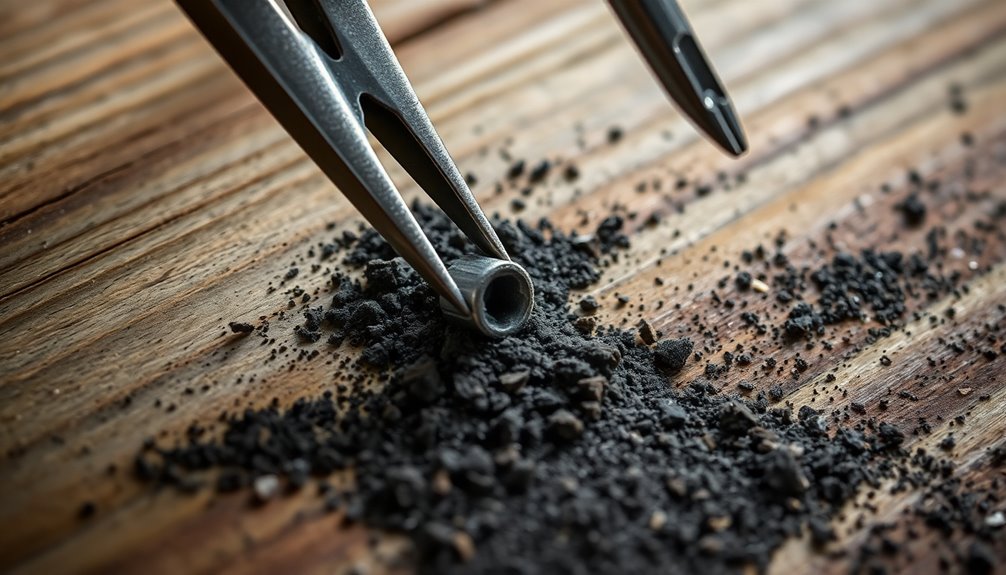
Grit for Grip
Stripped screws can be incredibly frustrating, but using a gritty substance can make a significant difference in your efforts to remove them. Grit types like graphite powder or fine sand increase friction factors, enhancing grip with your screwdriver.
To maximize contact and prevent slippage, evenly distribute the grit in the screw head. While turning the screwdriver counterclockwise, apply consistent downward pressure for a firmer hold.
If the screw’s particularly stubborn, mix graphite with a bit of oil to create a paste that adheres better. This combination not only improves grip enhancement but also helps the gritty substance stay put.
Patience and Persistence
Patience is key in tackling stubborn or damaged screws. Rushing can lead to further damage or frustration.
Instead, focus on these patience techniques and persistence strategies to overcome obstacles:
- Apply Consistent Pressure: While turning the screw, maintain steady downward pressure. This enhances grip and improves your success rate.
- Experiment with Tools: Use a rubber band or a specialized screw grab product to increase friction. Switching tools can provide better control during extraction.
- Assess Before You Act: Check the screw’s condition first. This helps you choose the most effective technique, ensuring a more targeted approach.
Cleaning Up After Screw Removal
Cleaning up after you’ve removed a stripped screw is essential for ensuring a smooth installation process for future fasteners.
Start by using your cleaning tools, like a soft brush or cloth, to wipe away any debris left from the extraction. This helps in surface preparation, ensuring the area is clean and ready for new screws.
Using a soft brush or cloth, clean the area thoroughly to prepare for new screws.
If you used graphite or grit, vacuum the area to eliminate any lingering particles that could affect future installations.
Next, inspect the screw hole for signs of damage or wear; you might need to repair it before inserting a new screw.
Finally, consider applying a lubricant or anti-seize compound to the new screw, making removal easier next time.
Preventing Stripped Screws in the Future
After verifying the area is ready for new screws, it’s important to focus on preventing future stripping incidents. Here are three effective strategies:
- Choose the Right Screw Types: Opt for screws designed for the material you’re working on. This minimizes the risk of stripping during installation or removal.
- Use Quality Screwdriver Materials: Always use a screwdriver that fits the screw head snugly. Regularly inspect and replace worn-out drivers to guarantee they provide a solid grip.
- Master Installation Techniques: Apply consistent downward pressure while turning the screwdriver.
Consider using a torque wrench to tighten screws to the appropriate specifications, avoiding over-tightening that can lead to stripping.
Conclusion
Now that you know how to extract a stripped screw using graphite and grit, you can tackle those frustrating projects without fear. You might worry that this method won’t work on stubborn screws, but imagine feeling the satisfaction as you see that screw loosen and come free with just a little patience and precision. By mastering this technique, you’re not just saving your project; you’re also building confidence for future repairs. Go ahead and give it a try!


Average Rating