Touching up epoxy paint on your tile floors is a straightforward DIY task that can freshen up your space. Start by thoroughly cleaning the tiles and inspecting for any cracks or chips, which should be repaired. Lightly sand the surface to boost paint adhesion. Use a tile-specific epoxy paint and apply a bonding primer first for the best results. When painting, be sure to mask edges and feather the paint for a seamless finish. Allow proper drying time between coats, and with the right care, your floors will look great again. There's more helpful info on this topic waiting for you.
Preparation for Painting Tiles
Before you start painting your tile floors, it's crucial to prepare the surface properly.
Begin with cleaning the tile thoroughly using a commercial cleaner or degreaser, especially in high-use areas like kitchens and bathrooms. Make sure it's completely dry before moving on.
Next, inspect the tiles for any cracks or chips; repair them with caulk or grout filler to guarantee a smooth surface. Proper maintenance of surfaces can help in expense management by reducing future repair costs. Additionally, taking care of your tile floors can prevent cost-saving opportunities in future renovations or replacements.
You'll also need to sand the existing tile glaze with at least 100-grit sandpaper to promote paint adhesion without damaging the tiles.
After sanding, apply a bonding primer designed for tile surfaces, allowing adequate drying time between coats.
Finally, gather your tools—like painter's tape, brushes, and ensure proper ventilation for a successful painting process. Additionally, using a user-friendly interface can help streamline the process of selecting the right paint and tools for your project.
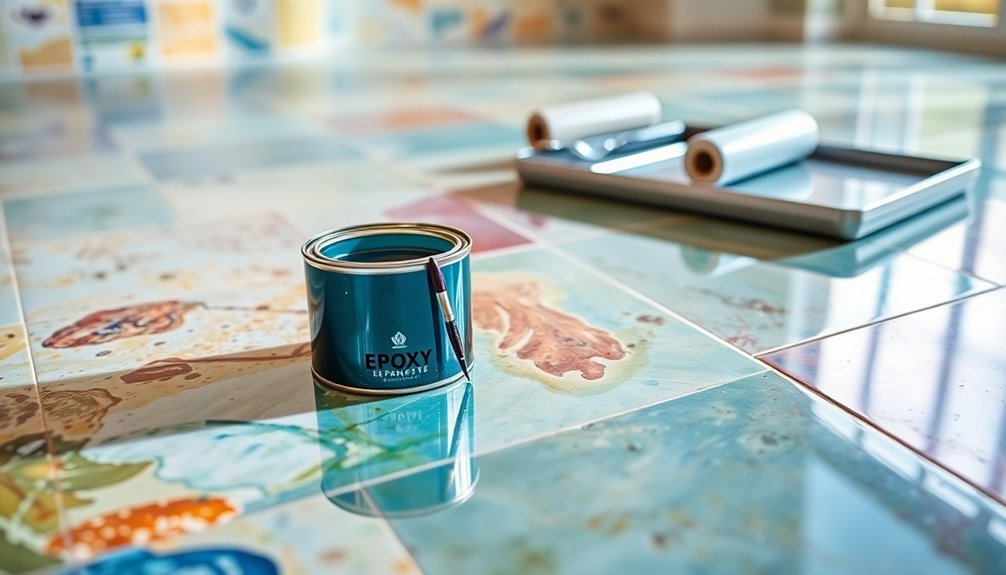
Choosing the Right Paint
Choosing the right paint for your tile floors can make a significant difference in the final outcome and longevity of your project.
Start by selecting tile-specific epoxy paint for superior durability and moisture resistance.
Consider these factors when choosing your paint:
- Type: Opt for one-part epoxy paint for ease of use or two-part epoxy paint for enhanced durability, ensuring you mix correctly. Additionally, selecting eco-friendly options can help reduce carbon emissions while still achieving a beautiful finish.
- Finish: Decide on a finish that suits your style—matte, satin, or glossy—each offering different aesthetic effects.
- Compatibility: Make sure the paint is designed for interior use and suitable for high-traffic areas to prevent premature wear and peeling. Additionally, consider the benefits of eco-friendly alternatives that can contribute to sustainable living while still achieving the desired look.
Applying Primer
To achieve a smooth and durable finish on your tile floors, applying a quality primer is essential.
First, make sure your tile surface is thoroughly cleaned and free of dust, grease, or old sealants to promote ideal adhesion.
Use a bonding primer specifically designed for tile surfaces to enhance paint adhesion and prevent chipping or peeling. Budgeting tools can help you allocate funds effectively for your DIY project, ensuring you stay within your financial limits.
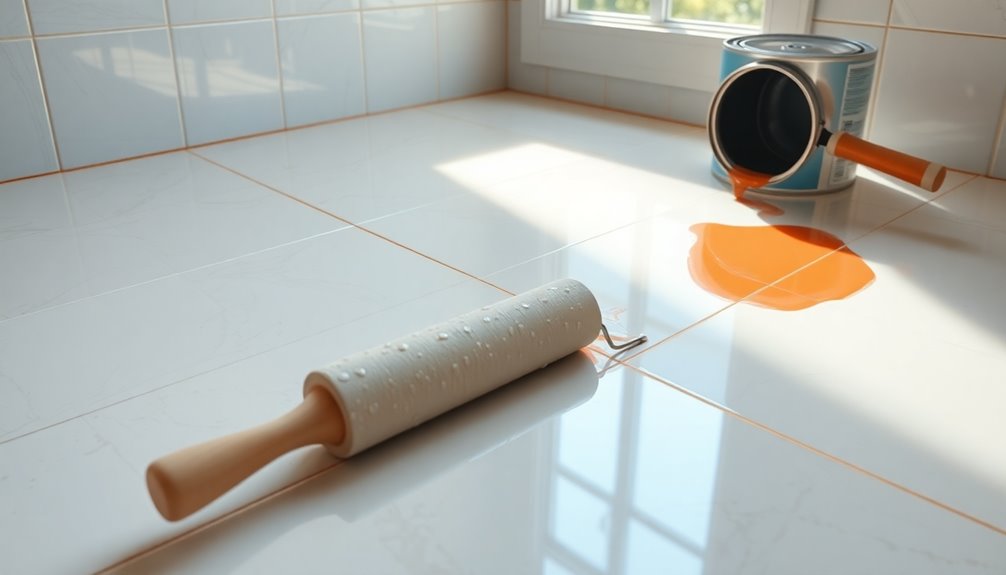
Apply the primer evenly with a small roller for larger areas and a brush for edges and corners, ensuring complete coverage without drips.
Allow the primer to dry fully according to the manufacturer's instructions, which usually takes 1 to 4 hours.
For best results, consider applying a second coat of primer, especially if your tile has a glossy finish or noticeable color variations. Additionally, using a budgeting app can help you track spending habits effectively while managing the costs associated with your DIY project.
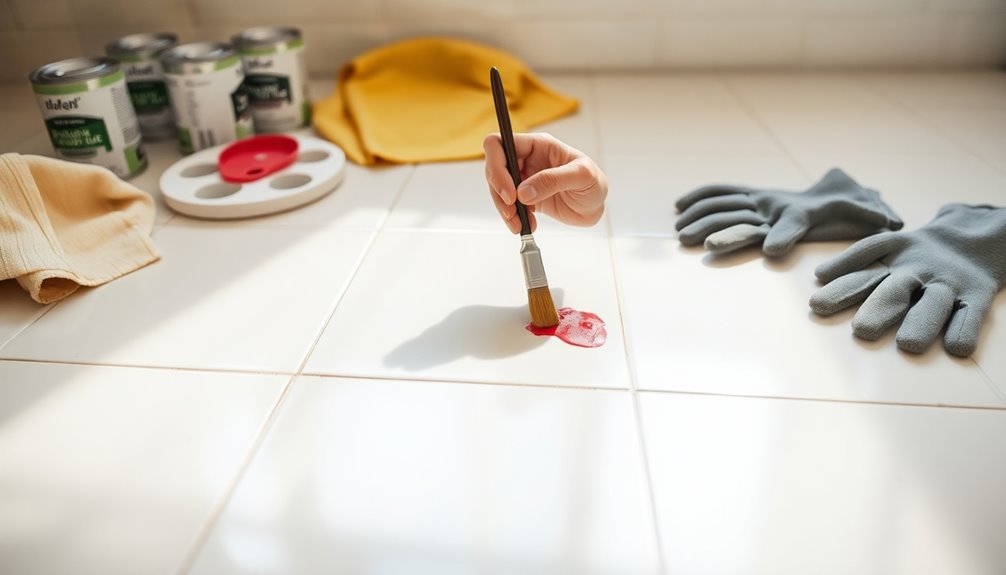
Painting Technique
As you begin the painting process, carefully masking off edges with painter's tape is essential to prevent any accidental paint splatters on adjacent surfaces.
For a successful touch-up, follow these painting techniques:
- Use a fine brush or roller to apply a small amount of epoxy paint with precision, feathering the edges for a seamless blend. Additionally, you can automate invoice generation to streamline your budgeting for home improvement projects. Many freelancers benefit from expense tracking apps that simplify financial management.
- Allow proper drying times as per the manufacturer's instructions, typically waiting at least 24 hours before adding layers or walking on the area.
- After the initial coat dries, lightly sand the touched-up area, then clean the surface to enhance adhesion for the next coat. Additionally, consider implementing payment reminders to help keep track of your budget as you invest in home improvement projects.
Always work in a well-ventilated space and wear protective gear like gloves and masks to safeguard against strong fumes.
Post-Painting Care
After you've painted your tile floors, it's essential to establish a maintenance routine to keep them looking great.
You'll want to stick to mild cleaners and soft cloths for cleaning, since harsh chemicals can ruin your hard work. Regularly tracking your cleaning habits can help you identify the best methods for maintaining your floors and ensure you are aligned with your long-term financial objectives. Incorporating ethical shopping practices can also help you find environmentally friendly products that are gentle on your new paint.
Regularly check for wear and tear, and don't hesitate to touch up any areas that need it. Additionally, consider incorporating sustainable cleaning practices into your routine to further minimize environmental impact while maintaining your floors.
Maintenance Routine Essentials
Although your newly painted epoxy tile floor looks stunning, establishing a proper maintenance routine is crucial for preserving its beauty and longevity.
Here are three key practices to follow:
- Inspect Regularly: Check your painted tiles for any signs of wear and tear. Prompt touch-ups can prevent further damage.
- Use Mild Cleaners: Stick to non-abrasive cleaners; harsh chemicals can degrade the epoxy paint over time, affecting its durability.
- Keep It Dry: Make certain surfaces remain dry and free from standing water to avoid peeling or chipping of the epoxy.
Cleaning Recommendations and Tips
To keep your freshly painted epoxy tile floor looking its best, you'll want to adopt a careful cleaning routine right from the start.
For the first 72 hours, avoid heavy cleaning to let the paint cure fully. After that, use mild cleaners and soft cloths for maintenance to protect the epoxy finish.
Regularly inspect the surface for any wear or damage; if you notice issues, perform touch-ups promptly. Always keep the area dry and steer clear of abrasive scrubbers, as they can scratch the epoxy.
For ideal results, wait at least 30 days before using any chemical cleaners or sealing products to guarantee complete adhesion and durability of your paint job.
Following these cleaning recommendations will prolong its lifespan.
Common Mistakes to Avoid
When touching up epoxy paint on tile floors, you need to watch out for some common mistakes.
Skipping surface preparation, ignoring manufacturer instructions, and overloading your brush or roller can all lead to disappointing results. Additionally, failing to prioritize spending can lead to overspending on supplies that aren't necessary for your project. It's also crucial to ensure proper financial planning to avoid unexpected costs during your DIY endeavor.
Let's explore these pitfalls to guarantee your project goes smoothly.
Skipping Surface Preparation Steps
Many homeowners underestimate the importance of thorough surface preparation before applying epoxy paint to tile floors, leading to a range of issues down the line.
Skipping these steps can compromise adhesion, durability, and the overall finish. Here are three critical preparation steps you shouldn't overlook:
- Cleaning and Sanding: Verify surfaces are free of dirt and roughen the tile for better adhesion.
- Using a Primer: Apply a suitable bonding primer to enhance adhesion and longevity of the epoxy paint.
- Allowing Adequate Drying Time: Don't rush between coats; each layer needs proper drying to avoid uneven surfaces.
Also, verify good ventilation during the process to improve curing and finish quality.
Neglecting these steps can result in peeling and chipping over time.
Ignoring Manufacturer Instructions
Although it might seem tempting to skip the fine print, ignoring manufacturer instructions can lead to a host of problems with your epoxy paint project.
Failing to follow these guidelines can compromise paint adhesion, increasing the risk of peeling or chipping. Each epoxy type has specific mixing ratios; neglecting these can jeopardize durability and finish.
In addition, manufacturers specify important drying times that, if rushed, weaken the bond. Not using recommended application techniques can result in uneven coverage and an unsightly finish.
Finally, overlooking proper surface preparation can leave contaminants that hinder adhesion and reduce longevity.
To achieve a flawless result, always adhere to the manufacturer instructions for your epoxy paint project.
Overloading Brush or Roller
Overloading your brush or roller can quickly lead to a messy finish on your tile floors. To achieve a smooth, even look, focus on applying paint in thin layers for better control.
Here are some tips to avoid overloading:
- Dipping Technique: For rollers, dip only about one-third into the paint and roll on a tray to remove excess. For brushes, don't dip more than halfway.
- Edges Matter: When painting edges, use a light touch to prevent paint from running into adjacent areas.
- Dry Between Coats: Always allow each coat to dry completely before applying the next. This minimizes the risk of sagging and drips, ensuring a cleaner finish.
Cost and Time Considerations
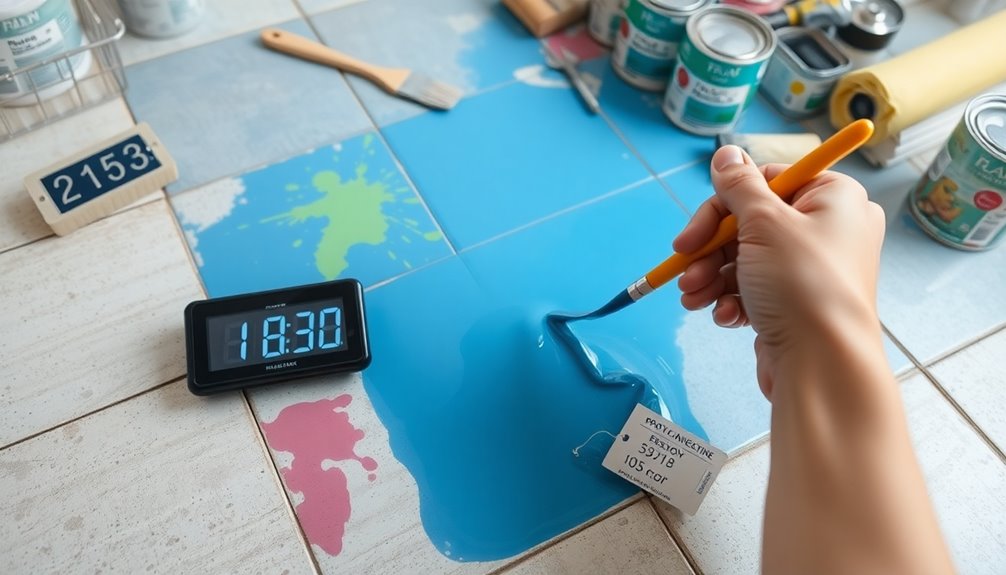
When considering touch-ups for your epoxy-painted tile floors, you'll find that costs typically range from $20 to $50 for small repairs. The exact cost depends on the brand and amount of paint needed.
Plan for 1 to 3 hours for the touch-up process, which includes drying time between coats. It's essential to allow an additional 24 to 48 hours for the paint to fully cure before letting heavy foot traffic on the surface.
Using the same type of epoxy paint you originally applied guarantees better adhesion and durability. To save on future touch-ups, consider budgeting for a small amount of extra paint during your initial project, making future repairs quicker and more cost-effective.
Additional DIY Project Ideas
If you've got some leftover epoxy paint from your tile floors, why not transform it into a creative DIY project? Here are some additional DIY project ideas that can elevate your home:
- Painted Accent Wall: Use stencils to create a stunning accent wall that adds personality to your space.
- Refurbishing Old Furniture: Give your furniture a cost-effective update with chalk paint, making it stylish and fresh.
- Custom Wall Art: Frame fabric or wallpaper remnants to create unique touch wall art without breaking the bank.
Additionally, consider enhancing outdoor areas by painting patio furniture or DIY shelving with reclaimed wood.
These projects not only look great but also tie in beautifully with your newly painted tile floors!
Conclusion
To sum up, touching up epoxy paint on tile floors can transform your space like a fresh coat of lipstick brightens a smile. By following these steps, you'll achieve a beautiful, durable finish that revitalizes your floors. Remember to prep properly, choose the right paint, and care for your newly painted tiles. With a little patience and creativity, you can breathe new life into your home. So grab your supplies and get started on your DIY project today!