
If you're looking to build a DIY roof rack with EMT conduit, you've chosen a smart and cost-effective project. Start by selecting your materials, keeping in mind the strength of EMT conduit, which is lightweight yet durable. Plan your design by sketching and measuring your vehicle to guarantee a secure fit. Once you gather your tools, cut the conduit to size and use connectors to create a sturdy frame. Secure everything with pop rivets and apply a protective finish. Don't forget to test your rack for stability and make adjustments as needed. You'll discover detailed tips and strategies to enhance your build.
Benefits of a DIY Roof Rack
When you choose to build a DIY roof rack, you not only save money but also gain the freedom to customize it to fit your specific needs.
One key benefit is cost savings; you can create a sturdy rack for around $70, while commercial options may exceed $300. This is a great opportunity to practice budgeting and expense tracking, helping ensure that your DIY project remains within financial limits. Additionally, using a DIY approach allows you to develop financial management skills that can be applied to other areas of your life.
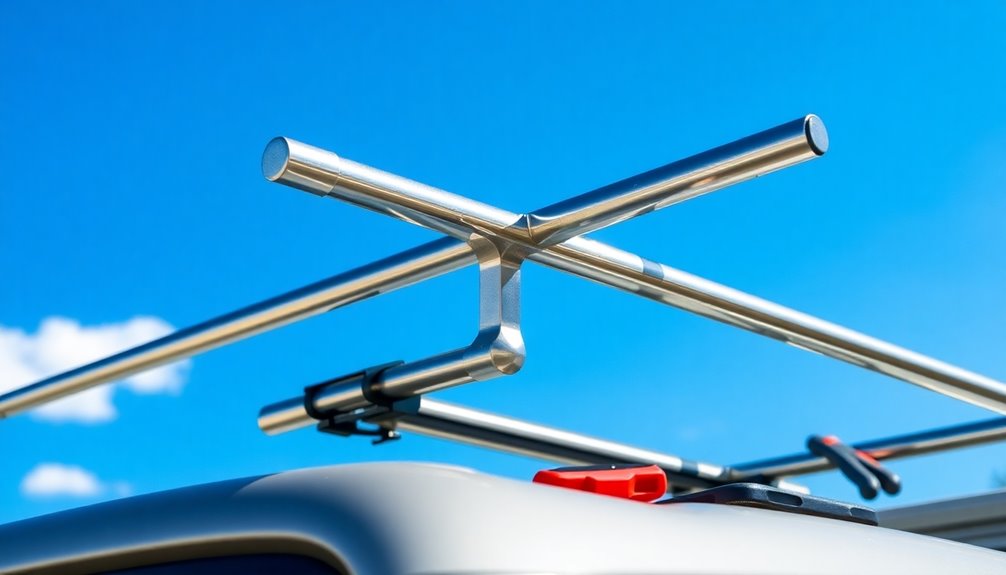
Using materials like EMT conduit guarantees your DIY roof rack remains lightweight yet durable, supporting significant weight for activities like kayaking or camping.
Plus, the flexibility of a DIY approach allows you to modify the design easily as your needs change.
Engaging in this process also fosters creativity and community, as you can share experiences and tips with fellow builders, enhancing your overall project experience. Additionally, this project encourages monitoring savings as you track the costs and benefits of your DIY endeavors, ensuring financial responsibility.
Material Selection and Preparation
Building a DIY roof rack opens the door to selecting materials that best suit your project's needs. Consider using EMT conduit for its strength and affordability; it weighs about 0.3673 lbs/ft for 1.5-inch tubing. Additionally, using AI-driven tools can help optimize your choices and ensure you're selecting the best materials for cost-effective options. Verify the materials you choose can support your intended load, as a well-designed rack can hold up to 900 lbs. Assess your vehicle's dimensions and identify mounting points for a secure fit that meets safety standards. Many project enthusiasts utilize expense management apps to track their budgeting and spending on materials, ensuring they stay within their financial limits.
Think about potential features like side panels or wood decking, while keeping overall weight limitations in mind. Additionally, using reliable expense tracking tools can help you monitor costs associated with your DIY project.
Finally, gather all necessary tools, materials, and connectors to streamline the assembly process and make adjustments easier during construction. This preparation sets you up for success!
Design Process and Planning
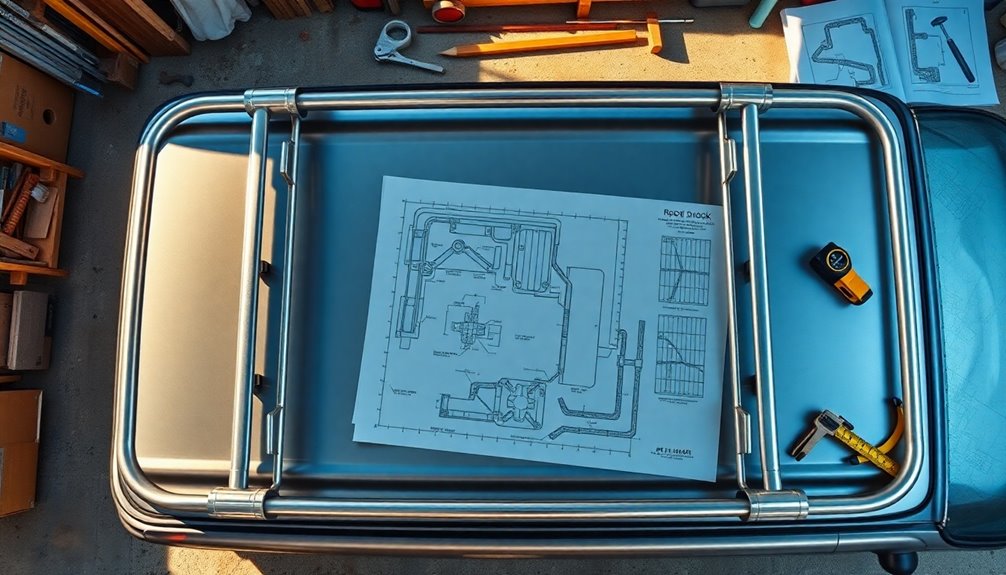
Creating a well-thought-out design for your DIY roof rack is essential for guaranteeing it meets your needs and fits your vehicle properly. Start the design process by sketching a detailed drawing of your roof rack, which will help you visualize the layout and list the necessary materials. Additionally, researching budgeting apps can provide inspiration for efficient project management.
Next, take accurate measurements of your vehicle, considering existing mounting points and weight limitations. Using graph paper can aid in scaling down your design for precise adjustments. Additionally, implementing a structured approach can help ensure all aspects of your project are well organized and executed.
To refine your idea further, consider building a physical model with mini connectors, allowing for easy modifications. Finally, focus on functionality and aesthetics to guarantee your roof rack not only serves your gear needs but also enhances your vehicle's overall look. Additionally, incorporating streamlined processes can enhance the overall efficiency of your project, ensuring that all aspects are well managed.
Construction and Installation Steps
With your design in place, it's time to turn those plans into reality by starting the construction of your DIY roof rack.
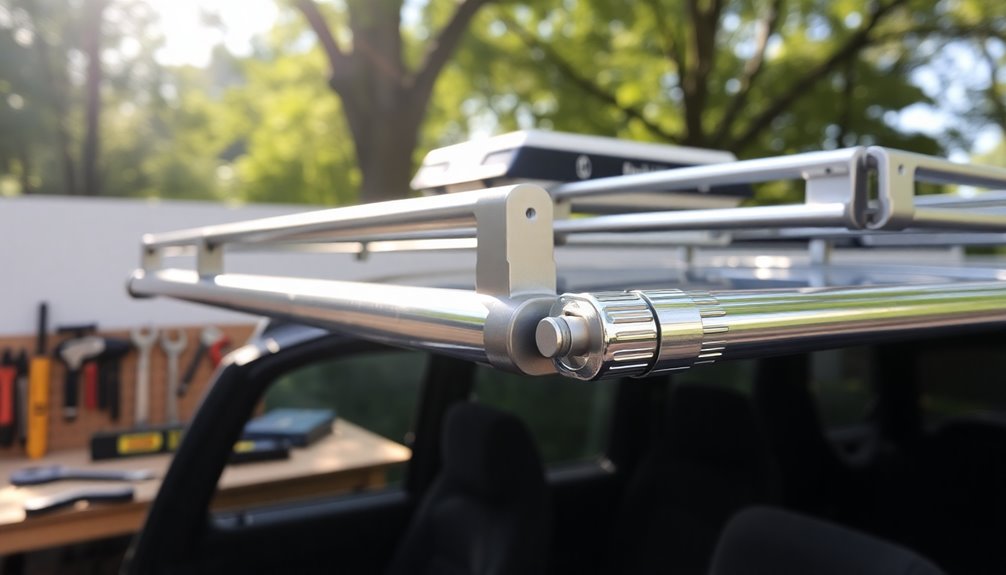
Begin by cutting the EMT conduit to size, focusing on longer pieces first for efficient assembly. Use T-Connectors, 180 Connectors, and 90 Degree Connectors to build the frame, ensuring everything's aligned before tightening. Zero-based budgeting is one effective method that can help you plan for your project expenses. Additionally, implementing budgeting tools can streamline the allocation of your resources.
Secure the horizontal frames to vertical supports with pop rivets, using three per joint for strength. For installation, attach flange connectors to your vehicle's frame for a stable mount.
Once assembled, apply a protective paint finish to enhance durability. Finally, double-check all connections for stability, ensuring your roof rack is ready for use before loading it up. Additionally, following consistent app use for budgeting can help allocate funds for materials, reinforcing the importance of financial discipline.
Testing and Final Adjustments
Once you've assembled your DIY roof rack, it's crucial to verify its structural integrity before hitting the road.
Start with testing its stability by applying weight to the rack. Observe for any flex or deformation under load. Use a variety of weights to simulate real-world conditions. Implementing clear payment terms will help ensure that you can effectively manage any costs associated with your gear. Additionally, using automated bill payment notifications can streamline financial management for your gear expenses and help avoid late fees.
Make adjustments based on your findings to enhance strength.
Keep these points in mind:
- Add additional supports if needed.
- Modify connection points for better stability.
- Document changes for future builds.
- Confirm all mounting points are tight and properly aligned.
Additionally, consider implementing automated payment solutions to ensure timely financial management for any expenses related to your gear and trips.
Once you've completed these steps, your rack will be ready for adventure, guaranteeing safe transportation of your gear!
Conclusion
By building your own roof rack with EMT conduit, you're not just saving money—you're creating a masterpiece that'll make your vehicle the envy of the neighborhood! With a bit of planning and some elbow grease, you've crafted a functional and durable solution tailored to your needs. Now, hit the road with confidence, knowing your gear is securely stowed on a rack you designed and built. Your adventures await, so go out and conquer the world!


