
Bricking in a basement window can save you money while boosting safety and energy efficiency. Start by evaluating your current windows for damage and identifying signs of moisture. Gather the right tools and materials, then follow the step-by-step process to brick in the window securely. Consider costs carefully and monitor for signs of replacement needs. By making these modifications, you’re enhancing your home’s value and security. Keep going to discover more tips and insights!
Understanding Egress Windows and Their Importance
When it comes to basement safety, understanding egress windows is fundamental. These windows provide essential emergency exits, ensuring you can escape during a fire or other emergencies.
If you have an existing window that doesn’t meet building codes, consider replacing it with a new window. Egress windows must be large enough for a person to exit comfortably and positioned at least four feet from the floor to the bottom of the sill.
Not only do they enhance safety, but they also allow natural light to flood your basement, making it more inviting. Plus, installing an egress window can boost your property value, particularly if you have basement suites or living spaces. Additionally, ensuring proper sustainable practices during installation can further enhance the overall value and safety of your home.
Don’t overlook this important safety feature!
Assessing Your Current Basement Windows
Before you start bricking in a basement window, it’s essential to assess your current windows.
Look for visible damage, check how well they open and close, and identify any moisture issues that could compromise your basement. Additionally, consider utilizing expense tracking tools to manage any costs associated with your project.
These steps will help guarantee you make informed decisions about your project.
Identifying Visible Damage
Evaluating the condition of your basement windows is essential to ensuring a safe and energy-efficient home.
Start by identifying visible damage, which can lead to bigger problems down the line. Here are key signs to look for:
- Condensation between glass panes, indicating seal failure.
- Rot or damage in the window frame or surrounding structure, compromising integrity.
- Difficulty opening or closing the window, suggesting frame warping or structural issues.
- Drafts coming from the window, signaling poor sealing or insulation.
Evaluating Window Functionality
How well do your basement windows function? Start by evaluating the different window types you have.
Check for signs of condensation between the glass panes, which indicates seal failure. If you’re having difficulty opening or closing them, it might mean the frame materials have warped or other structural issues are present.
Look for drafts around the edges, signaling poor sealing or insulation that can drive up heating costs. Inspect the windows and frames for visible damage or rot, as these can compromise their integrity.
Finally, evaluate any water or moisture infiltration around the windows. Persistent issues may require you to rethink installation techniques and consider replacement to avoid further damage to your basement.
Checking for Moisture Issues
As you evaluate your current basement windows, it’s essential to check for moisture issues that could compromise your home’s integrity.
Use these moisture detection techniques to identify potential problems:
- Condensation: Look for condensation between the glass panes, which may indicate a need for replacement.
- Visible Damage: Inspect the window frame for rot or damage that can allow moisture infiltration.
- Drafts: Check for drafts; poor sealing can lead to moisture accumulation, impacting basement ventilation strategies.
- Water Stains and Mold: Be alert for water stains or mold growth around the windows, signaling moisture problems.
Regularly evaluating window well drainage is vital for effective water damage prevention.
Addressing these issues now can save you from costly repairs later.
Tools and Materials Needed for Bricking In
To successfully brick in your basement window, you’ll need the right tools and materials.
Gather essentials like a masonry saw, trowel, and safety gear to keep yourself protected. Choosing quality bricks and mortar is also key to ensuring a sturdy and lasting result. Additionally, utilizing expense management apps can help you keep track of costs associated with your home improvement project.
Essential Tools Required
Bricking in a basement window requires a few essential tools and materials to guarantee a smooth and efficient process. Here’s what you’ll need:
- Utility Knife: For cutting materials and ensuring precise measurements.
- Masonry Saw: Vital for accurately cutting bricks based on your brick types comparison.
- Trowel: Necessary for effective mortar application techniques between bricks.
- Pry Bar: Ideal for window frame removal if it’s still in place.
Don’t forget your personal safety gear, including eye protection, a dust mask, and sturdy work gloves.
Additional materials like mortar mix, bricks or blocks, and possibly flashing tape or caulk are also essential to prevent moisture infiltration during and after the process.
Material Selection Considerations
When selecting materials for bricking in your basement window, it’s important to evaluate factors like durability, insulation, and moisture resistance.
Start with a brick types comparison; choose between traditional fired bricks and concrete blocks based on your climate and structural needs.
Next, consider your mortar mix options—select a mix that provides strong adhesion and withstands moisture.
Don’t forget about weatherproofing techniques; using flashing tape can help seal gaps and prevent leaks.
Gather essential tools like a trowel and level to guarantee precise fitting.
Finally, keep a shop vac handy to clean up debris, streamlining your process.
Safety Gear Importance
While preparing for the task of bricking in your basement window, it’s essential to prioritize your safety.
Wearing the right safety gear types can prevent injuries from dust and debris. Here’s what you need:
- Protective Eyewear: Shields your eyes from flying particles.
- Dust Mask: Dust mask importance can’t be overstated; it protects your lungs from harmful dust.
- Sturdy Work Gloves: Protect your hands against sharp edges and heavy materials.
- Hearing Protection: If you’re using power tools, don’t forget to protect your ears.
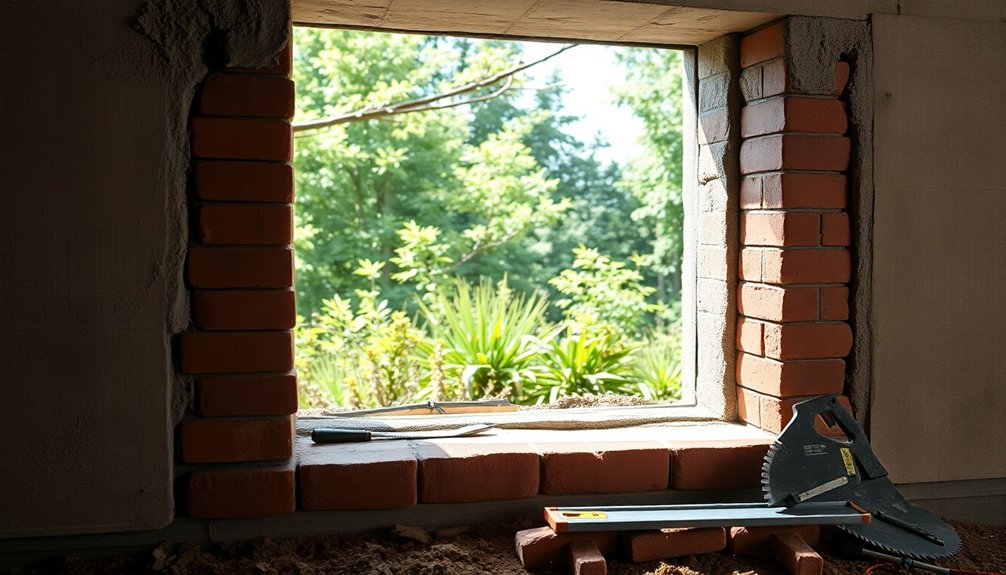
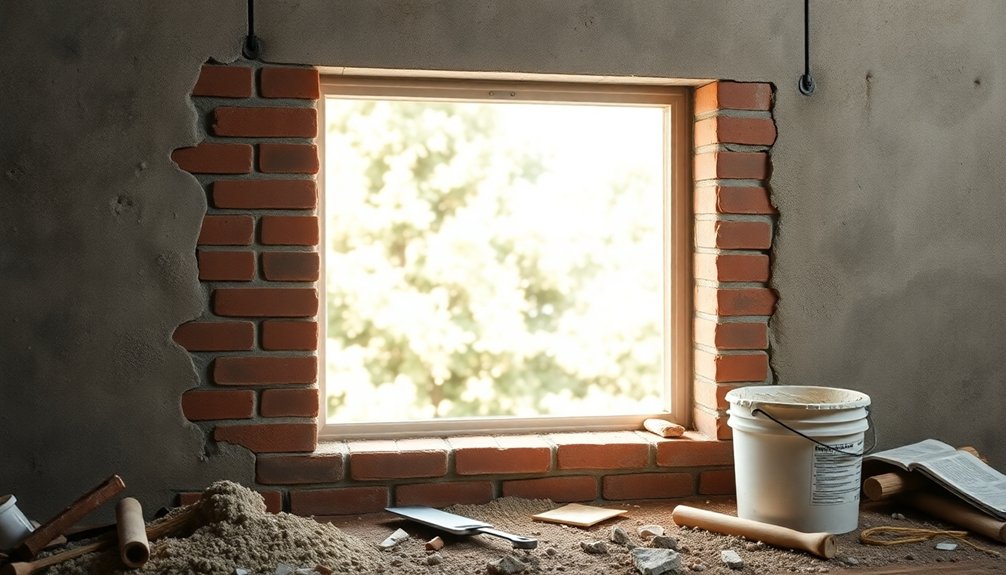
Step-by-Step Process for Bricking In a Basement Window
To successfully brick in a basement window, start by accurately measuring the existing opening and marking the area for your project. Remove the window and frame, then clean the opening thoroughly.
Use window bracing techniques to guarantee stability during the process. Next, apply a suitable mortar mix and lay bricks or blocks, utilizing masonry bonding methods to keep them level and aligned with the wall.
If necessary, incorporate humidity control measures by adding a damp-proof membrane to prevent water infiltration. Additionally, consider budgeting for this project using tools like expense tracking to monitor your spending. Allow the mortar to cure as per the manufacturer’s recommendations.
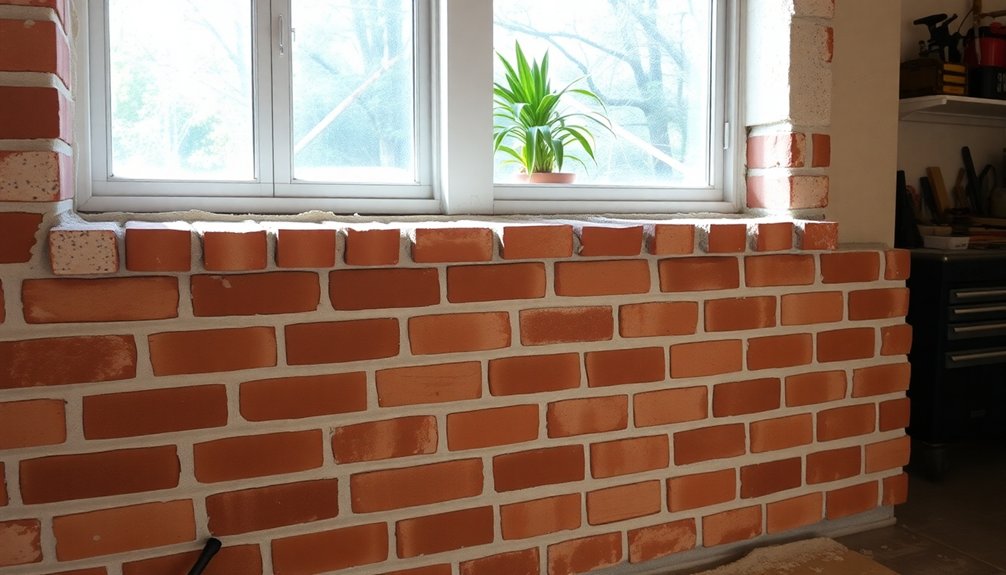
Finally, finish the exterior surface to seamlessly blend with the surrounding wall, ensuring your project looks professional and complete.
Cost Considerations for Bricking In
Bricking in a basement window is an investment that requires careful financial planning.
To guarantee you stay within your budget, consider these cost-saving tips:
- Budgeting Strategies: Estimate total costs, including labor and materials, to avoid surprises.
- Professional vs DIY: Hiring a mason can range from $40 to $100 per hour, while a DIY approach might only cost around $200 to $400 for materials.
- Permits: Check local regulations, as some areas require permits that could add to your expenses.
- Additional Materials: Factor in costs for bricks, mortar, and insulation to prevent future moisture issues.
Additionally, utilizing a budgeting app like YNAB (You Need a Budget) can help you more effectively manage your finances throughout this project.
Signs That Indicate a Need for Replacement
If you notice signs of wear or inefficiency in your basement window, it might be time to contemplate a replacement.
Look for window replacement signs like condensation forming between the glass panes, which indicates a seal failure that could lead to moisture issues.
Difficulty in opening or closing the window often points to frame integrity concerns, such as warping that affects functionality.
If you feel drafts around the edges, that’s a clear energy efficiency indicator suggesting poor sealing.
Visible damage or rot in the frame is serious and should prompt immediate action.
Finally, any signs of water infiltration indicate a significant problem, risking structural damage and making replacement essential for maintaining your home’s integrity. Additionally, keeping track of timely payments can help you budget for necessary home repairs and improvements effectively.
Enhancing Basement Safety and Aesthetics
Here are some key benefits of this project:
- Improved Basement Security Upgrades: Reducing entry points enhances safety, especially in homes with basement suites.
- Energy Efficiency: Properly sealed windows eliminate drafts and moisture, preventing mold and structural damage.
- Aesthetic Renovation Ideas: A bricked window creates a cohesive, finished look, enhancing the overall design.
- Enhancing Curb Appeal: Matching brick or siding can boost your home’s exterior appearance and property value.
Additionally, this project aligns with sustainable practices, contributing to a more environmentally friendly home.
Resources for Homeowners Considering Modifications
Before diving into the bricking project, it’s important to gather the right resources to guarantee a smooth process.
Start by checking your local building codes and permit requirements to ensure compliance and avoid fines. Understanding the structural implications of bricking in a window is essential; you may need additional support, like a lintel, to maintain structural integrity.
Check local building codes and permit requirements to ensure compliance and prevent structural issues when bricking in a window.
Proper sealing and insulation are also crucial to prevent water infiltration and energy loss, so stock up on materials like flashing tape and caulk.
Don’t forget to gather the right tools, such as a pry bar and utility knife, before starting.
Seeking professional consultation can provide valuable insight, helping you avoid costly mistakes throughout the bricking process. Additionally, utilizing expense categorization can help you manage the costs associated with your home improvement projects effectively.
Conclusion
By bricking in your basement window, you’re not just sealing off an opening; you’re transforming your space into a safer, more cohesive retreat. Imagine the peace of mind as you stroll through your newly enhanced basement, free from the worries of unwanted intruders or water damage. With careful planning and a bit of elbow grease, you’ll create an inviting atmosphere that reflects your frugal yet stylish approach to homeownership. Your basement deserves to shine!


