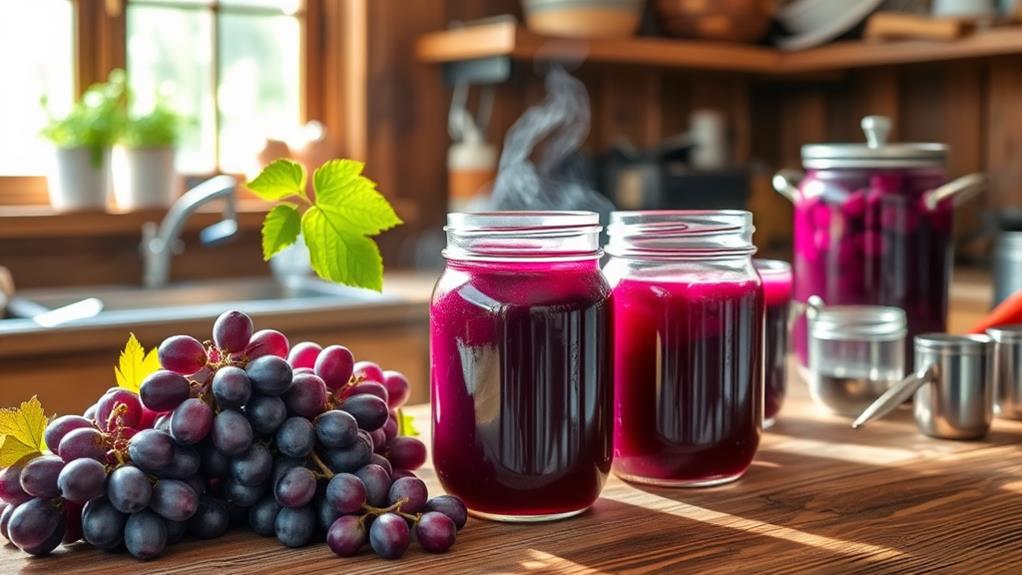
Canning grape juice is a fun and rewarding way to preserve delicious flavors. Start by choosing ripe, firm grapes, like Concord or Niagara. You'll need essential equipment like sterilized jars and a water bath canner. After washing and crushing the grapes, simmer them in boiling water to extract the juice. Strain the mixture and heat it to 190°F before filling the jars, leaving a 1/4 inch headspace. Seal the jars and follow proper processing times for your altitude. Store the canned juice in a cool, dark place for the best flavor. There's so much more to discover on this delightful journey!
Choosing the Right Grapes
When it comes to choosing the right grapes for your juice, look for ripe, firm options that have a sweet aroma. Concord grapes are often preferred for their bold flavor and deep purple color, making them a great choice for a grape juice recipe.
On the other hand, Niagara grapes provide a lighter, milder taste that can balance out the richness of Concords. Using a mix of these varieties can create unique flavor profiles, enhancing the overall taste of your grape juice.
Additionally, selecting grapes from ethical brands that prioritize sustainable practices can contribute to a more eco-friendly food system. Aim for about 3 ½ pounds of grapes to yield approximately 1 quart of juice, which is perfect for canning grape juice.
To guarantee you get prime flavor and sweetness, be sure to select grapes that are free from blemishes and overripe spots. These defects can lead to bitterness and compromise the quality of your juice.
Essential Equipment for Canning
To successfully can grape juice, you'll need a few essential pieces of equipment that guarantee your process is efficient and safe.
Expense management apps can help streamline your budgeting for canning supplies and ingredients. Here's a quick list of what you'll require:
- Mason Jars: Use sterilized quart or half-gallon size jars. Make sure they're free from cracks or chips for safe preservation.
- Water Bath Canner: A large pot or water bath canner is necessary for boiling your jars. This step guarantees proper pasteurization for safe storage.
- Food Strainer: This tool helps you efficiently separate the juice from crushed grapes. You can also use a jelly bag or fine mesh sieve for finer straining.
- Canning Tongs: Essential for safely handling hot jars during both the filling and processing stages, reducing the risk of burns or spills.
In addition, don't forget measuring cups and spoons to accurately measure your ingredients, making sure the right balance of sugar and water for flavor.
With this equipment in hand, you're well on your way to canning delicious grape juice!
Preparing Your Grapes
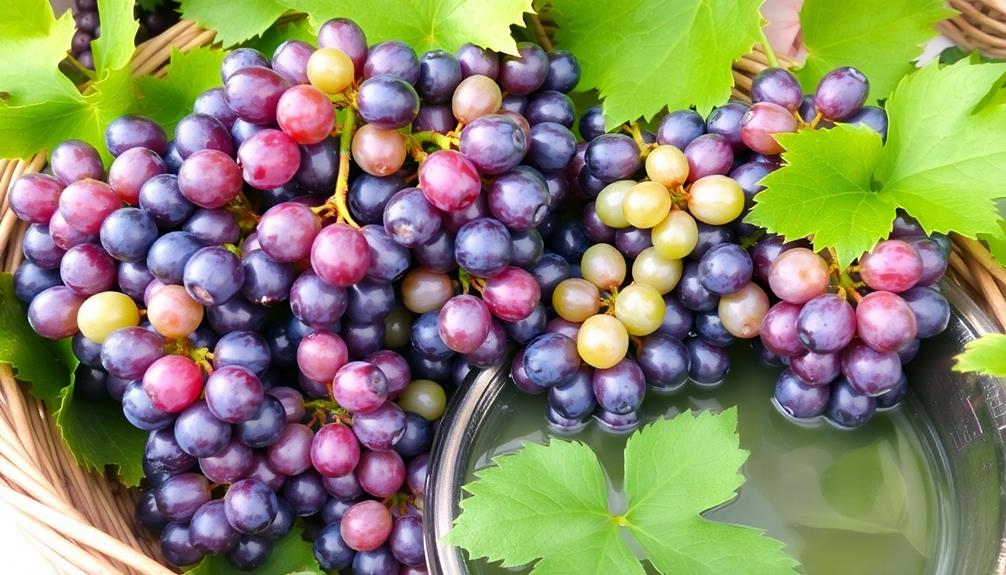
To get started, you'll want to select ripe, firm grapes like Concord or Niagara for the best flavor.
Once you've picked your grapes, wash them thoroughly to remove any dirt and destem them before crushing. This process is vital for effectively extracting the juice you'll need for canning.
It's also helpful to maintain an organized approach during this preparation phase, similar to how expense management apps enhance financial organization, as they streamline processes and improve accuracy, which is essential in any task.
Selecting Ripe Grapes
Selecting ripe grapes is essential for creating delicious grape juice, as vibrant, plump varieties like Concord or Niagara offer the best sweetness and flavor.
To guarantee you're selecting ripe grapes, keep these tips in mind:
- Choose fully ripe grapes: Look for grapes that are deep in color, indicating they've reached their peak ripeness.
- Smell for a sweet aroma: Ripe grapes should have a pronounced sweet scent, which is a sign of ideal sweetness.
- Inspect for blemishes: Avoid grapes with any signs of mold, overripeness, or blemishes, as these can negatively impact the taste and quality of your juice.
- Consider blending varieties: While Concord grapes are fantastic, mixing in other grape types can enhance the flavor profile of your juice.
Aim for about 5 pounds of grapes for each quart of juice you wish to make. This quantity will help you achieve the ideal sweetness and flavor extraction during the juicing process.
Washing and Destemming Grapes
Begin by washing your grapes thoroughly under running water. This step is essential for removing dirt, pesticides, and any residual contaminants.
Make sure to select ripe, firm grapes, ideally Concord or Niagara varieties, as these offer the best flavor and sweetness for your juice.
Once you've washed your grapes, it's time to remove the stems. You can do this by hand or use a pair of kitchen shears for efficiency.
While removing stems, discard any damaged or unripe grapes; this will help maintain the quality of your juice.
For every quart of juice you plan to produce, aim for approximately 3 ½ pounds of grapes. Adjust the quantity based on your desired yield, but remember that ripeness plays a significant role in the taste of your final product.
After washing and destemming, keep the grapes refrigerated until you're ready to begin juicing. This helps preserve their freshness and flavor, ensuring that you get the best possible juice from your high-quality grapes.
With these steps, you're well on your way to making delicious grape juice!
Crushing for Juice Extraction
Once your grapes are washed and destemmed, it's time to extract the juice. This process is essential for getting the most flavor and quality from your grapes, so follow these steps carefully:
- Crush the Grapes: Use a potato masher or similar tool to crush about 3 ½ pounds of ripe grapes gently. This helps release their juices while minimizing the inclusion of skins and seeds.
- Add Boiling Water: After crushing, cover the grapes with boiling water. Let them simmer for roughly 10 minutes to enhance juice extraction and flavor.
- Strain the Mixture: Pour the mixture through a jelly bag or fine mesh sieve. This step separates the liquid from the solids, ensuring your juice is smooth and free of pulp.
- Let it Settle: Allow the strained juice to cool, then refrigerate it for 24 to 48 hours. This will let any sediment settle at the bottom, giving you a clearer juice for canning.
Once these steps are complete, you're ready to move on to canning your delicious grape juice!
Making the Grape Juice
To make delicious grape juice, start by selecting fresh, ripe grapes like Concord or Niagara.
Using quality ingredients guarantees a richer flavor profile and enhances the overall taste of your juice.
Once you've washed and destemmed them, you'll use some simple juicing techniques to extract the rich flavors.
For effective management of your expenses during this process, consider utilizing tools that can streamline your financial tracking expense tracking tools.
Don't forget to adjust the sweetness to your taste for the perfect finish!
Selecting Fresh Grapes
When selecting fresh grapes for your juice, it's vital to choose vibrant, plump varieties like Concord or Niagara, as they offer the best flavor and sweetness. Ripe grapes are essential for achieving ideal flavor in your homemade juice.
Here are some tips to help you select the best grapes:
- Look for vibrant colors: Choose grapes that are rich in color, indicating freshness. Concord grapes, for example, should have a deep purple hue.
- Check for blemishes: Inspect the grapes carefully and avoid any that show signs of spoilage, as these will negatively impact the quality of your juice to enjoy.
- Smell the grapes: A sweet aroma usually means the grapes are ripe and ready for juicing, signaling a delicious sweet flavor in your final product.
- Mix grape varieties: Consider blending different grape varieties to create unique flavor profiles and enhance the overall taste of your juice.
Juicing Techniques Explained
Getting started with making grape juice is straightforward and rewarding.
Begin by washing and destemming about 3 ½ pounds of fresh, ripe grapes, ideally Concord for their sweetness and flavor.
Next, crush the grapes using a potato masher to release their juices.
Once you've done that, cover the crushed grapes with boiling water and simmer for about 10 minutes. This step helps extract the maximum flavor.
After simmering, strain the grape mixture through a jelly bag or cheesecloth to separate the liquid from the solids.
Allow the juice to cool and settle for 24 to 48 hours to eliminate any sediment.
Once settled, heat the strained juice to 190°F.
You can optionally add sugar to taste at this stage before transferring the juice to sterilized canning jars, leaving about a ¼ inch headspace.
Sweetness Adjustment Tips
Balancing the sweetness of your grape juice is essential for achieving a flavor that's both delicious and revitalizing.
Start by tasting the grapes you're using to gauge their natural sweetness. The amount of added sugar, whether it's sugar, honey, or maple syrup, will depend on the grapes' inherent flavor.
Here are some tips for sweetness adjustment:
- Choose a Blend of Grape Varieties: Combine grapes like Concord for richness and Niagara for mildness to enhance the overall sweetness profile.
- Add Sweeteners Gradually: After extracting your juice, gradually add your chosen sweetener, mixing thoroughly and tasting as you go until you reach the desired sweetness.
- Consider Lemon Juice: If you prefer less sweetness, a splash of lemon juice can enhance tartness, adding complexity to the flavor.
- Refine After Chilling: Once the juice is chilled and settled, taste again and adjust the sweetness if needed before final serving or canning.
Canning Process Explained
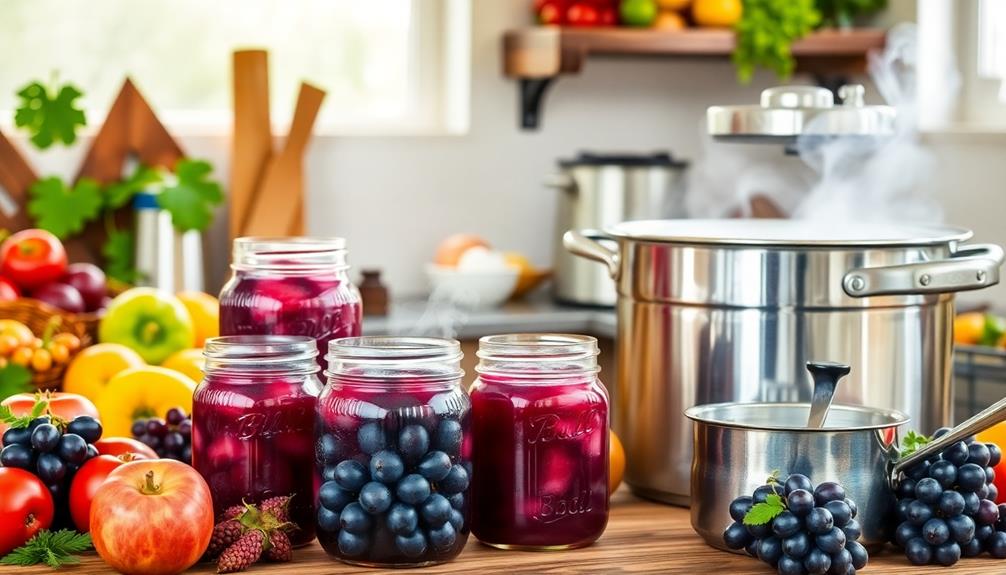
To guarantee your grape juice is safely preserved, it's vital to understand the canning process. This process requires careful attention to detail, much like tracking your savings to secure financial stability.
Start by heating your strained grape juice to 190°F. This step is important for food preservation, as it helps kill any harmful bacteria. Once heated, transfer the juice into sterilized jars. You can sterilize jars by boiling them for 10 minutes or running them through a dishwasher.
When filling the jars, pour in the hot juice while leaving a 1/4 inch headspace. This headspace is required for proper sealing during the canning process. After filling, seal the jars with clean, two-part lids.
Processing times depend on the jar size and your altitude. For example, pints and quarts need 5 minutes at altitudes below 1,000 feet, while half-gallons require 10 minutes. Be sure to follow these guidelines closely for safe preservation.
After processing, let your jars cool completely. Store them in a cool, dark place. If properly sealed, your grape juice can last 1 to 3 years, allowing you to enjoy your homemade juice for a long time.
Adjusting Sweetness and Flavor
Adjusting the sweetness and flavor of your homemade grape juice can elevate your beverage to new heights. Start by choosing ripe, sweet grape varieties like Concord grapes for a naturally rich taste.
After extracting your juice, you can begin to adjust the sweetness. To maximize your ingredient budget while crafting your juice, consider utilizing coupon codes for purchasing your ingredients.
Here are some steps to guide you:
- Add Sugar Gradually: Begin with small amounts of sugar, tasting as you go. This way, you'll avoid overpowering the natural sweetness of the grapes.
- Consider Natural Sweeteners: If your juice is too tart, try adding natural sweeteners like honey or maple syrup, but do so sparingly to keep the grape's original flavor profile intact.
- Experiment with Flavor Infusion: Blend different grape varieties, like sweet Concord grapes with slightly tart Catawba grapes, to create a unique flavor infusion.
- Post-Canning Adjustments: Remember, you can still modify the sweetness of your canned grape juice before serving, giving you flexibility in your final product.
Storage Tips for Canned Juice
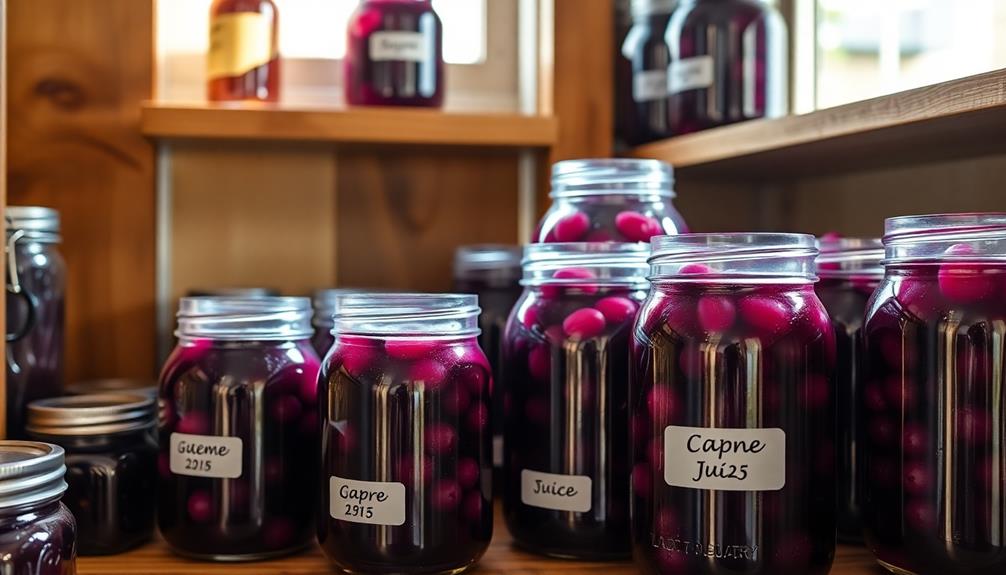
To keep your canned grape juice at its best, store it in a cool, dark place, ideally between 50°F and 70°F.
Properly sealed jars can last for 3-5 years, but for peak flavor, it's best to use them within 1-2 years.
Additionally, ensuring clear labeling and tracking your storage dates can enhance your organization and efficiency in managing your canned goods, similar to how streamlining billing processes improves financial management.
Always check the seals before enjoying, as any signs of spoilage mean it's time to toss the jar.
Ideal Storage Conditions
Proper storage conditions are essential for maintaining the quality of your canned grape juice. To guarantee your jars stay fresh and flavorful, follow these storage tips:
- Cool, Dark Place: Store your canned grape juice in a cool, dark place, ideally between 50-70°F. This prevents degradation of flavor and quality.
- Check the Seals: Before storing, always check the seals on your jars. Any jars with compromised seals should be consumed immediately or reprocessed to avoid spoilage.
- Label Jars: Label your jars with the date and contents. This makes it easy to identify what's inside and helps you monitor the shelf life, which typically ranges from 1 to 3 years if stored properly.
- Avoid Sunlight: Keep your jars away from direct exposure to sunlight and fluctuating temperatures. These conditions can lead to spoilage and a loss of nutritional value.
Shelf Life Expectations
Understanding shelf life expectations for your canned grape juice is vital for enjoying its best quality. Properly canned grape juice can last between 1 to 3 years if sealed correctly and stored in a cool, dark place.
For maximum longevity, make certain to label your jars with the date and contents, so you can easily track their shelf life and usage. You should consume your canned grape juice within 3-5 years for peak quality, although it may still be safe to drink beyond that expiration timeframe.
Always store your jars upright and avoid exposure to light, heat, and moisture, as these factors can shorten the shelf life of your juice. Before consuming, it's important to check the seals on your jars.
Discard any jars with broken seals or signs of spoilage. By following these guidelines, you'll guarantee that your grape juice remains delicious and safe to enjoy for years to come. Proper storage and monitoring will help you savor the fruits of your labor and appreciate the flavors you've preserved.
Checking Seal Integrity
After ensuring your canned grape juice is stored correctly, checking the seal integrity is an essential step in maintaining its quality and safety. You want to make sure your sealed jars are airtight to avoid spoilage.
Here's how to effectively check the seal integrity:
- Press the Lid: Gently press down in the center of the lid. If it pops back, the jar hasn't sealed properly. You'll need to refrigerate it and consume the juice within 3-5 days.
- Inspect Regularly: Periodically check your stored jars for signs of spoilage. Look for bulging lids or off smells, and discard any jars that show these signs.
- Optimal Storage Conditions: Keep sealed jars in a cool, dark place. This can extend their shelf life up to 1-3 years, preserving the quality of your juice.
- Label Your Jars: Always label jars with the date of canning and contents. This helps you keep track of freshness and avoid consuming expired products.
Nutritional Benefits of Grape Juice
Grape juice is a powerhouse of nutrition, packed with antioxidants that support heart health and combat inflammation. When you enjoy a cup of grape juice, you're not just indulging in a tasty drink; you're also benefiting from its rich nutrient profile.
Each 1-cup serving contains approximately 274 calories and 72g of carbohydrates, mostly from natural grape sugars. By choosing ethically sourced grape juice, you also support ethical business practices that prioritize fair treatment of workers and sustainable farming methods.
Along with its delightful sweetness, grape juice offers essential vitamins and minerals, including 13mg of Vitamin C, which contributes 16% to your daily value, and 40mg of calcium. It's also a great source of potassium, providing 758mg, or 22% of your daily needs.
Don't forget the fiber—grape juice provides about 4g per serving, which can aid your digestive health.
Studies suggest that moderate consumption of grape juice may even enhance cognitive function and support healthy blood pressure levels. So, by incorporating grape juice into your diet, you're making a delicious choice that not only satisfies your taste buds but also boosts your overall nutrition.
Enjoy it wisely, and reap the benefits!
Common Mistakes to Avoid
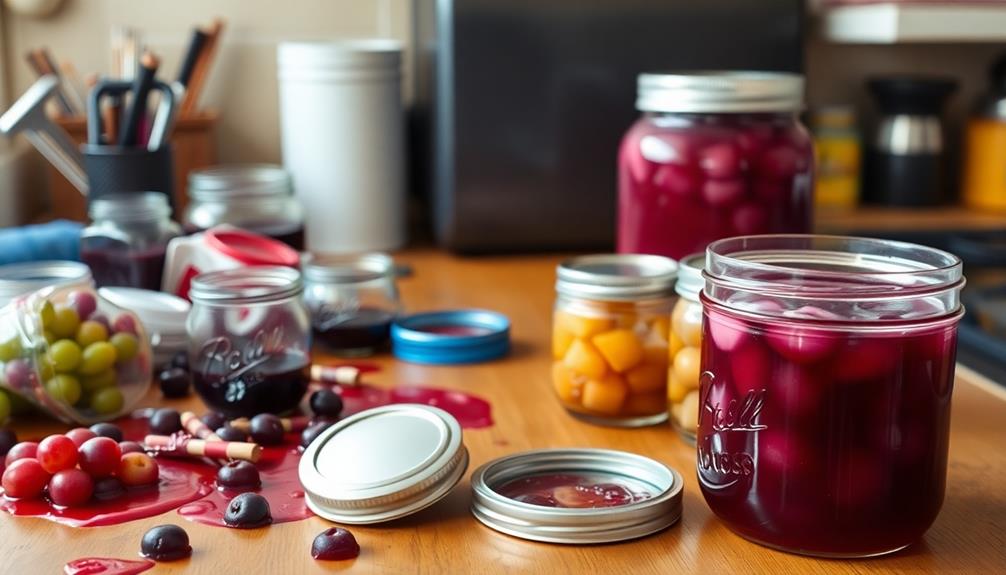
Canning grape juice can be a rewarding process, but it's easy to make mistakes that could ruin your efforts. To help you succeed, here are some common mistakes to avoid:
1. Not Sterilizing Jars: Always sterilize your jars before filling them. Boil them for at least 10 minutes or use a dishwasher with a sterilization setting to prevent bacterial contamination.
Proper preparation is essential for achieving your long-term financial goals as it parallels the meticulous planning necessary in budgeting.
2. Ignoring Headspace: Make sure to leave the correct headspace—typically 1/4 inch—when filling your jars. Neglecting this can cause liquid to overflow during processing, leading to poor seals and spoilage.
3. Skipping Sugar Adjustment: Don't overlook the importance of tasting your juice and adjusting the sugar levels as needed. This guarantees your grape juice for canning has a balanced flavor.
4. Incorrect Processing Time: Adhere to the recommended processing times based on jar size and altitude. Failing to do so can compromise the safety and longevity of your canned juice.
Lastly, allow your jars to cool completely before moving them to avoid disrupting the seal.
Creative Uses for Grape Juice
When you're looking to add a burst of flavor to your meals and drinks, grape juice can be a versatile ingredient in your kitchen. You can use grape juice as a natural sweetener in smoothies or as a base for homemade fruit punch. This way, you enhance the flavor without relying on added sugars.
Additionally, using AI-driven tools can help you discover innovative recipes that incorporate grape juice, optimizing your culinary experience for enhanced shopping choices.
Grape juice also shines in marinades, where it brings a unique sweetness and complexity to meats. Pair it with your favorite spices and herbs for a deliciously different dish.
For a revitalizing treat on hot days, freeze homemade grape juice in molds to create flavorful popsicles that kids and adults will love.
Don't forget about salads! Grape juice can be a key ingredient in salad dressings, adding a sweet-tart flavor that perfectly complements various greens and toppings.
If you're in the mood for something bubbly, mix grape juice with sparkling water for a rejuvenating, non-alcoholic beverage. This serves as a fantastic alternative to soda or sugary drinks, keeping your hydration both tasty and healthy.
Embrace the versatility of grape juice and elevate your culinary creations today!
Conclusion
Now that you've mastered the art of canning grape juice, you might find yourself enjoying a glass while reminiscing about summer days spent picking grapes. Coincidentally, each sip brings the taste of those sun-soaked moments right back to you. By following these steps, you've not only preserved a delicious treat but also created lasting memories. So, pop open a jar, savor the flavor, and share your homemade juice with friends—after all, good things are meant to be enjoyed together!

