
To fix a rotted frame on your Marvin window without replacing it, start by inspecting the damage using a screwdriver. Remove any rotted wood carefully and treat the remaining area with wood hardener for stability. Then, apply high-quality epoxy filler to restore the frame. Don’t forget to reinforce any localized rot with a wood block. Regular inspections and maintenance can prevent future issues. For detailed steps and tips, there’s more you should know.
Assessing the Extent of Damage: How to Inspect Your Marvin Window
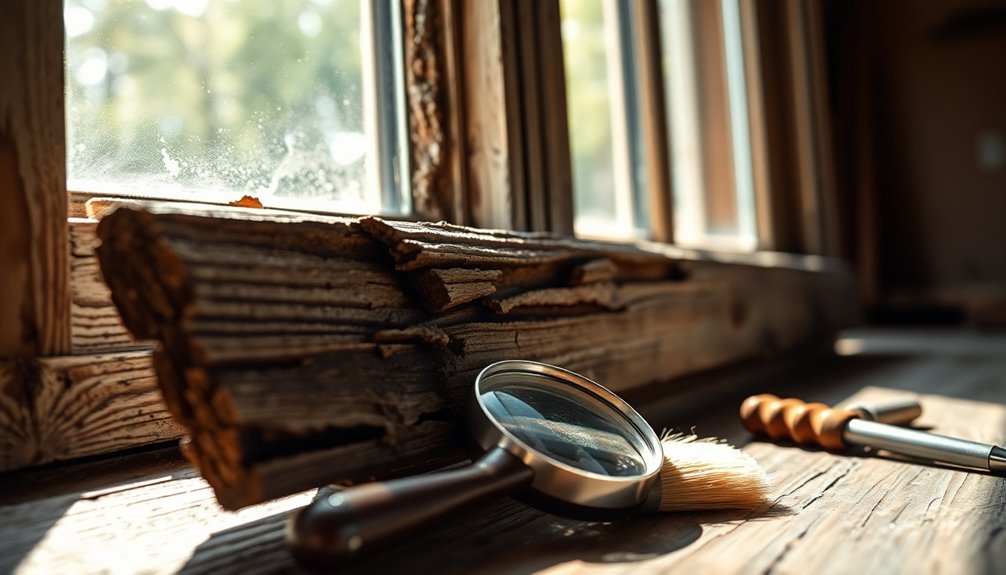
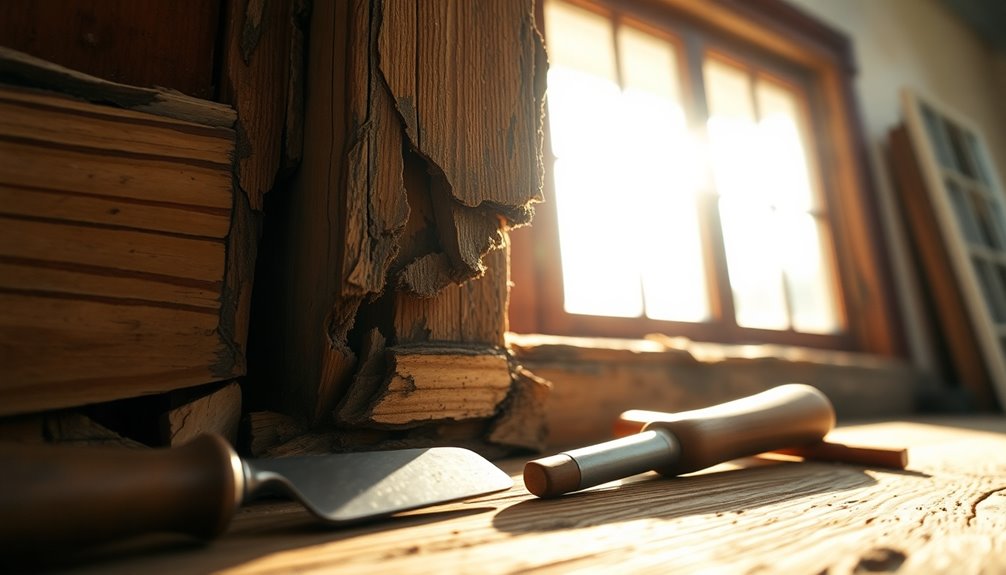
When evaluating the extent of damage to your Marvin window, start with a thorough visual inspection of the frame.
Focus on the window sill and corners, as these areas often show signs of rot like discoloration, softness, or crumbling wood.
Pay special attention to the window sill and corners, where rot commonly manifests as discoloration, softness, or crumbling wood.
Use a screwdriver to probe suspicious spots; solid wood will feel firm, while rotted areas will give way easily.
Check for moisture by examining the window’s drainage system and nearby areas for leaks, which can indicate larger issues.
If necessary, remove any interior trim or drywall to fully expose the frame and assess the rough sill and structural supports.
Document your findings carefully, noting any localized damage and the overall integrity of the window frame to guide your repair decisions. Additionally, consider using frugal recipes for budget-friendly meals as a way to save money during your home repair project.
Tools and Materials You’ll Need for the Repair
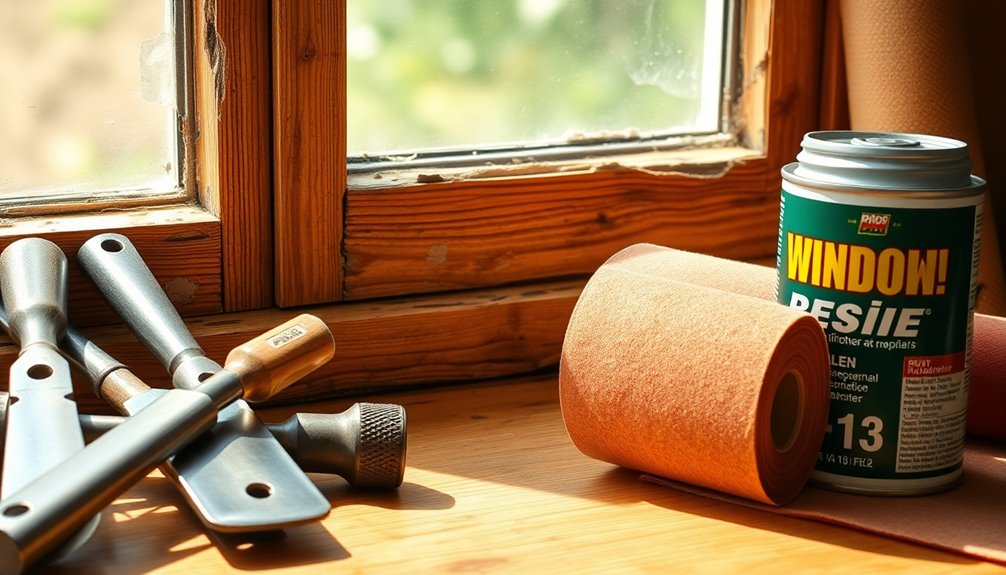
Once you’ve assessed the damage to your Marvin window, gathering the right tools and materials is key to a successful repair.
You’ll need wood epoxy like PC-Woody or Abatrons WoodEpox to fill in any damaged areas and support your window trim effectively. A utility knife is essential for cleaning out the rotted wood, while a drill with the appropriate bits will help you create pilot holes.
Don’t forget a putty knife for applying the epoxy smoothly. For additional support, a small metal reinforcement plate can be attached with screws to solid wood around the rotted area.
Finally, safety equipment like gloves and a mask is vital to protect yourself during the repair process. Utilizing expense tracking apps not only helps in budgeting for repairs but also enhances overall financial organization.
Step-by-Step Guide to Removing Rotted Wood
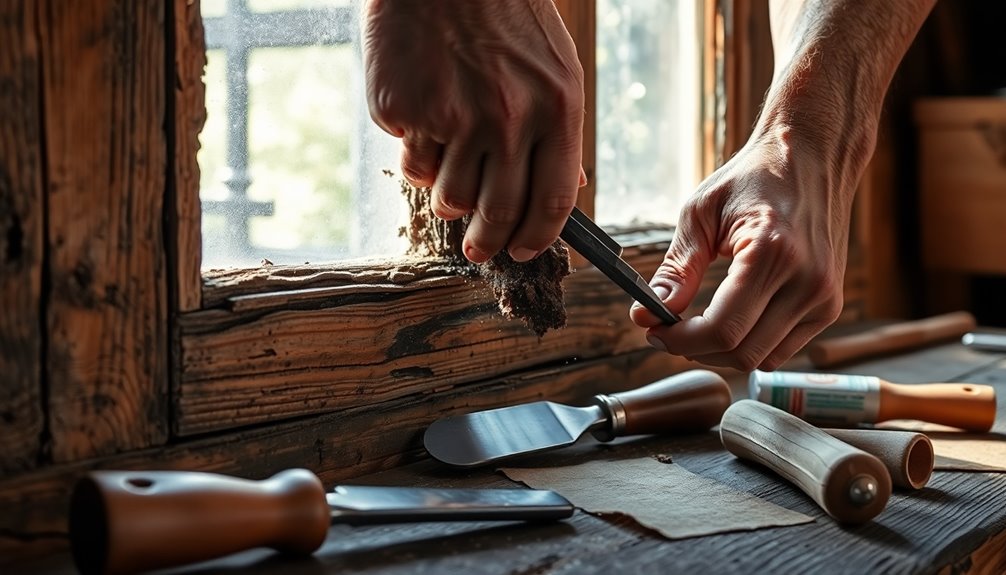
Before you plunge into the repair process, it’s essential to assess the rotted area thoroughly. Use a screwdriver to probe the rotted wood, determining how far the damage extends.
Once you’ve gauged the extent, grab a chisel or pry bar to carefully remove the rotted wood, being cautious not to damage the surrounding solid wood framework.
After you’ve cleared the rotted sections, clean the area meticulously, removing any debris, dust, or loose material. This preparation is vital for a successful repair.
If there’s any remaining damaged wood, treat it with wood hardener for added stability. Verify the surface is secure and clean before filling the void with wood epoxy or reinforcing it with a wood block as needed. Additionally, maintaining a proactive attitude towards home upkeep can prevent further issues and extend the lifespan of your windows.
Treating the Area: Applying Wood Hardener for Stability
Before you apply wood hardener, assess the damage severity to determine the best product for your needs. Choosing the right wood hardener is essential for effectively stabilizing the rotted area. Once you’ve got that sorted, you’ll want to follow proper application techniques to guarantee lasting strength. Additionally, consider using eco-friendly cleaners to maintain the surrounding surfaces during your repair process.
Assessing Damage Severity
How do you know if the damage to your window frame is severe enough to require wood hardener? Start by evaluating damage severity in your window jamb with these steps:
- Probe the Affected Area: Use a screwdriver to check for soft or crumbly wood, indicating deeper rot.
- Clean the Area: Make certain the damaged section is free from loose material for better adhesion.
- Choose the Right Product: Opt for a high-quality, exterior wood hardener that penetrates deeply into the fibers.
- Cure Properly: Follow the manufacturer’s instructions for curing time to maintain structural integrity.
Once you’ve evaluated and treated the damage effectively, you can complete your repair with confidence.
Choosing Appropriate Wood Hardener
When you’re ready to apply wood hardener, selecting the right product is vital for ensuring a stable repair. Look for wood hardeners that contain epoxy or polyurethane, as they effectively penetrate and stabilize rotted wood fibers.
Before applying the wood hardener, make sure to clean out any loose or decayed wood for maximum adhesion. It’s important to allow the wood hardener to cure completely, which can take several hours to a few days depending on the product and environmental conditions.
Using a wood hardener before additional repair methods, like epoxy fillers or wood blocks, will enhance the overall strength of your repair. Don’t forget proper ventilation, as some wood hardeners may release strong fumes that can be harmful.
Application Techniques for Stability
Applying wood hardener effectively is essential for stabilizing rotted areas in your window frames. Follow these steps to guarantee a successful application:
- Prepare the Area: Clean the rotted section and remove any loose debris before applying the wood hardener.
- Apply Multiple Coats: Use a brush to saturate the damaged wood, allowing each coat to dry thoroughly for maximum absorption.
- Choose Compatibility: Select a wood hardener that works well with the epoxy or filler you plan to use, guaranteeing better adhesion.
- Inspect Regularly: After applying the wood hardener and epoxy, keep an eye on the treated areas for signs of moisture or new rot.
Using Epoxy Filler: How to Restore Your Window Frame
Restoring a rotted window frame with epoxy filler can be a straightforward DIY project that saves you time and money.
Start by cleaning out any loose or decayed wood to prepare the area for repair. Then, apply a high-quality wood epoxy, like PC-Woody or Abatrons WoodEpox, to build up the damaged section. Allow the epoxy to cure fully according to the manufacturer’s instructions.
Once cured, drill pilot holes for reattaching the crank support screws, ensuring a strong connection. Using epoxy is practical for localized rot, bonding effectively to solid wood and maintaining structural integrity. Additionally, using eco-friendly materials in your repairs can contribute to sustainable home improvement.
After applying the epoxy, you can shape and sand it to match the original frame profile, creating a seamless and aesthetically pleasing repair.
Sanding and Smoothing: Preparing the Surface for Painting
To achieve a professional-looking finish on your Marvin window frame, it’s crucial to properly sand and smooth the repaired area before painting.
Achieving a professional finish on your Marvin window frame starts with proper sanding and smoothing before painting.
Follow these steps to prepare your sill effectively:
- Remove loose wood: Confirm all rotted wood is gone and the surface is solid.
- Start with coarse grit: Use 80-120 grit sandpaper to eliminate rough spots on the epoxy or wooden surface.
- Switch to fine grit: Follow up with 220 grit sandpaper for a smooth finish.
- Clean the area: Wipe down the surface with a damp cloth to remove dust and let it dry completely before applying primer or paint.
Taking these steps will enhance paint adhesion and create a durable, attractive finish for your window frame. Additionally, ensuring that the surface is free from moisture damage can help maintain the integrity of the repair and prevent future issues.
Choosing the Right Paint: Protecting Against Future Moisture
When it comes to protecting your Marvin windows, the type of paint you choose plays an essential role. Using moisture-resistant paint and applying it correctly can greatly extend the life of your wood frames. Additionally, ensuring proper maintenance of your windows, similar to regular cleaning of washable filters, can prevent moisture damage and prolong their lifespan.
Paint Types Matter
Choosing the right paint for your wood windows is essential, since the right type can protect against future moisture damage.
Remember, paint types matter, and making informed choices can extend the life of your windows. Here are four key factors to take into account:
- Moisture Resistance: Select high-quality, moisture-resistant exterior paint to create a protective barrier.
- Oil-Based vs. Water-Based: Opt for oil-based paints, which provide better durability and moisture resistance.
- Outdoor Formulations: Use paints specifically designed for outdoor conditions to prevent mildew and mold.
- Regular Maintenance: Repaint every 5 to 7 years to maintain integrity and prevent rot.
Proper Application Techniques
While selecting the right paint is essential, how you apply it can greatly impact the protection of your window frames against moisture.
Choose high-quality exterior-grade paints that create a moisture barrier, preventing water infiltration and rot. Look for paint with mold and mildew-resistant properties to enhance longevity.
Before you start painting, clean and prepare the surface by sanding and removing loose paint for proper adhesion. Applying a primer designed for wood surfaces is vital; it seals the wood and guarantees a uniform base, improving durability.
Finally, regularly inspect your painted window frames and reapply paint as needed to maintain that protective layer against moisture, extending the lifespan of your wood structure considerably.
Reinforcing the Crank Mechanism: Essential Techniques
To effectively reinforce the crank mechanism of your Marvin window, start by addressing any rotted wood with a high-quality wood epoxy like PC-Woody or Abatrons WoodEpox.
After that, follow these essential techniques if you need to fix the crank mechanism:
- Clean out loose wood before applying the epoxy to guarantee a solid bond.
- Allow the epoxy to cure fully, then drill pilot holes to reattach crank support screws.
- If rot is severe, consider adding a metal reinforcement plate to the solid wood around the damage.
- For localized rot, attach a small wood block over the damaged area to create a new anchor point for the crank support.
Regular maintenance will help prevent future issues, as sealing gaps and cracks can improve home energy efficiency by reducing air leaks and moisture intrusions.
Adding Metal Reinforcement: When and How to Use It?
When your Marvin window’s crank mechanism shows signs of severe wood rot, adding metal reinforcement can be a smart solution to restore its stability and functionality. This method provides much-needed support to the crank mechanism without the need to replace the entire window.
Start by choosing metal reinforcement plates that fit the damaged area. Secure these plates with screws to the solid wood surrounding the rot, ensuring a stable anchoring point.
It’s essential to affix the crank support to the metal plate for ideal strength. This not only enhances durability but also helps prevent further deterioration, extending the life of your window. Additionally, using energy-efficient heat pumps can further improve your home’s overall performance and sustainability.
Wood Block Reinforcement: A Reliable Solution for Localized Rot
Metal reinforcement serves as an effective solution for severe wood rot, but sometimes localized damage can be handled with a simpler approach: wood block reinforcement.
This method involves adding a small wood block over the rotted area, creating a new base for the crank support mechanism. Here’s how to effectively use wood block reinforcement:
- Identify the rotted area and verify it’s limited.
- Cut a wood block that fits snugly over the damage.
- Secure the block with screws or epoxy to surrounding solid wood.
- Reattach the crank mechanism for improved support and functionality.
With proper installation, the wood block reinforcement can enhance the window’s closing mechanism and extend its lifespan, making it a reliable and cost-effective repair option. Additionally, ensuring proper surface preparation during this process prevents any future leaks, thereby enhancing energy efficiency in your home.
Maintenance Tips: Preventing Future Rot and Damage
To keep your Marvin windows in top shape, you need to regularly inspect for signs of moisture damage.
Catching issues like peeling paint or soft spots early can save you from costly repairs down the line.
Don’t forget to seal exposed wood properly; it’s your best defense against future rot.
Regular Inspections Required
Regular inspections of your windows are essential, as they help you catch signs of moisture damage or wood rot before they turn into bigger problems.
To keep your Marvin windows in great shape, follow these maintenance tips:
- Conduct inspections at least twice a year, focusing on potential moisture accumulation areas.
- Pay close attention to the frame, sill, and joints where rot often develops.
- Seal exposed wood surfaces with quality exterior paint or stain to protect against moisture.
- Confirm proper drainage around windows by keeping gutters and landscaping directed away from your home.
Proper Sealing Techniques
While you mightn’t think about it often, proper sealing techniques are essential for protecting your Marvin windows from moisture damage and rot.
Regularly inspect your window frames and sills for any signs of moisture issues. Apply a high-quality sealant around the frames, filling all joints and gaps to prevent water infiltration.
Additionally, use a breathable house wrap behind the window to let moisture vapor escape while keeping water out. Guarantee proper drainage by installing drip edges and maintaining a slope away from your home.
Finally, periodically repaint and seal wooden components with durable, weather-resistant finishes to extend the wood’s lifespan.
With these techniques, you’ll keep your Marvin windows in great shape for years to come.
When to Call a Professional: Signs You Need Expert Help?
Recognizing the signs that you need professional help with your Marvin windows can save you time and prevent further damage.
Here are some indicators that suggest you shouldn’t tackle repairs alone:
- Significant Structural Damage: If you spot extensive dry rot or damage in multiple areas, it’s best to call an expert.
- Water Damage: Discoloration or peeling paint around the window signals potential underlying issues that need assessment.
- Operational Problems: If your window won’t open or close properly, that’s a clear sign you need professional assistance.
- DIY Limitations: When repairs exceed your skill level or tools, don’t hesitate to seek expert help.
Taking action early can save you from more costly repairs later.
Community Insights: What Others Are Saying About Marvin Window Repairs
When it comes to Marvin window repairs, community members have been sharing valuable insights that can help you navigate common issues.
Many residents have encountered problems with rotten window trim on their older Marvin windows, revealing it’s a widespread concern.
In a recent discussion, 38 comments highlighted various solutions and repair techniques, showcasing the community’s enthusiasm to support one another.
Tulpa Black, a member of the community, emphasized the importance of addressing wood rot quickly to preserve the integrity of your home.
Conclusion
Fixing a rotted Marvin window frame can save you hundreds, if not thousands, in replacement costs. Did you know that nearly 25% of homes experience some form of wood rot? By following the steps outlined, you can tackle the repair and restore your window’s integrity. Remember, a little effort now can prevent bigger problems down the line. Stay proactive with maintenance, and your windows can last for decades, keeping your home safe and beautiful!


Average Rating