
To connect a utility sink to your basement or garage without new plumbing, start by identifying the nearest water source like a hose connection or sink. Use flexible supply lines to tap into existing lines for an easier setup. Gather essential tools and materials, including compression fittings and PEX tubing, to guarantee secure connections. Don’t forget to maintain proper drainage slope. There’s more to contemplate to make your project a success, so keep going for additional tips.
Understanding the Benefits of a Utility Sink in Your Space
When you think about enhancing your workspace, a utility sink stands out as a practical choice that can transform your chores. This versatile washing station makes tasks like laundry, gardening, and cleaning more efficient by providing a dedicated space for washing tools and equipment.
With its deeper basin, you can easily clean larger items, such as buckets or pet carriers, that wouldn’t fit in a standard kitchen sink. Plus, many utility sinks connect seamlessly to existing water supply and drainage systems, simplifying installation without extensive plumbing work. Additionally, incorporating a utility sink can help streamline budget-friendly cooking and other household tasks, making it a valuable addition to your home.
Assessing Your Existing Water Supply Options

How can you determine the best water supply options for your utility sink installation? Start by identifying the closest water source, like a hose connection or nearby sink. This helps you assess the feasibility of your setup.
Check local hardware stores for compatible hose adapters and fittings, such as a 3/8” compression fitting, to connect your water supply to the sink. If you have a washing machine nearby, consider using flexible supply lines that can be teed off from those existing water lines.
Don’t forget to evaluate the height and layout of your drain lines to guarantee proper drainage. Regular maintenance of your plumbing system can prevent future issues with your utility sink setup. Research DIY solutions and community advice to find insights on customizing your water supply connection effectively.
Choosing the Right Tools and Materials for Installation
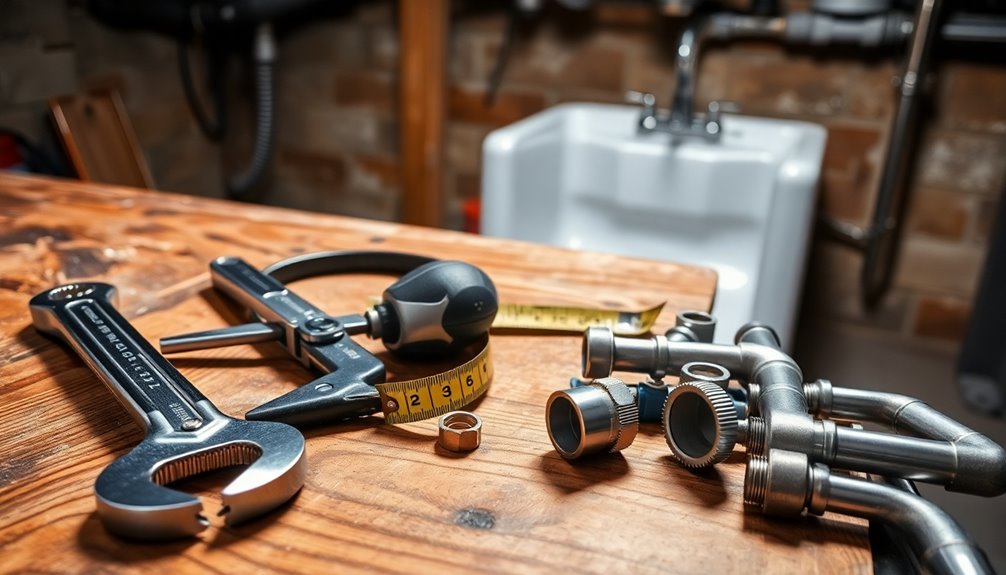
After evaluating your water supply options, it’s time to gather the right tools and materials for your utility sink installation.
First, you’ll need a 3/8” compression fitting for connecting the hose to the sink supply and faucet, ensuring a leak-free setup. A hose adapter that resembles a dishwasher hookup will help shift from the hose to the sink effectively.
Check local big box stores for plumbing supplies, as they often offer better prices than online retailers.
Consider using PEX tubing for running your hot water lines; it’s flexible and can be hidden behind insulation.
Don’t forget essential tools like wrenches, pipe cutters, and Teflon tape to secure connections and prevent leaks during your washing machine’s installation. Additionally, using expense tracking apps can help you manage the costs associated with your DIY project effectively.
Planning Your Sink Location and Layout
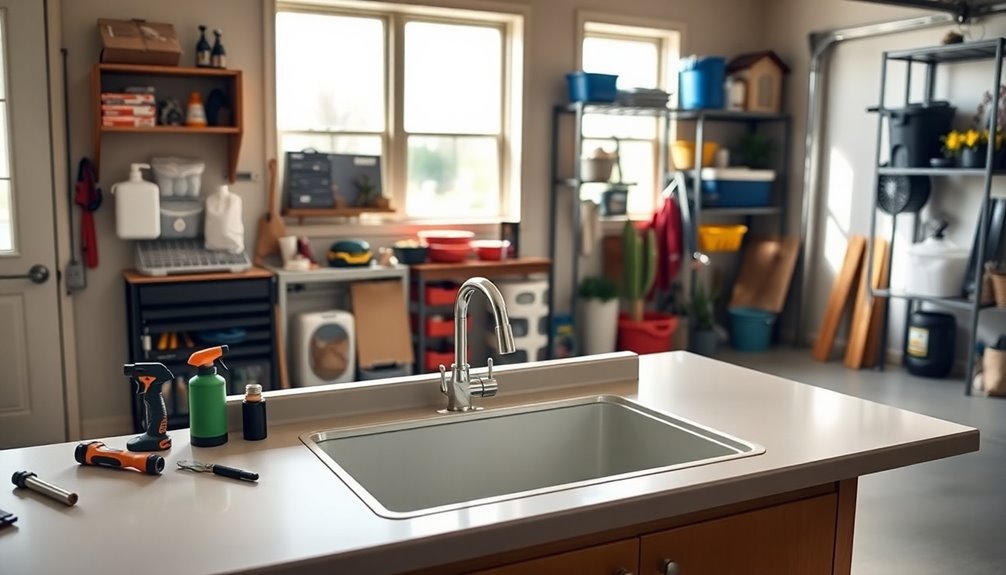
Finding the perfect spot for your utility sink is essential for a smooth installation and efficient use. Ideally, you want it close to existing water lines, whether in your basement or garage.
Choosing the right location for your utility sink is crucial for easy installation and efficient functionality.
Make sure you consider the following:
- Accessibility for everyday use
- Proper drainage and slope to prevent backflow
- Proximity to your laundry room or washer
- Space modifications, like blocking windows or removing shelves
- Layout for easy cleaning, laundry tasks, or general use. Additionally, consider implementing sustainable gardening techniques to enhance the overall functionality and aesthetics of the space.
Connecting to Existing Water Lines: Step-by-Step Guide
Once you’ve chosen the ideal location for your utility sink, connecting it to existing water lines is the next step.
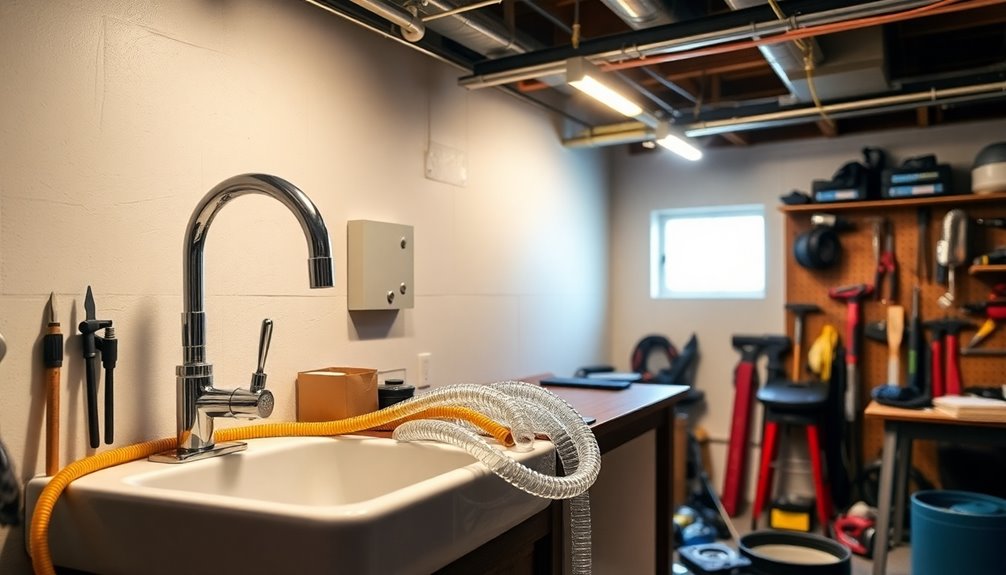
Start by locating the nearest supply lines, usually near washing machines or other fixtures. Use flexible supply lines to tee off from the current water supply, making certain you have the right fittings like compression or threaded adapters for secure connections.
Don’t forget to follow safety precautions and local plumbing codes to avoid any issues. Verify your water pressure is adequate for the sink’s needs.
Utilize drop ear elbows and PEX tubing for stable connections. If your sink’s on another appliance, support it with a framework for added stability.
This setup guarantees a reliable and compliant water source for your utility sink. Additionally, consider the efficiency of your setup, as using materials and methods that align with high energy efficiency can minimize long-term operational costs.
Installing Drain Lines for Optimal Functionality
To guarantee your utility sink functions effectively, installing the drain lines correctly is essential. Prioritize drain line installation before supply lines for ideal layout.
Ascertain the drain line maintains a slope of at least 1/4 inch per foot to facilitate proper drainage and prevent clogs. Using PVC or ABS piping is recommended for its lightweight, durable, and corrosion-resistant qualities.
Consider these key points for successful drain line installation:
- Follow slope requirements to avoid standing water.
- Incorporate venting systems to prevent vacuum formation.
- Securely connect the drain line to the sink with a trap.
- Regularly check for signs of slow drainage or gurgling sounds.
- Maintain accessibility for future maintenance or adjustments.
- Implementing effective organizational strategies can also help maintain a clean and functional workspace around your utility sink.
Sealing Connections to Prevent Leaks
When sealing connections for your utility sink, choosing the right materials like plumber’s putty or silicone sealer is essential. You’ll want to use effective sealing techniques to create a watertight barrier around threaded joints and fittings. Properly tightened connections will help you avoid frustrating leaks down the line. Additionally, ensuring that your connections are regularly inspected can help prevent issues related to clogged filters that may arise from improper drainage.
Proper Material Selection
Proper material selection is essential for sealing connections and preventing leaks in your utility sink installation. Choose materials that offer both durability and cost effectiveness to guarantee a reliable setup.
Keep compatibility considerations in mind when selecting hoses, connectors, and fittings to avoid future issues.
- Use plumber’s putty or silicone sealer for watertight joints.
- Tighten all fittings securely according to manufacturer specifications.
- Opt for high-quality hoses rated for your water pressure.
- Regularly inspect connections and replace worn components.
- When using PEX tubing, make sure you use the right crimp rings and tools.
Effective Sealing Techniques
Even with the right materials, effective sealing techniques are key to ensuring a leak-free utility sink. Start by using sealing methods like plumber’s putty or silicone sealant around threaded connections to create a watertight seal.
Make sure all connections are tightened securely, but don’t over-tighten—this can strip threads and lead to leaks. Regularly inspect seals and gaskets for wear, replacing them as needed for maximum leak prevention.
Compression fittings can also enhance your setup, as they provide a secure seal by compressing against the pipe. Before sealing, clean the surfaces of pipes and fittings thoroughly to remove any debris or old sealant.
Following these maintenance tips will help you achieve a long-lasting, leak-free installation.
Tips for Running PEX Tubing Behind Insulation
To guarantee your PEX tubing functions effectively behind insulation, it’s vital to install it without compressing the fiberglass insulation, as this maintains its temperature regulation and moisture control properties.
Here are some essential tips to take into account:
- Use a staple gun with plastic staples to secure PEX tubing, allowing for expansion joint considerations.
- Maintain a minimum bend radius of 5 times the diameter of the PEX tubing to prevent kinking.
- Insulate the PEX tubing itself, especially in unconditioned spaces, for energy efficiency.
- Refer to insulation materials comparison to choose the right type for your project.
- Always check local building codes for compliance with PEX installation techniques.
- Additionally, consider using eco-friendly practices to further enhance energy efficiency and reduce environmental impact.
Following these tips will help guarantee your PEX system runs smoothly and efficiently.
Ensuring Proper Drainage and Slope
During your drain line installation, aim for a minimum slope of 1/4 inch per foot. This promotes effective drainage and helps prevent common drainage issues. Use slope measurement techniques, like a level, to verify that your drain line is graded correctly. Avoid sharp bends in the line, as they can cause blockages that disrupt wastewater flow. Secure the drain line to the wall or floor to maintain that vital slope. Additionally, regularly inspect for any leaks or blockages to keep your utility sink operating smoothly; proper soundproofing techniques can also help reduce noise from water flow in the plumbing.
Troubleshooting Common Installation Issues
When you plunge into setting up your utility sink, it’s crucial to be ready for common installation issues that can arise. Here are some tips for troubleshooting leaks and tackling pipe fitting solutions:
- Prioritize installing the drain line before the supply lines to prevent future complications.
- Verify the height of the washer drain pipe to guarantee proper drainage.
- Use a 3/8” compression fitting; check local supply availability to avoid shipping costs.
- Consider a drop ear elbow for secure connections when using PEX or copper piping.
- Engage with your community for shared experiences and advice on steering through common installation challenges.
- Being prepared can turn installation headaches into smooth sailing, especially by ensuring proper sealing to avoid air leaks that could compromise efficiency!
Exploring Alternative Sink Designs for Compact Spaces
After tackling installation issues, it’s time to think about the sink itself, especially if you’re working with limited space.
Consider compact design options like wall-mounted sinks that save floor area and allow easy access to plumbing. These designs don’t require major structural changes, making them a practical choice.
Look for innovative storage solutions, such as sinks with built-in shelves or cabinets underneath, to maximize your workspace. Specialty sinks that fit between appliances can also utilize narrow gaps in areas like laundry rooms or garages effectively.
When selecting a sink, prioritize lightweight materials that support easy installation, especially if you’re placing it on top of existing appliances.
These strategies will help you create an efficient utility space.
Budgeting for Your DIY Utility Sink Project
While planning your DIY utility sink project, budgeting effectively is essential to avoid unexpected costs.
Start by sourcing budget friendly materials from local supply sources to keep your expenses in check. Here are some tips to contemplate:
- Check local big box stores for plumbing supplies like 3/8” compression fittings.
- Factor in alternative solutions such as DIY components or custom fittings.
- Avoid high shipping costs by sourcing specialized attachments locally.
- Consider the long-term savings of durable materials that require less maintenance.
- Engage with your community for insights on cost-effective methods others have used.
Engaging With the Community for Shared Experiences and Advice
Finding budget-friendly materials is just one part of your DIY utility sink project. Engaging with your community can provide invaluable insights into successful installations.
Tap into community resources like local forums where homeowners share advice on sourcing plumbing materials and troubleshooting issues. By sharing your personal experiences, you’ll contribute to a wealth of innovative solutions that help others avoid common pitfalls.
Engage with local forums to exchange tips on plumbing materials and share your experiences, helping others navigate common challenges.
Join community Q&A sessions for personalized guidance from experienced DIYers who’ve faced similar challenges. Networking with fellow homeowners fosters project collaboration, allowing you to share resources and knowledge.
This collaborative spirit not only enhances your own project but also strengthens your community, making everyone’s DIY journey smoother and more rewarding.
Conclusion
Now that you’ve got the tools and steps laid out, imagine the satisfaction of having a utility sink ready for all your messy projects. Picture the convenience it’ll bring to your basement or garage, transforming the space into a functional haven. But before you plunge in, what if you encounter an unexpected hiccup? Don’t worry; you’re not alone. Stay tuned for tips and tricks to tackle those challenges head-on, ensuring your DIY journey is a success!


Average Rating