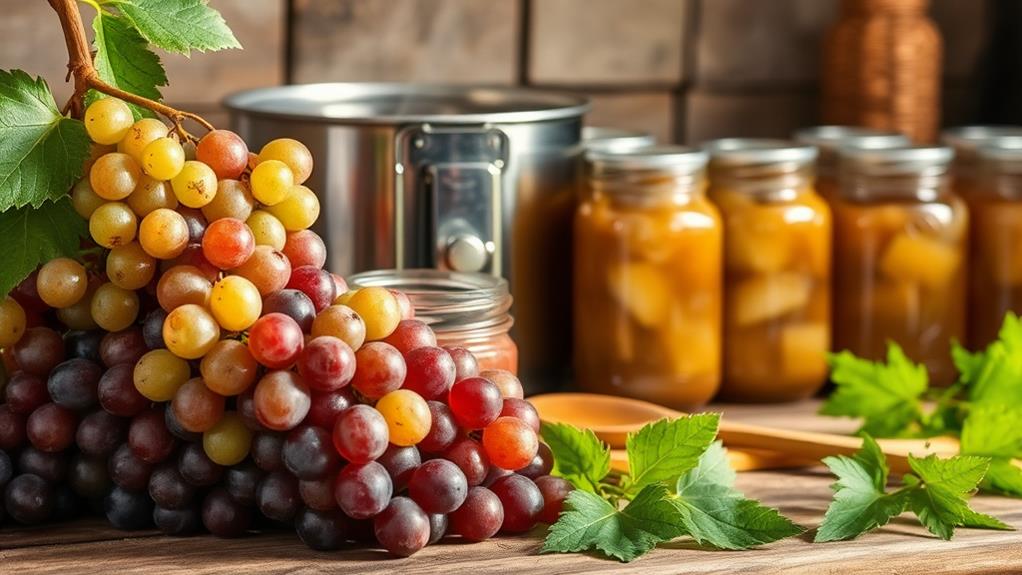
Canning grape juice at home is easier than you think! Start by choosing fresh grapes, like Concord or Niagara, for the best flavor. You'll need to crush about 3.5 pounds of grapes, cover them with boiling water, and strain the mixture. Verify you have the right equipment, like a water bath canner and sterilized jars. Process your jars for 5 to 10 minutes, depending on your altitude. Store the sealed jars in a cool, dark place, and they'll last up to 18 months. Keep going, and you'll discover valuable tips to make your canning experience even better!
Choosing the Right Grapes
When it comes to crafting delicious grape juice at home, the key to success lies in choosing the right grapes. Fresh grapes are essential for achieving that vibrant flavor you're after. Look for plump, ripe options that give off a sweet aroma.
Concord grapes are a popular choice due to their bold flavor and deep purple hue, making them ideal for rich, traditional grape juice. If you prefer something milder, consider Niagara grapes; their sweet and juicy profile offers a lighter taste, perfect for those warm days.
To guarantee you maximize your grape juice experience, think about setting clear financial goals for your canning supplies and ingredients.
Don't overlook other grape varieties, either. Catawba grapes bring a unique musky flavor, balancing sweetness and tartness for added complexity in your homemade grape juice. Muscadine grapes are also worth trying; they're packed with antioxidants and feature a distinct flavor that appeals to health-conscious juice lovers.
When you choose the right grapes, you may not even need to add sugar, as the natural sweetness of your chosen variety can elevate your juice effortlessly.
Preparing the Juice
Now that you've selected the perfect grapes, it's time to prepare the juice. Start with 3 ½ pounds of fresh, washed, and destemmed grapes, preferably Concord or Niagara for the best flavor.
In a large pot, crush the grapes and add enough boiling water to cover them. Simmer for about 10 minutes to extract the juices. To enhance your sustainability efforts while canning, consider sustainable delivery practices for sourcing your canning supplies.
Next, strain the mixture through a jelly bag or cheesecloth. This will separate the liquid from the solids. Allow the juice to cool and settle in your refrigerator for 24-48 hours.
After settling, filter the juice through a coffee filter to remove any tartaric acid crystals, ensuring clarity before canning.
Before you heat the juice to 190°F for preservation, sweeten to taste with sugar, honey, or maple syrup.
Here are key steps to remember:
- Use the right grape varieties for ideal sweetness.
- Crush the grapes thoroughly for maximum juice extraction.
- Simmer with boiling water for 10 minutes.
- Strain and cool the juice properly.
- Always filter for clarity before canning.
With these steps, you'll be well on your way to delicious homemade fresh grape juice!
Essential Canning Equipment
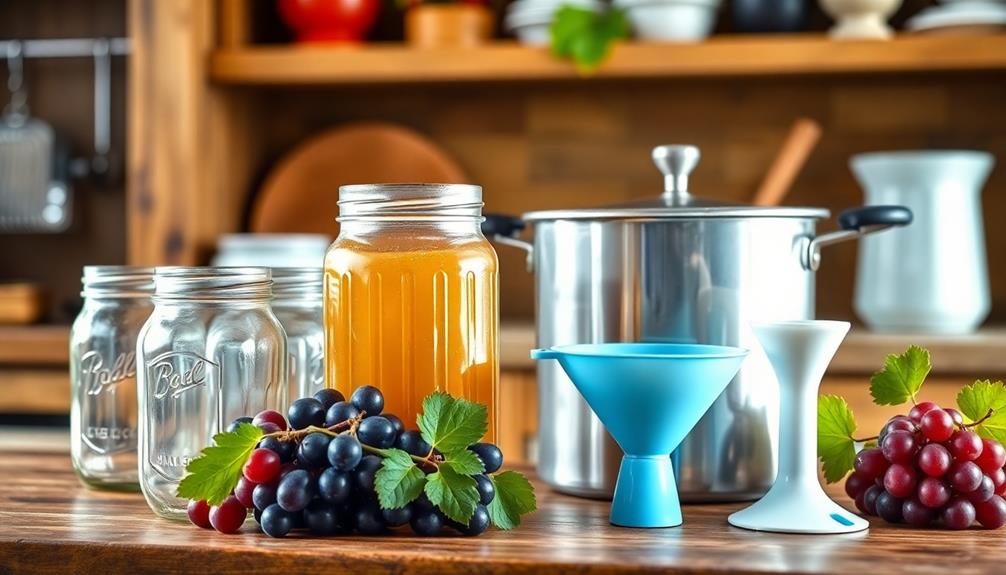
Before you immerse yourself in canning grape juice, it's essential to gather the necessary equipment that will make the process smooth and safe. First, you'll need a water bath canner, which guarantees even heating and preservation by submerging jars in boiling water.
Choose pint or quart-sized canning jars specifically designed for this purpose, making sure they're not cracked or chipped to confirm a proper seal. Utilizing the right tools can also help streamline your canning process, saving you time and ensuring efficiency, similar to how expense tracking tools enhance financial management for entrepreneurs.
Next, don't forget the lids and bands. You'll require two-piece lids—one flat lid and a screw band—to create an airtight seal. Verify the lids are new, while the bands can be reused.
A canning funnel is also important; it helps pour hot grape juice into jars without spilling, ensuring a clean fill and maintaining the necessary headspace of 1/4 inch.
Lastly, invest in a jar lifter and canning tongs to safely handle hot jars during the filling and processing time. These tools minimize the risk of burns or spills, making your canning experience much more enjoyable.
With this essential equipment at hand, you're ready to initiate your canning journey!
Canning Process Steps
Now that you've got your essential canning equipment ready, let's walk through the canning process steps.
With the help of AI-driven tools for efficient shopping, you can easily gather all necessary supplies for your canning project.
You'll start by preparing the grapes and extracting the juice, then move on to filling and sealing your jars.
Following these clear, step-by-step instructions will guarantee your grape juice is properly preserved for later enjoyment.
Essential Equipment Needed
To successfully can grape juice at home, you'll need a few essential pieces of equipment. Gathering the right tools makes the process smoother and more enjoyable.
Here's a list of what you'll need:
- Canning jars (pint or quart size) with lids and bands for sealing
- A water bath canner to process the jars
- A canning funnel for easy filling without spills
- A jelly bag or cheesecloth for straining the juice after extraction
- A potato masher to crush the grapes effectively
Additionally, you'll want a large pot for boiling and juice extraction.
Once your juice is ready, use a ladle to transfer it into the jars, ensuring you leave the correct headspace. A jar lifter is essential for safely handling hot jars, preventing burns while keeping your hands safe.
Preparing these items ahead of time will set you up for a successful canning experience. With the right equipment, you'll be well on your way to enjoying homemade grape juice all year round!
Step-by-Step Instructions
With your equipment ready, it's time to get started on the canning process for your homemade grape juice. First, wash and destem about 3.5 pounds of fresh grapes, then crush them in a large pot.
Add boiling water to cover the grapes and let them simmer for 10 minutes. After that, strain the mixture through a jelly bag or cheesecloth to separate the juice from the solids. Refrigerate the juice for 24 to 48 hours to allow sediment to settle.
While the juice cools, prepare your canning jars and lids. Heat the strained juice to 190°F. Fill the warm jars with the hot juice, leaving about 1/4 inch of headspace. Clean the rims of the jars, secure the 2-piece canning lids, and process the jars in a boiling water bath for 5-10 minutes, adjusting for altitude as needed.
Once the canning process is complete, let the jars cool. Store the sealed jars in a cool, dark place. Properly sealed, your grape juice can retain its natural flavors for up to 18 months! Enjoy your delicious homemade treat!
Adjusting for Altitude
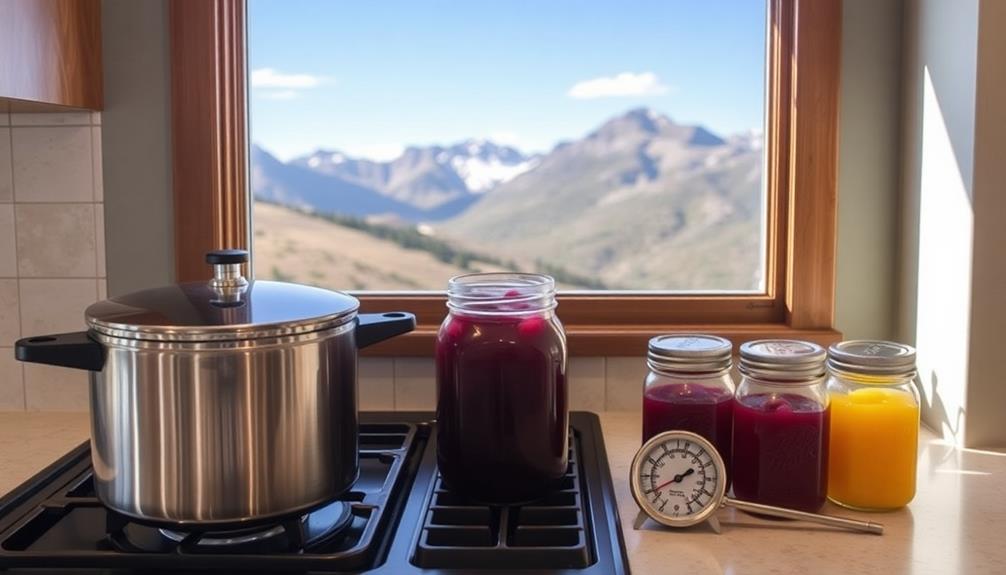
When canning grape juice, altitude plays an essential role in determining processing times.
Higher elevations can affect the boiling point of water, which in turn impacts the safety and quality of your canned goods. If you're at a higher elevation, you'll need to adjust the time to guarantee your jars seal properly and the juice stays safe.
Always refer to USDA guidelines for specific recommendations based on your altitude to avoid spoilage, as proper expense categorization can help streamline your canning process and ensure you're budgeting effectively for supplies.
Altitude Impact on Processing
Adjusting processing times for canning grape juice is essential, especially as you change altitude. The higher you go, the more you'll need to modify your approach to guarantee proper food safety and effective sealing.
If you don't adjust, you risk spoilage and compromising the quality of your grape juice.
Here are some key points to remember when considering altitude impact on processing:
- Below 1,000 feet: Standard processing time is 5 minutes for pints and quarts.
- Between 1,000 and 3,000 feet: Increase processing time to 10 minutes.
- Above 3,000 feet: Add an extra minute for every additional 1,000 feet in elevation.
- Always check USDA guidelines for specific altitude-related adjustments.
- Failure to adjust processing time can lead to inadequate sealing, risking spoilage.
Adjusted Canning Time Guidelines
Understanding the right processing times is vital for canning grape juice at different altitudes. When you're canning at sea level to 1,000 feet, you'll need to process pints and quarts for 5 minutes and half-gallons for 10 minutes in boiling water.
However, as you go higher, you must adjust your processing time to guarantee safe food preservation. For every additional 1,000 feet above sea level, increase your processing time by 1 minute. For instance, if you're at 3,000 feet, pints and quarts should be processed for 7 minutes, while half-gallons need 12 minutes.
This adjustment is vital because lower atmospheric pressure can affect how water boils and how heat penetrates your grape juice. Always refer to USDA guidelines for the most accurate processing times specific to your altitude.
Keeping a thermometer handy during the process can help you monitor the temperature, guaranteeing that your juice reaches the necessary heat for safe canning. Following these canning directions will help you achieve delicious, shelf-stable grape juice, ready to enjoy any time of the year!
Nutritional Benefits of Grape Juice
Grape juice packs a powerful punch when it comes to nutritional benefits. When you choose to can grape juice from homegrown grapes, you're not just enjoying a delicious treat; you're also reaping a variety of health rewards.
This vibrant drink is rich in antioxidants, particularly flavonoids and polyphenols, which are linked to a reduced risk of chronic diseases. Additionally, incorporating healthy drinks like grape juice into your diet can help foster better decision-making about your overall health, much like how budget apps enable easy monitoring of your finances.
Here are some key nutritional benefits of grape juice:
- Heart Health: It may improve circulation and lower blood pressure.
- Potassium: A single cup contains 758 mg, supporting muscle and nerve function.
- Vitamin C: With 13 mg per cup, it contributes to your immune system.
- Natural Sugars: It provides energy quickly, thanks to its 62 grams of sugar.
- Cognitive Function: Natural compounds may protect against age-related decline.
Tips for Successful Canning
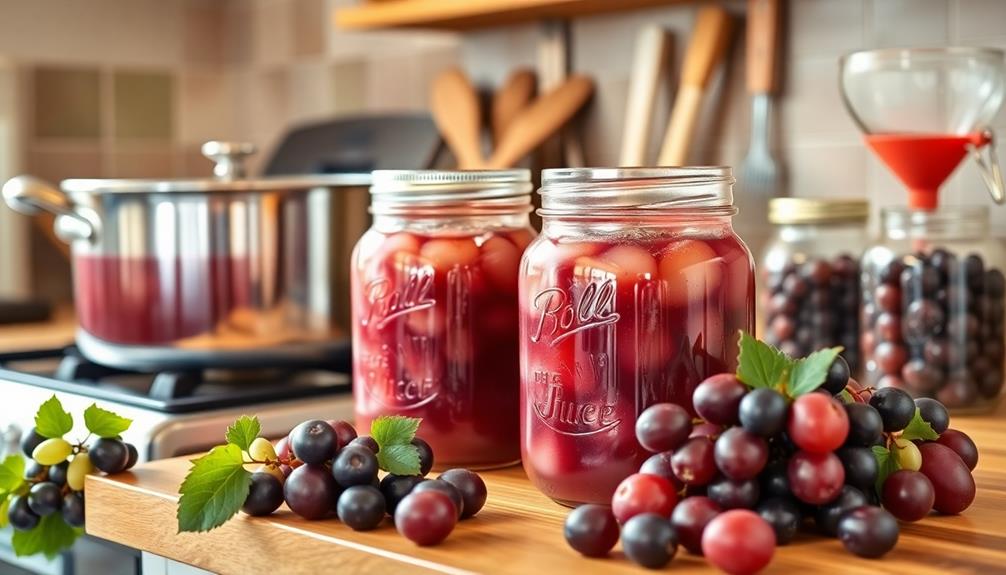
Canning grape juice at home can be a rewarding experience, but it's essential to follow some key tips to guarantee success. Start with fresh, ripe grapes, preferably Concord or Niagara, as they provide the best flavor for your juice.
Before you begin, sterilize jars and lids properly to prevent contamination; this guarantees safe storage for your juice for up to 18 months. Utilizing efficient tools can enhance your canning process, similar to how expense management apps streamline financial organization.
When heating the juice, maintain a precise temperature of 190°F. This step is critical for proper pasteurization, which preserves the juice and prevents spoilage. As you fill the sterilized jars, make sure to leave a 1/4 inch headspace. This allowance is significant for the juice's expansion during processing.
After filling the jars, process them in a water bath for 5-10 minutes, depending on your altitude. This step helps the jars seal correctly, ensuring they remain safe for long-term storage.
Storing Canned Grape Juice
When it comes to storing your homemade grape juice, finding the right environment is crucial for maintaining its quality. Ideally, you should store your canned grape juice in a cool, dark place with temperatures between 50°F and 70°F (10°C to 21°C).
Properly sealed jars can last up to 18 months, but for the best flavor, aim to consume them within a year. To guarantee your savings goals remain on track while you enjoy your canning hobby, consider using budgeting tools to manage your expenses effectively and set achievable financial targets effective savings goal setting.
Here are some tips for storing your grape juice effectively:
- Store in a cool, dark place to prevent spoilage.
- Label jars with the date of canning and contents for easy tracking.
- Inspect jars for bulging lids or off smells before consuming.
- Seal jars tightly to maintain freshness and prevent contamination.
- Consume opened grape juice within 7 to 10 days after refrigeration.
Community Sharing and Feedback
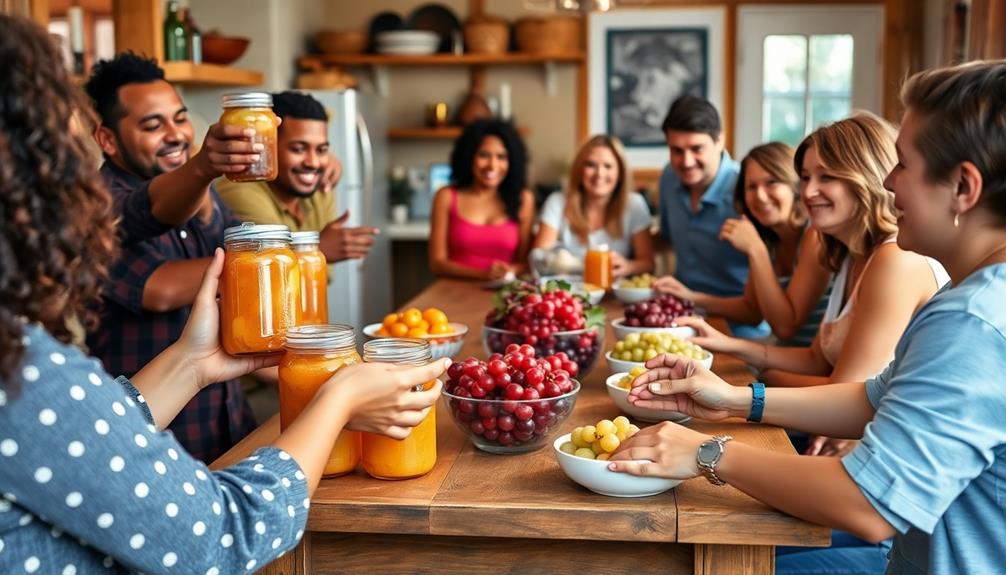
Sharing your experiences with others can greatly enhance your canning journey. Engaging in community sharing, especially through social media platforms, allows you to connect with fellow canners. Using hashtags like #amodernhomestead, you can discover a wealth of personal experiences and gather valuable tips and techniques from seasoned canners. This kind of feedback is especially beneficial for beginners, helping you avoid common pitfalls.
When you share your own canning stories, you contribute to a pool of knowledge that supports others in their canning adventures. You can rate recipes, highlighting popular choices and successful methods that work well. This not only helps you but also guides others looking for tried-and-true techniques.
Consider hosting canning parties where you can learn and share in a fun environment. These gatherings foster collaboration and strengthen connections within the community.
Plus, discussing challenges and troubleshooting together can boost your confidence and improve your skills. Embrace this opportunity to learn from others and provide feedback on their methods, creating a supportive network that enriches everyone's canning journey.
Conclusion
As you commence your canning journey, think of each jar of grape juice as a tiny treasure chest, preserving the sweetness of summer for colder days. Just as the grapes transform into rich juice, you too grow through this process, learning and adapting. With every step, you're not just filling jars; you're bottling memories and flavors. So, embrace the adventure, share your creations, and let the warmth of your kitchen be a beacon for others to join in.

