
If you're starting with DIY metal melting projects, a crucible is your best friend. You can create a simple one using a tin can secured with bolts and a steel sheet for a lid. This setup allows you to safely melt metals like aluminum at home. You'll need basic tools like a multitool and protective gear, including heat-resistant gloves and goggles. Remember to maintain good ventilation and keep safety standards in mind. As you get familiar with the process, you might discover more creative uses and techniques to enhance your metalworking projects.
Understanding Crucibles
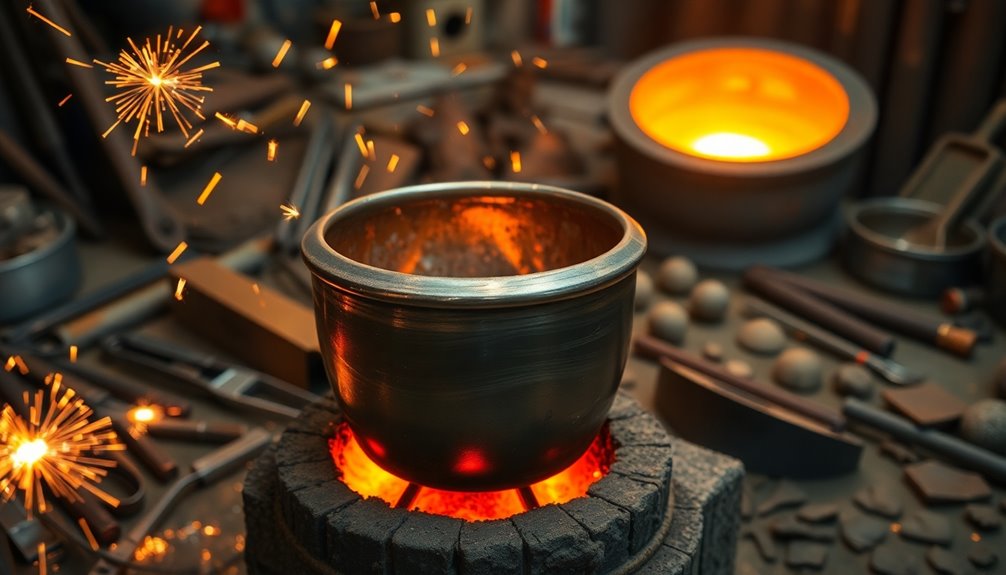
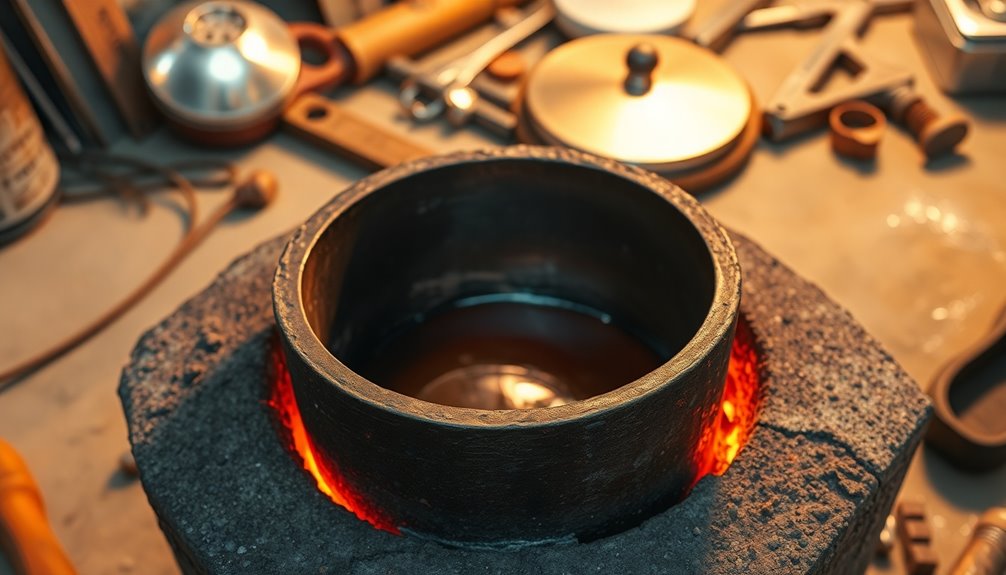
A crucible is your crucial tool for melting metals, acting as a sturdy container that can withstand extreme heat. Understanding crucibles begins with recognizing their history; they've been used for centuries in metalworking, evolving in design and materials to meet the demands of various applications. Expense tracking tools, such as QuickBooks Online, can help you manage the costs associated with purchasing crucibles and other materials effectively. Additionally, utilizing AI-driven tools can optimize your material selection process, ensuring you find the best options for your projects.
When you're considering the material properties of a crucible, it's essential to choose the right one for your specific needs. Simple crucibles can be made from everyday items like tin cans, which are accessible for beginners. However, for melting metals such as aluminum, you'll want a more robust design. Thick steel sheets and proper welding techniques enhance durability, ensuring your crucible can handle the high temperatures without deformation. The construction of a crucible affects its functionality considerably. If you're serious about metal melting, investing in a well-designed crucible will save you time and frustration. Additionally, using advanced receipt scanning technology can streamline your expense tracking related to purchasing materials for your metal melting projects.
Essential Materials for Beginners
Starting your metal melting journey requires gathering essential materials that make the process straightforward and accessible. For beginner projects, you don't need to break the bank. Instead, focus on basic materials that are easy to find and assemble.
Here's a quick list of what you'll need:
- Tin can: This serves as your main crucible body.
- Two bolts: They help secure the crucible components together.
- Four nuts: These fasten the bolts and keep everything in place.
- Four split-ring lock washers: They guarantee stability by preventing loosening over time.
- Steel sheet: Use this to create a lid for your crucible, enhancing functionality. Additionally, keeping a close eye on your expense tracking will help you monitor costs as you invest in more advanced melting equipment. Proper expense categorization can simplify your financial management during this process.
As you progress, you might explore more complex designs, but starting with these basic materials will give you a solid foundation. Additionally, ensuring accurate categorization of your expenses will help you manage costs effectively as you invest in more advanced melting equipment.
Crafting a Simple Crucible
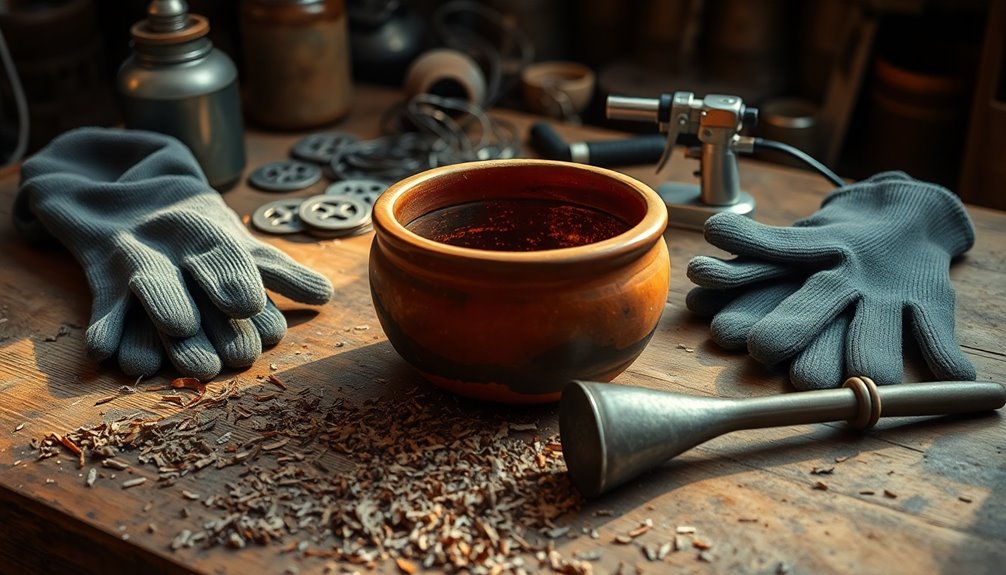
Crafting a simple crucible is an exciting first step in your metal melting journey. To get started, gather your crucible materials: a tin can, two bolts, four nuts, and four split-ring lock washers. You'll also need a piece of steel sheet to serve as a lid, along with an additional bolt and one to two nuts.
Using a multitool, you can easily construct your crucible. Begin by securing the tin can with the bolts and washers, creating a functional vessel for melting small quantities of metal. This design is ideal for beginners, allowing you to experiment with various melting techniques without a significant investment. Interestingly, just as in sustainable fashion, choosing eco-friendly materials can significantly impact the performance and longevity of your projects. Ethical shopping promotes sustainable practices, which can also inspire your approach to selecting materials. Remember that ethical brands often prioritize quality and sustainability, which can be reflected in your choice of crucible materials.
As you conduct your initial tests, keep in mind that while this crucible is a great starting point, lessons learned will guide you toward better materials.
Opting for thicker steel rather than tin cans will enhance durability and performance during metal melting, so consider upgrading once you're comfortable with basic techniques. Enjoy the process, and don't hesitate to make adjustments based on your experiences!
Tools Needed for Simple Crucible
Building your simple crucible requires just a few basic tools and materials, making it an approachable project for anyone interested in metal melting. You don't need advanced equipment; a basic multitool will do the trick. This simplicity is perfect for beginners who may not have extensive resources at hand. Additionally, understanding the importance of financial management can help you make informed decisions about your materials budget. By keeping your expenses low, you can focus on honing your skills in savings goal setting as you invest in more advanced projects.
Here's a quick list of the essential tool types and materials you'll need:
- Tin can: Serves as the body of your crucible.
- Two bolts: Help secure the structure.
- Four nuts: Work with the bolts for stability.
- Four split-ring lock washers: Guarantee everything stays tight.
- Steel sheet: Needed for the crucible lid, along with one bolt and one to two additional nuts.
This straightforward setup allows you to melt small quantities of metal effectively while utilizing common materials. Additionally, using a crucible can also enhance your financial awareness by promoting disciplined spending on materials.
With these beginner tools, you can easily create a functional crucible that opens up a world of DIY metal melting projects.
Building a Complex Crucible
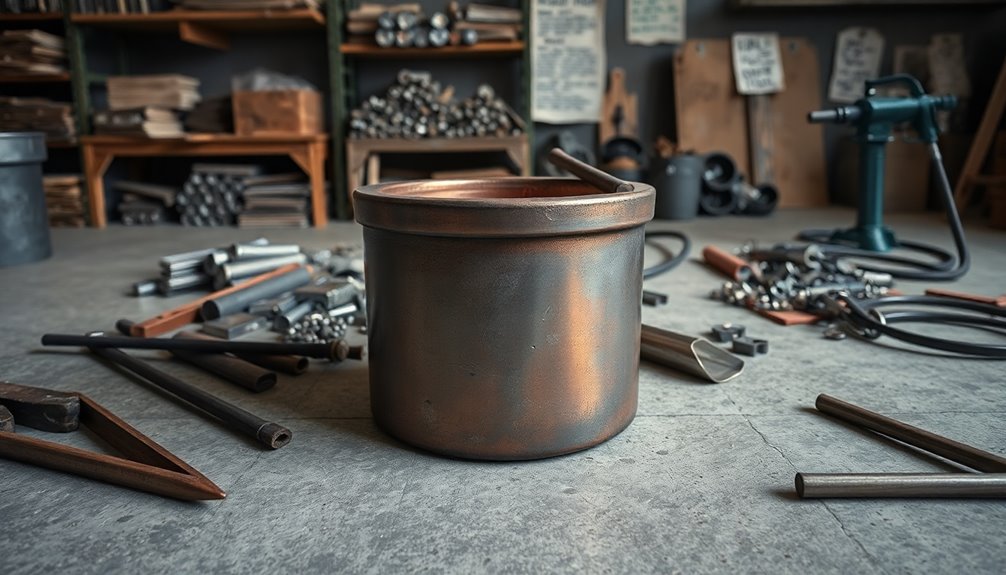
To build a complex crucible, you'll need a sturdy 50 mm pipe and a thick steel bottom piece for durability.
Gather essential tools like a welder and a drill to secure connections and create holes for the side bolts. Using a budgeting app can help you track spending habits related to your project expenses. Effective budgeting allows you to align expenses with your project's financial goals.
As you assemble, remember to weld the bolts after installation to guarantee everything holds up during the melting process. Additionally, consider using a budget app like YNAB (You Need a Budget)(https://www.youneedabudget.com/) to manage your expenses effectively as you invest in materials and tools for your crucible project.
Materials and Tools Required
How can you create a robust crucible for your metal melting projects? First, you'll need to gather essential materials and tools to guarantee a successful build. Start with a 50 mm (2 inches) pipe for the main body, a suitable bottom piece, and a thick steel sheet for durability.
To help you out, here's a quick list of what you'll need:
- 50 mm pipe for the crucible body
- Thick steel sheet for the lid
- Bottom piece to support the structure
- Cutting and welding tools
- Angle grinder for shaping
Don't forget about material sourcing; knowing where to find quality materials can make a big difference.
While working, pay attention to tool maintenance—keeping your tools in good shape will help you avoid setbacks during assembly.
You'll also want to drill holes for side bolts to enhance stability and consider welding bolts after installation for extra security.
Finally, a well-equipped workspace will facilitate the assembly and welding processes, guaranteeing safety and efficiency as you create your crucible.
Assembly and Welding Process
When constructing a complex crucible, you'll often start by securing the 50 mm (2 inches) pipe to the bottom piece, making sure it's robust enough to endure the high temperatures of melting metals like aluminum.
Focus on using effective welding techniques to create secure connections; welding the pipe to the bottom piece is essential for safety and functionality.
Next, you'll want to attach a wire rod handle, which adds convenience during use. For added structural stability, drill holes for side bolts, but remember to weld these bolts after installation for maximum durability.
This method will help reinforce the crucible's design, making it more reliable.
Using an angle grinder, shape the lid from a steel sheet to guarantee a snug fit, preventing heat loss during the melting process.
Proper assembly tips from your initial builds will guide you in refining your design. Each iteration of your crucible can lead to improvements, showcasing the importance of learning from past projects.
Embrace this process, as mastering assembly and welding techniques is key to successfully building a functional crucible that can withstand the demands of metal melting.
Advanced Materials and Tools
When you're working on advanced metal melting projects, choosing the right materials and tools is vital for success.
You'll want to select thicker steel for your crucible and have essential equipment like angle grinders and drills at hand.
Knowing how to use these tools effectively will make a big difference in the durability and performance of your setup.
Essential Tools Overview
For anyone diving into DIY metal melting projects, having the right tools is crucial for success. Proper project planning and tool maintenance can make a significant difference in your results.
First, you'll need a welding machine to guarantee secure joints in your crucible construction. An angle grinder will help you cut and shape metal effectively, while a drill is necessary for creating holes for bolts.
Consider these crucial tools:
- Welding machine
- Angle grinder
- Drill
- Multitool (for basic needs)
- Protective gear (gloves, goggles, face shield)
If you're tackling a more complex crucible, a pipe cutter and metal saw are essential for working with thick steel pipes and sheets.
Remember, investing in high-quality materials like durable bolts and thick steel sheets will enhance the longevity and functionality of your crucible.
Don't overlook the importance of safety gear when working with molten metal and welding equipment. With the right tools and preparation, you'll set yourself up for success in your DIY metal melting projects.
Material Selection Tips
Selecting the right materials is key to building a successful furnace for your metal melting projects. Start with thicker steel sheets and pipes; they offer better material durability and withstand the high temperatures you'll encounter.
For the furnace's interior, consider high-temperature resistant alloys or refractory materials. These options enhance heat retention and prevent degradation during melting.
You'll also need essential tools like a welding machine, angle grinder, and drill to construct a robust and functional furnace. When securing connections, use split-ring lock washers and heavy-duty bolts. This minimizes the risk of structural failure when operating at high temperatures.
Finally, for advanced projects, don't overlook the importance of accurate temperature monitoring. Invest in a good-quality thermocouple or pyrometer. Keeping a close eye on the internal temperature guarantees you're maintaining ideal melting conditions, which is vital when working with specific alloy selections.
Welding Techniques for Crucibles
Although welding might seem straightforward, mastering the right techniques is vital for creating durable crucibles that can withstand intense heat. Proper welding guarantees secure connections between the crucible's main body, bottom piece, and handle, which is imperative during melting processes.
Start by drilling holes for side bolts before you begin welding; this enhances the crucible's structural integrity. When it comes to the handle, using a wire rod provides a reliable grip, making it easier to manipulate the crucible when handling molten materials.
To achieve strong joints that can endure high temperatures, remember these key points:
- Control heat input to prevent warping.
- Maintain a steady hand throughout the welding process.
- Weld bolts after they've been installed for added stability.
- Focus on different welding methods suitable for your materials.
- Consider joint reinforcement techniques to enhance durability.
Assembly and Secure Connections
Once you've mastered the welding techniques for your crucible, the next step is focusing on assembly and secure connections. Confirming these connections are tight is vital for crucible stability, especially when you're dealing with molten metal.
Start by drilling holes for side bolts during assembly; this enhances the structural integrity of your crucible and helps prevent failures.
After installing the bolts, it's a good idea to weld them in place for joint reinforcement. This added measure considerably boosts the strength of your assembly and helps avoid leaks or breakage during the melting process.
While assembling, make sure everything is properly aligned; misalignment can lead to serious issues down the road.
Additionally, consider adding a wire rod handle, securely welded to the crucible. This feature not only improves handling but also makes transportation safer when you're working with high temperatures.
Remember, the more secure your connections are, the better your crucible will perform, allowing you to focus on your melting projects without worrying about structural failures.
Creating a Functional Lid
A functional lid is essential for your crucible, as it helps contain heat and prevents accidental spillage of molten metal. You can create a sturdy lid using steel sheet, which you should cut to size with an angle grinder for a precise fit.
When it comes to securing mechanisms, long bolts work well, but make sure to bend them carefully to avoid damaging the threads. Incorporating nuts and washers will guarantee your lid is tightly secured during the melting process.
Here are some tips to keep in mind:
- Select high-quality lid materials that can withstand high temperatures.
- Confirm the design allows for easy removal and placement.
- Check that the lid fits snugly to prevent heat loss.
- Test the lid in initial melting experiments for effectiveness.
- Adjust your design based on your findings to improve future projects.
With these considerations, you'll create a functional lid that enhances your crucible's performance and safety. Remember, a well-designed lid can make all the difference in your metal melting endeavors!
Testing and Improving Designs
When tackling metal melting projects, testing and improving your crucible designs is essential for achieving ideal results. You'll want to conduct design iterations based on your findings from performance evaluation.
Start by experimenting with various materials; for instance, thicker steel proved far more durable and efficient than tin can crucibles for high-temperature applications.
Pay close attention to your welding and assembly practices. Weak connections can lead to structural failures during the melting process, which can be dangerous.
As you document the melting performance of different designs, you'll likely discover that a crucible with a larger diameter and a well-fitted lid enhances aluminum melting efficiency considerably.
Iterative testing is key. Incorporating side bolts for added stability can make a huge difference when handling molten metal safely.
Use observations from your early melting sessions to inform design modifications for improved functionality and safety. Each round of testing gives you valuable insights, allowing you to refine your crucible designs continually.
Constructing a DIY Foundry
Building a DIY foundry opens up exciting possibilities for metalworking enthusiasts. By constructing your own foundry, you can experiment with different foundry designs and techniques, ultimately enhancing your metalworking skills.
Start by using bricks to create a sturdy base, incorporating a chimney to promote effective ventilation during the melting process. Proper ventilation techniques are essential for maintaining airflow and achieving the high temperatures needed to melt metals.
To boost airflow even further, consider attaching a pipe connected to a hair dryer. This simple addition helps maintain the necessary heat for melting your materials. For your crucible, a repurposed propane tank works well; just make sure it's securely fastened with bolts to guarantee stability during operation.
Here are some tips for your DIY foundry:
- Use firebricks for insulation.
- Experiment with different designs for efficiency.
- Incorporate a thermometer for temperature control.
- Make sure safety gear is on hand.
- Test various metal types to expand your skills.
With these elements in place, you'll be on your way to creating an effective DIY foundry that enhances your understanding of metallurgy and metalworking.
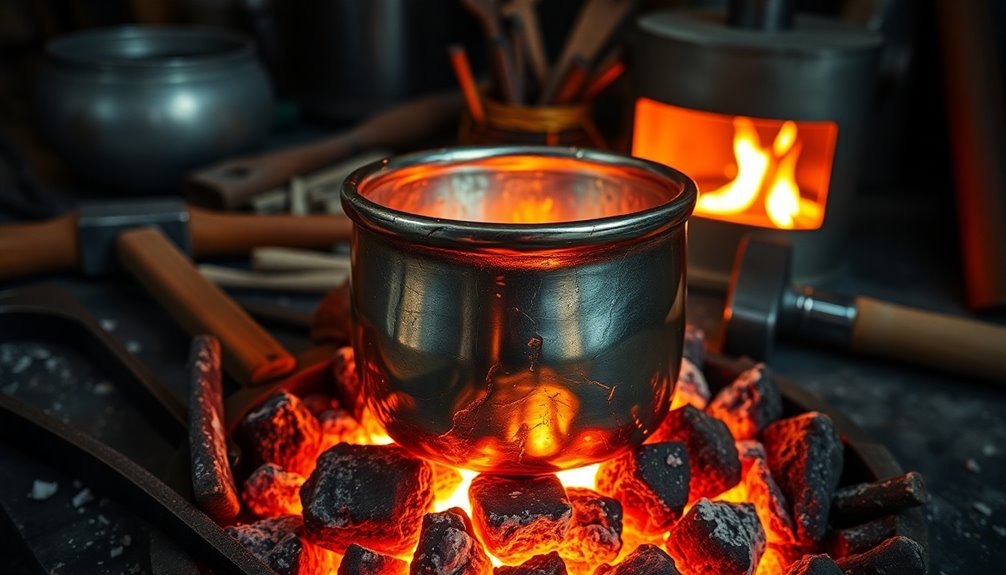
Melting Aluminum Safely
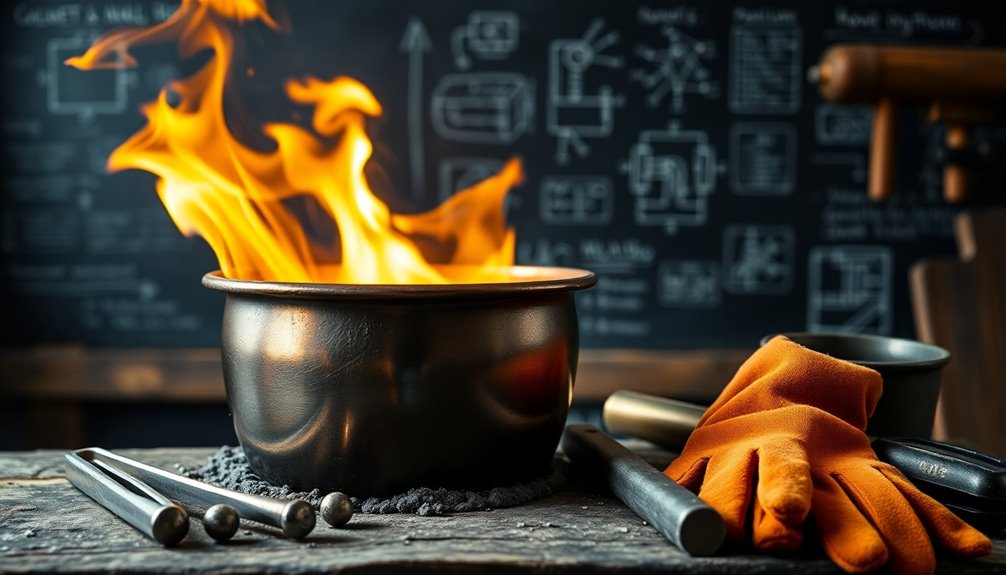
Melting aluminum requires a controlled environment to secure your safety and prevent accidents. First, always wear protective gear, including heat-resistant gloves, goggles, and a face shield. This gear safeguards you from splashes and the intense heat generated during the melting process.
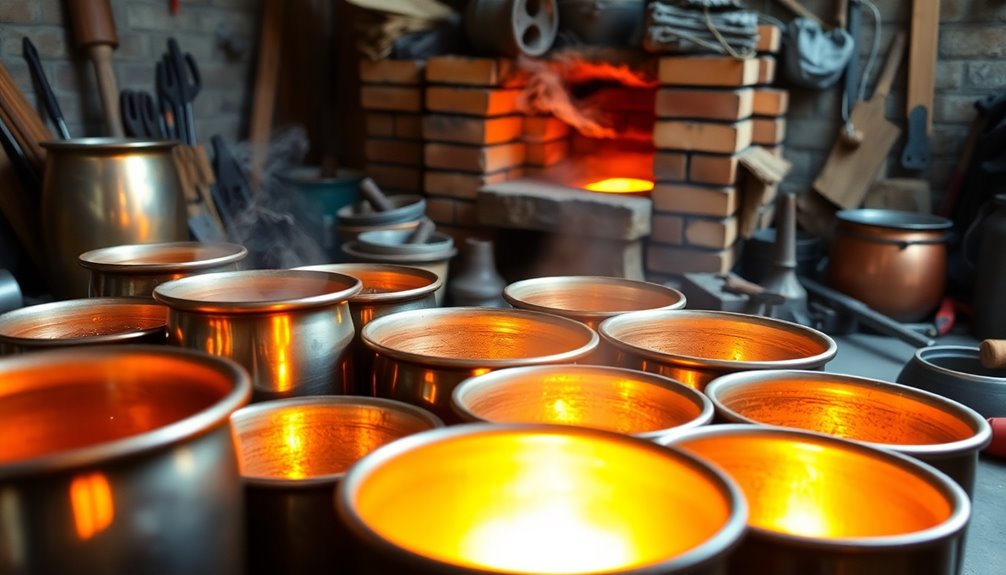
When selecting your crucible, choose a well-constructed one made of thicker steel instead of a tin can. Thicker steel can withstand high temperatures without warping or melting.
Proper ventilation is also essential; make certain your melting area is well-ventilated to avoid inhaling any fumes, especially if you're using aluminum alloys with coatings.
As you employ different melting techniques, keep a close eye on the entire process. Supervision is vital, as molten aluminum can ignite if it comes into contact with flammable materials.
Always have a fire extinguisher nearby, just in case.
Educational Benefits of Metalworking
Engaging in metalworking projects offers numerous educational benefits that go beyond simple crafting. When you immerse yourself in metalworking, you gain hands-on experience that deepens your understanding of scientific principles like heat transfer, melting points, and material properties.
You'll also develop critical thinking and problem-solving skills as you navigate design challenges while building crucibles and melting metals.
Consider these educational advantages:
- Practical Application: Reinforce theoretical concepts from chemistry and physics through real-world experimentation.
- Creativity Boost: Experiment with different designs and materials, fostering innovative solutions.
- Skill Development: Gain valuable metalworking techniques that enhance your craftsmanship.
- Self-Sufficiency: Build confidence as you tackle projects independently.
- Interdisciplinary Learning: Connect knowledge across various fields of science and engineering.
Safety Precautions in Metal Melting
When you're melting metal, safety should be your top priority.
Make sure you wear proper protective gear and stay aware of your heat source to prevent accidents.
Also, using tools safely is essential to avoid injuries during your project.
Protective Gear Essentials
Safety should always be your top priority in any metal melting project. Wearing the right protective gear is essential to prevent injuries and guarantee a successful melting process.
Start with heat-resistant gloves to shield your hands from burns while handling hot materials. A full-face shield or safety goggles will protect your eyes from flying debris and molten metal splashes, which can be hazardous.
Here's a quick checklist of protective gear you shouldn't skip:
- Heat-resistant gloves to prevent burns.
- Safety goggles or a full-face shield for eye protection.
- Flame-resistant clothing like long sleeves and pants made from natural fibers.
- Proper ventilation in your workspace to avoid inhaling harmful fumes.
- A fire extinguisher rated for metal fires, placed nearby for emergencies.
Heat Source Awareness
Understanding the heat source you'll be using is vital for a successful metal melting project. Proper heat source management guarantees you can melt metal safely and effectively.
Always wear heat-resistant gloves, safety goggles, and protective clothing to shield yourself from burns and splashes. This gear is essential when working with molten metal.
Make sure your melting area is well-ventilated. Toxic fumes can accumulate, especially when melting materials like aluminum, posing serious health risks.
Keep a safe distance from the heat source and molten metal to minimize the risk of accidental contact or splashes.
Using the right tools and equipment designed for high temperatures is critical. This choice not only prevents accidents but also enhances your melting experience.
Additionally, always keep a fire extinguisher nearby and familiarize yourself with its use. Molten metal can easily ignite surrounding materials if mishandled, making fire safety a top priority.
Tool Safety Practices
Proper tool safety practices are essential for anyone involved in metal melting projects. You need to prioritize personal safety and be aware of your surroundings.
Start with appropriate personal protective equipment (PPE) like heat-resistant gloves, safety goggles, and a face shield to shield yourself from molten metal splashes and intense heat.
Here are some key safety tips to keep in mind:
- Confirm your workspace is well-ventilated to avoid toxic fumes.
- Keep a fire extinguisher rated for metal fires nearby at all times.
- Familiarize yourself with your tools and confirm they're in good condition through regular tool maintenance.
- Maintain a safe distance from the melting area and work with a partner for extra safety.
- Complete safety training to understand the risks and proper handling of materials.
Enhancing Learning on a Farm

Living on a farm offers countless opportunities for hands-on learning that can ignite curiosity in children. Engaging directly with their environment helps them grasp practical applications of science and engineering.
You can utilize farm resources, like scrap metal and tools, to foster creativity and innovation, allowing your kids to experiment with DIY metal melting projects.
The unique farm setting encourages interdisciplinary learning, blending subjects like biology, chemistry, and physics through practical activities such as crucible construction and metalworking.
When you work on these projects together, you strengthen the parent-child bond, enhancing communication and collaboration skills.
Moreover, access to a diverse range of natural materials lets your children explore concepts like material properties and farm sustainability.
They'll understand the impact of human activity on the environment, learning to appreciate the balance between innovation and conservation.
Conclusion
Whether you're melting aluminum or crafting your own crucible, the journey into metalworking is as rewarding as it is educational. You'll discover the thrill of creation, the satisfaction of hands-on learning, and a deeper appreciation for the materials you work with. By prioritizing safety and embracing the process, you'll not only enhance your skills but also enjoy the magic that happens when heat meets metal. So, grab your tools and get started—your adventure awaits!


