
If you're looking to install Current Transformers (CTs) in your electrical panel, you can do it affordably with DIY methods. Start with the right size CT for your needs and prioritize safety during installation. Using an ESP32 microcontroller and split core CTs can make monitoring energy usage easier and cost-effective. Make certain you calibrate your setup for accuracy and keep it maintained. Keep exploring to discover more tips for optimizing your DIY energy monitoring system!
Our Key Takeaways
When tackling DIY electrical panel installation, understanding the essentials can make all the difference.
First, remember that properly sizing your Current Transformers (CT) is essential; a 200A CT won't accurately read currents below 10A due to the 5% rule. Additionally, utilizing automated investment management tools can help you allocate funds for future electrical projects. Implementing expense management apps can further streamline your budgeting process.
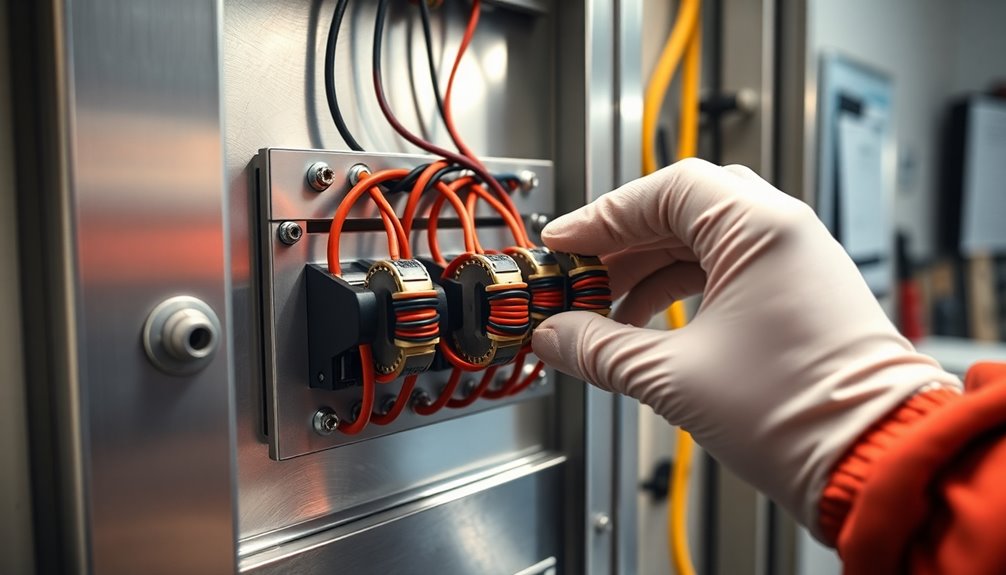
When you're installing CTs, always prioritize safety to avoid hazards like CT explosions from open circuit conditions.
Using split core CTs simplifies the process, allowing you to clamp them around existing cables without disconnection. This makes them a cost-effective option.
Finally, consider using budget-friendly solutions like the Emporia Home Energy Monitor for tracking energy use. Expense tracking tools like these can help you manage installation costs effectively.
Don't forget to follow local electrical codes to guarantee your installation is safe and compliant.
Keep these takeaways in mind for a successful project!
Encouraging Smart Energy Use Through DIY Monitoring
You can encourage smart energy use at home by building a DIY monitoring system for under €20. Using Current Transformers, you'll gain valuable insights into your energy consumption and identify ways to save. This cost-effective solution not only boosts your energy awareness but also makes managing your electricity usage much easier. Additionally, monitoring savings and investments is crucial for effective financial management, ensuring you can allocate funds towards energy-efficient upgrades. Establishing a clear savings goal setting strategy will enhance your ability to track progress and make informed decisions regarding your energy expenditures. Furthermore, implementing a DIY monitoring system can enhance financial literacy by providing insights into your energy costs and helping you budget more effectively.
Benefits of DIY Monitoring
DIY monitoring systems offer a practical way to optimize energy usage, allowing homeowners to take control of their electricity consumption.
With affordable components like ESP32 microcontrollers and CT sensors, you can track real-time energy consumption without breaking the bank. By integrating cloud services like AWS, these systems provide valuable historical data and insights into your energy patterns, helping you pinpoint areas for savings.
Plus, CT sensors guarantee non-invasive current measurement, making installations safer and more accessible. A typical DIY energy monitor can cost as little as €20, considerably lowering the financial barriers to energy tracking.
With real-time data, you're empowered to make informed choices, leading to smarter energy consumption and potential savings on your electricity bills.
Cost-Effective Solutions Available
While many homeowners seek to reduce energy costs, numerous cost-effective solutions are available that make monitoring electricity usage accessible and straightforward.
You can create a DIY home energy monitor using an ESP32 microcontroller and a CT sensor for just over €20, allowing real-time tracking of your electricity usage.
Alternatively, the Emporia Home Energy Monitor, priced at $150, tracks both overall and specific device energy use without any extensive rewiring.
With split core CTs, you can easily install around existing wires, minimizing complex electrical work.
Secondary cheap meters, including Wi-Fi options, enhance your energy monitoring system accuracy with minimal installation effort.
Enhancing Energy Awareness
By implementing a DIY energy monitoring system, homeowners can considerably enhance their awareness of electricity usage, leading to smarter energy habits.
Using Current Transformers (CTs) and affordable components like the ESP32 microcontroller, you can track real-time power use for under €20. This cost-effective approach not only saves money but also allows you to identify periods of high consumption through data transmitted to cloud platforms.
Regularly monitoring your energy consumption helps detect baseline power drains from devices, encouraging you to unplug unnecessary appliances. As you become more aware of your energy usage, you'll make more informed decisions, ultimately lowering your utility bills and reducing your environmental impact.
Embrace this DIY solution to promote energy-efficient habits at home!
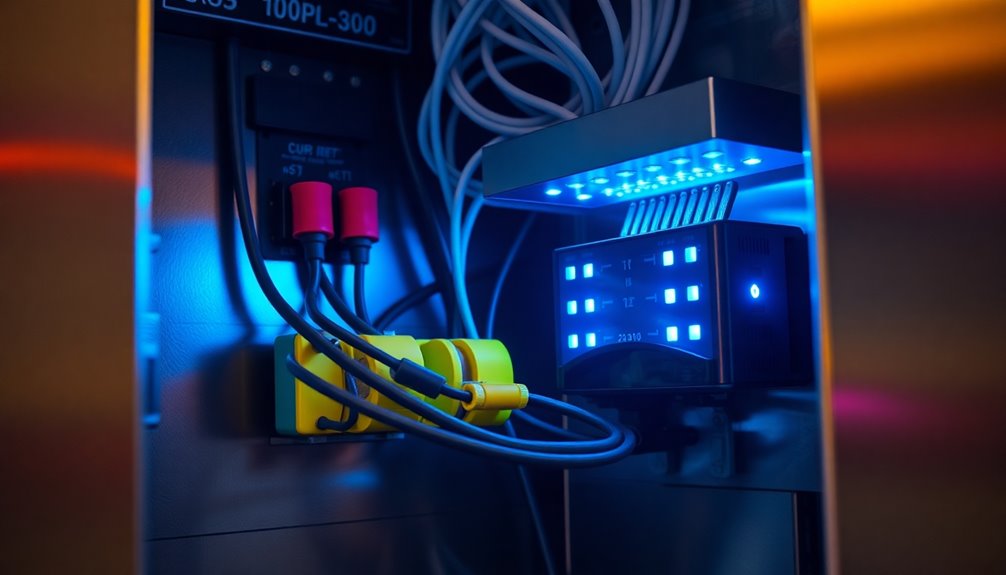
Essential Elements for Your DIY Energy Monitoring System
Creating an effective energy monitoring system requires a few essential components that work seamlessly together.
Start with a CT sensor, which detects the electromagnetic field generated by electric current, allowing you to measure current without interrupting the circuit. Pair this with an ESP32 microcontroller, costing about €20, for wireless tracking of electricity usage. Personalized shopping experiences can enhance the selection of components suited for your project.
You'll also need resistors, capacitors, a display for readings, and connectors, all of which can fit neatly into a custom 3D-printed enclosure. Enhanced shopping experiences lead to better choices when selecting these components, ensuring you have everything necessary for your installation.
To calculate power usage, multiply the measured current by 230V and convert to kilowatt-hours by dividing the total watts by 1,000.
For real-time data management, integrate AWS IoT services to analyze and store your energy readings effectively. Additionally, consider using AI-driven tools for optimizing your energy consumption insights, which can lead to more informed decisions about your electricity usage.
Choosing Your Control Unit
When it comes to choosing your control unit for a DIY energy monitoring system, you'll want to prioritize compatibility and functionality. The ESP32 microcontroller is an excellent option due to its built-in Wi-Fi capabilities, making it easy to transmit data to cloud services like AWS.
Make sure your control unit is compatible with the CT sensor you've selected for accurate current measurement. It should include essential components like resistors, capacitors, and connectors to enhance reliability and performance. Additionally, consider using a control unit that incorporates budget management tools, which can help you track the costs associated with your energy consumption. Utilizing effective financial management can further aid in maintaining budgetary discipline while monitoring energy usage.
Opt for a control unit that allows real-time data processing and display, giving you immediate feedback on electricity usage. Finally, choose one with a robust coding framework, such as Arduino, to simplify programming and visualization of your energy data. Additionally, consider selecting a control unit that can integrate with various accounting platforms, ensuring seamless data management and tracking of your energy consumption costs.
Interpreting Current Using CT Sensors
Understanding how to interpret current readings from CT sensors is crucial for effective energy monitoring. Current transformers (CTs) detect the electromagnetic field from electric currents, allowing you to measure them non-invasively. The output voltage from a CT correlates directly with the current. For instance:
| Output Voltage | Current (Amps) |
|---|---|
| 0.5 volts | 15 amps |
| 1 volt | 30 amps |
| 1.5 volts | 45 amps |
| 2 volts | 60 amps |
To calculate power usage, multiply the detected current by 230V and divide by 1,000 for kilowatt-hours. Accurate data interpretation is crucial, so verify your CT is properly sized and installed according to safety guidelines. This way, you can effectively monitor your energy consumption. Additionally, utilizing budget apps can enhance your financial awareness and aid in tracking the costs associated with energy usage. Furthermore, these tools can provide valuable spending insights that help you manage your expenses related to energy bills. Establishing a clear budget aligned with long-term financial objectives can significantly improve your overall financial health.
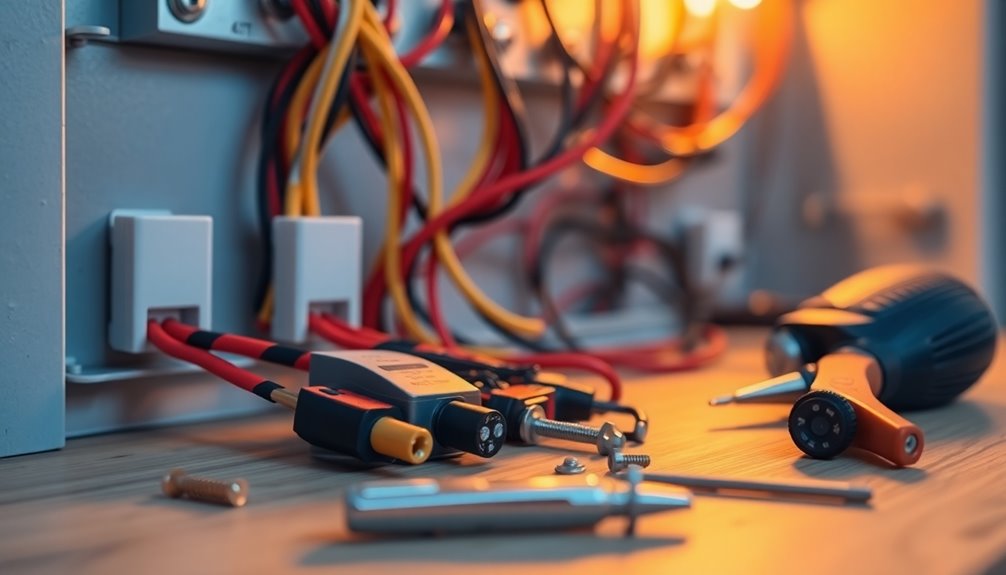
Gathering the Extra Building Blocks
Before you start your DIY installation, you'll need to gather some essential tools and components.
Think about where to source them effectively and budget wisely to keep costs down.
This preparation will set you up for a smoother installation process.
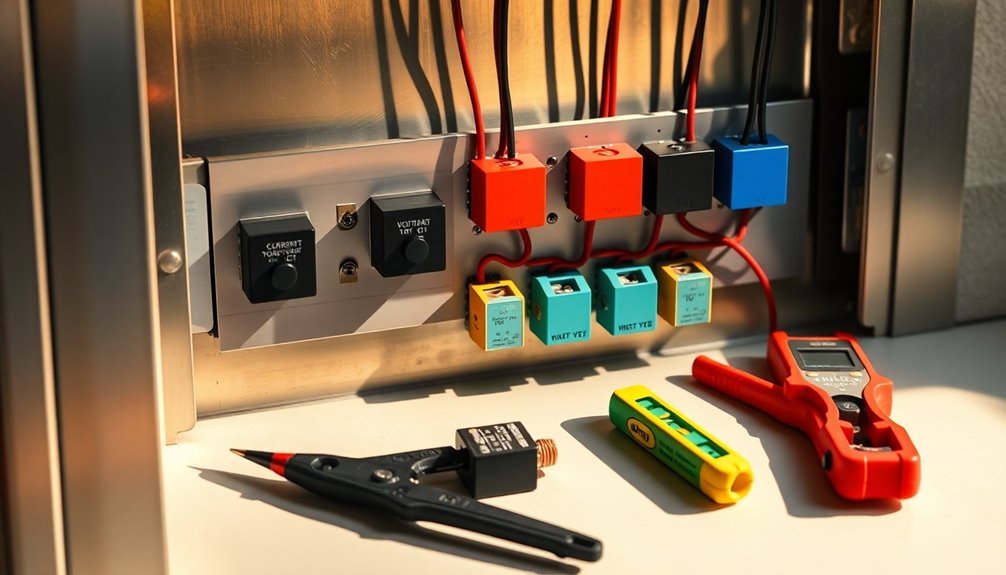
Essential Tools Required
Installing an electrical panel requires a few essential tools to guarantee a smooth and safe process.
You'll need a screwdriver set, wire strippers, and pliers to secure connections and make adjustments while working with CTs. A multimeter's important for measuring voltage and current, ensuring that you have accurate readings for safe connections.
Don't forget cable ties or clamps to organize and secure the CT wiring, keeping everything neat and preventing interference. A drill with the appropriate bits may also be necessary for mounting CTs or securing the cabinet to the panel or wall.
Finally, personal protective equipment like gloves and safety goggles is essential to keep you safe while handling electrical components.
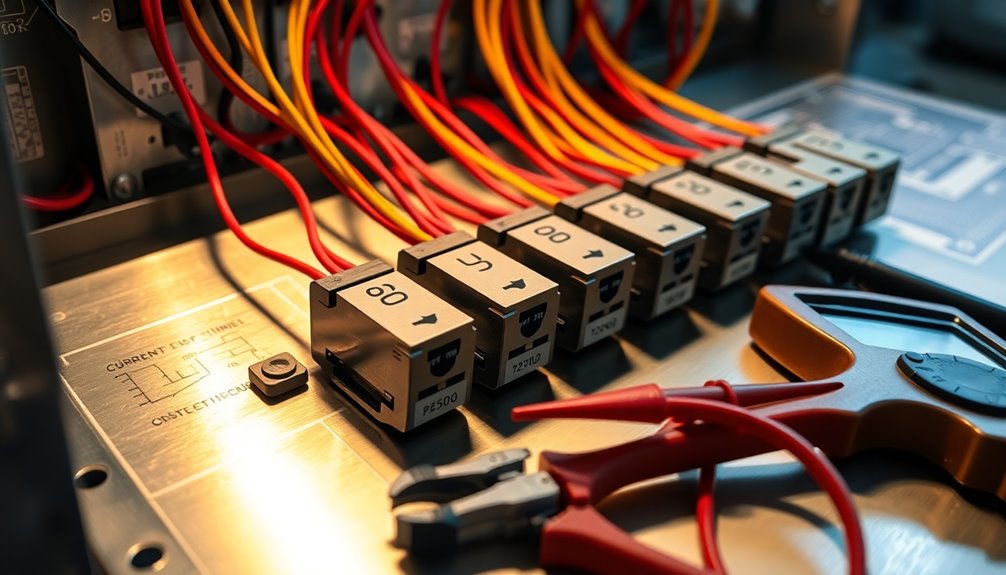
Component Sourcing Tips
How can you guarantee you're sourcing the right components for your DIY electrical panel installation? Start by considering the specific current requirements of your project.
For instance, options like the CR8459-2000-N are great for 200A monitoring, while the FIS101NL suits smaller 15A applications.
Check out online marketplaces for affordable energy monitoring solutions, such as the Emporia Home Energy Monitor, which offers detailed insights for around $150.
To simplify your setup, choose split core CTs that can be easily installed around existing wires.
Don't forget to visit local electrical suppliers for essential components like resistors and connectors.
Finally, explore CAD software and 3D printing services to design a custom enclosure that houses your components securely for your DIY installations.
Budgeting for Installation
Budgeting for your DIY electrical panel installation is essential to guarantee you have all the necessary components without overspending.
Start by considering the cost of CTs, which can range from $20 for smaller models to over $150 for larger, more accurate transformers.
Don't forget to account for additional expenses like wiring, connectors, and protective equipment, which could add $50 to $100 to your budget.
If you're planning to use a fused connection for safety, set aside $20 to $50.
For those opting for wireless monitoring solutions, expect to spend around $150 or more.
Finally, remember to include potential costs for local electrical codes and permits, which may add another $50 to $200 to your overall project budget.
Crafting the Electronic Design
As you commence on crafting the electronic design for your DIY energy monitor, choosing the right components is essential to guarantee ideal functionality.
Start with the ESP32 microcontroller; its built-in Wi-Fi connectivity enables seamless data transmission to the cloud.
Next, incorporate a CT sensor for non-invasive current measurement, allowing you to track power draw without touching high-voltage circuits.
Ascertain all components—resistors, capacitors, and connectors—are securely soldered onto a circuit board for reliable functioning and accurate readings.
Finally, design a custom enclosure using 3D modeling software to house your components, providing openings for display and power inputs while keeping wires organized.
This thoughtful approach sets the foundation for effective monitoring and analysis of your energy consumption.
Joining Components and Building Prototypes
With your electronic design in place, it's time to join the components and build your prototype.
Start by selecting a compatible microcontroller, like the ESP32, which provides Wi-Fi connectivity for easy data transmission. Use a non-invasive CT sensor to safely monitor current without direct contact with high-voltage parts.
Organize all components, including resistors, capacitors, and connectors, on a protoboard for a tidy assembly that guarantees reliable connections. When soldering components onto the circuit board, make certain it's neat and secure to avoid connectivity issues, which are vital for accurate readings.
Finally, design a custom enclosure using a 3D printing program, making sure it has openings for display and power inputs to keep your prototype functional and accessible.
Integrating Cloud Services
Integrating cloud services into your Current Transformer (CT) monitoring system opens the door to real-time data tracking and analysis.
With platforms like AWS, you can access energy usage data from anywhere. By using AWS IoT Core, you securely connect your CT sensors to the cloud, allowing data to be processed and stored in services like DynamoDB for efficient management.
This setup lets you implement AWS IoT rules to automatically redirect incoming energy readings, eliminating the need for manual intervention. You can also create graphical representations of energy consumption trends, helping you identify patterns and areas for improvement.
Plus, cloud services pave the way for future expansions, like adding multiple sensor inputs, enhancing your monitoring capabilities considerably.
Assessing Precision and Tweaking for Progress
To guarantee your electrical panel operates efficiently, you'll need to focus on calibration techniques and monitoring accuracy factors.
Regularly checking your current transformers (CTs) can help catch any discrepancies in readings, keeping your system reliable.
Plus, utilizing tools like cloud integration can give you real-time insights, allowing for quick adjustments as needed.
Calibration Techniques
When calibrating your electrical panel, it's vital to guarantee that the output from your current transformers (CTs) accurately reflects the actual current being measured.
Start by following the manufacturer's instructions for calibration, which typically involves checking the output at known current levels. Make sure your readings fall within acceptable tolerance ranges, usually around ±1%.
Regular checks and recalibrations are important, especially after any changes in your electrical system or exposure to harsh conditions. You can also utilize software-based calibration adjustments for fine-tuning based on historical data.
To identify discrepancies, use a multi-meter or oscilloscope to measure the output voltage under known load conditions, ensuring your system functions effectively and maintains precision through proper calibration.
Monitoring Accuracy Factors
While ensuring the accuracy of your electrical panel monitoring system, several key factors come into play that can greatly impact precision.
First, make sure the current transformer (CT) is properly sized for the load; a 200A CT won't accurately read currents below 10A due to the 5% rule.
Positioning the CTs close to the main power source reduces inaccuracies from long wire runs.
Regular calibration against known loads helps identify any drift in readings.
Don't forget the burden resistors; an open circuit can lead to incorrect readings or damage the CT.
Finally, consider using split-core CTs for easy installation without interrupting existing wiring, which can enhance your overall monitoring accuracy factors.
Conclusion
As you commence this journey of DIY energy monitoring, think of yourself as a skilled gardener, nurturing your plants with care. Each component you choose is like a seed, destined to grow into a robust system. By weaving together sensors, control units, and cloud services, you cultivate a thriving ecosystem of energy awareness. With every tweak and adjustment, you'll harvest insights that help you save both energy and money, turning your home into a flourishing, cost-efficient haven.


