
Before you apply a self-leveling sealer over mastic asbestos, it's essential to understand the risks involved. Start by testing the mastic for asbestos and prepare the surface by removing debris. Choose the right primer to guarantee a strong bond, and apply it correctly. When mixing your self-leveling compound, follow the manufacturer's instructions closely to avoid air bubbles. Pour the compound continuously to achieve a smooth finish, and let it cure fully before installing new flooring. Your project's success will hinge on following each step precisely, and there's more to explore on how to enhance your results.
Understanding Asbestos Risks
When you're renovating an older home, it's vital to understand the risks associated with asbestos exposure, especially if you're working with materials like tiles and mastic. Asbestos tile, particularly the common 9×9 variety, can release harmful fibers into the air when disturbed. This poses serious health risks, including lung cancer and mesothelioma, primarily through inhalation of these fibers.
Before you start any flooring project, you should conduct proper testing for asbestos content in mastic. If asbestos is present, you'll need to take specialized safety measures for removal and handling. Additionally, monitoring your expenses during the renovation can prevent overspending and ensure you adhere to your budget. Many people find it beneficial to utilize expense management apps that offer receipt scanning features to track costs effectively.
Rather than attempting a risky removal, consider encapsulating the asbestos materials. Using a self-leveling compound (SLC) over mastic is a safer alternative that minimizes your exposure risk during the renovation process. Additionally, utilizing tools like expense tracking tools can help manage the costs associated with hiring professionals for safe asbestos handling.
It's important to consult with professionals when dealing with asbestos. They'll make sure that you follow safe practices and comply with local regulations regarding hazardous materials.
Being informed about these risks can help you make safer choices during your renovation, protecting both your health and your home.
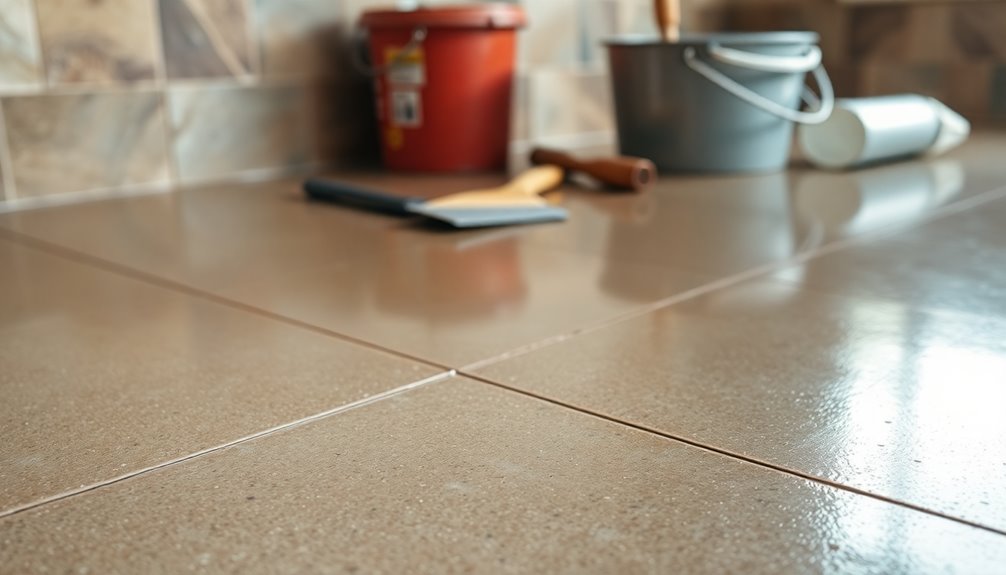
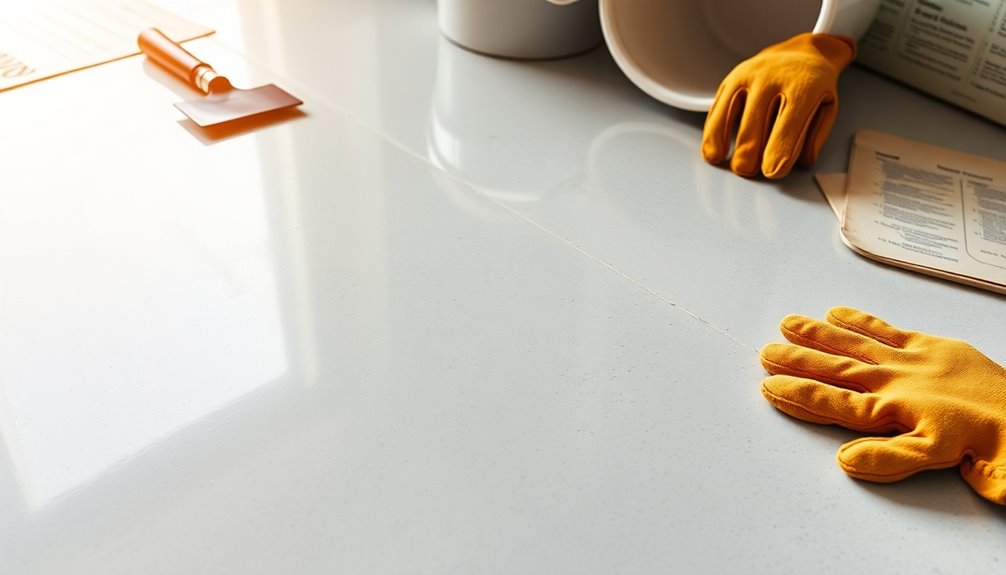
Preparing the Surface
Before applying a self-leveling sealer, it's important to verify the surface is properly prepared, especially if you've confirmed the presence of asbestos in the mastic.
Start by conducting a test to determine if the mastic contains asbestos, and follow safety protocols if it does. Remove any loose debris, flaking paint, or broken tiles from the surface to create a clean application area for the self-leveling compound. Using a reliable expense tracking app can help you manage costs associated with your DIY projects. Additionally, implementing payment alerts for related expenses can help ensure you stay on budget.
If the existing mastic is non-asbestos, you can use solvent and scraping to remove it. However, if it contains asbestos, consider using a non-toxic sealing product like Perfect Primer to encapsulate it.
Once you've dealt with the mastic, thoroughly clean the floor with a suitable cleaner, such as Perfect Cleaner, and rinse well to eliminate any residue. Allow the surface to dry completely.
For best adhesion of the self-leveling compound, apply the primer evenly and let it cure for the recommended time. Using a reliable budget management tool can help you keep track of expenses related to your DIY projects.
Verify the surface is visibly dry before you proceed with the application of the self-leveling sealer. Proper preparation is key to achieving a durable and effective finish.
Choosing the Right Primer
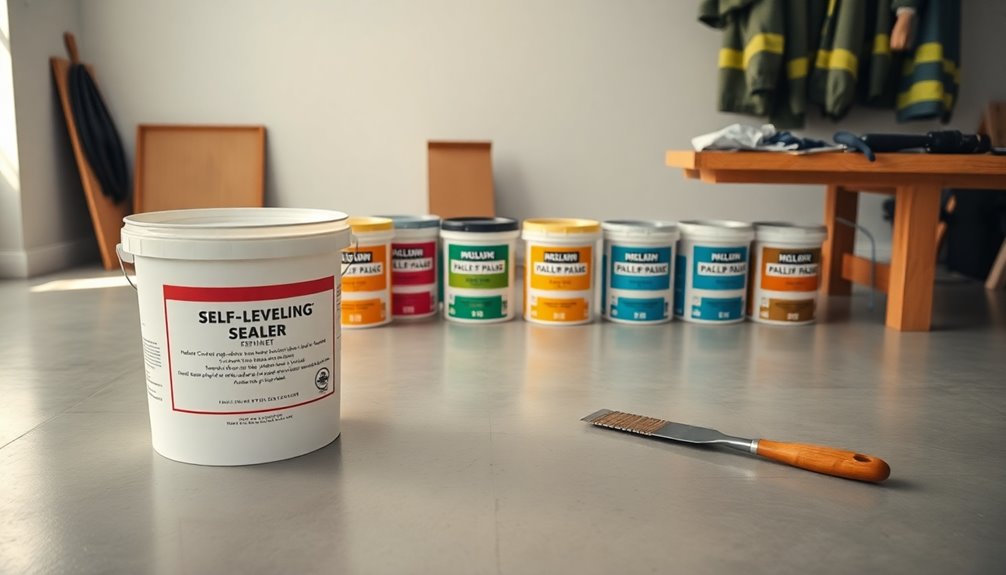
When it comes to choosing a primer, you'll find several types available, each suited for different surfaces and conditions. Budget apps can help you keep track of the costs associated with these materials, ensuring you stay within your financial limits. Understanding the application techniques and tips for these primers will help you achieve the best results in your DIY project. Furthermore, utilizing a budget tool can enhance your ability to manage expenses related to this project, ensuring you stay on track with your long-term financial goals. For example, using a budgeting app can provide spending insights to help you make informed decisions about your primer choices.
Let's explore how to select and apply the right primer for your self-leveling sealer.
Types of Primers Available
Choosing the right primer is essential for ensuring a successful self-leveling sealer application, especially when working with challenging surfaces like mastic asbestos. One of the best options available is the Perfect Primer. This non-toxic sealing alternative effectively bonds with existing adhesives, minimizing disturbance to the underlying materials.
When selecting a primer, consider the following types:
- Perfect Primer: Ideal for various adhesives like carpet glue and asbestos black mastic.
- Oil-based Primers: Suitable for sealing oily or difficult surfaces but may not bond well with mastic.
- Water-based Primers: Easy to clean up and low in VOCs; however, they may not provide as strong a bond on tougher adhesives.
- Shellac-based Primers: Great for blocking stains and odors, but can be more challenging to work with due to strong fumes.
- Bonding Primers: Specifically designed to adhere to challenging surfaces, enhancing the performance of subsequent layers.
Remember to apply one coat of Perfect Primer on smooth surfaces or two thin coats for best results.
Always wait 24 hours after application before proceeding with paint or other finishes for the best outcome.
Application Techniques and Tips
Applying the right primer is fundamental for a successful self-leveling sealer project. For mastic adhesives, including asbestos black mastic, you should consider using Perfect Primer. This primer guarantees proper adhesion while preventing any potential release of harmful fibers.
When applying Perfect Primer, use a brush or a 3/8 inch roller for even coverage, especially on linoleum, tile, or smooth surfaces. For more challenging surfaces, two thin coats spaced 12 hours apart are recommended for ideal results.
Before you start, be certain to prepare the surface properly. Clean the floor thoroughly and treat it with Perfect Cleaner to remove any debris and enhance bonding. This step is significant to avoid contamination.
Allow at least 24 hours for the primer to cure completely. This waiting period is essential for achieving a strong bond with the self-leveling compound (SLC) or any finishing materials you plan to use.
Additionally, you can tint Perfect Primer with liquid paint if you're looking for aesthetic options. Its compatibility with various surfaces further enhances the effectiveness of your SLC application.
Applying Perfect Primer
Before diving into your DIY project, it's crucial to prepare your surface by applying Perfect Primer effectively. This non-toxic sealing alternative encapsulates mastic adhesives, including asbestos black mastic, without disturbing the underlying materials.
Start by confirming your floor is clean and dry. Use Perfect Cleaner to remove any residual contaminants.
Here's a quick checklist for applying Perfect Primer:
- Verify the surface is free of debris and visibly dry.
- Apply one even coat of Perfect Primer for maximum coverage.
- Wait 12 hours before applying a second thin coat for enhanced adhesion.
- Allow a curing period of 24 hours before adding paint, epoxy, or decorative cement.
- Consider tinting Perfect Primer with liquid paint for a customized finish. Ethical shopping practices can also guide consumers in choosing sustainable materials for their projects. Additionally, choosing products with minimal packaging can further contribute to environmental sustainability in your DIY endeavors.
Perfect Primer is suitable for both residential and commercial settings, offering a safer alternative to traditional mastic removal methods. Additionally, understanding the importance of financial literacy can help you budget effectively for your DIY projects.
By following these steps, you'll set a solid foundation for your self-leveling sealer project. Remember, taking the time to apply Perfect Primer correctly will promote better adhesion and durability for the layers that follow.
Happy DIYing!
Mixing the Self-Leveling Compound
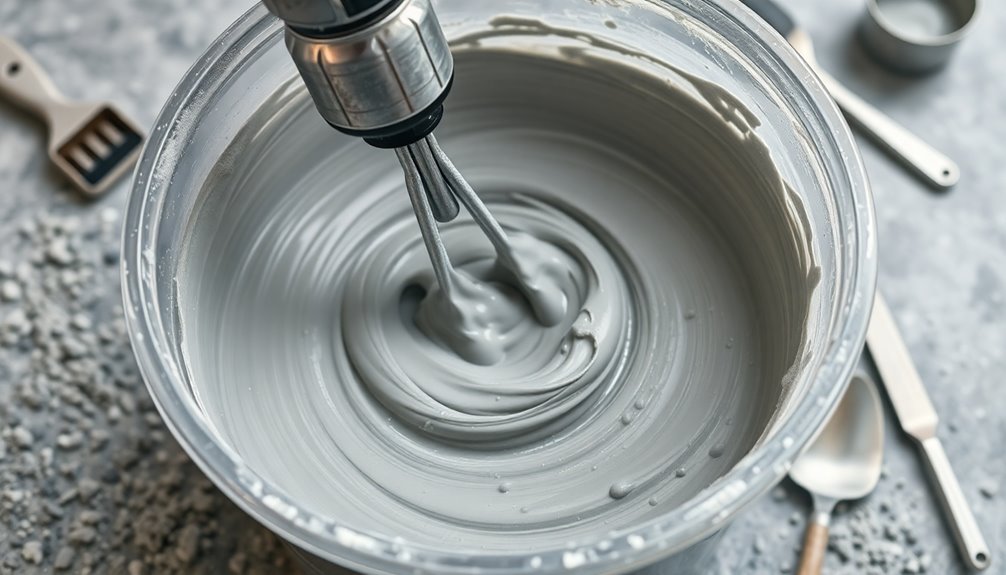
With Perfect Primer now setting the stage for your project, it's time to focus on mixing the self-leveling compound (SLC) for peak results.
Start by measuring your materials according to the manufacturer's specifications, typically a ratio of 1 part water to 3 parts powder. This guarantees prime consistency and performance.
Next, grab a powerful drill with a mixing paddle attachment to thoroughly combine the SLC. You're aiming for a smooth mixture with no lumps, as any imperfections can affect the final surface. Utilizing investment tracking tools can also help you manage the costs associated with materials and labor effectively.
Be mindful to mix only what you can pour within the working time, usually around 20-30 minutes, to prevent hardening before use. This timing is crucial, similar to the importance of budgeting for projects to manage your expenses effectively.
While mixing, maintain a consistent speed to avoid introducing too much air, which can lead to bubbles and impact your floor's finish.
Don't forget to protect yourself by wearing appropriate personal protective equipment (PPE), like gloves and a mask, to safeguard against dust and chemical exposure—especially if you're dealing with cutback adhesive.
Taking these steps will guarantee your self-leveling compound is ready for a successful application. Additionally, consider utilizing automated tools for expense tracking to enhance the efficiency of your project budgeting.
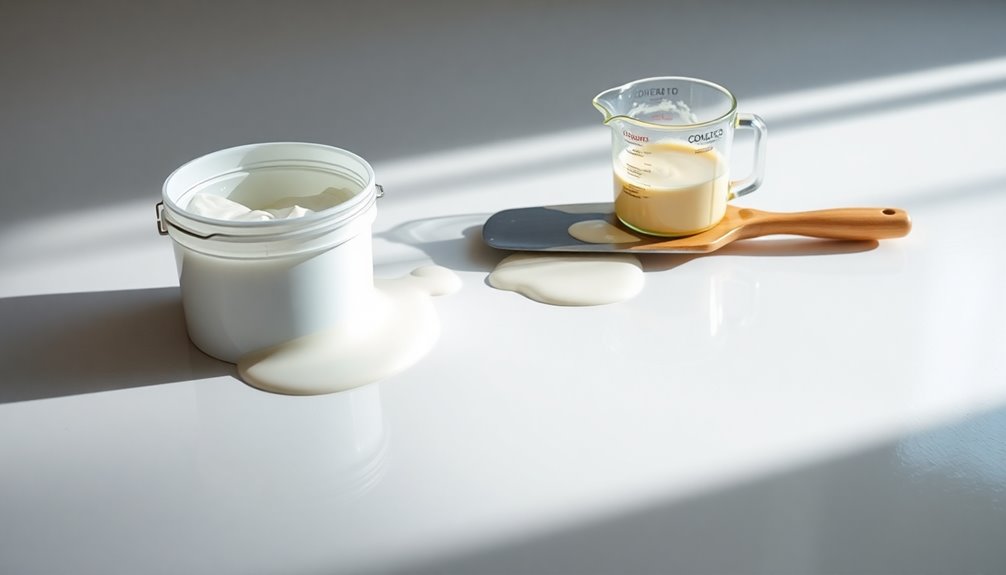
Pouring the Self-Leveling Sealer
Pouring the self-leveling sealer (SLC) is a critical step that can make or break your flooring project. Before you begin, verify your surface is thoroughly prepped and cleaned, as any contaminants can disrupt adhesion.
Follow the manufacturer's mixing instructions closely, using a powerful drill and mixing paddle to achieve a smooth, lump-free consistency.
When you're ready, pour the SLC in a continuous stream. Work quickly to maintain a wet edge, which helps prevent seams and guarantees a uniform surface across different batches.
Here are some tips to keep in mind while pouring:
- Clean and dry the surface thoroughly before pouring.
- Mix the SLC until it's consistent and free of lumps.
- Pour the SLC in a steady, continuous flow.
- Use a gauge rake to spread the SLC evenly.
- Smooth out any imperfections with a smoothing tool.
After pouring the SLC, allow it to cure according to the product specifications, typically requiring at least 24 hours for full strength development.
Following these steps will set a solid foundation for your flooring project.
Ensuring a Smooth Finish
How can you guarantee a smooth finish when applying self-leveling sealer? First, start with proper surface preparation. Make sure you remove all debris and clean the floor thoroughly. This step is essential for enhancing the bond of the self-leveling compound (SLC) over mastic asbestos.
Next, apply a suitable primer, like Perfect Primer, to seal any existing mastic. This creates a strong adhesion layer for your SLC.
When mixing the SLC, follow the manufacturer's instructions carefully to achieve a consistent texture. A uniform mix prevents clumping, which can ruin your finish.
As you pour the SLC, do it in a continuous manner, maintaining a wet edge. This technique helps you avoid seams or joints, guaranteeing a seamless surface throughout the area.
Keep an eye on the thickness of the SLC layer; it should typically be around 1/8 to 1/2 inch. Monitoring this thickness is critical to prevent cracking and secure stability once the SLC cures.
Flooring Options After Installation
After the self-leveling compound (SLC) has fully cured, you've got several flooring options to evaluate that can enhance both the look and functionality of your space.
It's important to wait at least 24 hours before starting your new flooring installation to guarantee the SLC has set properly.
When considering which flooring options to choose, think about the conditions of your space, particularly moisture levels if you're working in a basement.
Here are some popular choices:
- Laminate: Offers a great appearance with easy maintenance.
- Engineered Wood: Provides durability and a classic wood look.
- Luxury Vinyl Plank (LVP): Highly water-resistant and versatile for various subfloor conditions.
- Carpet: Adds warmth and comfort, though it may need a carpet pad for cushioning.
- Tile: A sturdy option for high-moisture areas that can create a stylish finish.
Always check the manufacturer's recommendations for flooring types to guarantee compatibility with the SLC and the underlying materials.
With the right flooring options, you'll not only improve aesthetics but also guarantee the longevity of your new installation.
Community Tips and Experiences
When tackling a DIY self-leveling sealer project, many community members emphasize the importance of thorough preparation and safety measures. One vital step is testing the adhesive for asbestos before moving forward with encapsulation. This guarantees you're aware of any potential hazards, allowing you to plan your approach safely.
A popular recommendation among DIY enthusiasts is to use Perfect Primer for sealing mastic adhesives. This primer not only prevents disturbance of the underlying material but also enhances the bonding of the leveling compound. Many users share that applying two thin coats of Perfect Primer, with a 12-hour wait between coats, leads to ideal coverage and adhesion.
Proper surface preparation is another common theme in community experiences. Thoroughly clean the area and address any structural issues before applying the self-leveling compound (SLC).
Once you mix the SLC, pour it immediately to maintain workability and prevent inconsistencies in your floor surface. By following these community tips, you'll create a safer and more efficient DIY project while effectively dealing with asbestos concerns.
Conclusion
In summary, tackling a self-leveling sealer over mastic asbestos can seem intimidating, but with the right preparation and care, you'll achieve a smooth and safe surface. Remember, around 1 in 3 homes built before 1978 contain asbestos—so it's essential to take the proper precautions. By following this guide, you're not only ensuring a quality finish but also prioritizing safety. Now, get started on your project and create a solid foundation for your flooring!


