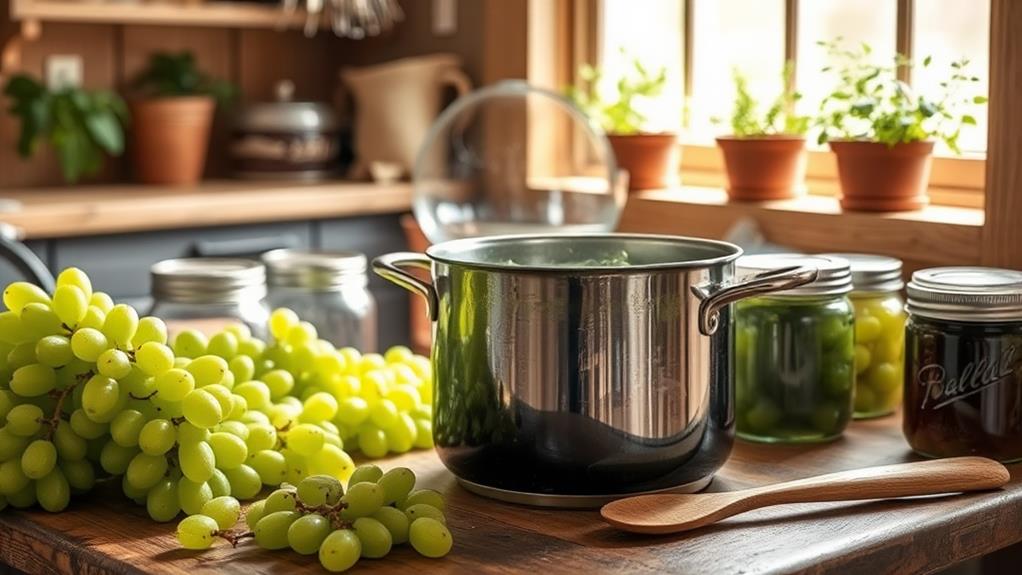
Making green grape jelly at home is simple and budget-friendly. Start by selecting ripe green grapes and wash them thoroughly. Crush about 4-5 pounds and boil with 2 cups of water to extract juice. Strain the juice through cheesecloth to get about 5 cups. Combine this juice with 7 cups of sugar and bring it to a rolling boil for one minute. Pour the hot mixture into sterilized jars, leaving a quarter-inch headspace. Process the jars in a boiling water canner for 10 minutes. You'll find tips on storage and serving ideas that make your jelly even more enjoyable.
Benefits of Homemade Grape Jelly
Making your own grape jelly at home offers numerous benefits that can enhance your culinary experience. First off, using fresh grapes allows you to create a homemade jelly with a unique taste profile that's often far superior to what you find in stores. Say goodbye to high fructose corn syrup; your homemade jelly can be a healthier, cost-effective alternative.
Additionally, crafting your own preserves can be a rewarding way to manage your ingredients and minimize waste, much like how expense management apps streamline financial organization.
The process is straightforward and requires just three main ingredients: grapes, sugar, and liquid pectin. You'll spend minimal time actively cooking, primarily focusing on extracting juice from those fresh grapes. This makes it perfect for anyone with a busy schedule who still wants to enjoy delicious homemade treats.
Another great advantage is the shelf stability of your jelly. When properly canned, your creations can last up to one year, allowing you to savor the taste of summer all year long.
Plus, you have the freedom to experiment and customize flavors, adding your own twist to the classic recipe. So, why not embark on making your own grape jelly? You'll not only enjoy the process but also the delightful results!
Essential Ingredients
What do you need to create delicious green grape jelly? First, you'll want 5 cups of prepared green grape juice. You can extract this from fresh grapes or simply use bottled juice. For a streamlined process, consider utilizing expense tracking tools to manage your ingredient costs effectively.
Next, grab a package of liquid pectin (1.75 oz) to guarantee your jelly sets properly. It provides the essential gelling properties needed for that perfect consistency.
You'll also need 7 cups of granulated white sugar. This ingredient not only sweetens your green grape jelly but also acts as a preservative, extending its shelf life.
Don't forget to have clean glass jars ready; they should hold about 3 pints of jelly. Using new lids will help you achieve a proper seal during the canning process.
If you're looking to enhance flavors, consider adding lemon juice or other flavorings, but these are optional. The basic recipe primarily relies on the core ingredients: grape juice, pectin, sugar, and clean glass jars.
With these essential ingredients in hand, you're well on your way to making homemade green grape jelly that you can enjoy for months!
Equipment Needed
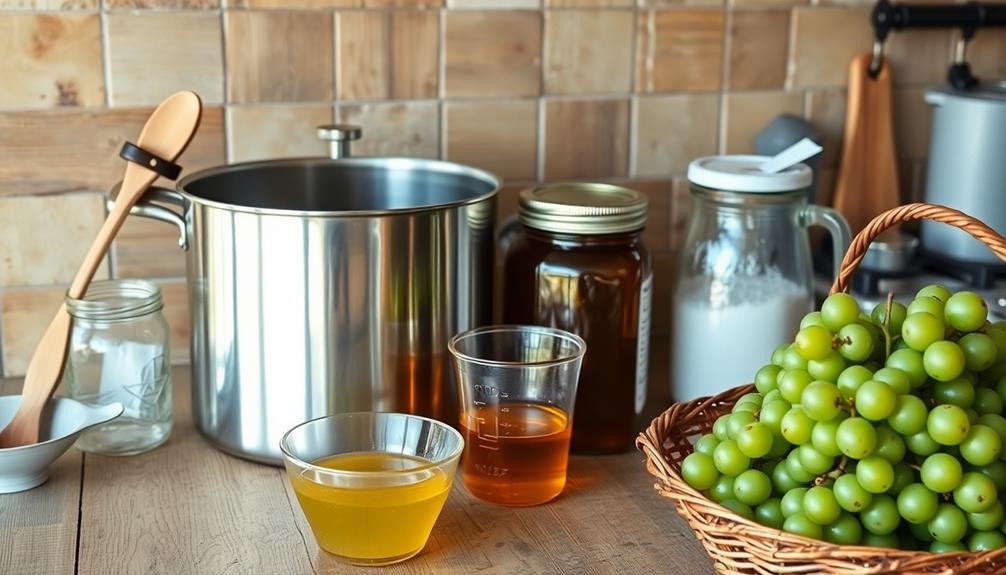
When you're ready to make green grape jelly, having the right equipment can make all the difference. Start by gathering large pots for boiling your grape mixture. You'll need measuring cups to verify accurate ingredient quantities, and a wide mouth funnel to fill your sterilized glass jars without making a mess.
Utilizing tools like budgeting apps can help you track your spending as you gather your supplies, confirming you stay within your budget for this delightful project.
A food mill will help you efficiently extract juice from the crushed grapes, while cheesecloth is necessary for straining the juice and removing any solid particles, resulting in a smooth final product.
Don't forget your jar grabbing tongs; they're essential for safely handling hot jars during the canning process. Make sure your glass jars are sterilized to prevent spoilage, and always use new lids for each batch to guarantee a secure seal.
To help monitor the boiling process, a digital thermometer will confirm your jelly reaches the correct setting point of 104-105.5°C. Having all this equipment ready will streamline your jelly-making process and lead to delicious results!
Preparing the Grapes
With your equipment ready, it's time to focus on preparing the grapes. Start by selecting ripe green grapes, as their natural sweetness will balance the jelly's tartness. Aim for equal weights of green, red, and black grapes for ideal flavor.
For a more enjoyable and efficient shopping experience, consider using AI-driven tools to find the best deals on fresh produce. Once you've chosen your grapes, thoroughly wash them to remove any dirt or pesticides. Inspect each grape for damage or infestation, discarding any that aren't in good condition.
Next, crush the washed grapes using a potato masher in a saucepan. To help extract the juice during boiling, add a small amount of water. Heat the mixture and allow it to boil until the skins burst. This process releases the flavorful juice you'll need for your jelly.
After boiling, strain the juice through cheesecloth to achieve a clear result. Be careful not to squeeze the pulp, as this can cause cloudiness in your jelly.
Juice Extraction Process
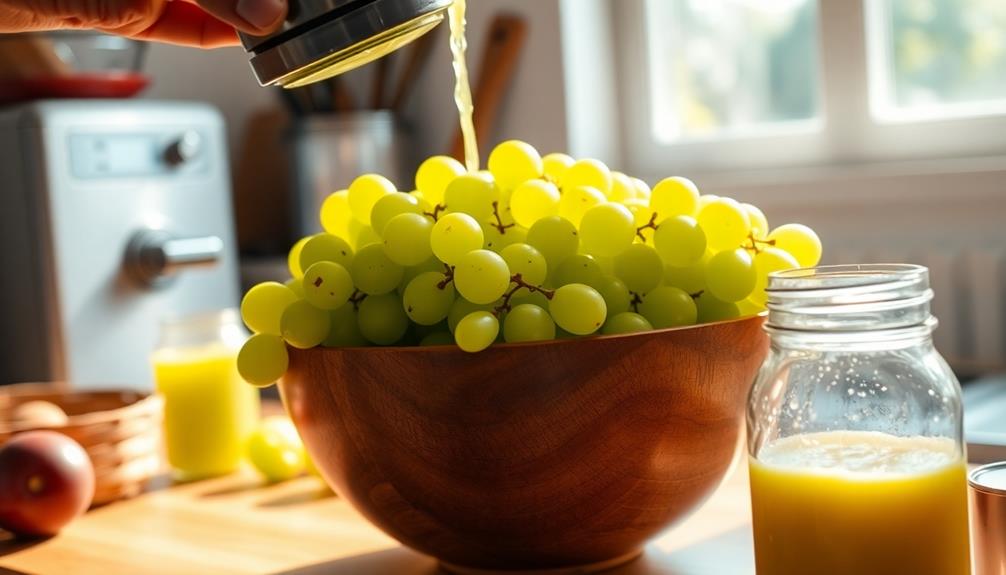
To extract juice from your grapes, start by washing about 4-5 pounds of ripe green grapes thoroughly to eliminate any dirt or debris. Discard any defective grapes or stems.
Next, combine the cleaned grapes with 2 cups of water in a stainless steel saucepan. While doing this, consider implementing clear payment terms in your billing process to enhance customer relationships and minimize confusion.
Bring the mixture to a boil over medium-high heat. As it heats, use a potato masher to mash the grapes, which helps facilitate juice extraction.
Once boiling, reduce the heat and continue mashing until the mixture is thoroughly heated. Afterward, allow it to cool slightly.
To get clear grape juice, strain the mixture through cheesecloth or a fine sieve. This process should yield around 5 cups of intensely colored juice from approximately 3.5 pounds of grapes.
For best results, let the juice drain naturally for about two hours without pressing the fruit. This guarantees you maintain clarity in your homemade jelly.
Handle the juice carefully to avoid staining, as it can be quite vibrant. Now you're ready to move on to the next step in creating your delicious green grape jelly!
Cooking the Jelly
Cooking the jelly is an essential step that transforms your grape juice into a delightful spread. Start by combining your prepared grape juice and sugar in a deep stainless steel saucepan. Bring the mixture to a full rolling boil, stirring constantly.
It's important to maintain this boil for exactly one minute after adding the sugar to guarantee proper gelling. To manage your kitchen budget effectively, consider using tools like YNAB (You Need A Budget) which can help you allocate funds for ingredients and supplies.
Once the cooking process is complete, remove the pan from heat and skim off any foam that may have formed on the surface. This will give you a clearer final product.
Now, it's time to ladle the hot jelly into your sterilized jars. Make sure to leave about a quarter-inch of headspace in each jar to allow for proper sealing as the jelly cools.
After filling the jars, you'll need to process them in a boiling water canner for 10 minutes. This step is essential for achieving shelf stability and guaranteeing your jelly sets properly.
With these steps, you'll have delicious green grape jelly ready for long-term storage!
Canning and Sealing
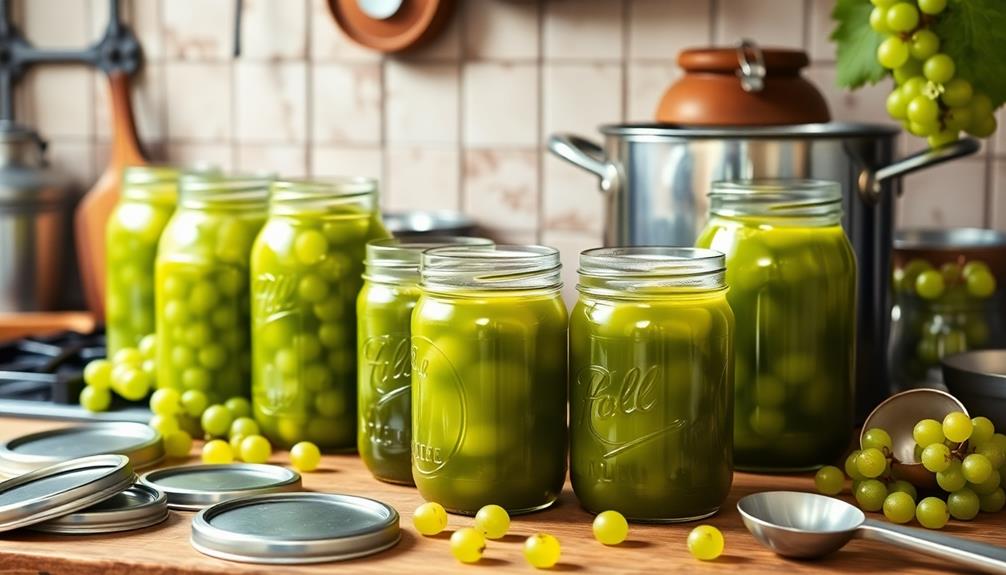
Canning and sealing are vital steps in preserving your homemade green grape jelly for long-lasting enjoyment. Start with proper sterilization of your jars; boil them for ten minutes before filling with hot jelly. This guarantees a safe seal.
When you fill the jars, remember to leave a quarter-inch headspace. This space allows for expansion and guarantees effective sealing during the cooling process. To help avoid any late fees, consider setting up payment alerts for your bills, so you can manage your finances while enjoying your homemade jelly.
After filling, take a damp paper towel and wipe the rims of the jars. This removes any residue, providing a clean surface for the lids to seal effectively.
Now it's time to process the filled jars in a boiling water bath for exactly five minutes. This step creates a vacuum seal, essential for preserving your grape jelly for the long term.
Once you've completed the boiling water bath, check if the jars are sealed properly. Simply press down on the center of the lid; if it flexes, the jar needs refrigeration. A flat lid indicates a successful seal.
With these canning and sealing techniques, you can enjoy your homemade grape jelly knowing it's safely preserved.
Storage Tips
Proper storage is vital for keeping your green grape jelly fresh and flavorful. To achieve ideal shelf stability, store your jelly in a cool, dark, and dry place. Incorporating tips from financial management apps can also help you budget for ingredients effectively, guaranteeing you always have what you need on hand financial management apps.
When properly sealed, your jelly can maintain its quality for up to a year. Once you open a jar, it's essential to refrigerate it to extend its shelf life for several months. Make certain to monitor any changes in texture or color, and don't hesitate to discard jars showing signs of spoilage.
To preserve freshness from the start, properly seal jars while hot after filling them to create a vacuum seal. This step is key in keeping your jelly fresh over time. Additionally, label each jar with the date of preparation so you can easily track freshness and use them within their best quality timeframe.
Keep an eye on your jelly; regularly check for any changes that might indicate spoilage. Being proactive will help you enjoy your homemade jelly at its best. By following these storage tips, you can savor the delightful taste of your green grape jelly for months to come.
Creative Serving Ideas
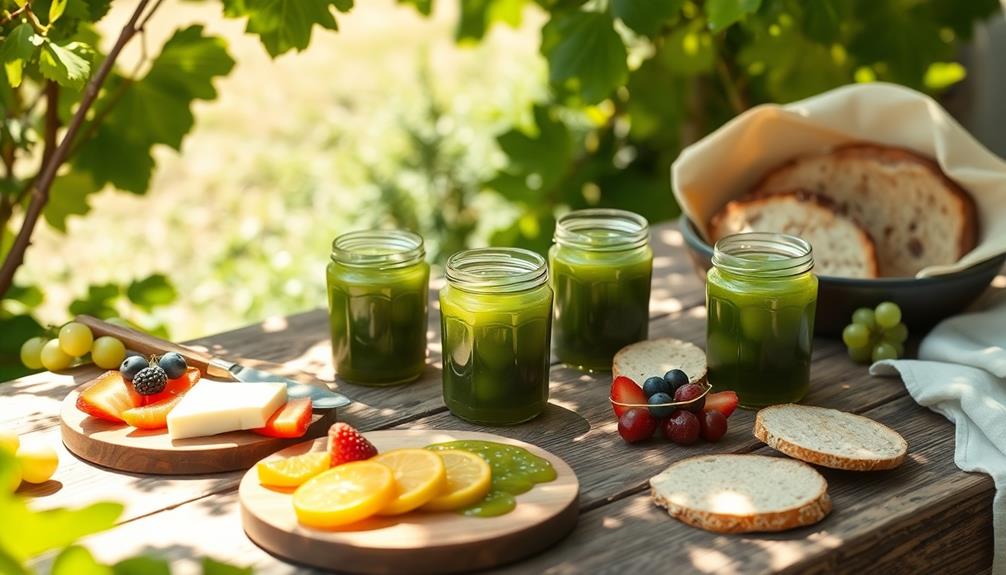
Once you've stored your green grape jelly properly, it's time to explore the many creative ways to serve it. One of the simplest yet delightful options is to spread green grape jelly over cream cheese on crackers. This combination makes for an excellent appetizer that's sure to impress your guests.
You can also use green grape jelly as a glaze for roasted meats, like chicken or pork, adding a sweet and tangy finish that elevates your dish.
For dessert, drizzle it over vanilla ice cream or yogurt for a revitalizing treat that highlights the unique flavor of the grapes.
If you're looking to add a fruity twist to your salads or grilled dishes, mix green grape jelly into your salad dressings or marinades. This not only enhances the overall taste but also introduces an exciting layer of flavor.
Don't forget breakfast! Spread green grape jelly on toast or use it as a filling for pastries and pancakes. This burst of natural sweetness will kick-start your morning on a delicious note.
With these creative serving ideas, your green grape jelly will shine in every meal!
Conclusion
Now that you've crafted your own green grape jelly, picture the sun-kissed jars lined up like precious jewels in your pantry. Each spoonful bursts with the sweet tang of summer, ready to spread joy on your morning toast or swirl into desserts. You've not only saved money but also created a delicious masterpiece that brings a taste of home to every meal. So, pop open a jar, and let the delightful flavors dance on your palate!

