Making a natural alternative to petroleum jelly at home is easy and rewarding. You’ll need 1/4 cup of beeswax, 1 cup of olive oil, and 1 cup of coconut oil. Melt them together in a double boiler until smooth. Add 10 drops of your favorite essential oil for fragrance and benefits. Pour the mixture into a jar, let it cool, and it’s ready for use. Keep going to discover creative uses and storage tips for your homemade jelly!
Why Choose a Natural Alternative to Petroleum Jelly?
Have you ever wondered why so many people are turning to natural alternatives for their skincare needs?
Natural alternatives to petroleum jelly, like beeswax and plant oils, offer skin-nourishing benefits that support your skin’s protective barrier. By using organic ingredients, you guarantee a cleaner, safer product devoid of harmful contaminants.
Natural alternatives like beeswax and plant oils nourish your skin while ensuring a cleaner, safer product free from harmful contaminants.
Unlike petroleum jelly, these homemade recipes promote better hydration thanks to bioavailable plant-based emollients, which your skin readily absorbs. Plus, you can easily customize your moisturizer with essential oils for added therapeutic properties.
This shift towards biodegradable products not only prioritizes personal wellness but also minimizes environmental impact. Choosing these alternatives means you’re investing in effective skin care that’s both kind to your skin and the planet.
Essential Ingredients for Your Homemade Jelly
To create your homemade petroleum jelly, you’ll need key ingredients like beeswax and olive oil, which provide thickness and moisture.
You can also explore alternative oils such as coconut or jojoba oil to tailor the texture and benefits to your liking.
Don’t forget to contemplate adding essential oils for a pleasant aroma and added therapeutic effects!
Key Components Overview
Creating your own petroleum jelly at home requires a few essential ingredients that work together to provide a nourishing and protective product.
Start with beeswax, which acts as a natural thickener and creates a barrier. Combine it with olive oil, celebrated for its moisturizing properties and antioxidants, to enhance skin hydration.
For a personalized touch, consider adding alternative oils like coconut oil or jojoba oil for extra skin benefits. You can also incorporate essential oils such as eucalyptus, peppermint, or lavender to elevate the aroma and therapeutic properties of your homemade petroleum jelly.
Adjust the ratios of beeswax and oils to achieve a customized texture that perfectly suits your preferences, making this a versatile natural alternative for your skincare routine.
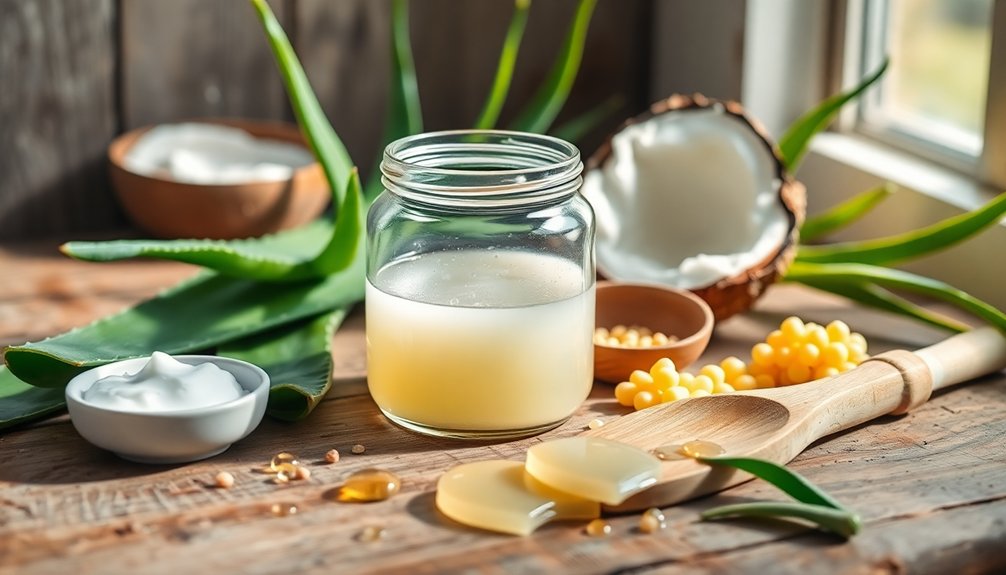
Alternative Ingredient Options
While beeswax and olive oil are popular choices, you can explore various alternative ingredients to customize your homemade petroleum jelly.
Coconut oil, for instance, serves as a great alternative to olive oil, offering antimicrobial properties and a lighter texture that absorbs quickly into your skin.
If you’re allergic to beeswax, consider using candelilla wax or lanolin, which maintain the jelly’s consistency and protective layer.
To enhance hydration and add therapeutic benefits, essential oils like tea tree or lavender can be mixed in for their pleasant fragrances and healing properties.
Step-by-Step Guide to Making Your Own Non-Petroleum Jelly
Making your own non-petroleum jelly is a simple and rewarding process that allows you to customize a natural moisturizer tailored to your skin’s needs.
Here’s a step-by-step guide to creating your homemade blend:
- Combine 1/4 cup of beeswax with 1 cup each of virgin coconut oil and olive oil in a double boiler.
- Heat until fully melted, then stir until smooth.
- Add 10 drops of your favorite essential oil, like tea tree for antibacterial benefits.
- Pour the mixture into a glass jar and let it cool for 2-3 hours until solidified.
This moisturizing alternative can last up to a year at room temperature, providing you with a natural solution for skincare and healing minor cuts.
Enjoy your creation!
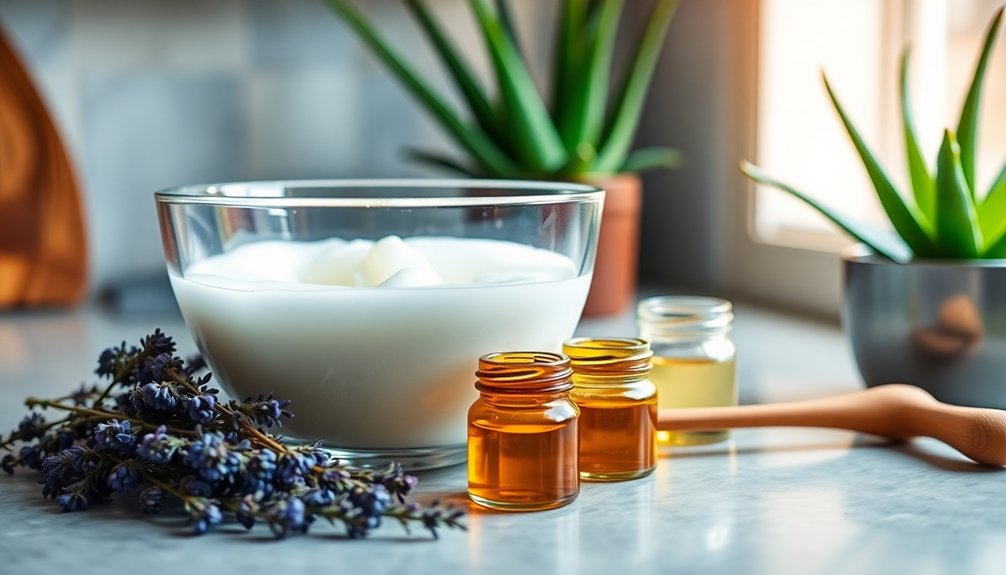
Preparing Your Ingredients for the Mixture
Before you start blending your homemade petroleum jelly, it’s important to prepare your ingredients properly. Gather 1 cup of virgin coconut oil, 1 cup of virgin olive oil, and 2 tablespoons of beeswax. Make sure your beeswax is in pastille form or finely grated; this helps it melt quicker when combined with the oils. For added benefits, measure about 10 drops of tea tree essential oil to enhance the antibacterial properties of your natural petroleum jelly. Use organic and minimally processed oils to guarantee the purity of your mixture. Finally, prepare a clean glass bowl and saucepan for your double boiler setup. Confirm all your utensils are dry to avoid contamination, setting the stage for a successful blend.
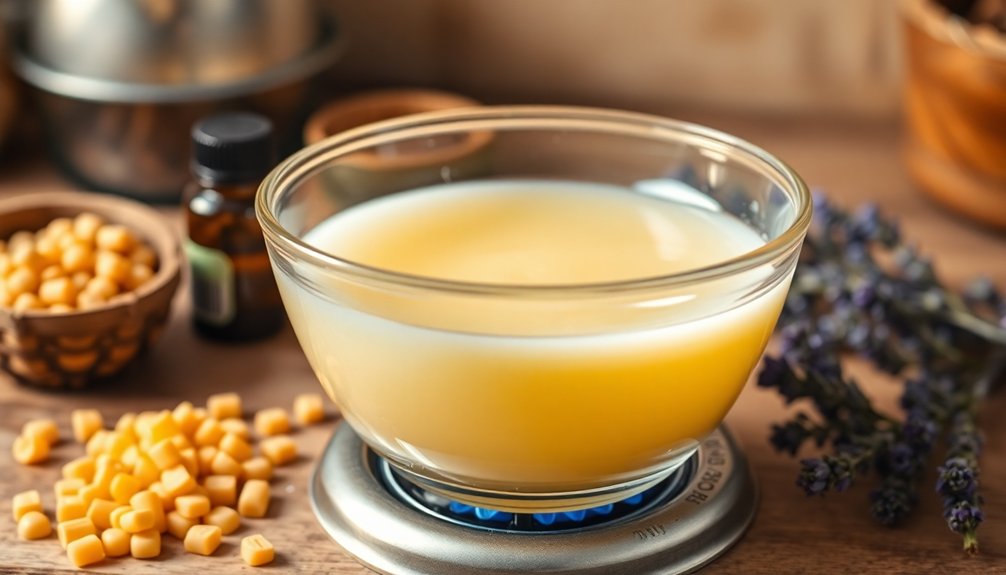
The Melting Process: Key Steps
Start by setting up your double boiler, which is essential for gently melting your ingredients without the risk of burning.
Combine your beeswax and olive oil in the bowl, ideally using a 20% beeswax to 80% olive oil ratio for a smooth texture. Heat the mixture on low heat, stirring occasionally until the beeswax completely melts and blends with the oil.
- Watch the beeswax soften and transform
- Enjoy the warm, inviting aroma of olive oil
- Feel the mixture becoming silky and uniform
- Prepare your container for pouring the liquid gold
Once melted, carefully remove the bowl from heat. Allow it to cool slightly before adding any essential oils, then pour into your container and let it cool for 2-3 hours to solidify.
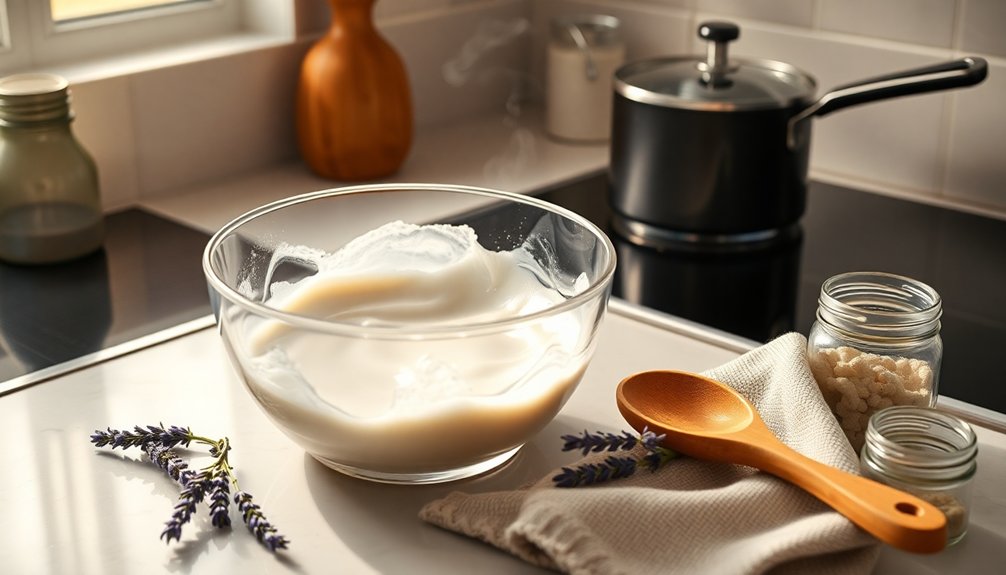
Mixing and Cooling Your Homemade Jelly
Once you’ve melted your beeswax and oils, it’s crucial to mix them thoroughly to achieve a smooth, even consistency.
Use a glass bowl to combine the beeswax pellets and olive oil, stirring until well blended. This step guarantees your homemade Vaseline has the right texture and feel for your skin type.
After mixing, pour the warm mixture carefully into a clean, dry container to prevent spills.
Now, allow the mixture to cool at room temperature for about 2-3 hours. During this time, it’ll gradually thicken and solidify into a jelly-like texture, creating a natural barrier for your skin.
For ideal storage, keep your solidified jelly in a cool, dry place, away from high temperatures that could alter its consistency.
Creative Uses for Your Non-Petroleum Jelly
While you might think of non-petroleum jelly as just a moisturizer, its versatility extends far beyond that.
This homemade, versatile balm can transform your skincare routine in several ways:
- Use it as a lip balm to keep your lips moisturized and prevent chapping.
- Apply it as a makeup remover, effortlessly dissolving makeup while nourishing your skin with natural oils.
- Harness its soothing properties as a protective barrier for minor cuts and scrapes, promoting healing without harsh chemicals.
- Treat your dry skin and soften cuticles, making it perfect for manicures and overall nail health.
Embrace this natural skincare gem for a variety of soothing applications, making it an essential addition to your home!
Storage Tips for Longevity
To keep your homemade petroleum jelly in top condition, proper storage is key. Store it in a cool, dry place, away from direct sunlight, to maintain its texture and effectiveness for up to one year.
Using airtight glass jars is essential to prevent contamination and exposure to air, which can lead to spoilage. Avoid high temperatures, as heat can melt the jelly and alter its consistency.
Regularly check for off smells, discoloration, or visible mold—these are signs of spoilage, and it’s best to discard the jelly if you notice them.
To extend its shelf life, consider adding a few drops of vitamin E oil, which acts as a natural preservative and helps keep your petroleum jelly fresh longer.
Exploring Other Homemade Skincare Products
Have you ever considered the benefits of making your own skincare products at home?
Creating homemade skincare products is super easy and allows for endless customization. With just a few natural ingredients, you can craft effective alternatives to commercial products.
Making your own skincare products is simple and offers limitless options tailored to your personal preferences.
Here are some ideas to inspire you:
- Lotion bars using organic shea butter and beeswax
- Plantain salve for soothing skin irritations
- Bug bite salve that relieves itching naturally
- Moisturizing balms featuring heavy butters for protective properties
These DIY Natural options not only avoid synthetic chemicals but also align with the clean beauty movement.
Embrace the creativity and enjoy the benefits of a natural version of skincare that suits your unique needs!
Conclusion
Now that you know how to whip up your own natural alternative to petroleum jelly, you can ditch those store-bought products full of mystery ingredients. With just a few simple steps, you’ve got a versatile skincare staple that’s as effective as a time machine for your skin—transforming dryness into hydration! So go ahead, give it a try, and let your skin enjoy the benefits of this homemade goodness. Your skin will thank you!