To prevent water damage from your roof rack without spending a fortune, focus on sealing and maintenance. Start by applying high-quality silicone sealant around bolt holes to avoid leaks. Regularly inspect your washer and gaskets for wear, replacing them as needed to keep everything tight and secure. Cleaning debris from the roof and checking for pooling prevent water from accumulating. Use stainless steel bolts to combat corrosion and guarantee the integrity of your installation. By being proactive with these budget-friendly strategies, you can save your vehicle from water damage while enhancing longevity. There's more insight ahead to help you safeguard your ride.
Understanding Water Damage Risks
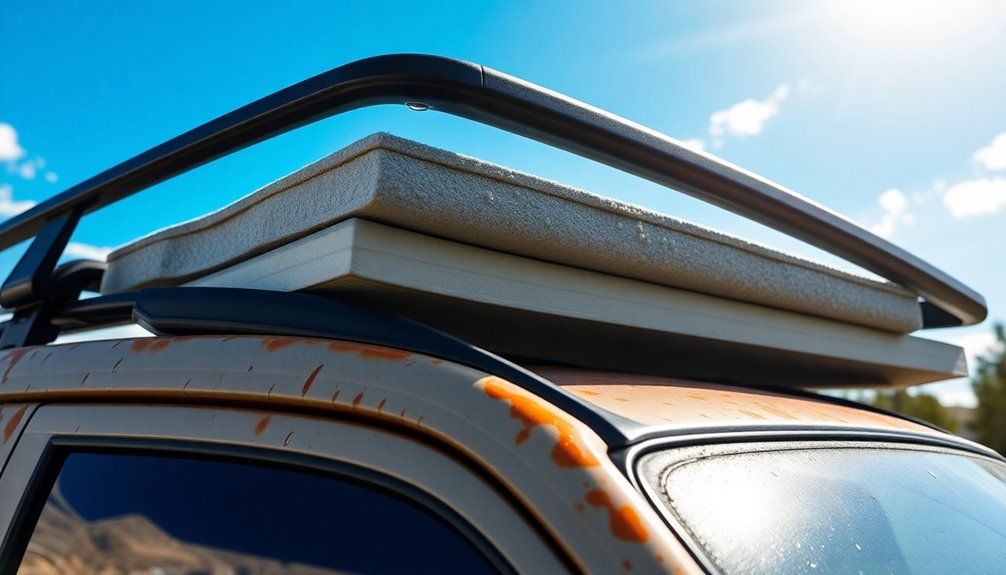
When you install a roof rack, you mightn't realize the hidden risks of water damage it can introduce.
Leaks can stem from improperly sealed bolt holes, allowing water to seep into your vehicle's cabin, leading to soaked carpets and damaged headliners. Regularly inspecting your roof rack hardware is essential, as worn rubber washers and gaskets can worsen these risks. Additionally, using receipt scanning technology can help you keep track of any repair costs associated with maintaining your roof rack and preventing water damage. Furthermore, using expense tracking tools can assist in budgeting for these unexpected repairs.
Corrosion of metal components can also create pathways for water intrusion, increasing the likelihood of damage. Plus, debris accumulation around bolt holes can hinder drainage, causing water to pool and heightening leak risks during heavy rain.
To mitigate these issues, using RTV Silicone to seal bolt holes can help protect your vehicle from water damage, ensuring your roof rack remains a safe addition. Additionally, investing in user-friendly tools can help you keep track of any repair costs associated with maintaining your roof rack and preventing water damage.
Essential Tools and Materials
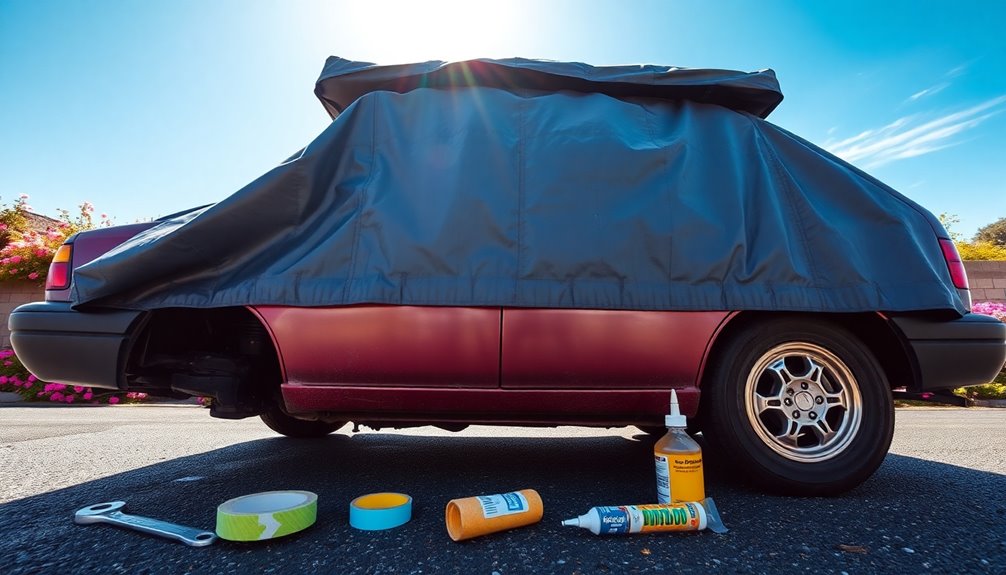
Addressing the risks of water damage from your roof rack requires the right tools and materials. Start with a wrench set to easily remove and install bolts.
Don't forget cleaning supplies like rags and brushes for regular maintenance, along with safety gear such as gloves and goggles to protect yourself from debris and sealants. Regular maintenance can help you understand investment tracking for your roof rack expenses.
For effective waterproofing, high-quality silicone or polyurethane sealants, like Permatex Ultra Black RTV, are essential around bolt holes. Expense tracking apps can help you manage costs related to waterproofing materials effectively.
Using stainless steel bolts and rubber washers will enhance corrosion resistance and create a tighter seal.
Regular inspections and keeping extra rubber washers and sealants on hand will help you tackle any leaks swiftly, ensuring your roof rack remains leak-free and your vehicle stays protected. Additionally, proper expense categorization can help you budget for necessary maintenance tools and materials, ensuring you're prepared for any water damage prevention needs.
Effective Repair Strategies
Effective repair strategies are essential for preventing water damage from your roof rack. Start by regularly inspecting the roof rack area and replacing old rubber washers with high-quality neoprene gaskets. This enhances the seal around the bolts, reducing leaks. Additionally, monitoring savings and investments can help you allocate funds for necessary repairs.
When installing, apply a generous amount of Clear RTV silicone sealant around bolt holes to create a waterproof barrier. Make certain that you clean surfaces thoroughly with a solvent before applying any sealants for peak adhesion.
Consider using stainless steel bolts for their corrosion resistance, which extends the lifespan of your installation. Additionally, implementing a comprehensive financial overview can help you budget for ongoing maintenance and repairs.
Finally, monitor the roof rack area by clearing debris and promptly addressing any signs of wear or damage to prevent further water intrusion. Regular reviews of your maintenance strategy will ensure that you can successfully tackle any potential issues before they escalate.
Installation Best Practices
When installing your roof rack, make sure to follow the manufacturer's torque specifications closely to avoid over-tightening, which can damage the seal. Choosing high-quality sealants is equally important, as they provide a reliable barrier against water intrusion. Additionally, utilizing custom notifications for timely reminders can help ensure regular maintenance checks on your roof rack setup, preventing potential water damage in the long run. Regularly monitoring your setup can enhance your financial organization strategies and keep your vehicle in optimal condition. Using digital coupons for necessary maintenance supplies can also aid in budget-friendly upkeep.
Proper Torque Specifications
Proper torque specifications are essential for ensuring the secure installation of your roof rack. You should tighten the roof rack bolts to the manufacturer's recommended levels, typically between 15 to 20 ft-lbs. This prevents leaks and maintains structural integrity.
Be careful: over-tightening can cause gasket blowouts, while under-tightening may lead to movement and potential water intrusion. Using a torque wrench helps you apply consistent force, reducing the risk of stripping bolts and ensuring even security.
Always check your vehicle's service manual for exact torque specifications, as they can vary by make and model.
Additionally, regularly checking and re-torquing your roof rack bolts after heavy use or extreme weather helps maintain the integrity of seals and prevents leaks over time.
Quality Sealant Selection
After ensuring your roof rack is securely installed with the right torque specifications, selecting the right sealant becomes essential for protecting your vehicle from water damage.
For quality sealant selection, consider using high-quality options like Permatex Ultra Black RTV Silicone or butyl tape. These choices offer superior sealing properties and longevity against water intrusion.
Before applying any sealant, clean the surfaces thoroughly with a solvent to improve adhesion. Apply sealants generously around bolt holes and threads, ensuring a complete seal without over-applying.
To enhance waterproof integrity, use rubber washers or neoprene gaskets alongside the sealants. Finally, regularly inspect and maintain the condition of your sealant, reapplying or replacing it as necessary to combat degradation from weather exposure.
Maintenance and Inspection Tips
To keep your roof rack in top shape and prevent water damage, it's essential to conduct regular inspections and maintenance.
Start by checking for any signs of wear, like cracked rubber washers, which can lead to leaks if ignored. After heavy rainfall or car washes, inspect common problem areas such as the A-pillar and seat belt regions for new leaks. Maintaining a budget for repairs can enhance your ability to handle unexpected issues while aligning with your long-term financial goals.
Schedule inspections every few months to monitor the roof rack's integrity and replace any damaged seals. Additionally, consider using budgeting apps to help allocate funds for any necessary repairs and maintenance.
- Clean bolt holes and surfaces with solvent before applying sealant.
- Document any repairs to track the roof rack's condition and sealing effectiveness.
- Replace missing or damaged gaskets promptly to maintain a tight seal.
Community Experiences and Advice
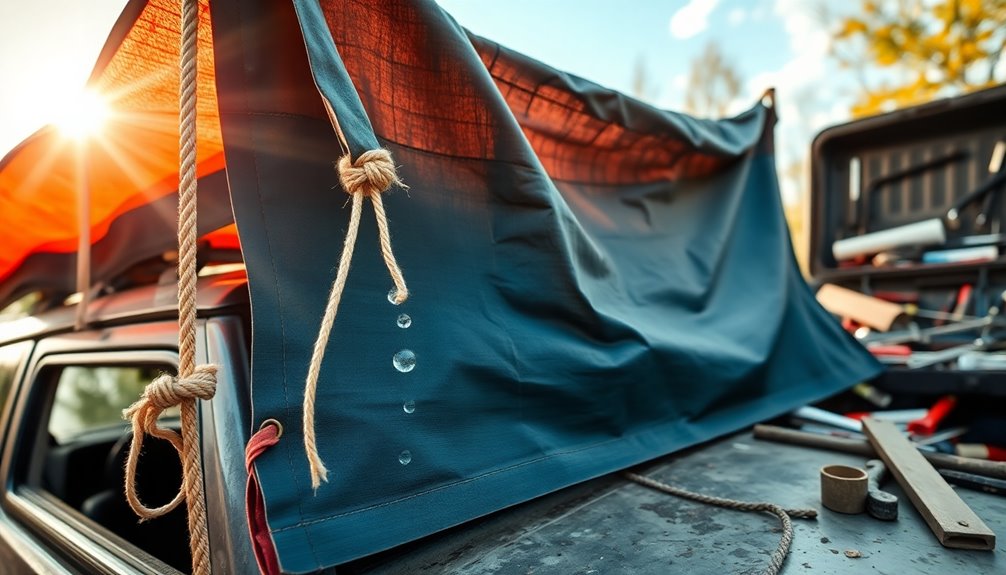
While you might think you're alone in tackling roof rack issues, community experiences reveal a wealth of shared advice and solutions.
Many Nissan Patrol enthusiasts recommend replacing worn rubber washers with high-quality neoprene alternatives to prevent leaks around roof rack bolts. This simple upgrade can substantially reduce water intrusion risks. By opting for these materials, you also support sustainable businesses that prioritize eco-friendly practices.
Applying silicone sealant around bolt holes and using stainless steel bolts enhances waterproofing, preventing both rust and leaks. Some users swear by butyl tape for its superior adhesion, which outlasts traditional RTV silicone.
Don't forget to inspect and clean your roof rack area after heavy rainfall to catch potential leaks early. Engaging in community discussions often uncovers budget-friendly DIY repair techniques using common household materials. Additionally, sharing experiences about sustainable practices can help create a more eco-friendly approach to maintaining your vehicle.
Common Mistakes to Avoid
When installing your roof rack, be careful not to over-tighten the bolts, as this can lead to leaks.
Don't ignore the quality of the sealant you use, and make sure to replace worn parts regularly.
Finally, conduct inspections after heavy rain or washes to catch any potential leaks before they cause significant damage.
Over-tightening Bolts Problems
Over-tightening bolts during roof rack installation can seem like a good idea for ensuring a secure fit, but it often leads to significant problems. Excessive torque can compromise the integrity of the seals, increasing the risk of water leaks.
Here are some common issues to watch out for:
- Gasket blowouts due to uneven pressure from over-tightening bolts
- Stripped threads on bolts, rendering them ineffective
- Premature wear and failure of sealing materials
To prevent these complications, always use a torque wrench to adhere to the manufacturer's specifications.
Regularly inspect your seals and bolts to catch any signs of over-tightening early, allowing for timely maintenance and safeguarding against unwanted water intrusion.
Ignoring Sealant Quality
Ignoring the quality of sealants can lead to costly water damage and frustration down the line.
Using inferior sealants instead of high-quality options like Permatex Ultra Black RTV Silicone can leave your roof rack vulnerable to leaks. If you don't replace worn rubber washers with durable neoprene, water can easily seep into your vehicle's interior.
Over-applying sealant might seem helpful, but it can cause pooling and attract debris, compromising the seal. Additionally, neglecting to clean surfaces before applying sealants reduces adhesion, increasing the likelihood of leaks.
Finally, opting for standard RTV silicone instead of polysulfide blends can result in inadequate sealing under extreme weather, leading to persistent water intrusion issues you'll want to avoid.
Neglecting Regular Inspections
Regular inspections of your roof rack are often overlooked, but they play an essential role in preventing water damage. Neglecting regular inspections can lead to significant issues, such as minor leaks evolving into serious water damage.
By routinely checking your roof rack, you can prevent potential leaks and maintain its integrity.
- Inspect rubber washers and sealants for wear.
- Clear debris from bolt holes to avoid water pooling.
- Monitor bolts for rust or corrosion and guarantee proper torque.
Taking these steps helps you catch problems early, making sure your vehicle stays dry.
Don't skip evaluations after heavy rainfall; vigilance is key to maintaining your roof rack and preventing costly repairs down the line.
Long-Term Protection Strategies
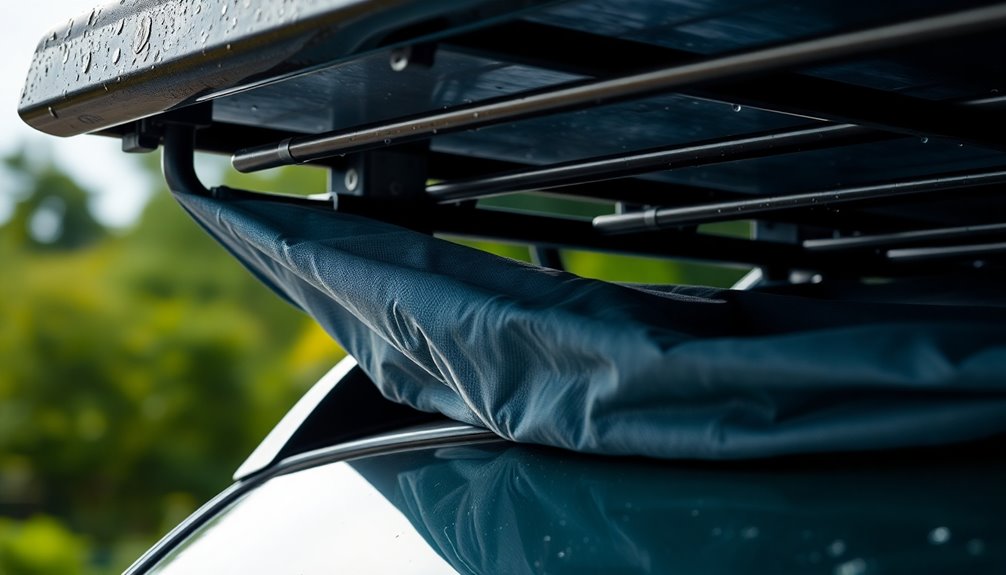
To guarantee your roof rack remains watertight over time, you'll want to adopt a few key long-term protection strategies.
Regularly inspect and replace worn rubber washers and gaskets; these components are essential for preventing leaks. Apply a high-quality sealant, like Permatex Ultra Black RTV Silicone, around bolt holes to create a waterproof barrier.
Ascertain proper drainage by cleaning debris from the roof area, which helps avoid water accumulation. Use stainless steel bolts for their corrosion resistance, as they'll maintain the integrity of your installation.
Finally, schedule periodic checks, especially after heavy rain, to quickly identify and address potential leaks.
Conclusion
By taking proactive steps to prevent water damage from roof racks, you're not just protecting your vehicle but also preserving your adventures. Picture yourself driving under a clear sky, free from the worry of leaks or rust. With the right tools, careful installation, and regular maintenance, you'll keep your ride in top shape for countless journeys ahead. So, gear up, stay vigilant, and let the open road beckon you without the shadow of water damage looming over your head.