If your range hood light's flickering or not working, you might need to replace the rotary light switch. It's an easy DIY project that can save you money. You'll need a screwdriver, a compatible replacement switch, wire nuts, and possibly a degreaser for cleanup. First, turn off the power, access the switch, and swap it out. After installation, you'll test your new switch for functionality. Keep going to discover some great alternative lighting solutions for your range hood!
Understanding the Problem: Diagnosing a Faulty Rotary Light Switch
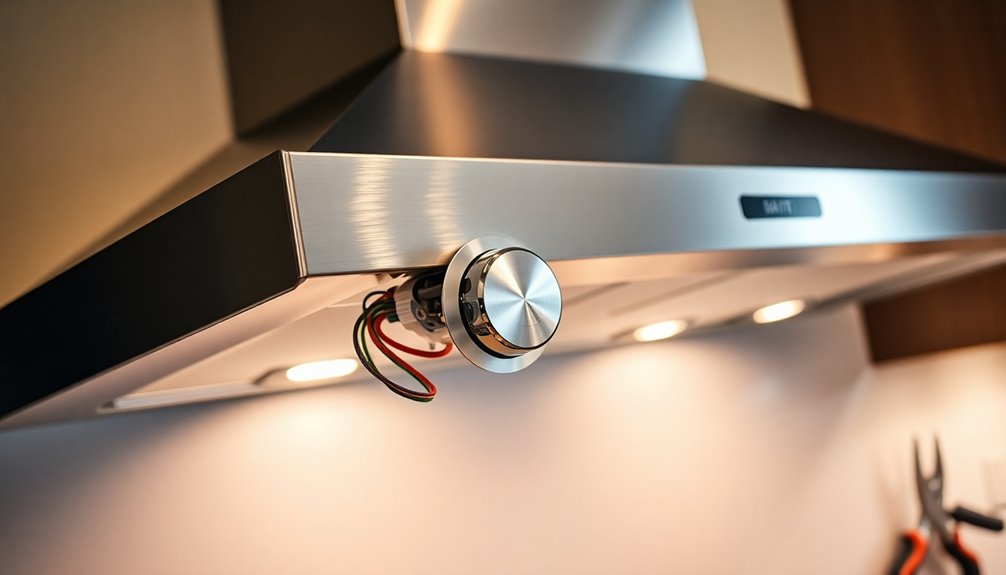
When you notice your range hood light flickering or not turning on at all, it might be time to diagnose a faulty rotary light switch. Often, worn contacts, moisture, or damage cause these switches to fail. You may experience intermittent operation or total failure, which signals a need for a continuity test. Start by turning off the power, then access the switch by removing filters or baffles. Using a multimeter, you can check if the switch conducts electricity properly. If it fails the continuity test, it's a clear sign that the switch needs replacing.
Additionally, utilizing a reliable expense management app can assist you in keeping track of any costs associated with the repair. Make sure to note the specifications on the switch, as you'll want a compatible replacement to restore your range hood light's functionality. Furthermore, implementing proper receipt management ensures that you can easily monitor and manage the costs associated with home maintenance projects like this.
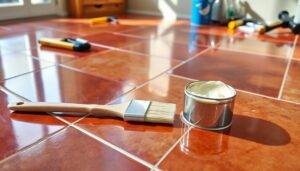
Tools and Materials Needed for the Replacement
Replacing a faulty range hood light switch requires a few essential tools and materials to guarantee a smooth process.
First, you'll need a screwdriver to access the switch and remove any retaining screws or covers. Make sure you have a compatible replacement switch, such as the Supplying Demand WB24X10130, designed specifically for range hoods. A budget-friendly option can help you manage costs effectively while handling repairs, as seen in YNAB (You Need a Budget). Additionally, utilizing budgeting apps can streamline your financial planning for DIY projects like this.
Wire nuts are vital for securing your electrical connections when installing the new switch, ensuring everything's safe and reliable.
It's also wise to have a degreaser on hand to clean the range hood after the replacement, removing any accumulated grease and dirt.
Finally, a blanket can protect your stove surface during the repair, preventing damage or mess while you work. Additionally, maintaining financial organization strategies can help you budget for replacement parts and avoid unexpected costs.
Step-by-Step Guide to Replacing the Rotary Light Switch
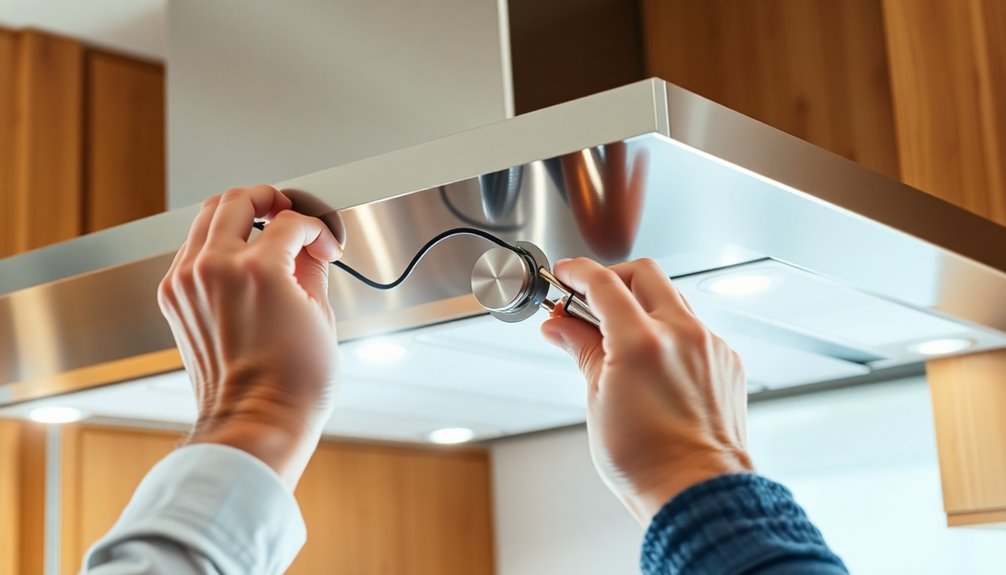
To successfully replace the rotary light switch in your range hood, start by ensuring your safety. Turn off the power at the breaker.
Next, remove the corner panel behind the switches, along with any filters or baffles to access the faulty rotary switch. Unscrew the retaining nut, then carefully disconnect the wiring, noting how it's connected for easy reinstallation. Exclusive digital coupons can help you save money on replacement parts. Additionally, you should consider checking for tiered discounts that increase savings on bulk purchases of components needed for future repairs.
Obtain a compatible replacement switch, like the Supplying Demand WB24X10130, designed for specific range hood models. Reconnect the new light switch in the same configuration as the old one, securing it with the retaining nut.
Finally, replace the panel and filters, then restore power to complete the installation. Your range hood is now ready for use! Additionally, consider using smart shopping recommendations to find the best deals on replacement parts for future repairs.
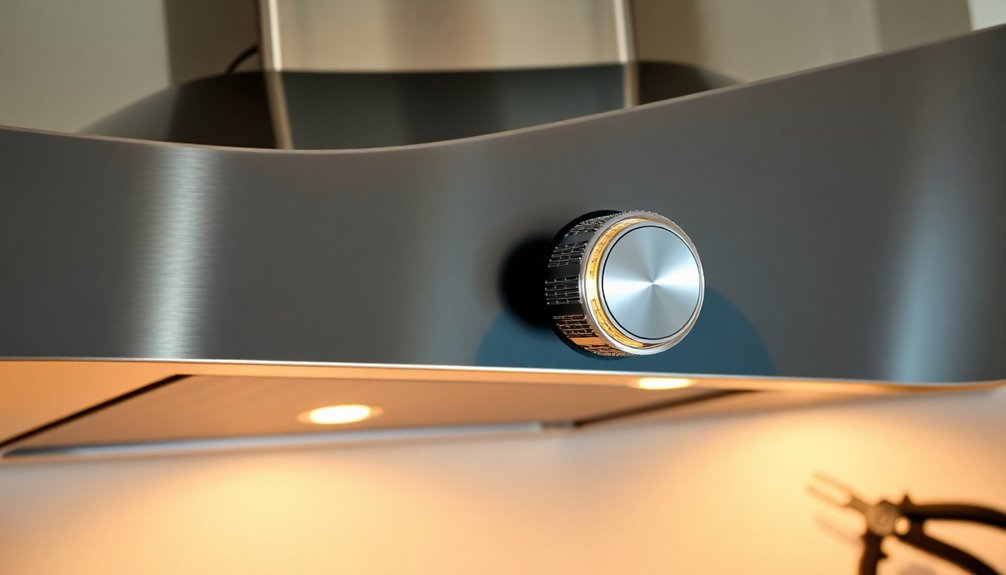
Testing the New Switch: Ensuring Proper Functionality
After you've installed the new rotary light switch, it's crucial to test its functionality before putting everything back together.
First, make sure the range hood is disconnected from the power supply to avoid any risk of electrical shock.
Use a digital multimeter set to the lowest ohm setting to check for continuity across the switch terminals; a reading of zero ohms confirms proper functionality. Additionally, utilizing automated notifications can help you remember to conduct maintenance checks regularly. Regular maintenance can lead to better financial management by ensuring all appliances are functioning optimally and reducing future repair costs.
If it's a normally open switch, actuate it and verify continuity only shows when turned on.
If you're using an analog multimeter, the needle should point to zero ohms when the switch is actuated.
Once you've confirmed proper functionality, reconnect the power supply and test the light to verify it illuminates the range hood as intended. Additionally, consider conducting regular billing process reviews to optimize your future home improvement projects and ensure all components function seamlessly.
Alternative Lighting Solutions for Range Hoods
When you're looking to enhance the lighting in your kitchen, exploring alternative solutions for range hoods can greatly improve both visibility and safety while cooking.
Waterproof vertical LED light bars installed above the range hood effectively illuminate your workspace while minimizing water exposure risks. You might also consider LED tape lights under the range hood for an energy-efficient option. Investing in automated savings tools can help you set aside funds for home improvement projects like these. Additionally, utilizing budgeting apps can help you track expenses and ensure that you have the necessary budget for such upgrades.
If you prefer a straightforward approach, LED puck lights are easy to mount and replace directly on the underside of the range hood. Battery-operated lights offer flexibility, eliminating the need for wiring, while magnetic LED lights can serve as a temporary solution, attaching effortlessly to metal surfaces for adjustable lighting.
Additionally, opting for sustainable packaging solutions when purchasing lighting products can further contribute to a more eco-friendly home environment.
Each option can elevate your cooking experience considerably.
Conclusion
By replacing your range hood's rotary light switch, you not only restore functionality but also enhance your kitchen's ambiance. After all, isn't it satisfying to tackle a DIY project that saves you money and boosts your skills? With the right tools and a little patience, you've empowered yourself to take charge of your home. So, why not bask in the glow of your hard work? Your kitchen deserves it, and you've proven you can rise to the challenge!