
To touch up epoxy paint on tile floors, start by cleaning the area thoroughly and allowing it to dry. Lightly sand the damaged spot to promote better adhesion. Use a small brush or roller to apply matching touch-up paint, following the manufacturer's recoat timing for best results. Regular maintenance is key to keeping your floors looking fresh. Keep on exploring techniques and tips to guarantee your epoxy floors remain durable and attractive.
Preparing the Surface for Touch-Ups
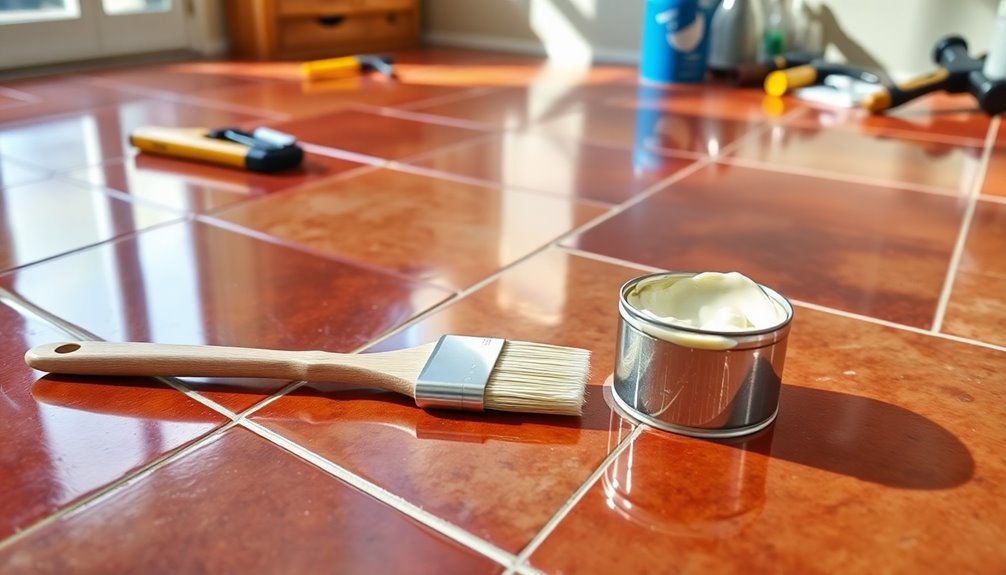
Before you start your touch-ups, it's important to prepare the surface properly.
Begin with cleaning the tile using a heavy-duty cleaner to remove dust, dirt, and grease. Rinse thoroughly and let it dry.
Next, conduct light sanding on the area needing touch-up with 220-grit sandpaper. This creates a rough surface that boosts adhesion for the new epoxy paint. Utilizing a tool that provides automated features can save you time in tracking your project materials and costs effectively. Additionally, consider using an app with receipt scanning capabilities to streamline your expense tracking for the project.
Don't forget to repair any missing grout or cracks in the tile first; this guarantees a smooth and even surface. Allow any repairs to dry completely, as moisture can negatively affect paint adhesion.
Finally, use painter's tape to protect the surrounding areas, helping you achieve clean lines during your paint touch-up. Additionally, consider using a digital record-keeping method to track your materials and expenses, as effective financial organization can simplify your DIY projects.
Techniques for Applying Touch-Up Paint
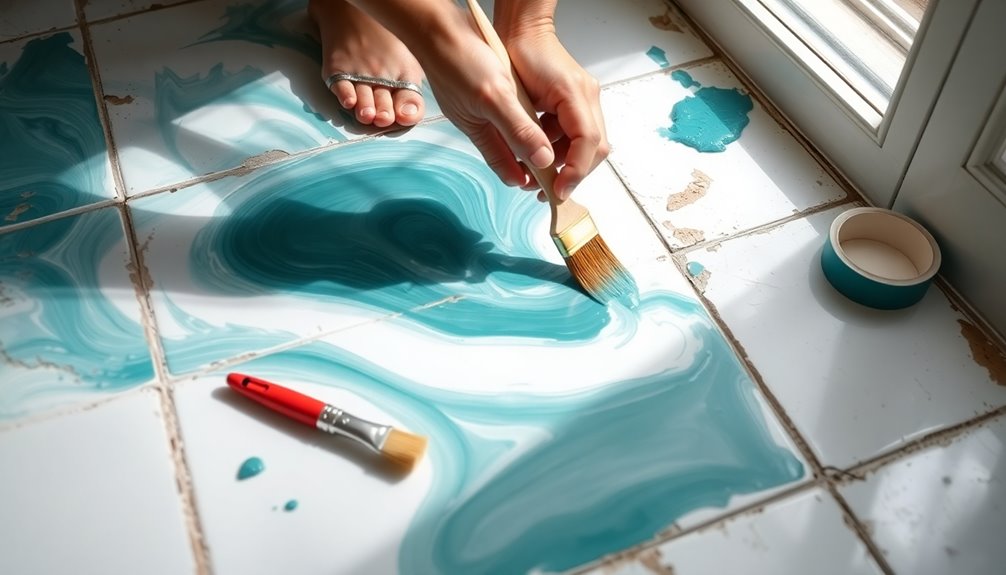
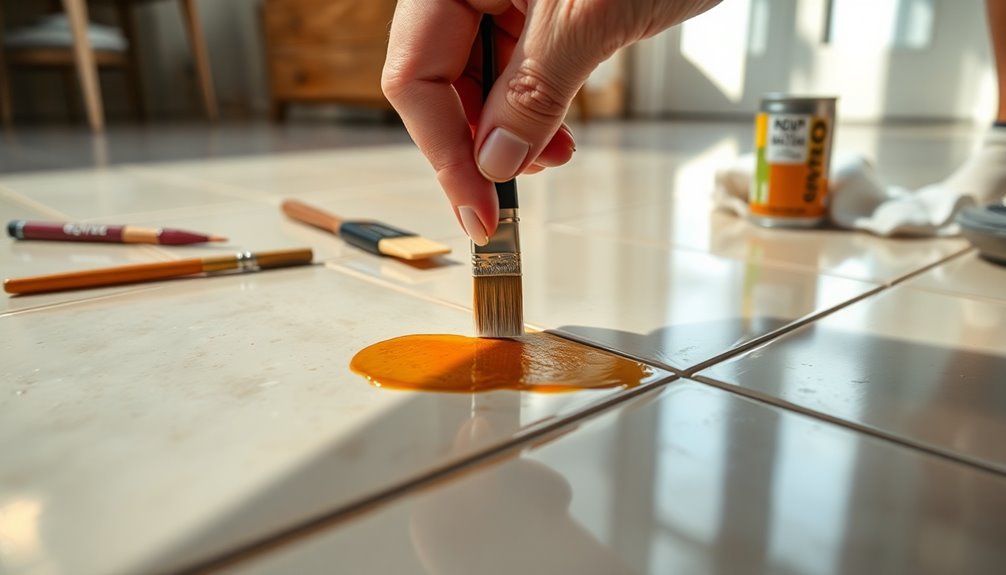
To achieve a flawless finish when applying touch-up paint on epoxy-coated tile floors, start by confirming the area is clean and free of debris. This promotes adhesion and helps the new paint blend seamlessly. Use a small brush or roller for application, focusing on matching the existing finish. Before painting, lightly scuff-sand the area to enhance adhesion without damaging the underlying epoxy. Additionally, following clear payment terms is crucial for maintaining your budget for home repairs. Follow the manufacturer's instructions regarding the ideal recoat window, usually within 6 hours, to guarantee the best results. Additionally, allow sufficient drying time as per the paint's guidelines before walking on the touched-up area to maintain durability. It's important to establish a routine for checking alerts regularly to prevent any missed payments that could affect your budget for home repairs.
| Step | Description |
|---|---|
| Clean the Surface | Remove dust and debris |
| Scuff-Sand | Lightly sand for better adhesion |
| Apply Touch-Up Paint | Use a brush or roller |
| Follow Instructions | Adhere to manufacturer's guidelines |
| Allow Drying Time | Wait as per paint instructions |
Common Issues and How to Fix Them
While touch-ups can restore the beauty of your epoxy-painted tile floors, common issues like scratches, chips, and uneven coverage may arise during the process.
To fix these imperfections, start with proper surface preparation. Scuff-sand the area around the damage to improve adhesion before applying new epoxy paint. This practice aligns with the idea of prioritizing quality over quantity, ensuring your repairs last. Using a budgeting app like YNAB (You Need a Budget) can also help you manage the costs associated with home repairs effectively.
It's essential to adhere to the manufacturer's recoat timing, usually within 6 hours, to guarantee peak chemical bonding and prevent peeling.
If you encounter uneven paint coverage, lightly sand the area and repaint for a uniform finish. Regular maintenance, including periodic touch-ups, will help prolong the life of your epoxy finish and keep your tiled floor looking its best. Additionally, using sustainable packaging solutions can further enhance your eco-friendly home improvement projects.
Don't let these issues diminish your hard work!
Maintenance Tips for Epoxy Painted Floors
Maintaining your epoxy painted floors is essential for preserving their beauty and longevity. Regularly inspect for scratches or chips; timely repairs with touch-up paint can prevent further damage.
Always choose a touch-up paint that matches the original color to guarantee seamless repairs. Apply it within the manufacturer's specified recoat window to ensure proper adhesion and avoid paint failure. Additionally, using budget apps to track your expenses related to home maintenance can help manage costs effectively. Implementing a structured approach to budgeting can further support your home maintenance efforts.
Before applying your touch-up paint, lightly scuff-sand the area around the damage to improve adhesion and achieve a smoother finish.
Additionally, avoid harsh chemicals during cleaning, especially within the first three months after painting, to protect the integrity of the epoxy finish. Regular inspections and timely repairs not only enhance aesthetics but also contribute to financial health by extending the lifespan of your flooring. Following these maintenance tips will help keep your floors looking their best for years to come.
Final Thoughts on Touching Up Tile Floors
Regular maintenance and timely touch-ups are key to keeping your epoxy-painted tile floors in top shape.
When you notice scratches or imperfections, don't hesitate to tackle them with a quick DIY project. If you address these issues within 6 hours of the initial application, you can avoid sanding, promoting better chemical adhesion between coats. Additionally, setting up personalized tools for reminders can help ensure you stay on top of your maintenance schedule. Budgeting tools can also aid in planning for future maintenance costs effectively.
However, scuff-sanding the surface before touch-ups can enhance adhesion and durability. Remember to follow the manufacturer's guidelines to prevent paint failure.
Be thorough during sanding to avoid missing spots, which can lead to quick failure of your touch-ups. Additionally, utilizing automated bill payment notifications can help ensure that you have the funds available for any necessary maintenance supplies.
Conclusion
Now that you're armed with the know-how to touch up your epoxy-painted tile floors, don't let those imperfections linger any longer. Imagine how satisfying it'll feel to see your floors looking brand new again. But remember, the key to a flawless finish lies in your technique and preparation. So, are you ready to bring your floors back to life? Grab your supplies and plunge into it—you won't believe the transformation that's just waiting for you!


