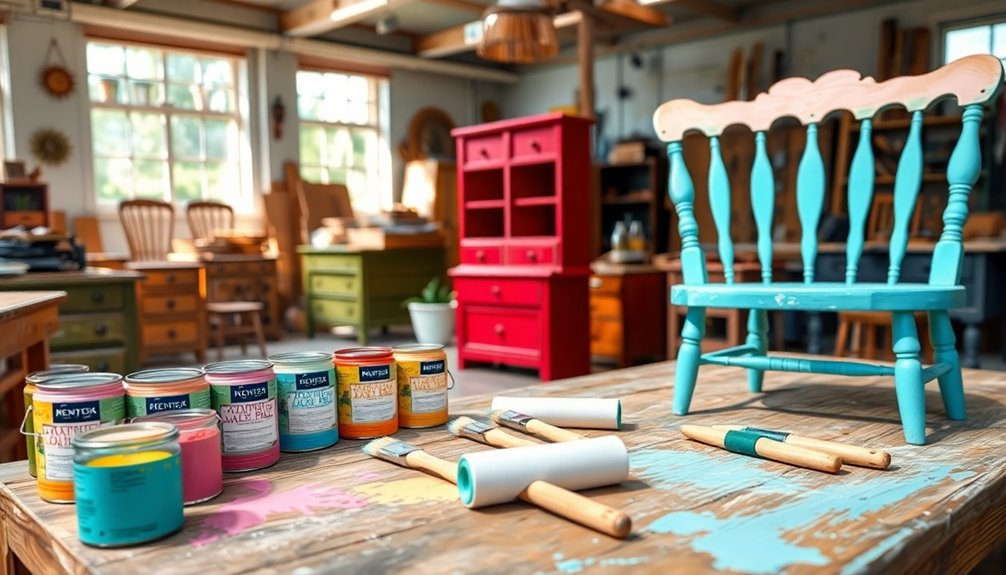
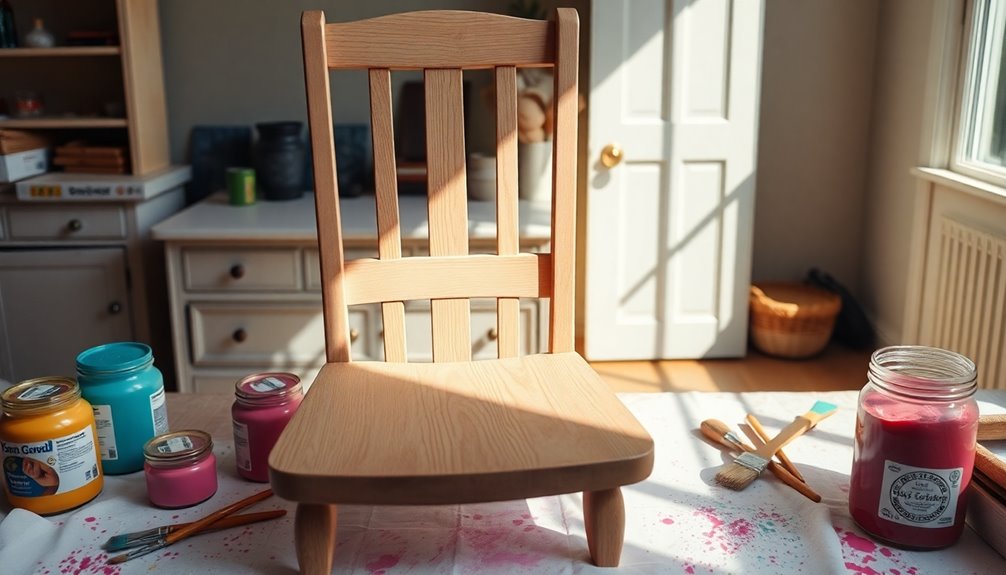
Upcycling your furniture is a budget-friendly way to give old pieces a new lease on life. Start by gathering essential tools like sandpaper, a high-quality paintbrush, and suitable paint. Clean your furniture thoroughly with sugar soap and sand the surfaces for better paint adhesion. Choose the right paint; chalk or latex paints are great for beginners. Apply thin, even coats, letting them dry between layers. Finish with a clear sealant to protect your work. By following these steps, you can create stunning furniture that reflects your style while saving money. You'll discover more helpful tips and techniques ahead.
Benefits of Upcycling Furniture
Upcycling furniture offers a wealth of benefits that can transform your living space without breaking the bank. It's a cost-effective alternative to buying new pieces, letting you refresh your home decor while saving up to 70% on furniture expenses.
By choosing to upcycle solid wood items, you can enjoy high-quality furniture at a fraction of the price of mass-produced options, making it a smart financial choice. Additionally, supporting sustainable businesses through upcycling encourages a socially responsible economy. Engaging in upcycling can also help you learn about effective financial management, as you discover ways to save money while enhancing your living space.
Engaging in upcycling not only saves you money but also contributes to environmental sustainability. By extending the life cycle of furniture, you considerably reduce landfill waste and minimize resource consumption.
Plus, upcycling provides a unique opportunity for personal expression. You can customize each piece to reflect your style, turning old items into something fresh and functional.
This creative outlet also has the potential to become a side hustle. Many individuals successfully sell their refurbished pieces for profit, combining passion with practicality. Additionally, upcycling furniture aligns with sustainable fashion practices, promoting a circular economy and reducing overall waste in the home decor industry.
Essential Tools and Materials
To achieve stunning results in your furniture upcycling projects, you'll need the right tools and materials at your disposal. Start by gathering essential tools for your task.
Preparation is key, so guarantee you have:
- Sandpaper or a sanding block for surface preparation
- A high-quality paintbrush and foam roller for smooth paint application
- Drop cloths to protect your workspace from spills and drips
Next, don't forget your cleaning supplies. Using sugar soap or a degreaser will remove dirt and grease, guaranteeing better paint adhesion. Additionally, utilizing expense tracking tools can help you stay organized and manage your budget more effectively. Tracking your expenses is essential because it can lead to improved financial management in your projects.
A good primer is also essential, especially for glossy or previously varnished wooden furniture, as it enhances paint durability and vibrancy.
Additionally, wood filler is critical for repairing any scratches or dents—this will help you achieve a smooth finish after sanding.
Finally, when it comes to paint, consider options like chalk or acrylic, as both offer excellent coverage and a variety of finishes to express your style. Furthermore, using expense management apps can help you keep track of your budget during your upcycling projects.
With these tools and materials in hand, you're ready to transform your furniture into something truly special!
Choosing the Right Paint

When you're upcycling furniture, choosing the right paint is essential for both appearance and durability.
You'll need to take into account the types of paint available, the importance of using primer, and how different finishes can affect your project's overall look. Additionally, incorporating personalized suggestions can help in selecting the best products tailored to your specific project needs. For instance, using automated savings tools can aid in budgeting for your painting supplies, ensuring you have the resources to complete your project without overspending. Regularly tracking your expenses can improve your financial management, which ultimately supports your financial goals for such projects.
Let's break down these key points to help you make the best choice for your furniture transformation.
Paint Types Overview
Choosing the right paint for your furniture project can greatly impact the final look and durability of your piece. You have several options to evaluate, each with its own benefits. Here are some popular choices:
- Chalk Paint: This is perfect for beginners, as it adheres well and requires minimal surface prep. However, it may chip easily, making it less ideal for high-traffic items.
- Latex Paint: Known for its versatility and durability, latex paint is available in various finishes. Cleanup is a breeze with soap and water, making it a top choice for many.
- Furniture-Specific Paints: Products like urethane and alkyd paints are specifically designed for furniture. They guarantee excellent adhesion and durability, essential for pieces you'll use regularly.
If you're looking for durability and longevity, think about using furniture-specific paints or latex options.
For an eco-friendly choice, look for low-VOC paints that minimize harmful emissions without compromising on quality.
Each paint type has its unique qualities, so reflect on how your furniture will be used to make the best choice for your project.
Primer Importance Explained
Understanding the importance of primer can make a significant difference in your furniture painting project. Applying a primer is essential for guaranteeing proper paint adhesion, especially on glossy or previously varnished surfaces. It creates a porous base for the paint to grip onto, leading to a smoother finish.
If you're working with light colors over dark finishes, using a primer can prevent bleed-through from stains or wood tannins. When you apply a high-quality primer, you might find that it reduces the number of paint coats you need. This not only saves you time but also cuts costs, making your project more budget-friendly.
Additionally, a well-chosen primer enhances the durability and longevity of your final paint job by providing a smooth and even surface. This minimizes the risk of chipping or peeling, which can be frustrating after all your hard work.
If you're dealing with engineered wood surfaces, be sure to pick a specialized bonding primer to guarantee that the paint adheres effectively. Once your primer is dry, you'll be ready to choose the right paint to use, setting the stage for a successful furniture transformation!
Finish Options Comparison
After applying primer, selecting the right paint finish can drastically affect the final appearance and durability of your upcycled furniture.
In your finish options comparison, consider the following types of paint:
- Chalk Paint: User-friendly and ideal for beginners, but it's less durable and can chip easily, making it less suitable for high-traffic items.
- Acrylic or Latex Paint: Offers a variety of finishes and good durability. A quart typically covers around 100 square feet, making it a practical choice.
- Finish Type: Matte, satin, and glossy finishes each provide different aesthetics. Satin, in particular, strikes a balance between durability and appearance.
In addition to choosing the right paint, don't overlook the importance of clear sealants.
Whether you opt for water-based or oil-based, these sealants protect your painted furniture and enhance durability, helping prolong its life.
For indoor projects, low-VOC paint options are advisable to minimize harmful emissions while still delivering quality finishes.
Step-by-Step Upcycling Process
To kick off your upcycling journey, you'll want to focus on essential preparation steps that set the foundation for a successful project. Using tools like price comparison sites can significantly help you save on materials. Additionally, utilizing Google Shopping can enhance your search for the best prices on painting supplies. Once your piece is ready, we'll explore effective painting techniques to achieve a professional finish. Finally, you'll learn about the final sealing process to protect your newly transformed furniture. Additionally, using price comparison tools can help you find the best deals on supplies, ensuring you stay within your budget.
Essential Preparation Steps
Preparing your furniture for upcycling is essential to achieving a beautiful and lasting result. Start by choosing a suitable furniture piece and assess its condition. Verify it's structurally sound and made of a material that can be easily upcycled, like solid wood or quality engineered wood.
Next, follow these essential preparation steps:
- Clean the surface thoroughly with sugar soap to remove dust, grease, and old finishes.
- Lightly sand the furniture using sandpaper or a sanding block, focusing on areas with existing finishes for better paint adherence.
- Fill any dents or holes with wood filler, allowing it to dry completely before sanding it smooth.
If your furniture has a glossy surface or is made from manufactured wood, apply a primer. This step enhances the durability of the paint you choose and verifies a vibrant color finish.
Painting Techniques Overview
Once you've completed the necessary preparation steps, it's time to focus on the painting techniques that will bring your upcycled furniture to life.
Start by thoroughly cleaning your piece with sugar soap to eliminate dirt and grease. This guarantees proper paint adhesion.
Next, sand the surface of your solid wood furniture to remove any previous finishes, creating a smooth texture. Don't forget to dust off any debris afterward.
Apply a primer suitable for the material. This step is vital for enhancing paint adhesion and preventing bleed-through, especially on darker surfaces.
For the actual painting, use high-quality paintbrushes or foam rollers. This will help you achieve an even coverage across the entire piece. Apply thin, even coats of paint, allowing each layer to dry for 1-2 hours before adding more.
Finally, finish your project with a clear sealant or top coat. This protects your newly painted surface from scratches and wear.
Remember to let it cure fully before using the furniture, guaranteeing your efforts result in a durable, beautiful piece.
With these painting techniques overview, you're well on your way to transforming your furniture!
Final Sealing Process
After your paint has fully dried, it's time to protect your hard work with a clear sealant or topcoat. This step is essential for ensuring the durability and longevity of your upcycled furniture. Here's how to do it effectively:
- Choose your sealant: Decide between water-based or oil-based options based on the finish you want. Water-based sealants dry faster and are easier to clean up.
- Apply evenly: Use a high-quality brush or foam roller to apply the sealant. Make sure to cover all areas thoroughly, which prevents peeling or flaking.
- Cure properly: Allow the sealant to cure according to the manufacturer's instructions. This can take anywhere from a few hours to several days, so be patient before using the furniture.
Regularly inspect your painted furniture and touch up any worn areas to maintain its appearance and protection over time.
Tips for Successful Painting

Painting furniture can transform worn-out pieces into stunning focal points in your home. To guarantee your project is a success, start by thoroughly cleaning the furniture with sugar soap. This removes dirt and grease, allowing the paint to adhere better. Additionally, having a clear budget helps ensure that you stay on track with your long-term financial objectives.
If your piece is varnished, lightly sand the surface with sandpaper or a sanding block. This creates a rough texture for the paint to grip, which is essential for a smooth finish.
If your furniture has a glossy finish or is made of engineered wood, don't skip the primer. Applying a high-quality primer prevents stains and improves the paint's durability.
Next, choose a furniture-specific paint, like acrylic or chalk paint. Apply it in thin, even coats, making sure to allow adequate drying time between each layer to avoid drips. Additionally, consider using budgeting apps to track any expenses incurred during your furniture transformation project.
Sealing and Enhancing Durability
To guarantee your newly painted furniture stands the test of time, sealing it with a clear topcoat is essential. This vital step enhances the durability of your finish, protecting it against scratches and everyday wear.
Choosing the right sealant can make a significant difference, especially for high-traffic pieces like coffee tables and dining tables.
Here are a few tips to keep in mind when sealing your furniture:
- Select the right sealant: Water-based polyurethane is easier to clean up and dries quicker than oil-based options, making it ideal for furniture projects.
- Apply multiple coats: For maximum protection, especially on frequently used surfaces, consider applying multiple coats of sealant.
- Allow proper curing time: Let your sealant cure fully for 24 to 48 hours to prevent damage and guarantee a long-lasting finish. Additionally, using a sealant can help you set financial goals by minimizing future repair costs associated with damaged furniture.
Additional Resources and Ideas

You'll often find that exploring additional resources can greatly enhance your upcycling experience. Start by diving into online platforms like Pinterest and YouTube, where you can discover countless step-by-step tutorials tailored for beginners.
These resources provide invaluable tips on how to paint furniture effectively, helping you avoid any additional cost that might arise from mistakes.
Don't overlook local thrift stores and flea markets, either. They're treasure troves for affordable second-hand furniture pieces just waiting for a new life, often available at a fraction of the cost of new items.
Joining online communities or social media groups focused on DIY and upcycling can also be beneficial. You'll get tips, motivation, and the chance to share your progress with like-minded individuals.
Furthermore, consider utilizing free resources such as library books or community workshops that offer hands-on sessions about furniture painting techniques.
Finally, take advantage of discount seasons at home improvement stores to stock up on essential supplies like paints and tools.
With these resources at your fingertips, you'll be well-equipped to transform your furniture without breaking the bank!
Conclusion
Upcycling your furniture is like breathing new life into a tired old friend; it transforms the ordinary into something extraordinary. By following the steps and tips shared in this guide, you can create beautiful, personalized pieces without breaking the bank. Embrace your creativity and enjoy the process, knowing that each brushstroke adds character and charm. So grab your tools, release your imagination, and let your furniture reflect your unique style! Happy upcycling!


