Dry ice usually lasts around 18-24 hours in a cooler, but that can change based on factors like cooler insulation and ambient temperature. High-quality coolers can stretch that time even further. To make the most out of your dry ice, avoid breaking it into smaller pieces, keep the cooler sealed, and pre-chill it before packing. If you want to know more tips to maximize dry ice efficiency, there’s plenty more to explore!
How Long Does Dry Ice Last in a Cooler?
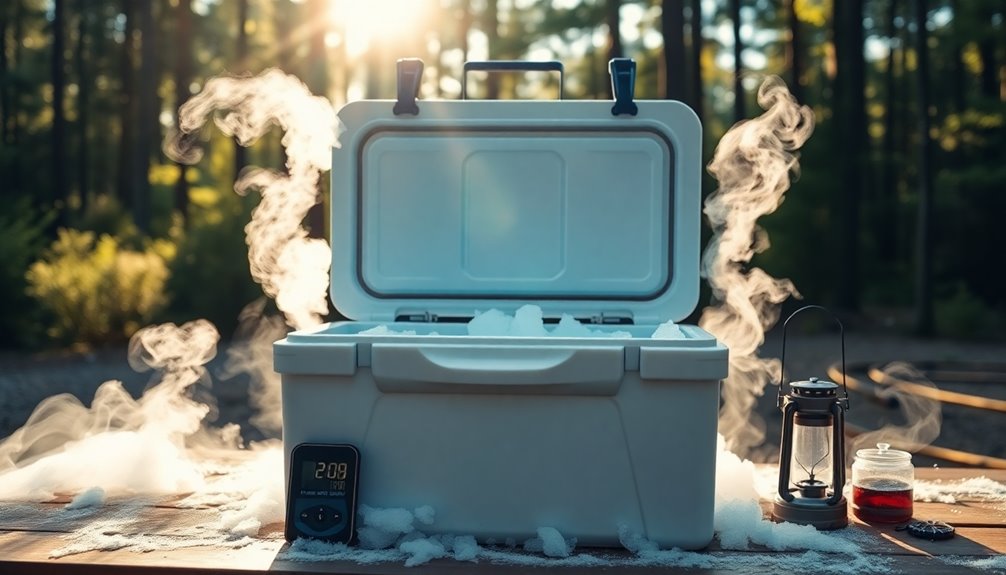
When you’re camping, knowing how long dry ice lasts in a cooler can make all the difference in keeping your food fresh. Typically, dry ice lasts about 18-24 hours in an insulated cooler, depending on the cooler’s quality and insulation.
For your trip, using 5-10 pounds of dry ice for camping is ideal, but adjust this based on your cooler size and the ambient temperature. Remember, larger blocks of dry ice sublimate slower than smaller pieces, extending their lifespan.
To maximize how long does dry ice last, keep the cooler closed and avoid direct contact with water, which speeds up sublimation. Proper ventilation is essential, too, to prevent pressure buildup from the CO2 gas released during sublimation. Additionally, using a well-insulated cooler with an open lid can significantly enhance the lifespan of your dry ice.
Factors Affecting Dry Ice Longevity
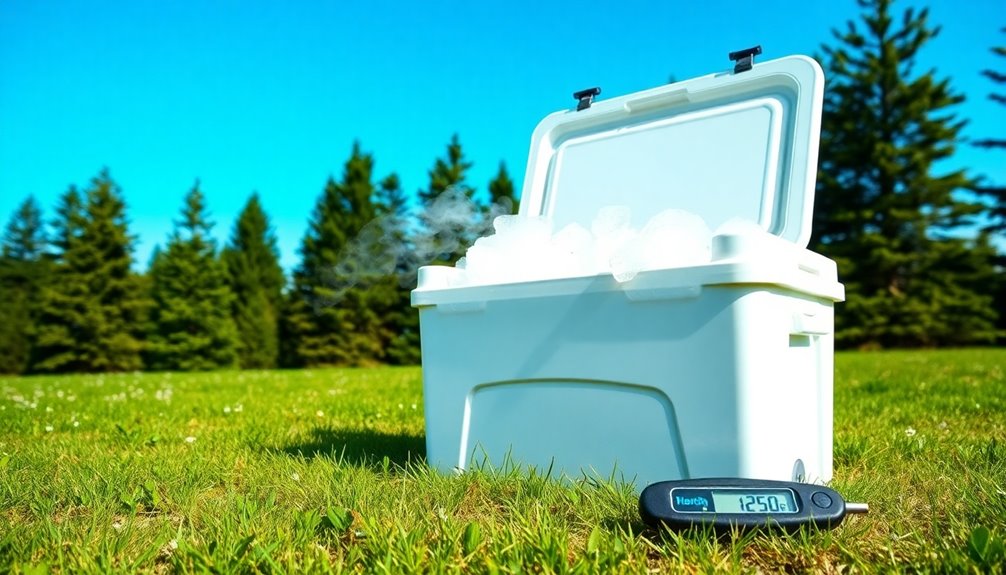
When using dry ice in your cooler, several factors can impact how long it lasts. The quality of your cooler’s insulation, the size of the dry ice block, and the ambient temperature all play vital roles. Additionally, ensuring proper insulation techniques can significantly enhance the cooler’s effectiveness in maintaining low temperatures.
Cooler Insulation Quality
The quality of cooler insulation plays a crucial role in how long your dry ice lasts during your camping trip. High-end coolers with superior insulation can keep ice for 4 to 4.5 days, while standard models typically manage only about two days.
Thicker walls and closed-cell foam in coolers greatly reduce the sublimation rates of dry ice by minimizing temperature transfer. To enhance efficiency, pre-chill your cooler before adding dry ice, starting at a lower ambient temperature.
Keeping the cooler off hot surfaces and in shaded areas further extends dry ice longevity, as heat accelerates sublimation. Finally, properly sealing the cooler and limiting lid openings help maintain the internal temperature, ensuring you can maximize the effectiveness of your dry ice.
Block Size Selection
Selecting the right block size of dry ice is essential for maximizing its longevity during your camping trip.
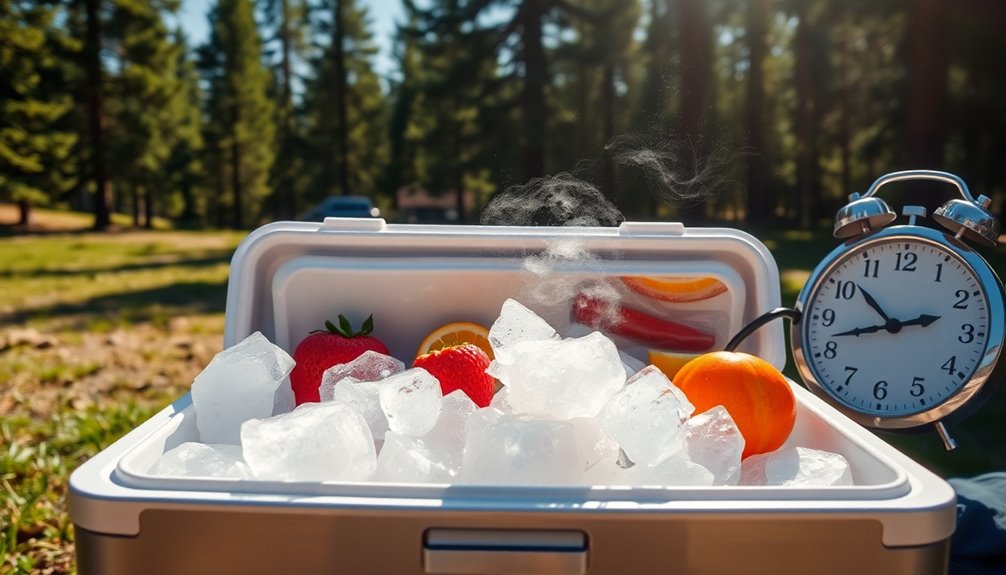
Larger blocks of dry ice, like a five-pound intact block, can last between 18 to 24 hours in a well-insulated cooler. This is because they’ve reduced surface area exposure to warmer air, slowing down sublimation.
If you break dry ice into smaller pieces, you increase the surface area, which accelerates the sublimation process and depletes the amount of dry ice you have much faster.
To optimize the longevity of your block ice, avoid breaking it apart and consider proper storage techniques, like lining your cooler with aluminum foil for better insulation.
Ambient Temperature Impact
Although dry ice is a fantastic cooling agent for your camping trips, its longevity is highly dependent on ambient temperatures.
The ambient temperature impact can’t be underestimated; higher temperatures cause the ice to sublimate faster, drastically reducing how long the ice lasts. In cooler environments, you can expect it to last up to 24 hours in a sealed cooler, while warmer conditions may cut that down to just 3-5 hours outdoors.
To combat this, invest in a high-quality cooler with proper insulation. Also, using larger blocks of dry ice instead of smaller pieces can help maintain cooler temperatures longer.
Finally, keep an eye on the temperature and adjust your dry ice amount accordingly for maximum effectiveness during your adventure.
Best Practices for Using Dry Ice While Camping
When you’re camping, using dry ice can be a game changer for keeping your food and drinks cold, provided you follow a few best practices.
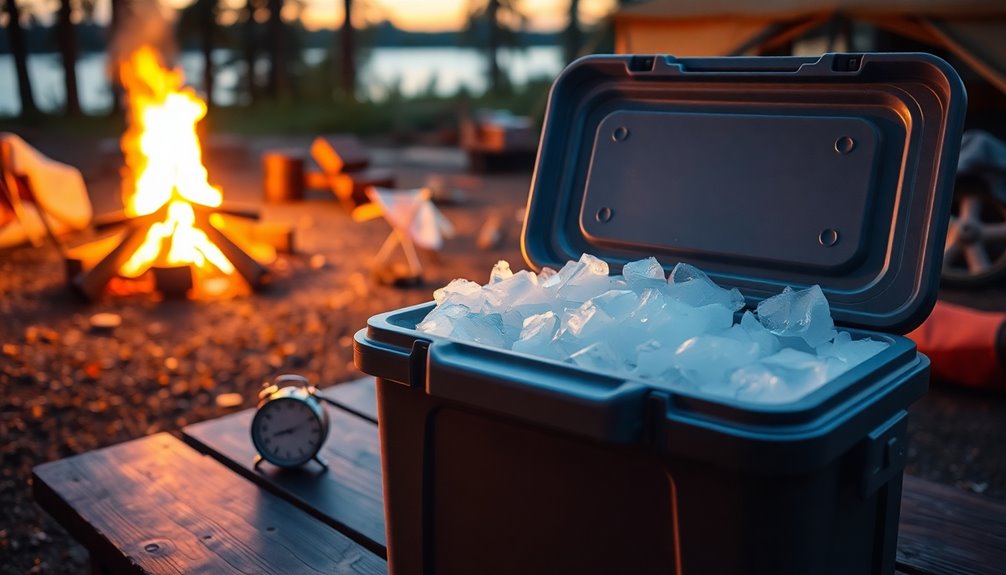
Start with a pre-chilled insulated cooler; this can make your dry ice last considerably longer, extending its lifespan from hours to several days. Use 5-10 pounds of dry ice depending on your cooler’s size and the ambient temperature.
Avoid breaking it into smaller pieces, as larger blocks sublimate more slowly, lasting up to 24 hours for a five-pound block. Always guarantee proper ventilation in your cooler to release CO2 gas safely. Additionally, proper storage can help maximize the lifespan of dry ice during your camping trip.
Finally, consider combining dry ice with regular ice, placing dry ice on top to minimize moisture and maximize cooling duration.
How to Prepare Your Cooler for Dry Ice
To guarantee your cooler is ready for dry ice, start by pre-chilling it in a cold environment for several hours. This enhances its insulation capabilities and helps keep the dry ice effective longer.
If your cooler isn’t a high-quality insulated model, line it with aluminum foil to reflect heat away.
When adding dry ice, avoid placing it directly on food or beverages; instead, wrap it in newspaper and place it on top of your items to maximize cooling efficiency.
Ascertain proper ventilation by occasionally opening the drain plug or leaving space for gas escape, as sealed containers can build up pressure.
Keep the cooler lid closed as much as possible to maintain low temperatures and reduce warm air exposure. Additionally, utilizing mindful spending habits can allow you to allocate funds for quality camping gear, ensuring a better overall experience.
Combining Dry Ice With Regular Ice for Maximum Effect
To get the most out of your cooler, combining dry ice with regular ice is key. Start by layering dry ice on top of the regular ice and keep an eye on the melting progress to adjust your ratios as needed. This approach not only maximizes cooling efficiency but also helps manage moisture levels effectively. Additionally, using expense tracking apps can help you save money on your camping trip by keeping track of your expenses efficiently.
Optimal Ice Ratios
Combining dry ice with regular ice can elevate your cooling game while camping, ensuring your food stays fresh for longer.
A solid ratio to aim for is 5-10 pounds of dry ice paired with regular ice, perfect for trips lasting a few days. Adjust this based on your cooler’s size and insulation.
For best results, place the dry ice on top of the regular ice. This way, the cold air sinks, keeping the regular ice from melting too quickly.
Using larger blocks of regular ice is also helpful, as it reduces moisture from melting, preventing soggy food.
Keep an eye on the melting rates of both types of ice to tweak your ratios and maintain ideal cooling throughout your adventure.
Layering Techniques Explained
Layering dry ice and regular ice can dramatically enhance your cooler’s efficiency while camping. To maximize the cooling effect, place the dry ice on top of the regular ice. This technique helps keep the regular ice from melting too quickly while ensuring you maintain a low overall temperature.
A good rule of thumb is to use 5-10 pounds of dry ice for trips lasting a few days, adjusting based on your cooler size and the temperatures outside. Remember that regular ice absorbs moisture from melting dry ice, so keep an eye on the melting process to adjust the dry ice quantity if needed.
Combining these layering techniques not only extends cooling duration but also balances temperatures, protecting your food items.
Monitoring Melting Progress
How can you guarantee your cooler remains efficient while camping? By combining dry ice with regular ice, you can maximize cooling duration and keep your perishables fresh. Here’s how to effectively monitor melting progress:
- Use 5-10 pounds of dry ice atop regular ice for best results.
- Check the regular ice regularly; it’ll absorb moisture from melting dry ice.
- Keep an eye on the melting progress to know when to replenish the dry ice.
- Avoid direct contact between melting ice and dry ice to slow sublimation.
- Maintain a consistent temperature by sealing your cooler tightly.
Ventilation Tips to Prevent CO2 Buildup
While using dry ice in a cooler can keep your food and drinks icy cold, proper ventilation is vital to prevent dangerous carbon dioxide (CO2) buildup.
Always open the cooler’s drain plug; this allows gas to escape without letting warm air in. Avoid completely sealing your cooler, as the pressure from sublimating CO2 could cause it to burst.
Regularly check the ventilation, especially during long trips, to guarantee safe gas escape and maintain air quality inside. Keep your cooler in a well-ventilated area and steer clear of airtight compartments, like your vehicle’s trunk. Additionally, ensure that proper ventilation is maintained to help reduce moisture buildup that can lead to other issues.
Calculating the Right Amount of Dry Ice for Your Trip
Calculating the right amount of dry ice for your camping trip is essential for keeping your food and drinks cold. Here are some key factors to evaluate:
- Use 5-10 pounds of dry ice for a few days of camping.
- Assess your ice chest size and the quantity of food and beverages you’ll store.
- Adjust your dry ice amount for longer trips based on ambient temperature and cooler insulation.
- If you plan to replenish, estimate the sublimation rate; a 20-25 pound block can yield about 15 pounds of usable ice.
- Remember, larger blocks sublimate slower than smaller pieces, providing longer-lasting cooling.
- Consider vacuum sealing your food to extend shelf life, ensuring that items remain fresh and safe to eat while camping.
Types of Dry Ice: Pellets vs. Slabs
When it comes to dry ice, you have two primary options: pellets and slabs.
Pellets are smaller and easier to handle, making them a great choice for packing into tight spaces within your cooler. They’re convenient for short trips where you need quick cooling.
Pellets are compact and user-friendly, perfect for fitting into tight cooler spaces and ideal for short cooling needs.
On the other hand, slabs provide longer-lasting cooling because they sublimate more slowly. If you’re planning an extended camping trip, slabs might be your best bet, even though they take up more space.
Ultimately, your choice should depend on the size of your cooler—larger coolers can accommodate slabs better, while smaller ones are ideal for pellets. Additionally, consider packing budget meals to reduce food costs while ensuring you have sufficient supplies for your journey.
Consider your specific needs for handling and cooling duration to decide which form works best for you.
Safety Precautions When Handling Dry Ice
Handling dry ice requires caution, as its extremely low temperature can pose serious risks.
To guarantee safety while handling dry ice, follow these essential precautions:
- Always wear gloves or use tongs to prevent frostbite from direct contact.
- Ensure proper ventilation where dry ice is used or stored to avoid CO2 buildup.
- Never place dry ice in airtight containers to prevent potential explosions.
- Keep dry ice out of reach of children and pets to avoid ingestion hazards.
- Monitor the cooler’s ventilation to check for gas accumulation and minimize lid closure.
- Be mindful of using airtight containers when freezing food items to prevent air exposure.
Signs That Your Dry Ice Is Sublimating
Dry ice is a fascinating substance, but knowing the signs of sublimation is crucial to keeping your cooler effective.
One clear indicator is visible fog or mist, which appears as the dry ice sublimates, releasing gas into the air. If you notice the dry ice starting to look smaller or developing noticeable surface frost, that’s a strong sign that it’s losing its volume and cooling capacity.
Regularly checking the cooler’s temperature and the condition of the dry ice can help you gauge how much longer it’ll last before it completely sublimates. Additionally, using stackable baskets can help maximize space in your cooler, ensuring that the dry ice lasts longer by maintaining a more consistent temperature.
Troubleshooting Common Dry Ice Issues
If you’re experiencing issues with dry ice in your cooler, it’s essential to check for two main factors: insulation and ventilation.
Insufficient insulation can lead to rapid sublimation, while improper ventilation can create dangerous pressure from CO2 gas.
Insufficient Insulation Impact
While enjoying your camping trip, you might find that insufficient insulation in your cooler can greatly impact how long your dry ice lasts.
If your cooler isn’t well-insulated, dry ice can sublimate much faster, often lasting only 3-5 hours instead of the ideal 18-24 hours.
To maximize its lifespan, make sure to:
- Wrap dry ice in newspaper for extra protection.
- Pre-chill your cooler to minimize temperature fluctuations.
- Keep the cooler off hot surfaces and out of direct sunlight.
- Regularly check and seal the cooler to reduce air exchange.
- Consider using a well-insulated model for longer durations.
Improper Ventilation Risks
Insufficient insulation isn’t the only concern when using dry ice in a cooler; improper ventilation can also lead to serious issues.
When dry ice is stored in a cooler, it sublimates into carbon dioxide gas. If the cooler is sealed tightly, pressure can build up, potentially causing it to burst. To avoid this, use a cooler with a drain plug left slightly open, allowing gas to escape while maintaining cold temperatures.
Steer clear of airtight containers; instead, opt for insulated coolers that permit gas release. Keep an eye on your cooler; excessive condensation or frost buildup indicates insufficient ventilation, which can shorten dry ice’s lifespan.
Always store dry ice in well-ventilated areas to prevent suffocation hazards.
Final Thoughts on Using Dry Ice for Camping
Using dry ice in your cooler can greatly enhance your camping experience, especially when it comes to keeping food and drinks cold.
To make the most of its cooling power and guarantee it can keep last longer, consider these tips:
- Use a pre-chilled cooler for better insulation.
- Opt for a five-pound block for short trips.
- Avoid breaking the dry ice into smaller pieces.
- Ensure proper ventilation to prevent CO2 buildup.
- Combine dry ice with regular ice for best cooling.
Conclusion
To sum up, using dry ice in your cooler can keep your food and drinks icy for up to 24-48 hours, depending on conditions. Did you know that dry ice is about 2.5 times colder than regular ice? By following the best practices and safety precautions we’ve discussed, you can maximize its effectiveness while camping. So, gear up, pack that cooler smartly, and enjoy your outdoor adventures without worrying about your perishables spoiling!