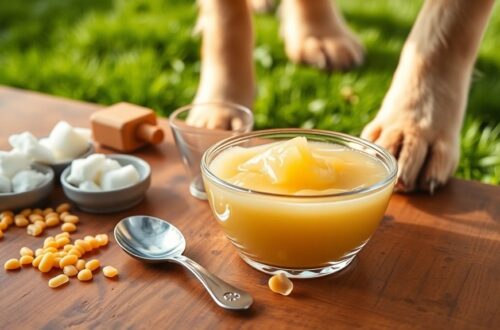
Making your own paw wax is a simple and budget-friendly way to shield your dog’s paws from winter’s harsh elements. Combine beeswax, coconut oil, shea butter, and olive oil for a protective barrier that hydrates and soothes. Just verify your dog’s paws are clean before application. Apply a small amount for maximum benefits, especially before outdoor adventures. With these tips, you can keep your pet’s paws safe and healthy all winter long, plus learn more about paw care essentials.
Why Paw Care Is Essential in Winter
When the temperature drops and snow blankets the ground, you mightn’t think about your pet’s paws, but they need care just as much as any other part of their body.
Winter hazards like ice, salt, and chemicals can wreak havoc on your furry friend’s sensitive paws. These elements can cause irritation, cracking, and even injury.
Your pet’s paw sensitivity increases in colder weather, making it essential to check their pads regularly for any signs of damage. If you notice any redness or cracks, it’s a sign they need extra protection.
Keeping their paws clean and moisturized can help prevent issues and keep them comfortable during your winter walks. Additionally, just as proper ventilation is crucial for preventing mold growth in washing machines, ensuring your pet’s paws are free from irritants can prevent further complications.
Don’t let winter hazards harm your beloved companion—prioritize their paw care!
Ingredients You’ll Need for DIY Paw Wax
To make your own paw wax, you’ll need a few key ingredients that are both effective and safe.
Start by choosing essential natural ingredients, like beeswax, which provides a solid base, and consider adding essential oils for extra benefits. Ensure that you include non-toxic ingredients to guarantee the safety of your pet while providing protection.
Let’s explore how to select the best options for your DIY paw wax.
Essential Natural Ingredients
Creating your own paw wax is easier than you might think, especially when you gather the right natural ingredients.
These essential components not only protect your pet’s paws but also promote paw health with natural moisturizers. Here’s what you’ll need:
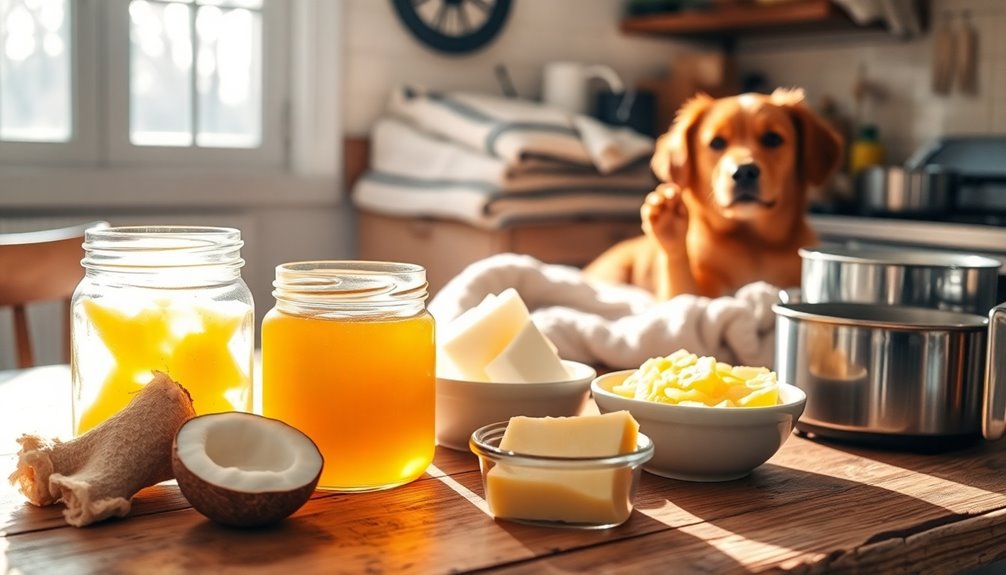
- Coconut oil: A fantastic natural moisturizer that hydrates and soothes.
- Shea butter: Rich in vitamins, it helps to soften and protect.
- Olive oil: Adds extra moisture and nourishment to keep paws healthy.
- Vitamin E oil: Acts as a natural preservative and promotes healing.
- Essential oils (like lavender): Provide a pleasant scent and have soothing properties.
With these ingredients, you’ll create a paw wax that’s effective and safe for your furry friend.
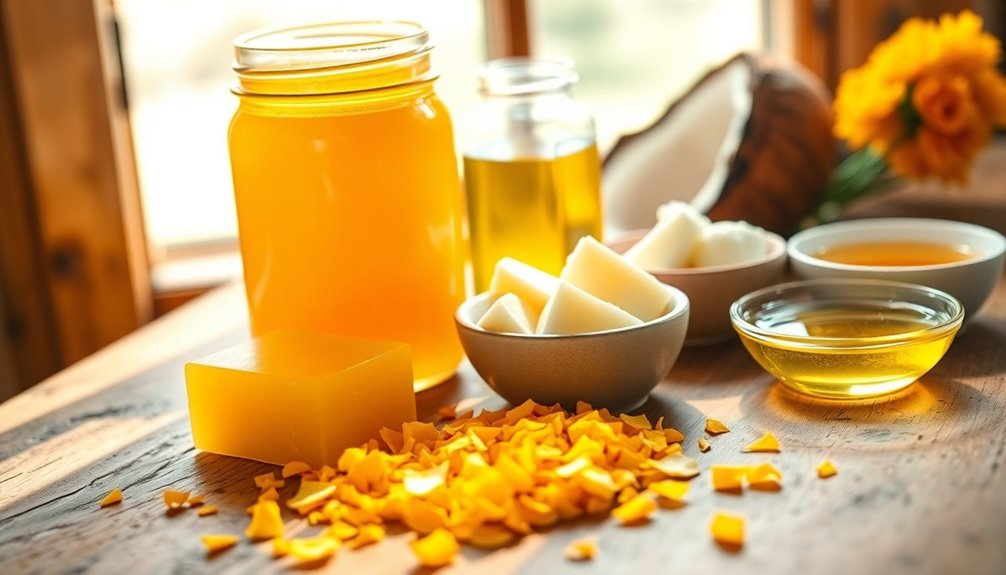
Choosing Beeswax Options
While selecting the right beeswax for your DIY paw wax, you’ll want to contemplate the quality and source.
There are various beeswax types available, including yellow and white, with yellow being more natural and less processed. When sourcing beeswax, look for local suppliers or organic options to guarantee you’re using a product free from harmful additives.
Checking for sustainable practices is also a great idea, as it supports eco-friendly beekeeping. You might find beeswax in blocks, pastilles, or pellets, so choose what’s easiest for you to work with.
Adding Essential Oils
Once you’ve chosen the right beeswax, it’s time to enhance your paw wax with essential oils. Adding these oils not only boosts the paw wax’s scent but also provides various essential oil benefits, like soothing and protecting your pup’s paws.
Make sure to select safe oils that are pet-friendly. Here are some great options to contemplate:
- Lavender: Calming and soothing for irritated skin.
- Coconut: Moisturizes and nourishes dry paws.
- Peppermint: Revitalizing and invigorating for your pet.
- Chamomile: Anti-inflammatory, great for sensitive skin.
- Tea Tree: Antimicrobial, helps prevent infections.
Mix a few drops into your wax for a blend that keeps your furry friend’s paws happy and healthy all winter long!
Step-by-Step Guide to Making Your Own Paw Wax

Making your own paw wax can be a rewarding experience, especially when you see how much it benefits your furry friend.
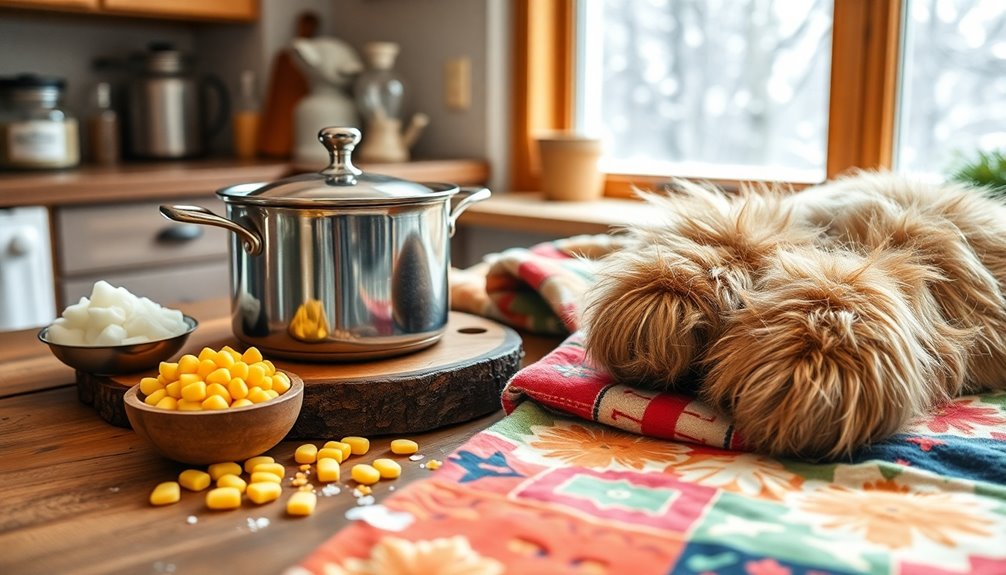
Start by gathering your ingredients: beeswax, coconut oil, and olive oil. Measure out 1 part beeswax to 2 parts oils.
Melt the beeswax in a double boiler, then slowly mix in the oils until fully combined. Stir well to guarantee an even consistency.
Once melted, pour the mixture into small containers and let it cool completely.
Pour the melted mixture into small containers and allow it to cool completely for optimal results.
This paw wax provides essential paw care, creating a barrier against winter hazards like ice and salt.
Apply a thin layer to your pet’s paws before walks to keep them safe and comfortable throughout the chilly season.
Enjoy creating this simple yet effective solution! Additionally, using homemade solutions like this can often be more budget-friendly compared to expense tracking apps that freelancers might typically use.
Tips for Storing Your Homemade Paw Wax
Properly storing your homemade paw wax can extend its shelf life and maintain its effectiveness. Follow these tips to guarantee your wax stays fresh and ready for use:
- Use airtight storage containers to prevent moisture and contamination.
- Keep your paw wax in a cool, dark place, away from direct sunlight.
- Label containers with the date you made the wax to track its shelf life.
- Consider using small containers for easy access and to minimize exposure to air.
- If you notice any changes in color or smell, discard the wax immediately.
- For added longevity, consider using eco-friendly practices that can help reduce waste and ensure the quality of your paw wax.
How to Apply Paw Wax for Maximum Protection
Storing your homemade paw wax correctly sets the stage for effective use, so let’s explore how to apply it for maximum protection.
Start by ensuring your dog’s paws are clean and dry; dirt can hinder wax effectiveness.
Use your fingers or a small spatula to scoop out a dime-sized amount of wax. Gently massage the wax into your dog’s paw pads and between their toes, paying special attention to any cracks or rough spots.
Apply the wax about 30 minutes before your outing to let it absorb. If you’re heading out in extremely cold conditions, reapply as needed. Additionally, consider using a lightweight styling gel to provide extra protection for your pet’s paws against harsh winter elements.
Signs Your Dog Needs Paw Wax?
How can you tell if your dog needs paw wax? It’s important to watch for certain paw sensitivity signs, especially during winter. If your dog experiences winter paw discomfort, it’s time to think about applying paw wax.
Here are some signs to look for:
- Your dog frequently lifts their paws off the ground.
- They hesitate to walk on cold surfaces, like ice or snow.
- You notice cracks or redness in their paw pads.
- They’re excessively licking or chewing at their paws.
- Your dog whines or shows signs of pain when walking.
Additionally, consider that just like we enjoy affordable entertainment options during winter, your dog also deserves comfort and protection. Pay attention to these signs to keep your furry friend comfortable and protected during the chilly months!
Alternatives to Paw Wax: What You Should Know
When it comes to protecting your dog’s paws, there are several alternatives to paw wax that you should consider.
You might find natural ingredient options, DIY recipes, or even commercial products that suit your needs. Additionally, it’s important to understand legal obligations regarding any products you choose that may have specific regulations.
Let’s explore these choices to help you make the best decision for your furry friend.
Natural Ingredients Options
While paw wax can be effective, several natural alternatives can keep your pup’s paws protected and healthy. These non-toxic options are easy to source and can be just as effective in shielding against harsh winter elements.
Consider the following ingredients:
- Coconut Oil: Moisturizes and protects against ice and salt.
- Beeswax: Forms a barrier and helps retain moisture.
- Olive Oil: Nourishes and softens paw pads.
- Vitamin E: Heals and protects from cracking.
- Shea Butter: Provides deep hydration and protection.
When ingredient sourcing, always opt for high-quality, organic products to guarantee your furry friend’s safety.
DIY Alternatives Overview
If you’re looking for effective alternatives to commercial paw wax, you’ll find that several DIY options can provide the same protective benefits.
One popular choice is a DIY paw balm made from natural ingredients like beeswax, coconut oil, and shea butter. These ingredients not only help create a protective barrier but also serve as natural moisturizers to soothe your pet’s paws. You can customize the balm by adding essential oils like lavender for added healing properties.
Another option is using a simple blend of olive oil and vitamin E, which hydrates and protects without any fuss.
These alternatives are easy to make and offer a frugal way to keep your furry friend’s paws safe during winter.
Commercial Products Comparison
Understanding the available commercial paw wax options can help you make an informed choice for your pet. While DIY paw wax is great, you might find commercial brands appealing for convenience.
Here are some key points to reflect on:
- Product Effectiveness: Check how well each product protects against ice and salt.
- Price Comparison: Compare prices to find an option that fits your budget without sacrificing quality.
- Ingredient Analysis: Look for natural ingredients to avoid potential irritants.
- User Reviews: Read feedback from other pet owners to gauge satisfaction and performance.
- Safety Considerations: Verify the product is safe for your pet and doesn’t contain harmful chemicals.
Taking these factors into account will lead you to the best choice for your furry friend’s paw protection.
Common Mistakes to Avoid When Making Paw Wax
When you’re making paw wax, it’s easy to overlook a few key details that can lead to disappointing results. One common misconception is that all oils are suitable for paw wax; in reality, some can irritate your pet’s skin. Always choose safe, pet-friendly oils.
Another mistake isn’t measuring ingredients accurately. This can affect the texture and effectiveness of your wax. Be cautious about using too much beeswax, as it can make the mixture too hard.
Additionally, don’t skip the cooling process—letting your wax cool too quickly can create an uneven consistency.
Finally, always consider safety concerns; verify all your materials are clean and free from harmful substances to protect your furry friend’s paws. Ensuring your wax is made with safe materials is essential for protecting your pet’s health.
Benefits of Using Natural Ingredients for Paw Care
Using natural ingredients for paw care not only guarantees your pet’s safety but also nourishes their paws effectively. By opting for natural ingredients, you reap several natural benefits that conventional products may lack.
Plus, ingredient sourcing is straightforward, making it easy to create paw care solutions at home.
- Moisturization: Natural oils hydrate and soothe cracked pads.
- Safety: No harmful chemicals mean it’s safe if ingested.
- Eco-friendly: Sustainable ingredients reduce your carbon pawprint.
- Customizable: Tailor the formula to your pet’s specific needs.
- Cost-effective: Making your own paw wax saves money in the long run.
In addition, using natural ingredients can enhance the overall health of your pet’s paws, just as it does in products like Fyle and Expensify, which prioritize safety and effectiveness.
With these advantages, you can confidently care for your furry friend’s paws this winter!
Conclusion
So, there you have it: your DIY paw wax is ready to save your pup’s paws from winter’s icy grip. Who knew you could be a pet care wizard without breaking the bank? Forget pricey store-bought options—your dog doesn’t need that kind of fancy pampering! With your homemade concoction, you’ll be the envy of the neighborhood, or at least, your dog might think you’re a genius. Now go forth and wax those paws like the true pet care hero you are!