Making your own DIY honey lip balm is a smart way to save money while using natural ingredients. You’ll avoid harmful chemicals and tailor the balm to your preferences, ensuring it’s both effective and safe. With just a few essential ingredients like beeswax, coconut oil, and honey, you can create a nourishing product at home. Plus, personalizing it as a gift adds a special touch. Stick around to discover more tips and variations for your lip balm!
Why Choose DIY Honey Lip Balm?
When it comes to lip care, choosing DIY honey lip balm offers several advantages over store-bought options. First, you get to create a product that’s tailored to your preferences, avoiding unnecessary additives and chemicals.
Plus, you can explore natural alternatives like beeswax and essential oils, ensuring your lips stay healthy and hydrated.
It’s also a budget-friendly solution; making your own lip balm can save you money in the long run. Instead of spending on expensive brands, you can whip up a batch at home with simple ingredients. This not only gives you control over what you apply but also promotes sustainability and exemplifies frugal mindset practices that prioritize needs over wants.
Benefits of Using Natural Ingredients
Using natural ingredients in your DIY honey lip balm not only enhances the product’s effectiveness but also guarantees safety for your skin.
You’ll enjoy numerous natural benefits, like deep skin nourishment and hydration without harmful chemicals. By choosing eco-friendly options, you support sustainable ingredient sourcing, contributing to better environmental practices.
Experience deep nourishment and hydration with eco-friendly ingredients that promote both your health and the planet’s well-being.
This mindful approach raises allergen awareness, helping you avoid irritants that can come from synthetic additives. Plus, DIY lip balm offers cost efficiency, allowing you to create quality skincare without breaking the bank.
Embracing holistic skincare through natural ingredients means you’re prioritizing your health and the planet’s well-being. With these practices, you can create a nourishing balm that’s good for you and the environment. Additionally, adopting frugal living strategies can further enhance your financial savings while embracing a healthier lifestyle.
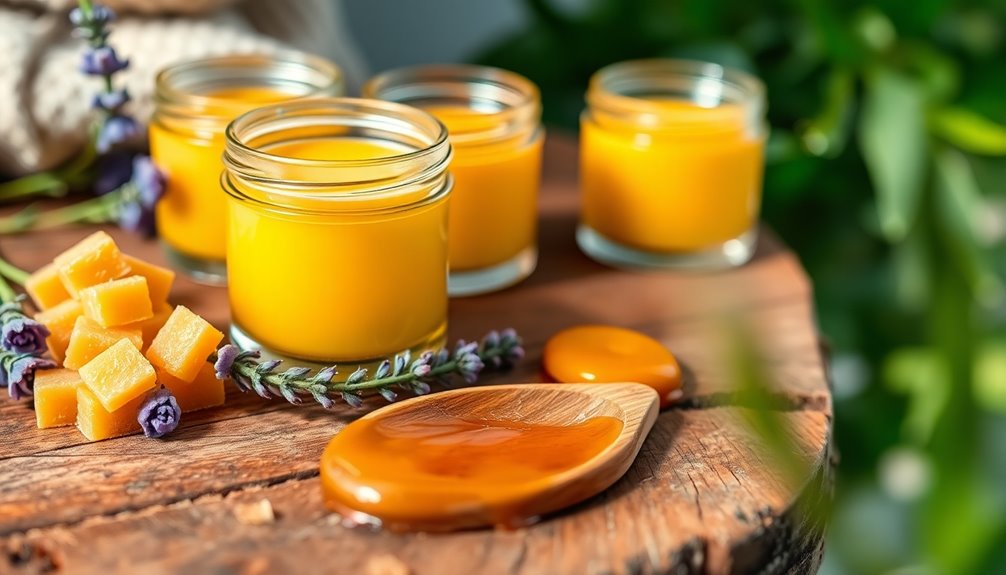
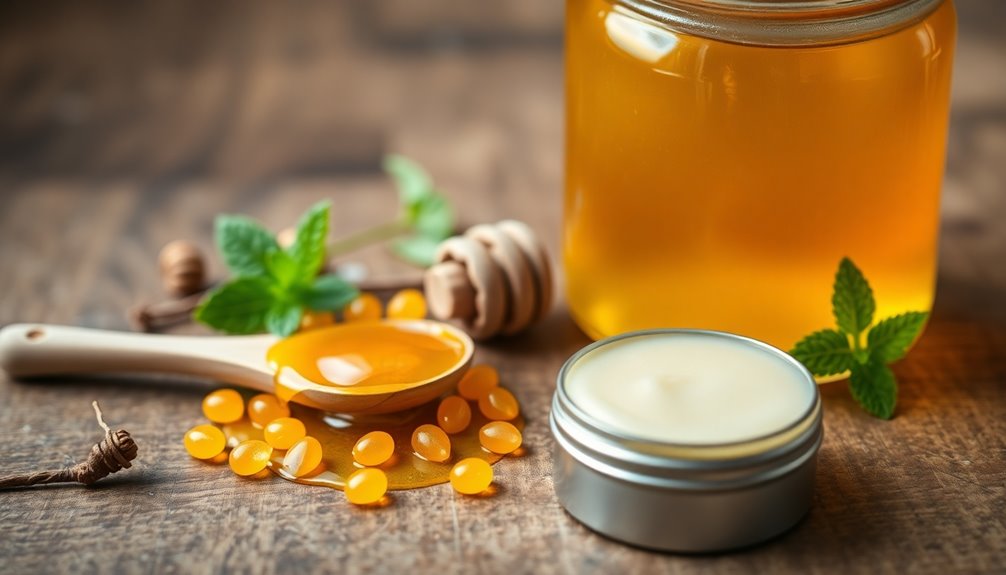
Essential Ingredients for Your Lip Balm
Creating a nourishing lip balm requires a few essential ingredients that work together to hydrate and protect your lips.
First, consider beeswax; it provides a protective barrier while locking in moisture.
Next, incorporate coconut oil or shea butter for their deep moisturizing properties.
Honey benefits your lip balm by adding natural sweetness and additional hydration, thanks to its humectant qualities.
You can enhance your balm with organic alternatives like essential oils for a delightful scent and flavor.
For added nourishment, vitamin E oil is a great choice, promoting healing and softness. Additionally, using eco-friendly practices can help reduce the environmental impact of your skincare routine.
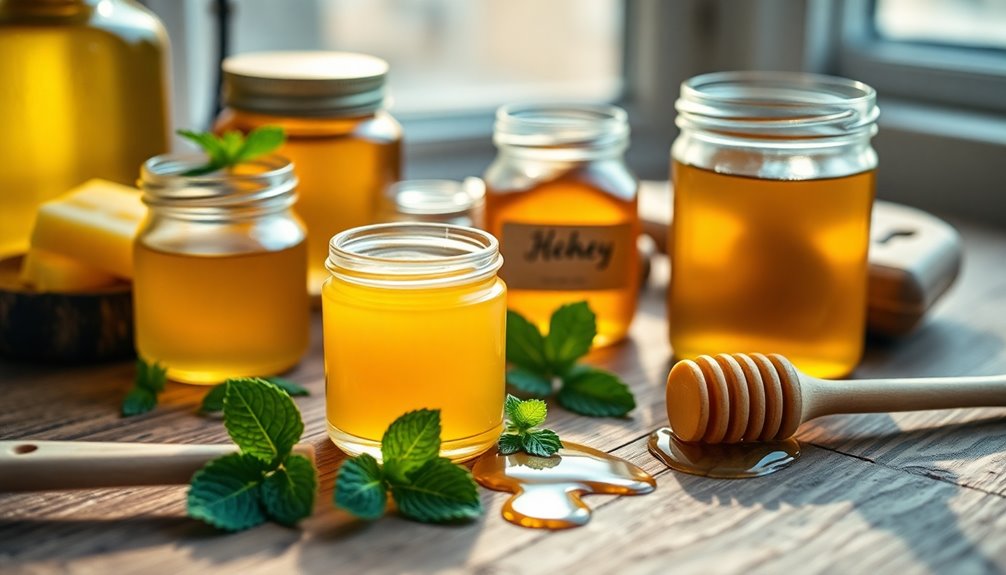
How to Gather Supplies for DIY Lip Balm
Gathering supplies for your DIY lip balm is a straightforward process, and you don’t need much. Start by collecting your lip balm supplies, such as beeswax, coconut oil, and honey.
You can find these ingredients at local health stores, or you can easily order them online. When sourcing ingredients, make sure to choose high-quality options for the best results. Additionally, look for budget-friendly cooking options to keep costs low while gathering supplies.
Don’t forget containers for your finished balm; small tins or tubes work perfectly. Consider adding essential oils for fragrance or flavor, which can also be found at specialty shops.
With just a few simple items, you’ll be ready to create your own nourishing lip balm that’s both effective and budget-friendly. Enjoy the process of crafting your personalized skincare!
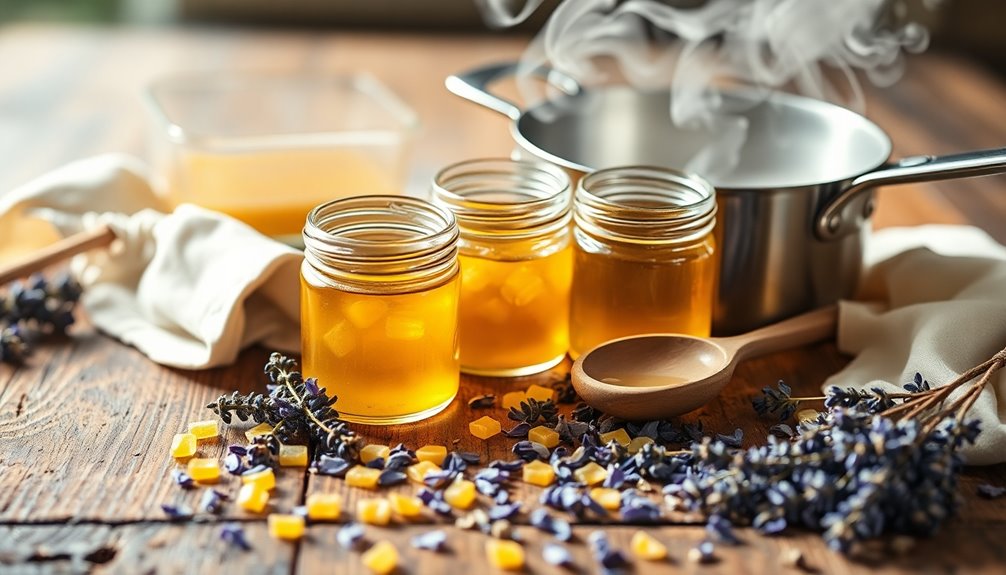
Step-by-Step Guide to Making Honey Lip Balm
Now that you’ve gathered all your supplies, it’s time to make your honey lip balm.
Start by combining beeswax and coconut oil in a heat-safe container. Place it over a pot of simmering water to melt the ingredients.
Once melted, remove it from heat and stir in your favorite essential oils for added fragrance.
Next, add a spoonful of honey to the mixture; the honey benefits your lips by providing moisture and soothing properties.
Add a spoonful of honey for moisture and soothing benefits, giving your lips the care they deserve.
Carefully pour the blend into your lip balm containers, filling them to the brim.
Let them cool completely before sealing.
With this simple method, you’ll have a nourishing lip care product that not only hydrates but also smells delightful. Additionally, making your own lip balm can help reduce food waste by utilizing natural ingredients you may already have at home.
Enjoy your homemade treat!
Tips for Melting and Mixing Ingredients
While melting and mixing your ingredients, it’s important to maintain a low heat to preserve the natural properties of beeswax and coconut oil. Use a double boiler or a microwave at low power for effective melting techniques. This way, you avoid overheating, which can compromise the quality of your lip balm.
When it comes to mixing ratios, aim for a consistent blend of beeswax, coconut oil, and honey. A common ratio is 2:1:1, with two parts beeswax to one part each of coconut oil and honey.
Stir thoroughly to guarantee even distribution, and don’t rush the process. Taking your time will help create a smooth, creamy texture that’s perfect for soothing your lips. Additionally, using natural oils can enhance the moisturizing properties of your lip balm.
How to Customize Your Lip Balm Flavors?
Ever thought about how to make your lip balm truly unique? Start by experimenting with flavor pairings that excite your taste buds. Consider adding fruit extracts like raspberry or citrus for a revitalizing twist.
If you prefer something earthier, herbal infusions with mint or chamomile can elevate your scent profiles. Don’t forget about sweeteners selection; natural options like honey or stevia can enhance sweetness without the guilt.
For seasonal themes, think pumpkin spice in fall or coconut in summer. Taste testers can help you fine-tune your creations, while a spices addition, like cinnamon or vanilla, can add depth. Plus, using affordable hair products in your beauty routine can inspire you to embrace natural ingredients in your DIY projects.
With these ideas, your DIY lip balm won’t only be nourishing but also uniquely yours!
Understanding the Importance of Hygiene in DIY Skincare
When crafting your own skincare products, maintaining hygiene is crucial to guarantee safety and effectiveness. Poor hygiene practices can lead to contamination, which might spoil your lip balm or, worse, harm your skin.
Always start with clean hands and use sterilized tools to prevent introducing unwanted bacteria. It’s also important to choose high-quality, safe ingredients. Check expiration dates and avoid using anything that looks questionable.
Remember, even natural ingredients can harbor harmful microbes if not handled properly. By prioritizing hygiene, you not only enhance ingredient safety but also make sure your DIY lip balm remains fresh and effective. Additionally, understanding the importance of evaluating hidden costs in your DIY projects can help you stay financially responsible.
Storing Your Homemade Lip Balm Properly
To keep your homemade lip balm fresh and effective, proper storage is essential. Using the right lip balm containers can make all the difference. Here are some storage tips to guarantee longevity:
- Choose airtight containers to prevent moisture and contamination.
- Store in a cool, dark place to protect against heat and sunlight, which can spoil ingredients.
- Label your containers with the date you made the lip balm for easy tracking.
- Avoid placing near heat sources like stoves or radiators to maintain the balm’s texture and effectiveness.
- Consider using freezer-safe airtight bags for extra protection against spoilage, especially if you live in a warm climate.
Troubleshooting Common DIY Lip Balm Issues
Creating your own lip balm can be rewarding, but sometimes you might encounter a few hiccups along the way.
If your lip balm consistency is too hard, try adding a bit more oil or beeswax. On the flip side, if it’s too soft, increase the amount of beeswax to firm it up.
Common ingredient issues can arise if you’ve used too much honey; it can make your balm sticky. To fix this, balance it out by adding more oils or butters.
Using too much honey in your lip balm can lead to stickiness; simply add more oils or butters to achieve balance.
If your balm separates, make sure you’re thoroughly mixing your ingredients while melting. Additionally, ensure you properly store your lip balm to maintain its quality and prevent spoilage.
Comparing DIY vs. Store-Bought Lip Balms
While store-bought lip balms offer convenience and a wide variety of flavors, DIY options allow you to customize ingredients and guarantee quality.
When considering a cost comparison, you might find that DIY lip balms can save you money in the long run, especially since you control what goes into them.
Here are some advantages of making your own:
- You know exactly what’s in it—no mystery store bought ingredients.
- It’s more eco-friendly, reducing plastic waste.
- You can tailor the formula to suit your needs, like adding extra hydration.
- It’s a fun, creative process that can be shared with friends.
Ultimately, the choice between DIY and store-bought comes down to your preferences and values.
How to Personalize Lip Balm as Gifts?
Personalizing lip balm as gifts is a fun way to show you care.
You can mix unique flavor combinations that suit your friends’ tastes and choose packaging that reflects their style.
Let’s explore how to make these gifts truly special!
Unique Flavor Combinations
If you want to make your DIY honey lip balm truly special, experimenting with unique flavor combinations can elevate it into a thoughtful gift.
Consider blending ingredients that reflect personal tastes or seasonal vibes. Here are some delightful ideas:
- Exotic fruit and vanilla cream for a tropical twist
- Chocolate mint paired with spicy ginger for a warm, cozy feel
- Berry burst infused with citrus zest to brighten up any day
- Floral notes mixed with herbal blends for a revitalizing, aromatic experience
These combinations not only enhance flavor but also show you’ve put thought into your gift.
Customizable Packaging Options
Customizing the packaging for your DIY honey lip balm can make all the difference when it comes to gift-giving. Start by choosing decorative containers that reflect the personality of your recipient. Small glass jars or tins can add a charming touch.
Next, design custom labels that highlight your unique flavors or ingredients. You can easily create these using online tools or craft supplies. Don’t forget to include personalized messages; a simple note can make your gift even more special.
Ultimately, opt for eco-friendly materials to show you care about the environment. Whether it’s biodegradable wrapping or recycled paper, these choices enhance the gift’s appeal while aligning with a sustainable lifestyle.
Your thoughtful packaging will surely impress!
Exploring Variations: Adding Essential Oils
As you experiment with your DIY honey lip balm, adding essential oils can elevate its benefits and scent. Not only do these oils offer delightful aromas, but they also enhance the balm’s nourishing properties.
Elevate your DIY honey lip balm by adding essential oils for delightful aromas and enhanced nourishing properties.
Consider the flavor synergy created by combining different oils for a unique twist.
- Peppermint: Provides an invigorating tingle and can boost circulation.
- Lavender: Known for its calming essential oil properties, it promotes relaxation.
- Tea Tree: Offers antibacterial benefits, perfect for healing chapped lips.
- Citrus Oils: Brighten the flavor and uplift your mood with their energizing scent.
Understanding the Shelf Life of Your Lip Balm
When crafting your DIY honey lip balm, it’s important to contemplate how long it will last. The shelf stability of your balm largely depends on the ingredients you use. Natural oils and beeswax can extend its life, but keep an eye on expiration dates.
Typically, your homemade lip balm can last up to six months if stored properly in a cool, dark place. If you notice any changes in color, smell, or texture, it’s time to toss it.
Always label your containers with the date you made them to track freshness. By understanding these factors, you’ll guarantee you’re applying a safe and effective product to your lips.
Happy crafting!
Eco-Friendly Packaging Options for Your Balm
Choosing eco-friendly packaging for your DIY honey lip balm not only showcases your commitment to sustainability but also enhances the overall appeal of your product.
By opting for green materials, you can create a positive impression on your customers and contribute to environmental preservation.
Here are some great options to reflect on:
- Biodegradable containers: These break down naturally, reducing landfill waste.
- Reusable jars: Encourage your customers to refill and reuse instead of discard.
- Recycled paper labels: Use this for branding without compromising the planet.
- Glass containers: Durable and recyclable, they give your balm a premium feel.
Conclusion
Making your own honey lip balm not only saves you money but also connects you to nature in a delightful way. Imagine unwrapping a gift you crafted with your own hands, infused with the scents and flavors you love. It’s a coincidence that the same ingredients that nourish your lips can also bring joy to someone else. So why not jump in? With just a few simple steps, you can create something special that’s both personal and practical.