Making your own liquid dish soap can save you money and help eliminate harmful chemicals. You’ll have control over ingredients like castile soap, coconut oil, and vinegar, which clean effectively while being gentle on your skin. With just a few simple steps, you can customize scents and textures, ensuring a delightful experience. Plus, you’ll reduce your environmental impact. Find out how easy it is to create your own soap and the best tips to achieve perfect results.
Understanding the Benefits of DIY Dish Soap
**
When you choose to make your own dish soap, you not only save money, but you also gain control over the ingredients. By sourcing your own materials, you can select natural preservatives and lather boosters that suit your preferences. This approach greatly reduces your environmental impact, as you’re avoiding harmful chemicals. A cost breakdown shows that DIY options often save you more in the long run. Many users find that their homemade soap delivers impressive cleaning efficiency, tackling tough grease without harsh additives. Plus, you can customize the scent intensity to create a dish soap that’s uniquely yours. Additionally, using essential ingredients like baking soda enhances the cleaning power while keeping it eco-friendly. User testimonials confirm that making your own dish soap is a rewarding experience, combining effectiveness and eco-friendliness in one simple solution.
Essential Ingredients for Homemade Dish Soap
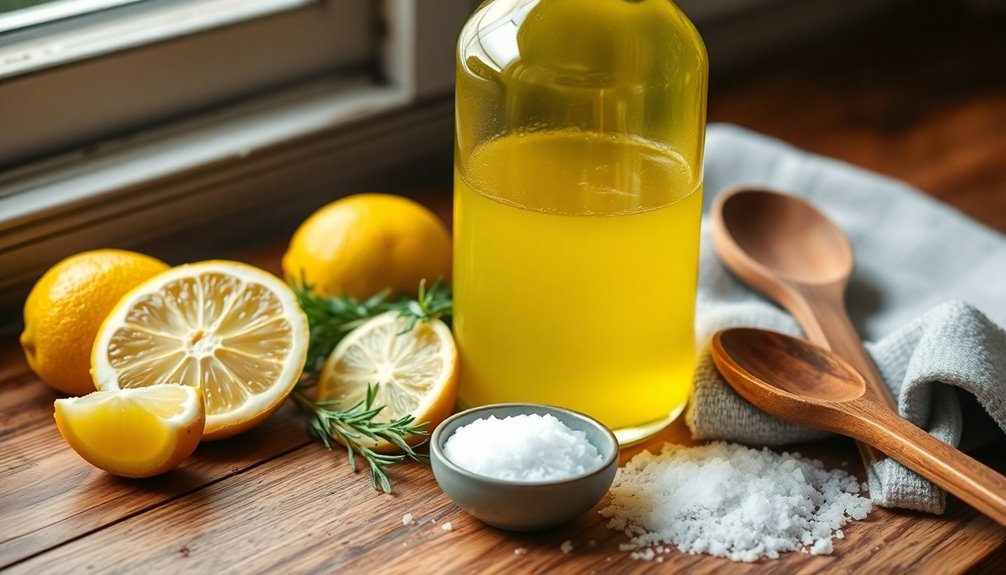
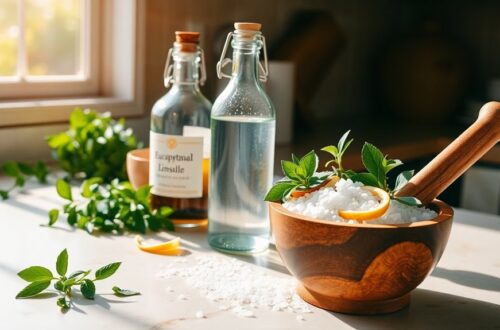
Creating your own dish soap means choosing the best ingredients for both your cleaning needs and the environment. Start with castile soap as your base; it’s effective and gentle.
Add coconut oil for its moisturizing properties and incorporate vinegar for its antibacterial benefits. To boost cleaning power, mix in baking soda and enjoy glycerin benefits for a smooth texture.
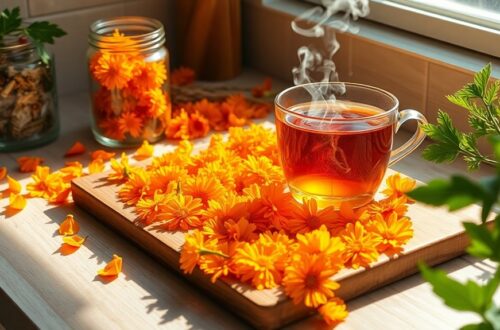
For a fresh scent, consider essential oils like lemon or lavender, and don’t forget to add citrus zest for an uplifting touch.
Aloe vera can help soothe skin irritation, while herbal extracts provide additional natural cleaning power. Additionally, using eco-friendly practices in your DIY recipes can further enhance your commitment to a sustainable lifestyle.
If you want a pop of color, use natural colorants to make your dish soap visually appealing and uniquely yours!
Step-by-Step Guide to Making Your Own Dish Soap

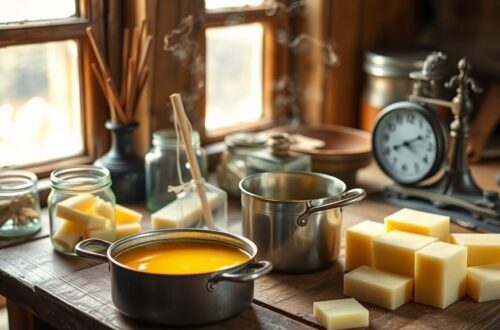
Making your own dish soap is an empowering process that lets you customize your cleaning experience. Start by sourcing high-quality ingredients, focusing on natural preservatives to extend shelf life. Experiment with scent combinations like lemon and lavender, or choose texture variations to suit your preferences. Use eco-friendly containers for storage, reflecting your sustainability practices.
Next, apply simple soap making techniques. Combine your ingredients in a pot, stirring gently to blend. For lather enhancement, consider adding a few drops of glycerin. Additionally, using liquid castile soap ensures effective cleaning without harsh chemicals.
Once your mixture is ready, conduct a cost analysis to guarantee it’s budget-friendly. Finally, test the cleaning efficacy on various dishes, adjusting your recipe as needed to achieve the perfect balance for you.
Enjoy your personalized dish soap!
Tips for Achieving the Right Consistency
Achieving the right consistency in your DIY liquid dish soap can make a big difference in its effectiveness and usability.
Start with proper ingredient ratios; too much water can lead to thin soap, while too little can make it overly thick. Use viscosity testing to find that perfect balance.
Consider temperature influences—warmer mixtures can blend more easily. Mixing methods matter, too; stir gently to avoid bubbles.
If you need a thicker consistency, add thickening agents like xanthan gum. Emulsifier choices can help maintain a uniform texture, while dilution considerations guarantee your soap doesn’t become too concentrated.
Finally, pH balancing is essential; aim for a neutral pH to enhance cleaning power without harming your skin. Adjust as needed for the best results! Additionally, using expense tracking apps can help you manage your finances effectively while purchasing your ingredients and supplies.
How to Customize Your Dish Soap Scents
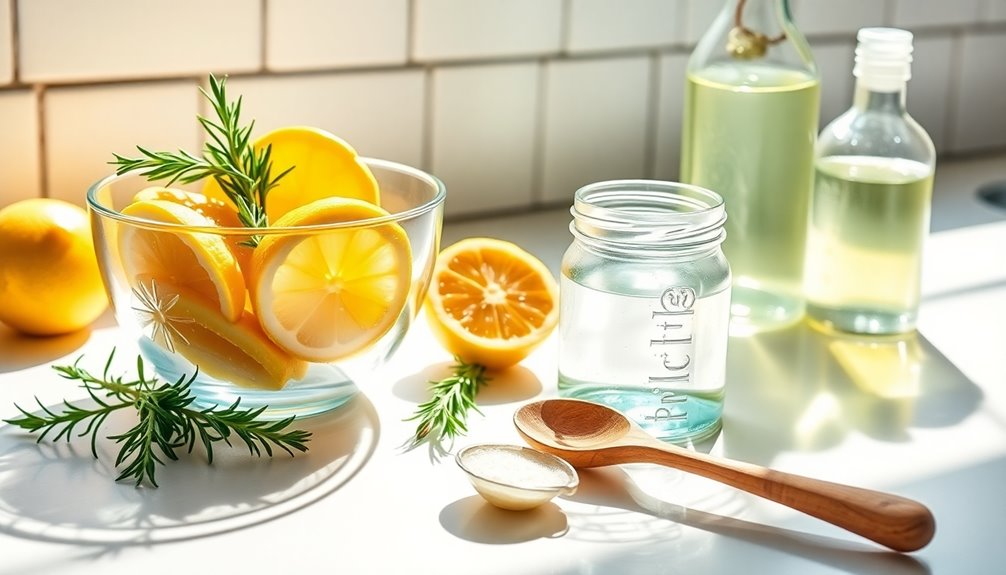
Have you ever wondered how to infuse your DIY liquid dish soap with delightful scents? Customizing your dish soap isn’t just fun; it can transform your cleaning experience.
Start by choosing your favorite essential oils. Popular options include lemon for a fresh, zesty aroma or lavender for a calming touch. You can also experiment with scent combinations—try mixing eucalyptus and mint for a revitalizing blend or orange and cinnamon for a cozy vibe.
Just add 10-20 drops of essential oil to your soap mixture, adjusting based on your scent preference. Remember to mix well and test the scent strength. Additionally, consider how food preservation techniques can enhance your eco-friendly cleaning routine by reducing waste in your household.
With these simple steps, your dish soap won’t only clean effectively but also smell incredible!
Safe Alternatives to Harsh Chemicals in Cleaning
When it comes to cleaning, you don’t have to rely on harsh chemicals. There are plenty of natural ingredients and eco-friendly products that can get the job done safely. Let’s explore some effective alternatives that are kind to both your home and the planet. Additionally, using budget-friendly recipes can help you save money while maintaining a clean home.
Natural Cleaning Ingredients
While many commercial cleaning products contain harsh chemicals, you can create effective alternatives using natural ingredients that are safe for your home and the environment.
Here are three powerful options to explore:
- Plant-Based Ingredients: Use ingredients like vinegar and baking soda, which are biodegradable options that clean effectively without toxic residues.
- Essential Oil Blends: Incorporate essential oils for their antimicrobial properties and pleasant scents. Look for fragrance-free options if you prefer simplicity.
- Natural Preservatives: Add organic additives like vitamin E to extend shelf life while maintaining a non-toxic solution.
Eco-Friendly Product Options
Why rely on harsh chemicals when safer, eco-friendly alternatives are readily available? You can choose eco-friendly brands that prioritize sustainable ingredients and ethical sourcing.
Look for products with green certifications to guarantee you’re making a responsible choice. Many options feature plant-based alternatives, offering non-toxic options that effectively clean without harming the environment.
Additionally, consider those with natural fragrances, which provide pleasant scents without synthetic additives. Opting for products in biodegradable packaging supports zero waste solutions, helping to reduce plastic pollution.
The Cost Savings of Making Your Own Dish Soap
Making your own dish soap not only gives you control over the ingredients but also leads to significant cost savings. A simple cost analysis reveals that you can save money and reduce waste over time.
Here are some budgeting tips to help you maximize those savings:
- Bulk Buying: Purchase ingredients in bulk. This reduces the cost per use and minimizes packaging waste.
- Minimal Ingredients: Use basic ingredients like baking soda, vinegar, and essential oils. They’re often cheaper than commercial brands and last longer.
- DIY Refills: Instead of buying new bottles, create refillable containers. This cuts down on packaging costs and encourages sustainable practices. Additionally, budgeting apps can provide real-time insights into your spending habits, helping you allocate more funds towards DIY projects.
Eco-Friendly Practices Beyond DIY Cleaning
Once you’ve mastered DIY dish soap, you can take your eco-friendly journey further.
Consider incorporating sustainable waste reduction strategies, exploring natural cleaning alternatives, and opting for eco-friendly packaging solutions. Each small change you make can contribute to a healthier planet. Additionally, embracing low-cost activities can foster gratitude and contentment while reducing overall consumption.
Sustainable Waste Reduction Strategies
While creating your own liquid dish soap is a fantastic step toward sustainability, there are many other eco-friendly practices you can adopt to further reduce waste.
Consider implementing these strategies:
- Embrace Minimalism Practices: Simplify your possessions and focus on responsible consumption. Fewer items mean less waste overall.
- Choose Sustainable Packaging: Opt for products that use compostable materials or biodegradable ingredients to minimize environmental impact.
- Participate in Recycling Initiatives: Actively recycle and support brands with green certifications, encouraging eco-friendly sourcing and reducing landfill waste.
Natural Home Cleaning Alternatives
Creating your own liquid dish soap is just one way to embrace eco-friendly practices in your home. You can explore various natural solutions that support toxin-free living.
Consider using homemade cleaners made from organic ingredients like vinegar, baking soda, and essential oils. These eco-friendly alternatives aren’t only effective but also safe for your family and pets.
Opt for plant-based cleaners that reduce your exposure to harsh chemicals. By choosing green products, you contribute to sustainable cleaning and a healthier planet.
Plus, many of these options are budget-friendly solutions that save you money in the long run. Embrace these chemical-free options to make your home a cleaner, greener space.
Eco-Friendly Packaging Solutions
When it comes to reducing your environmental impact, exploring eco-friendly packaging solutions can make a significant difference.
Here are three effective strategies to take into account:
- Reusable Containers: Switch to durable, reusable containers for your DIY dish soap. This cuts down on waste and saves money over time.
- Compostable Wraps and Biodegradable Labels: Choose compostable wraps and biodegradable labels to minimize your footprint, ensuring that even your packaging decomposes naturally.
- Refill Stations and Bulk Purchasing: Look for refill stations in your area or buy in bulk to reduce single-use packaging.
Storage Solutions for Your Homemade Dish Soap
To keep your homemade dish soap fresh and effective, choosing the right storage solution is vital.
Opt for bottle types like squeeze bottles or pump dispensers, which make using your soap easy. Consider container materials like glass or BPA-free plastic for safety. Confirm you use airtight seals to prevent contamination and maintain quality.
Choosing squeeze bottles or pump dispensers ensures easy use, while glass or BPA-free plastic keeps your dish soap safe and fresh.
Labeling options are important; clearly mark the contents and date to keep track of shelf life. Store your soap in a cool, dry place to optimize storage temperature. Additionally, vacuum sealing your dish soap ingredients can help extend their shelf life and maintain freshness.
For a tidy kitchen, explore space-saving solutions like wall-mounted dispensers or under-sink organizers. With these strategies, you’ll not only protect your soap but also enhance your cleaning experience.
Common Mistakes to Avoid When Making Dish Soap
Storing your homemade dish soap properly sets the stage for effective cleaning, but making the soap itself can come with pitfalls.
To guarantee your DIY dish soap is effective, avoid these common mistakes:
- Inaccurate Measuring Ingredients: Eyeballing amounts can lead to imbalances, affecting the soap’s effectiveness. Always use precise measurements for each component.
- Skipping Testing Lather: Before finalizing your soap, test the lather to verify it cleans effectively. A poor lather means it won’t perform well on dishes.
- Neglecting Ingredient Quality: Using low-quality or expired ingredients can compromise your soap’s performance, so always choose fresh, high-quality materials.
- Ignoring Freezing Techniques: Properly preparing and storing your soap can enhance its longevity and effectiveness, similar to how freezing preserves the quality of olives.
How to Properly Use Homemade Dish Soap
Now that you’ve got your homemade dish soap ready, it’s important to know how to use it effectively.
From proper application techniques to rinsing tips, you’ll maximize its cleaning power.
Plus, understanding storage will help keep your soap fresh for longer.
Application Techniques Explained
Mastering the art of applying homemade dish soap can elevate your dishwashing routine. To get the best results, consider these application techniques:
- Sponge Selection: Choose a sponge that matches your surface compatibility. For non-stick pans, opt for soft sponges, while tougher scrubbing pads can handle baked-on grime.
- Lathering Methods: Use warm water to activate the soap, creating a rich lather. Apply the soap directly to the sponge and work it into dishes, focusing on heavily soiled areas.
- Cleaning Frequency: Regular washing reduces soapy residue buildup.
Always rinse dishes thoroughly with warm water to guarantee no soap remains.
Rinsing Tips for Effectiveness
Although rinsing might seem straightforward, doing it effectively can make a significant difference in your dishwashing experience.
First, use hot water to rinse your dishes; it helps break down soap residue more efficiently. Try a two-step rinsing technique: rinse with hot water to remove most soap, then follow up with a final cold rinse. This helps cool the dishes quickly and reduces water spots.
For better rinsing, consider using a spray nozzle to target areas with stubborn soap.
Another effectiveness tip is to rinse immediately after washing; this prevents soap from drying on the dishes.
Finally, make sure your sink isn’t overcrowded, as it can hinder proper rinsing.
Using these rinsing techniques will leave your dishes sparkling clean!
Storage Considerations for Longevity
To guarantee your homemade dish soap lasts as long as possible, proper storage is essential. Follow these tips to assure maximum shelf life and effectiveness:
1. Choose the Right Storage Containers: Use airtight containers to prevent moisture and air from degrading your soap.
Look for options that provide temperature stability and humidity control.
2. Control Light Exposure: Store your soap in a cool, dark place.
Light can break down the ingredients, so opaque containers are ideal.
3. Implement a Labeling System: Clearly label your containers with batch sizes and dates.
This helps you monitor freshness and avoid using expired soap.
Troubleshooting: What to Do If Your Soap Doesn’t Lather?
Why isn’t your soap lathering like you expected? If you’re facing lather issues, it might come down to soap consistency or ingredient ratios.
Make sure you’re using the right balance of surfactants for effective lathering. Also, check your water temperature; warm water generally helps soap dissolve better.
If you mixed your ingredients too quickly, that could affect the lather quality too. Try different mixing techniques to fully incorporate all components.
Finally, consider your storage methods—keeping your soap in a cool, dry place can help maintain its effectiveness.
Comparing DIY Dish Soap to Commercial Brands
When you compare DIY dish soap to commercial brands, you’ll find distinct advantages and drawbacks to each. Here are a few key points to evaluate:
- Cost Comparison: DIY options often save you money, while commercial brands can be pricier due to marketing and packaging costs.
- Ingredient Transparency: DIY formulations use natural ingredients, giving you control, whereas commercial brands may contain synthetic chemicals that can be harmful.
- Environmental Impact: Making your own soap typically results in less plastic waste, aligning with eco-friendly consumer preferences.
In terms of cleaning efficiency, DIY soap can be effective but might lack the fragrance options and formulation differences of commercial products.
Ultimately, your choice will reflect your priorities on cleanliness, health, and environmental responsibility.
Frequently Asked Questions About DIY Dish Soap?
Got questions about DIY dish soap? You’re not alone!
Let’s explore the benefits, common ingredients, and some handy application tips to make your dishwashing experience even better.
Benefits Of DIY Soap
Making your own liquid dish soap comes with a range of benefits that might surprise you. Here’s a quick benefits overview:
- Cost Analysis: DIY soap is often cheaper than store-bought options, saving you money in the long run.
- Health Advantages: You can eliminate harmful chemicals, promoting a healthier environment for you and your family.
- Customization Options: Tailor your soap to your fragrance preferences, ensuring a pleasant cleaning experience.
When you focus on sustainable ingredient sourcing, you’ll also reduce your environmental impact.
User experiences often highlight the superior cleaning efficiency of homemade soaps, making them a practical choice.
Embracing a sustainability focus not only benefits your wallet but also contributes positively to the planet.
Common Ingredients Used
Creating your own liquid dish soap opens up a world of ingredient possibilities. You can choose natural surfactants like castile soap for effective cleaning efficacy without harsh chemicals.
Opt for biodegradable options to lessen environmental impact. Scent alternatives, such as essential oils, allow you to customize your soap’s fragrance.
When ingredient sourcing, prioritize high-quality materials for the best results. For viscosity adjustments, consider using glycerin or arrowroot powder.
Preservative choices can be essential if you’re making larger batches. Color additives, like natural dyes, provide visual appeal, while foaming agents enhance sudsing.
Always keep skin sensitivity in mind, ensuring your soap is gentle enough for regular use. With these ingredients, you can create a dish soap that meets your needs.
Application Tips And Tricks
While you might be excited to whip up your own liquid dish soap, knowing how to apply it effectively can enhance your cleaning experience. Here are some key tips:
- Water Temperature: Use warm water to improve lathering and stain removal. It helps dissolve grease more effectively.
- Sponge Selection: Choose a sponge that suits the surface compatibility of your dishes. Soft sponges work well for delicate items, while scrubbing pads tackle tougher stains.
- Dilution Ratios: Experiment with dilution ratios for different tasks. A more concentrated soap works for heavy grease, while a diluted version can be effective for lighter cleaning.
Remember to rinse thoroughly and allow items to dry properly to avoid residue buildup!
Conclusion
By making your own liquid dish soap, you not only save money but also reduce your exposure to harsh chemicals. Did you know that switching to DIY products can cut your household cleaning costs by up to 50%? With just a few simple ingredients, you can create an effective, eco-friendly solution tailored to your needs. So, why not give it a try? Your wallet and the planet will thank you!