To fix a peeling window sill, start by scraping away all loose paint and sanding the surface smooth. Clean the area with a mild solution to remove dust, then apply a moisture-resistant primer. Once the primer dries, paint with a high-quality exterior paint in multiple light coats. Seal around the edges with durable caulk to prevent future moisture issues. With these steps, you can stop the yearly flaking and maintain your home’s beauty. More insights await you on the best practices!
Understanding Peeling Window Sill Paint
Have you ever noticed paint peeling off your window sill? Peeling paint isn’t just unsightly; it signals that the paint film has lost adhesion, exposing the bare surface below. This can lead to both aesthetic and structural issues in your home.
The primary culprit for peeling paint is moisture. Standing water can seep beneath the paint film, creating pressure that causes it to lift and crack. Additionally, poorly sealed framing and cracked caulk can worsen moisture problems, allowing water to intrude and further damage the paint. To tackle peeling paint effectively, you’ll need to remove the damaged areas through scraping or sanding and then prime the bare surfaces. Regular maintenance, like sealing around crevices, will help prevent future issues. Incorporating sustainable practices during your DIY projects can contribute to a more eco-friendly home environment.
Common Causes of Peeling Paint
Peeling paint on window sills can often be traced back to several common issues that compromise its integrity.
One major culprit is moisture intrusion, which leads to standing water that weakens the paint job’s adhesion. If you didn’t prepare the surface properly—like painting over a glossy finish without primer—you’re likely to face flaking later on.
Moisture intrusion and improper surface preparation can significantly weaken paint adhesion, leading to unsightly flaking.
Environmental factors also play a role; intense sunlight and temperature changes can cause the paint to expand and contract, resulting in peeling.
Additionally, inadequate sealing around window frames and cracks lets water in, exacerbating the problem.
To avoid these issues, regular maintenance, including caulking and proper surface preparation, is essential for keeping your window sills looking their best. Streamlined bookkeeping processes can also help by ensuring that funds are allocated for necessary repairs and upkeep.
Step-by-Step Process for Repairing Peeling Paint

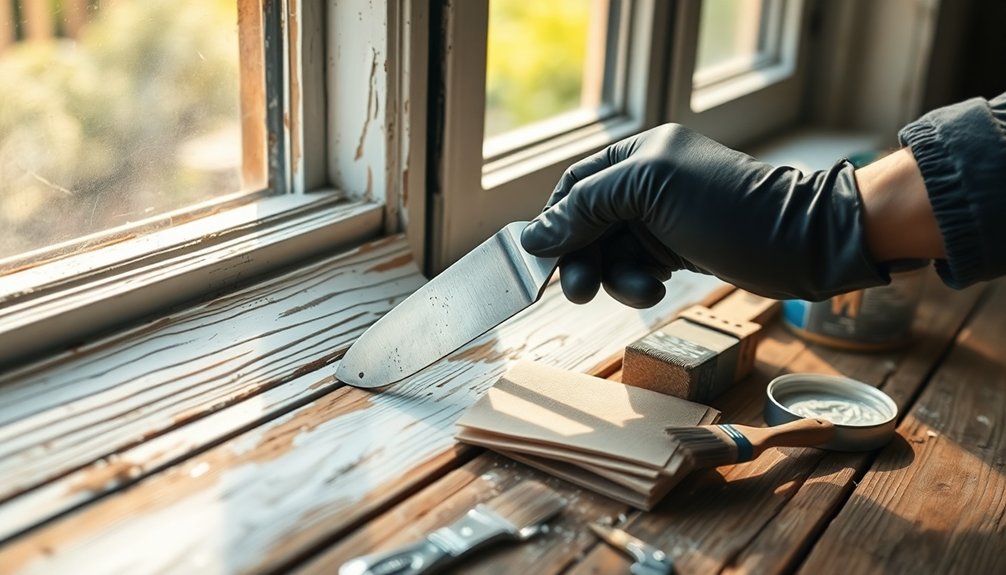
Before you start repairing the peeling paint, gather the necessary tools like a paint scraper, sandpaper, and wood putty. Understanding effective painting techniques will also help you achieve a smooth finish. Consider using a user-friendly app for expense management to keep track of any costs related to your DIY project. Let’s go through the essential steps to get your window sill looking brand new.
Tools Needed for Repair
To tackle the repair of a peeling window sill effectively, you’ll need a few essential tools. Having the right tools makes the process smoother and guarantees a long-lasting finish.
Here’s a quick list of the tools needed for repair:
- Paint scraper: To remove all flaking paint and damaged areas.
- Sanding sponge: To smooth out bare wood and create a seamless shift between surfaces.
- Aqualock primer: A moisture-resistant primer to seal the surface and prevent future peeling.
With these tools in hand, you can confidently prepare your window sill for painting.
Each tool plays a significant role in achieving a durable and professional-looking result while stopping that annoying yearly flaking.
Painting Techniques Overview
Start by ensuring your window sill is properly prepped for painting, as this is essential for a successful repair.
Begin by scraping off all flaking and peeling paint, focusing on damaged areas, and fill any large holes with wood putty.
Next, sand the surface smooth with 220-grit sandpaper for a seamless changeover between painted and bare wood.
Apply a moisture-resistant primer like Aqua Lock Plus in a thin layer, allowing it to dry for thirty minutes before applying a second coat.
Use a high-quality exterior paint, such as Benjamin Moore’s Simply White, to apply three light coats, letting each coat dry for 30 minutes to 1 hour.
Finally, remove painter’s tape while the last coat is wet to prevent peeling.
Essential Tools and Materials for the Project
When tackling the task of fixing a peeling window sill, having the right tools and materials at your disposal can make all the difference.
Start by gathering these essential tools to guarantee a smooth process:
- Paint scraper: Perfect for removing flaking paint.
- Sanding sponge: Helps smooth out the surfaces for a better finish.
- Quality paint brush: Necessary for applying primer and paint evenly.
You’ll also need Aqualock primer to seal porous surfaces and prevent mildew, along with wood putty and a putty knife if there are large holes to fill.
Don’t forget painter’s tape to protect surrounding areas and achieve clean lines.
With these tools ready, you’re set to transform your window sill! Additionally, using a user-friendly tool can streamline the process of tracking any expenses incurred during home improvement projects, enhancing financial management in the long run.
Best Practices for Surface Preparation
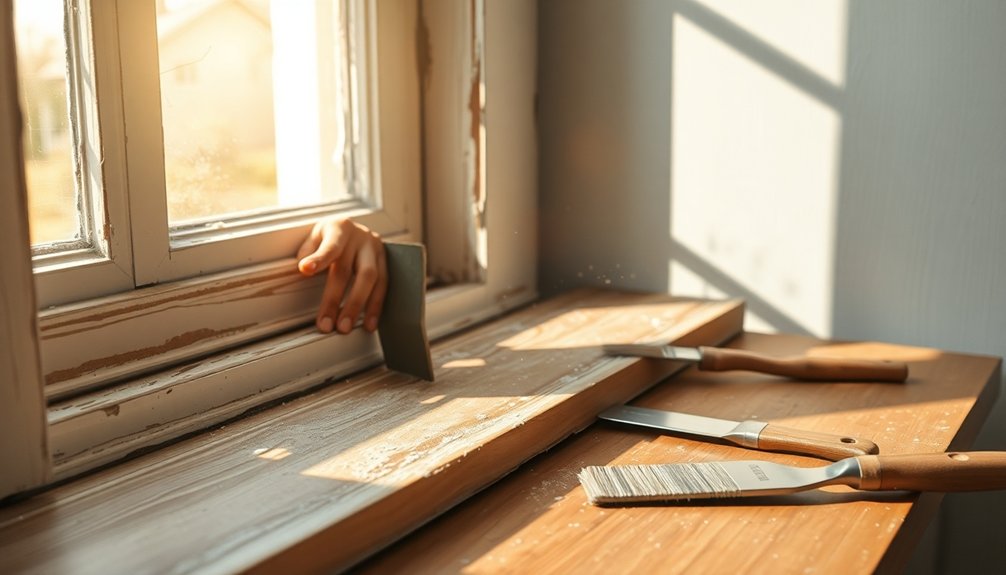
To get your window sill ready for a fresh coat of paint, start by removing any loose paint to create a stable base.
Next, fill in any gaps securely, ensuring a smooth surface for your new finish.
Finally, clean the area thoroughly to eliminate dust and debris, setting the stage for a successful repainting project. Additionally, consider using bill tracking apps to help manage your home maintenance budget efficiently while you undertake DIY projects.
Remove Loose Paint
Begin by carefully scraping away any loose or peeling paint from your window sill. Use a paint scraper or wire brush to focus on corners and areas with the most damage.
If your home was built before 1978, conduct a lead paint test first to guarantee safety.
Once you’ve removed the loose paint, follow these steps:
- Fill any large holes or cracks with exterior filler, smoothing it with a putty knife.
- Lightly sand the filled areas and adjacent surfaces with 220-grit sandpaper for a smooth changeover.
- Clean the sanded surfaces thoroughly with a rag or microfiber cloth to eliminate dust and debris.
These steps will help you effectively fix peeling paint and prepare your window sill for a fresh coat.
Fill Gaps Securely
After you’ve scraped away the loose paint and prepared the surface, it’s time to fill any gaps securely.
Start by thoroughly cleaning the window sill to eliminate dust and debris, which guarantees a strong bond between the filler and the surface.
Choose a high-quality exterior filler designed for outdoor conditions to tackle any gaps, cracks, or holes.
Using a putty knife, press the filler firmly into the gaps, making sure it adheres properly and fills the spaces completely.
Allow the filler to dry completely according to the manufacturer’s instructions, usually overnight.
Once dried, lightly sand the area with fine-grit sandpaper to create a seamless shift between the filler and the surrounding surface, readying it for primer and paint application.
Clean Surface Thoroughly
A clean surface is essential for achieving a durable and professional finish when fixing a peeling window sill. Start by using a paint scraper or wire brush to remove all flaking paint, especially in corners and damaged areas.
Once you’ve scraped, sand the surface with 220-grit sandpaper to guarantee a smooth shift between bare wood and painted sections.
Next, follow these steps to clean the surface thoroughly:
- Wipe down the area with a microfibre cloth.
- Use a mild cleaning solution like sugar soap to eliminate dust and residue.
- Apply painter’s tape around adjacent areas to protect them from paint.
Finally, let the surface dry completely before applying primer, assuring peak adhesion for lasting results.
Choosing the Right Primer and Paint
When choosing the right primer and paint for your peeling window sill, it’s essential to take into account the specific conditions your project faces.
For moisture-prone areas, select a primer with built-in moisture control, like Aqua Lock Plus, to effectively seal porous surfaces and prevent future peeling.
If you’re working on exterior repairs, opt for a Multi-Purpose Latex Primer to enhance adhesion and durability against environmental elements.
Apply a thin layer of primer and wait about thirty minutes before adding a second coat for ideal coverage.
For the final coat, use high-quality paint such as Benjamin Moore’s Simply White in semi-gloss sheen.
Remember to allow 30 minutes to 1 hour of drying time between each coat to guarantee a long-lasting finish. Additionally, consider using high-quality paint to ensure the best results and longevity of your project.
Tips for Long-lasting Results
To guarantee your newly painted window sill stands the test of time, start by thoroughly prepping the surface. Remove any loose paint completely and sand the area with 220-grit sandpaper for a smooth finish.
After that, apply a high-quality primer like Aqua Lock Plus, which helps seal porous surfaces and prevents peeling.
Follow these tips for long-lasting results:
- Apply three light coats of durable exterior paint, allowing 30 minutes to 1 hour of drying time between coats.
- Use a reliable sealant, such as White Lightning Silicone Ultra, to caulk around angles and crevices, preventing moisture damage.
- Maintain proper ventilation by keeping windows open for 4-6 hours during the drying process to guarantee ideal curing. Additionally, consider using budget management tools to effectively manage costs associated with home maintenance projects.
Maintenance to Prevent Future Peeling
While you might think your newly painted window sill is safe, regular maintenance is essential to prevent future peeling.
Start by inspecting your painted surface regularly for signs of moisture intrusion or paint deterioration. If you notice any issues, address them early to avoid bigger problems.
Regularly inspect your painted surfaces for moisture and paint issues to prevent larger problems down the line.
Make sure you seal around the windows with high-quality caulk to keep water from penetrating the paint film. Using a primer like Aqua Lock Plus can create a moisture barrier, protecting against humidity.
Keep your window sills clean and free of debris, as dirt can lead to paint failure.
Finally, consider applying a durable, weather-resistant paint specifically designed for exterior use to enhance longevity and resistance to the elements. Additionally, adopting sustainable shopping practices can help you choose eco-friendly paints that reduce environmental impact.
Conclusion
By following these steps, you can effectively restore your peeling window sill and enjoy a fresh, long-lasting finish. For instance, when Sarah tackled her flaking sill, she not only transformed her living space but also increased her home’s value. With the right preparation and materials, you can prevent future peeling and keep your window sills looking great for years to come. Don’t wait—get started on your DIY project today!