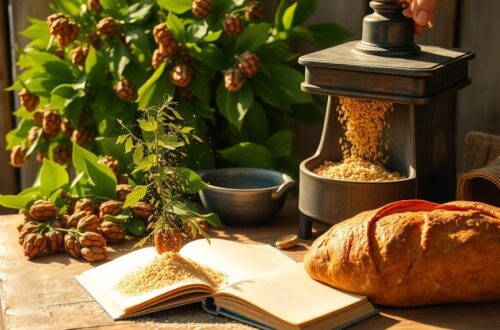
To make a smudge stick with sage from your garden, start by harvesting vibrant, pest-free stems, ideally 10-15, on a sunny morning. Dry them immediately, using air drying or a dehydrator for the best aroma. Once dried, bundle the sage with twine, adding any other herbs you like. Light your smudge stick to cleanse your space, and store it in an airtight container to keep it fresh. There’s more to explore about enhancing your rituals further.
Choosing the Right Sage for Your Smudge Stick

When you’re making a smudge stick, choosing the right sage is essential, as it can greatly impact your experience.
White sage is a popular choice, prized for its strong aroma and cultural significance in many Indigenous practices. However, don’t overlook garden varieties like black sage or blue sage, which also offer unique scents and properties.
Each type has its own medicinal benefits, from promoting relaxation to purifying spaces. Be mindful of the source of your sage, as sustainable harvesting is vital for preserving these plants and their cultural heritage. Additionally, understanding the legal obligations regarding reporting the sale of sage can ensure ethical practices in sourcing your materials.
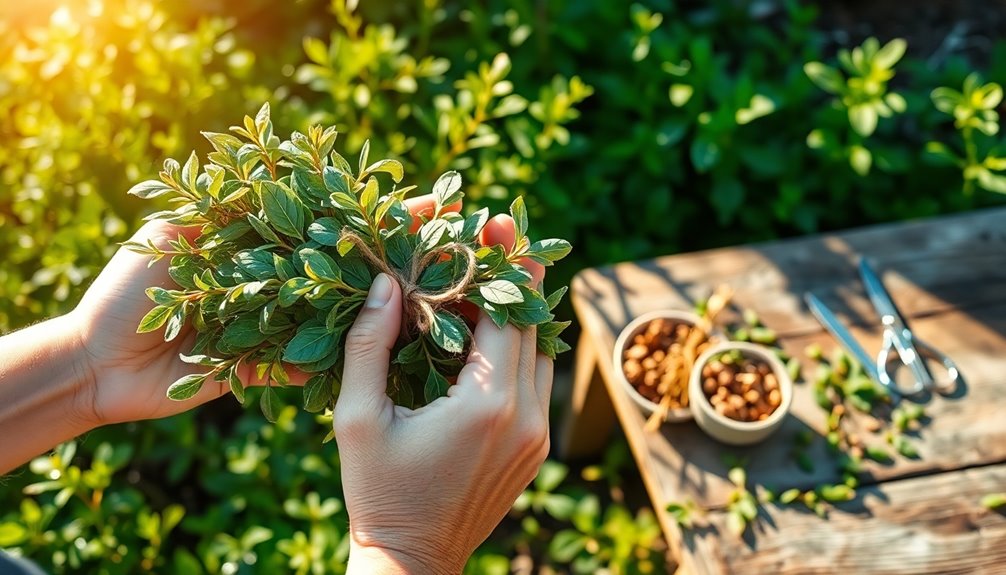
How to Harvest and Prepare Your Sage
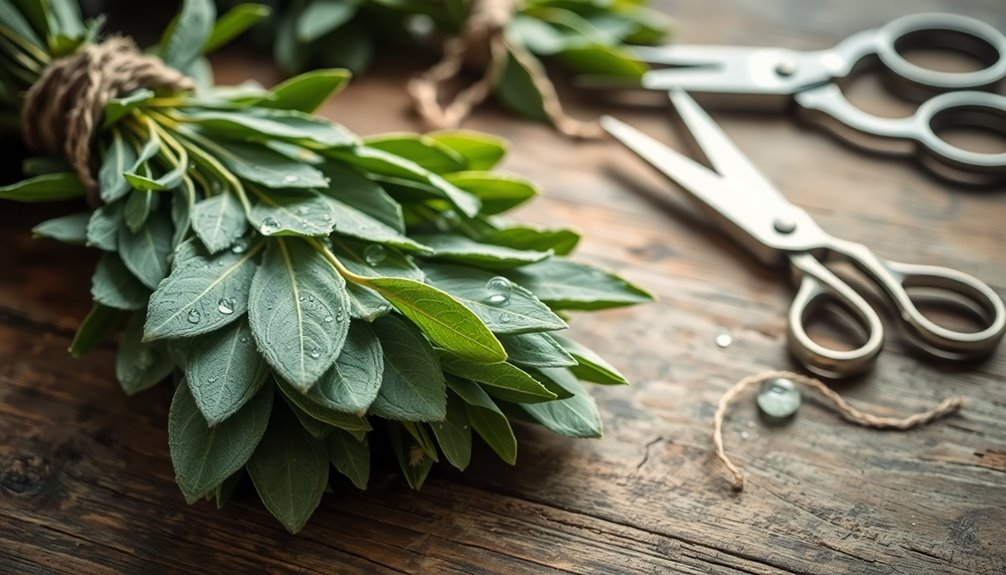
Harvesting and preparing your sage is an essential step in creating an effective smudge stick. Start by checking your plants for mature leaves, typically during the late morning after the dew has dried. This timing guarantees the highest potency and quality.
Use sharp scissors or pruning shears to snip the stems, leaving enough foliage for continued sage growth. Aim for a bundle of around 10-15 stems for your smudge stick.
When you’re gathering your sage, remember these harvesting tips: choose leaves that are vibrant and free from pests, and avoid over-harvesting to maintain the plant’s health. Incorporating budget-friendly cooking techniques into your rituals can enhance your overall experience.
With careful selection, you’ll have fresh sage ready for your smudging rituals, enhancing both aroma and intention.
The Drying Process: Ensuring Quality and Aroma
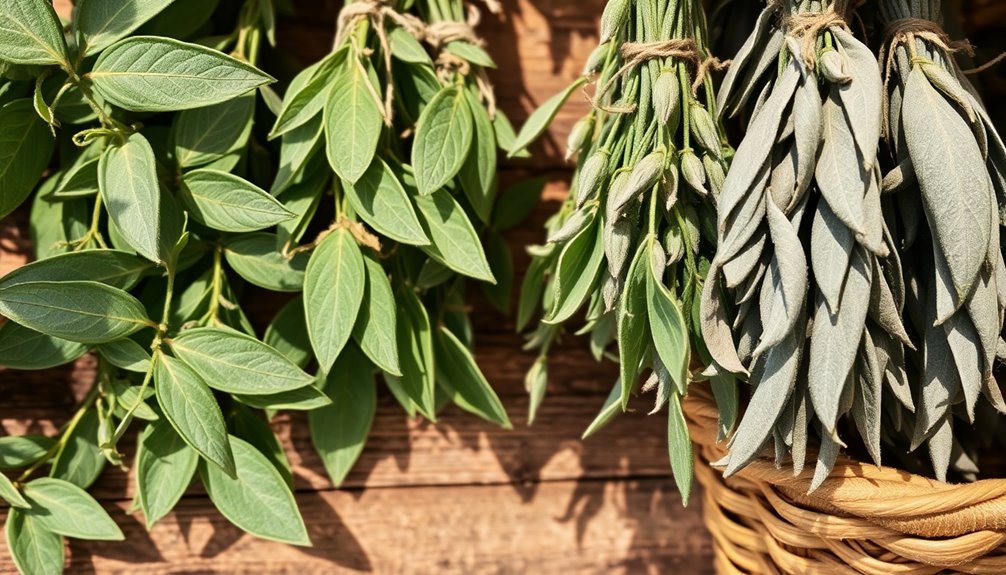
To guarantee your sage retains its quality and aroma, start the drying process promptly after harvesting. Use effective drying techniques like air drying or using a dehydrator.
Start drying your sage immediately after harvesting to preserve its quality and aroma using air drying or a dehydrator.
If you choose air drying, tie your sage bundles together and hang them in a warm, dark, and well-ventilated area. This helps in aroma preservation while preventing mold growth.
If you opt for a dehydrator, set it to a low temperature to make sure the delicate oils remain intact. Check your sage regularly; it should feel crisp and crumble easily when done.
Proper drying not only enhances the scent but also prolongs the shelf life of your sage, making certain your smudge sticks are aromatic and effective when you’re ready to use them. Additionally, using a user-friendly interface can simplify the process of managing your drying techniques and ensuring quality.
Bundling Techniques for a Beautiful Smudge Stick
While creating a beautiful smudge stick, it’s essential to focus on bundling techniques that enhance both aesthetics and functionality.
Start by choosing effective binding methods, like natural twine or cotton string, which not only secure your herbs but also add a rustic touch.
Lay your dried sage and any additional herbs in a fan shape, ensuring they’re evenly distributed.
Begin wrapping from the base, making sure to keep the herbs tightly packed and secure.
As you wrap, consider adding decorative elements like dried flowers or colorful threads for a personal touch.
This not only makes your smudge stick visually appealing but also allows for unique blends of scents.
A well-bundled smudge stick will elevate your cleansing rituals beautifully. Additionally, using eco-friendly practices while crafting can promote sustainability and reduce waste.
Tips for Using and Storing Your Smudge Stick
As you prepare to use your smudge stick, it’s important to create a calm and focused environment. Find a quiet space where you can connect with your intentions.
Light the end of your smudge stick, allowing it to catch fire before gently blowing it out, creating smoke. As the aromatic sage fills the air, take a moment to breathe deeply and embrace the aromatherapy benefits.
Light your smudge stick, allow it to ignite, then blow it out to release the soothing aroma of sage. Breathe deeply and enjoy the benefits.
Move the stick in a clockwise direction, letting the smoke cleanse your space and spirit. When you’re done, extinguish the stick in sand or a fireproof bowl.
For storage, keep it in a cool, dry place, away from direct sunlight, ensuring it remains potent for your next spiritual cleansing session. To maintain freshness, consider using airtight containers to protect your smudge stick from moisture and odors.
Conclusion
Now that you’ve crafted your own smudge stick, you’re ready to bring that garden magic into your home. Light it up, let the fragrant smoke cleanse your space, and enjoy the calming vibes it brings. Remember, just like a vintage vinyl record, each smudge stick carries its own unique essence and story. So, keep experimenting with different herbs and techniques, and let your creativity flow as you deepen your connection to nature and yourself!