To make smudge sticks, start by harvesting vibrant sage in late spring or early summer. Use gentle techniques to avoid damaging plants and leave enough behind for growth. Once you’ve gathered your sage, bundle fresh sprigs using natural twine, ensuring they’re aligned evenly. For drying, opt for a sunny, dry spot to maintain aroma and prevent mold. With your sticks ready, there’s even more to explore about personalizing and using them effectively in your rituals.
Understanding the Benefits of Smudging With Sage
When you smudge with sage, you tap into a practice that’s been revered for centuries. Sage symbolism often represents purification and protection, allowing you to clear negative energy from your space. Engaging in smudging rituals can help create a calming atmosphere, promoting mental clarity and emotional balance.
Smudging with sage connects you to a centuries-old practice, revered for its power in purification and protection.
As you light the sage, envision the smoke carrying away stress and distractions, inviting in positive vibes. This ancient tradition not only connects you to your surroundings but also to your inner self, fostering mindfulness. Regularly incorporating smudging into your routine can deepen your spiritual practice, enhancing your overall well-being. With each ritual, you honor a legacy of healing and renewal, grounding you in a moment of tranquility amidst life’s chaos. Additionally, budgeting and saving can help create financial stability, allowing you to focus more on your spiritual practices without the weight of financial stress.
When and Where to Harvest Sage for Smudge Sticks?
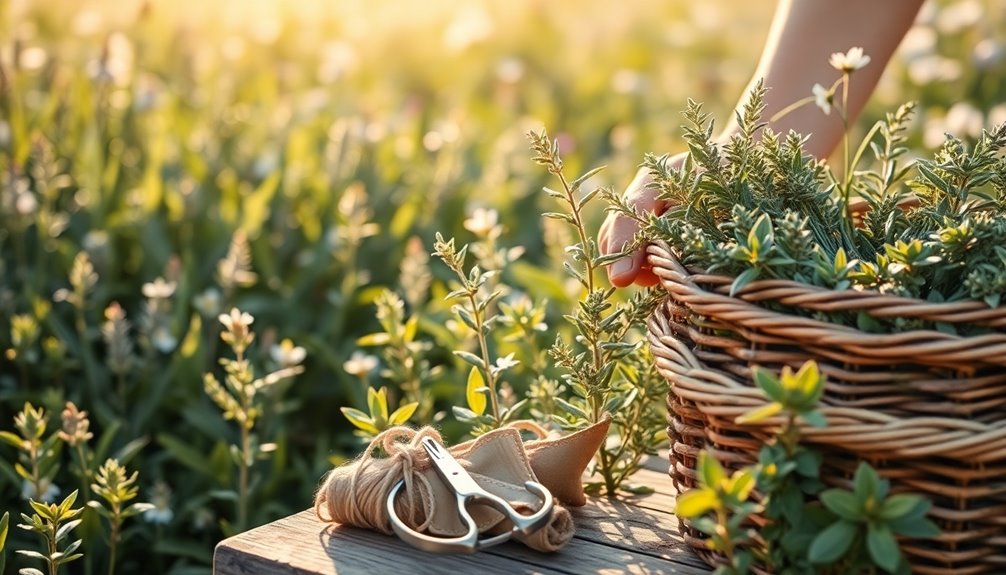
Smudging with sage becomes even more meaningful when you know the best times and places to harvest it. Aim to gather sage in late spring or early summer, when the plants are vibrant and full of energy.
Look for ideal locations like your garden or wild areas where sage varieties thrive. Use gentle harvesting techniques—snipping stems with scissors or pruning shears guarantees you don’t damage the plant.
Be mindful of seasonal considerations; avoid harvesting during droughts or when the plants are stressed. Always leave enough behind for the plant to continue growing.
This thoughtful approach not only respects the sage but enhances your smudging experience, connecting you deeper to nature’s rhythms. Additionally, consider incorporating budget-friendly cooking techniques to further enrich your overall experience.
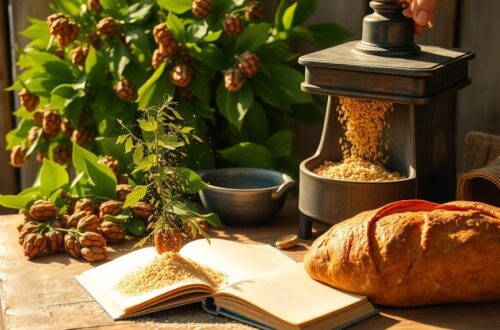
Essential Tools for Crafting Your Smudge Sticks
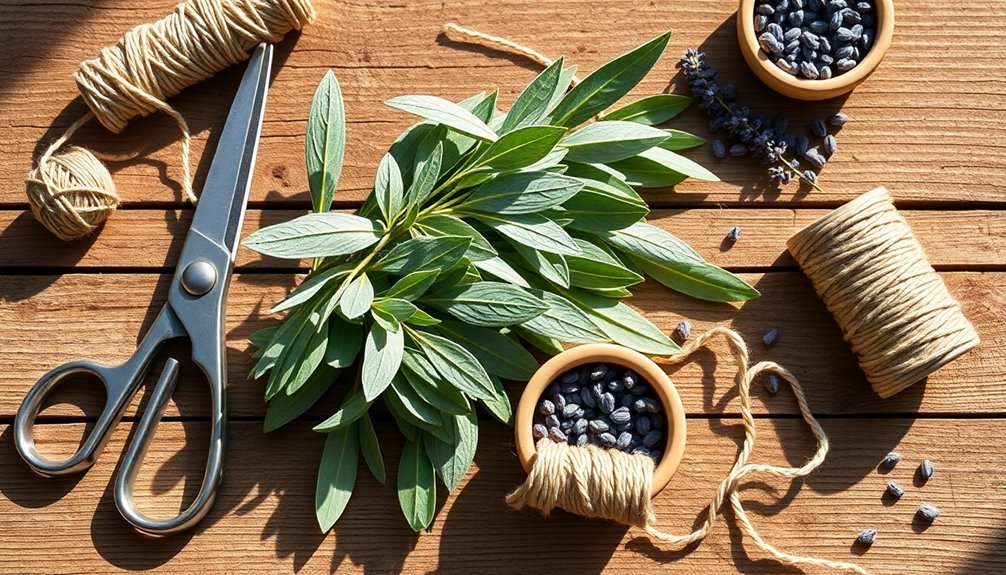
Crafting your own smudge sticks requires a few essential tools to guarantee the process is smooth and enjoyable. Having the right equipment makes a significant difference in your crafting techniques.
Here’s what you’ll need:
- Fresh sage bundles
- Twine or string for tying
- Scissors for trimming
- A small bowl of water (to dampen your sage)
- A surface to work on
These essential materials help you create a beautiful, functional smudge stick. Additionally, using expense tracking apps can help you manage costs associated with sourcing your crafting supplies.
With your tools ready, you’ll find that the process becomes more intuitive and satisfying.
Step-by-Step Guide: How to Bundle Sage
Bundling sage is a simple yet rewarding process. Start by selecting fresh sage sprigs that resonate with you, and then explore different binding techniques to secure them. Let’s walk through each step to create your own beautiful smudge stick. Additionally, incorporating mindful spending habits can enhance your experience by allowing you to enjoy the process without financial stress.
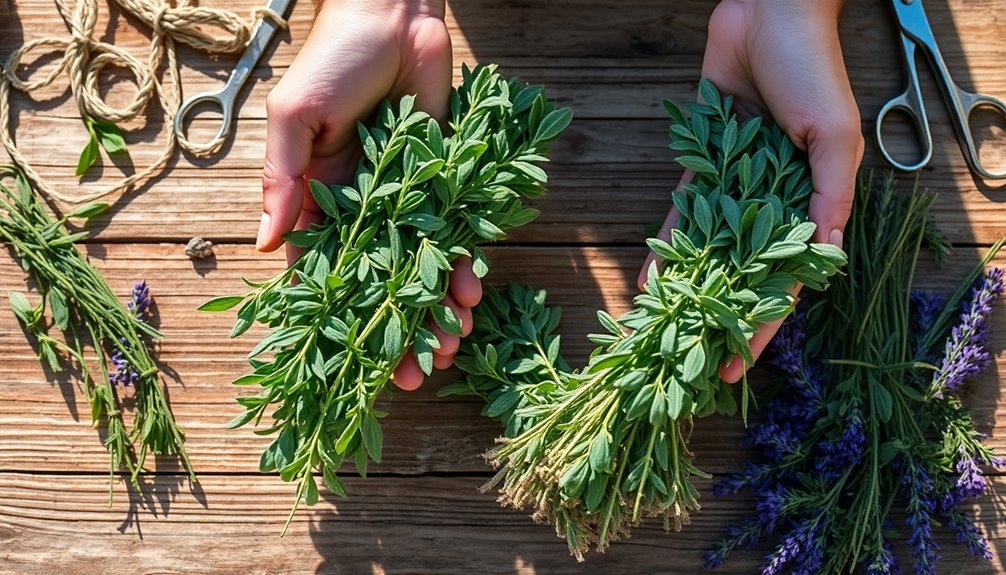
Selecting Sage Sprigs
While you prepare to create your smudge sticks, selecting the right sage sprigs is essential for an effective and enjoyable experience. Consider these points to guide your selection:
- Sage Varieties: Familiarize yourself with different types, like white sage and common garden sage.
- Healthy Sprigs: Look for vibrant green leaves without signs of disease or damage.
- Harvest Ethics: Always practice sustainable harvesting; take only what you need.
- Growth Stage: Choose sprigs that are mature yet still flexible for bundling.
- Aroma: Smell the leaves—strongly aromatic varieties provide the best experience.
Binding Techniques Explained
Start by gathering your selected sage sprigs and laying them out on a flat surface.
For binding techniques, choose decorative twine made from natural fibers to enhance both aesthetic appeal and functional design.
Begin by stacking the sprigs and ensuring they’re evenly aligned.
Wrap the twine around the base, making secure knots to hold the bundle tightly.
As you move up, continue wrapping, securing with additional knots as needed.
You can incorporate traditional methods or experiment with modern adaptations, like adding herbs or flowers for extra flair.
Once you’ve reached the top, tie off with a secure knot, ensuring it’s tight enough to hold the bundle intact while allowing for airflow during drying.
Your sage smudge stick is now ready!
Best Practices for Drying Sage Properly
When it comes to drying sage, timing is everything—harvesting at the right moment guarantees maximum flavor and potency.
You’ll want to explore various drying methods to find what works best for you, along with effective storage techniques to keep your sage fresh. Additionally, using eco-friendly practices can enhance the sustainability of your herb drying process.
Let’s break down the best practices for a successful drying process.
Optimal Harvesting Time
To guarantee your sage dries properly, it’s crucial to harvest it at the right time. This guarantees the best flavor and aroma for your smudge sticks.
Here are some tips to keep in mind regarding ideal harvesting:
- Harvest in late spring or early summer for the best potency.
- Look for dry, sunny days to prevent moisture during harvesting.
- Use sharp scissors for clean cuts, minimizing plant stress.
- Gather sage before it flowers, as this can affect flavor.
- Regularly check your plants for ideal growth and timing.
Drying Methods Comparison
While there are various methods for drying sage, choosing the right one can greatly impact the quality of your smudge sticks.
You might consider air drying, which involves bundling the sage and hanging it in a cool, dark place. This method preserves the herb’s natural oils and aroma.
Alternatively, you can use a dehydrator or an oven on a low setting, which speeds up the process but may alter the flavor and potency.
Whichever drying technique you choose, aim for a crisp texture without moisture to prevent mold.
Proper drying is essential for effective herb preservation, ensuring your sage retains its properties for your smudge sticks.
Choose what works best for your needs and environment.
Storage Tips and Techniques
After you’ve dried your sage, proper storage is essential to maintaining its quality and potency. To guarantee long-term preservation, consider these best practices:
- Use airtight storage containers to keep out moisture.
- Incorporate humidity control measures like silica gel packets.
- Opt for dark storage areas to minimize light exposure.
- Consider vacuum sealing for peak freshness.
- Rotate your sage seasonally to utilize older stock first.
Make sure there’s good air circulation within your containers to prevent mold.
If you’re worried about pests, natural repellents can be beneficial.
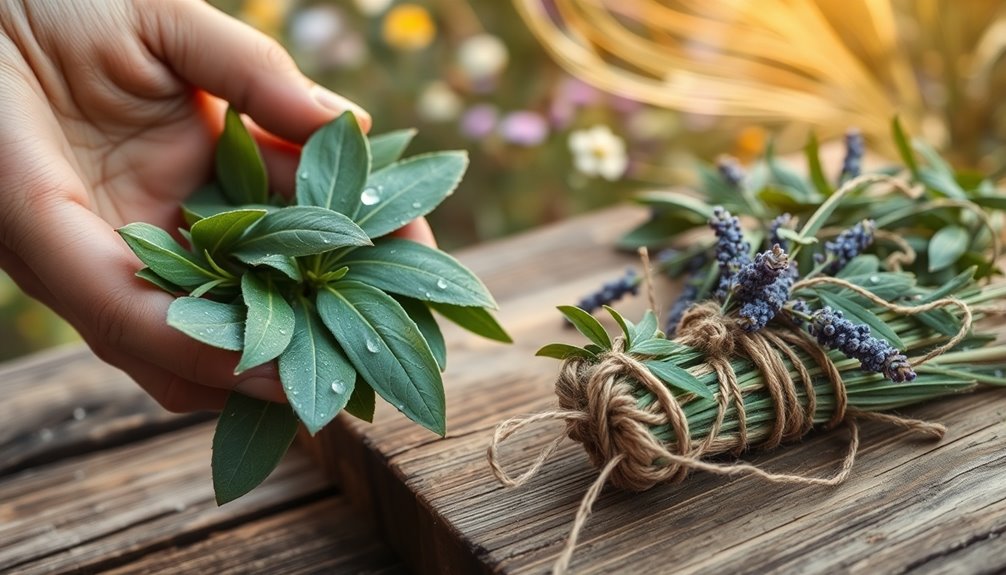
Personalizing Your Smudge Sticks: Adding Other Herbs
As you explore the art of making smudge sticks, consider adding other herbs to enhance their unique properties and scents. Experimenting with herb combinations can create diverse scent profiles that resonate with your personal intentions.
For instance, adding lavender brings calming properties, while rosemary can promote clarity. When choosing seasonal herbs, think about their ritual significance; for example, using juniper in winter is believed to cleanse negativity.
Be mindful of cultural considerations, ensuring respect for traditional practices. Use blending techniques to mix herbs effectively, allowing their properties to complement each other. Incorporating budget-friendly brands can also inspire creativity in your herb choices, as you explore various scent profiles.
This personalization not only enriches your smudge sticks but also creates a deeper connection to your rituals, making each bundle truly your own.
How to Store Your Finished Smudge Sticks
Once you’ve personalized your smudge sticks with your favorite herbs, it’s important to store them properly to maintain their potency and scent.
For the best results, consider these tips for long-term preservation:
- Use ideal containers like glass jars or breathable cloth bags.
- Guarantee humidity control to prevent mold growth.
- Choose containers that allow for scent retention without overwhelming your space.
- Consider herb compatibility when mixing different types in one container.
- Display them aesthetically to remind you of their purpose.
Incorporating frugal living strategies can also inspire creative ways to store and showcase your smudge sticks.
Tips for Using Smudge Sticks in Your Rituals
Using smudge sticks in your rituals can elevate the experience, especially when you approach them with intention.
Begin by creating a sacred space where you feel safe and focused. As you light your smudge stick, visualize the smoke carrying away negative energy, embracing the smoke symbolism of purification.
Hold your cleansing intentions in mind, allowing the aroma to enhance your connection to the ritual’s significance. Move the smudge stick around your space, practicing energy clearing by directing the smoke towards areas that feel heavy.
Engaging in mindful practices while you smudge will deepen your experience, inviting clarity and peace. Remember to express gratitude for the herbs and their role in your spiritual journey. Additionally, consider incorporating energy-saving habits to further enhance the positive atmosphere of your space.
Safety Considerations When Smudging at Home
While incorporating smudge sticks into your rituals can enhance your spiritual experience, it’s important to prioritize safety when smudging at home. Here are some key considerations to keep in mind:
Incorporating smudge sticks into your rituals can deepen your spiritual practice, but safety should always come first.
- Fire Safety: Always have a fire-safe container ready for ashes.
- Indoor Ventilation: Open windows or doors to allow smoke to escape and fresh air to circulate.
- Smoke Sensitivity: Be mindful of anyone in your space who might be sensitive to smoke.
- Allergy Awareness: Check for allergies to sage or other herbs, and avoid smudging if anyone in your space has reactions.
- Spiritual Mindfulness: Create a sacred space where you feel safe and calm to enhance your practice.
- Digital Coupons can offer significant savings on grocery purchases, allowing you to allocate funds towards your spiritual supplies.
Conclusion
So, you’ve harvested, bundled, and dried your sage, thinking you’ve mastered the art of smudging. But remember, lighting that beautifully crafted stick isn’t just about the smoke; it’s about the intention behind it. Ironically, while you’re clearing your space of negativity, don’t forget to clear your mind of distractions too. After all, nothing says “I’m zen” like a room filled with fragrant smoke while your phone buzzes with notifications! Embrace the irony and enjoy your serene moments.