You can create a nourishing honey lip balm at home that’s budget-friendly and easy to make. Combine natural ingredients like beeswax, coconut oil, and honey for hydration and protection. Just melt the wax and oils, mix in honey, pour into containers, and let it set. This DIY project not only saves you money but also guarantees you know exactly what’s going on your lips. For more tips and customizations, just keep exploring the details!
Why Choose DIY Lip Balm?
When you choose DIY lip balm, you’re not just crafting a product; you’re creating a personalized experience. You get to select your favorite natural ingredients, tailoring the balm to your specific needs.
This hands-on approach not only enhances your creativity but also guarantees you’re aware of what goes on your lips. The lip balm benefits are plentiful—hydration, protection, and nourishment—all while avoiding harmful chemicals found in commercial brands.
Plus, engaging in DIY projects can be a fun and rewarding way to unwind. You’ll enjoy the satisfaction of making something unique and effective. Additionally, by creating personalized experiences through your DIY projects, you can enhance customer relationships and satisfaction, just like in effective billing practices.
Benefits of Honey for Lip Care
Honey isn’t just a sweet treat; it’s a powerhouse for your lips. Its natural moisturizing properties keep your lips hydrated, while its antibacterial effects help protect against infections. Plus, honey’s healing and soothing benefits make it a fantastic choice for maintaining soft, healthy lips. Additionally, incorporating mindful spending habits into your beauty routine can enhance your overall financial wellness while enjoying homemade products.
Natural Moisturizing Properties
While you mightn’t think of it as a skincare essential, incorporating honey into your lip care routine can offer remarkable moisturizing benefits. Honey is a natural humectant, which means it attracts moisture to your lips, helping to maintain hydration levels.
Whether your skin type is dry, oily, or somewhere in between, honey adapts to your needs, providing a soothing layer that locks in moisture. This not only keeps your lips soft but also reduces flakiness and irritation.
Regular use of honey lip balm can enhance your overall lip health, giving you that plump, hydrated look we all desire. So, next time you’re mixing up a DIY lip balm, remember the magic of honey!
Antibacterial Effects
Although you may not realize it, the antibacterial effects of honey can greatly boost your lip care routine. Honey’s antibacterial properties help protect your lips from harmful bacteria, ensuring they stay healthy and vibrant.
Here are some honey benefits you can enjoy:
- Natural shield against bacteria that cause infections
- Prevention of chapped lips by keeping your skin intact
- Support for your skin’s natural healing process
- Reduction of inflammation and irritation
- Boost in overall lip health with regular use
Incorporating honey into your lip balm not only nourishes but also safeguards your smile.
Healing and Soothing Benefits
When you apply honey to your lips, you’re not just nourishing them; you’re also promoting healing and soothing benefits that can transform your lip care routine.
Honey’s natural healing properties work wonders for chapped or cracked lips. It helps reduce inflammation, making your lips feel more comfortable and rejuvenated.
Plus, its soothing effects create a protective barrier, locking in moisture to keep your lips hydrated throughout the day.
Whether you’re dealing with dryness or irritation, honey can greatly improve your lip health.
By incorporating honey into your lip balm recipe, you’re choosing a simple yet effective way to enhance your beauty regimen, ensuring your lips remain soft, supple, and beautifully healed.
Embrace the power of honey for radiant lips!
Essential Ingredients for Your Lip Balm
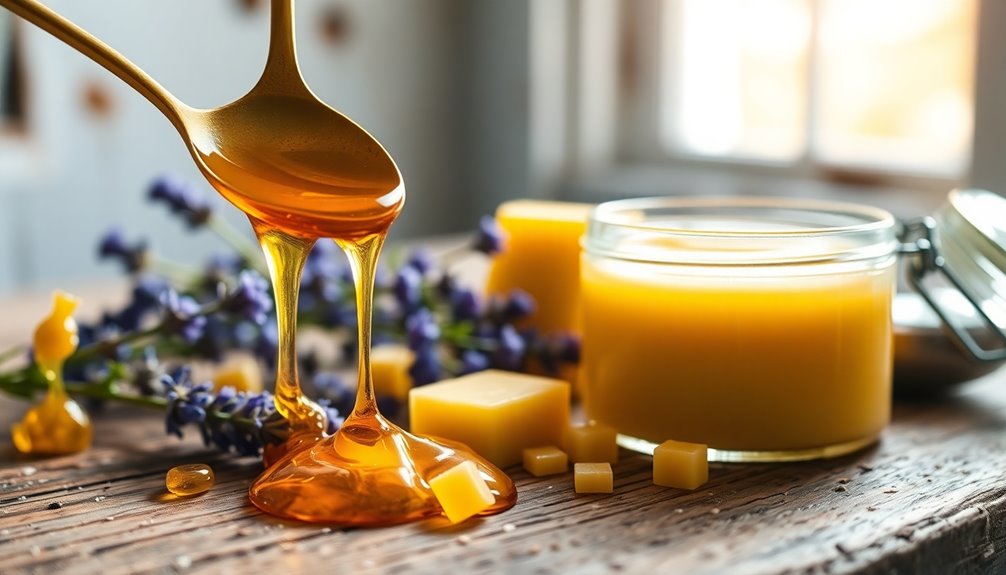
To create a nourishing lip balm, you’ll need a few essential ingredients that work together to provide hydration and protection.
Start with a base of natural waxes, which help to lock in moisture while giving your balm its structure. Next, incorporate nourishing oils to keep your lips supple.
Here’s a quick list of what you’ll need:
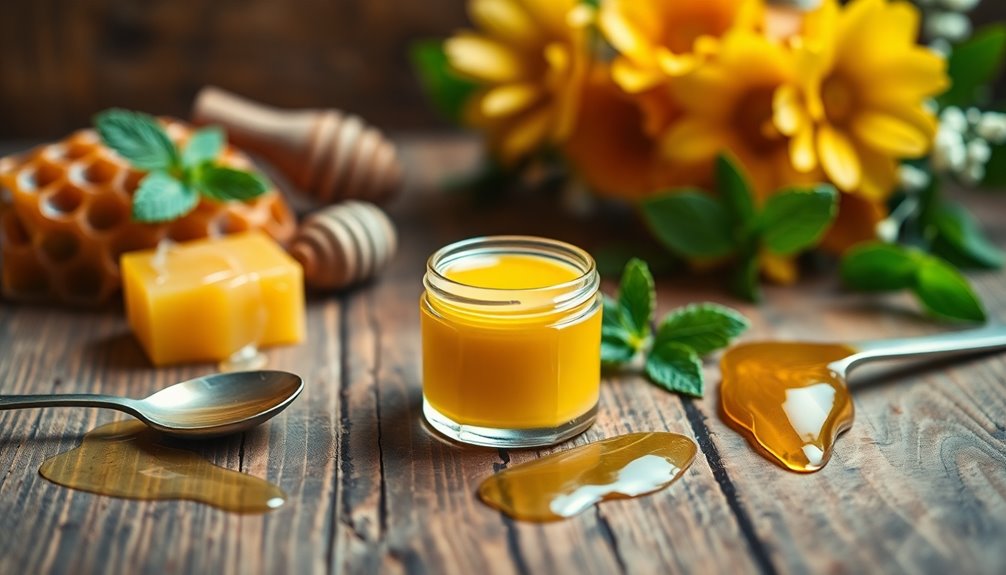
- Beeswax or candelilla wax: For a smooth, protective layer.
- Coconut oil: For deep hydration and a soft texture.
- Sweet almond oil: To nourish and soften lips.
- Honey: Offers natural sweetness and healing properties.
- Flavor options: Choose from vanilla, peppermint, or citrus for a delightful scent.
These ingredients blend beautifully for a soothing lip balm you’ll love! Additionally, using eco-friendly ingredients can enhance the sustainability of your beauty routine.
How to Gather Your Supplies
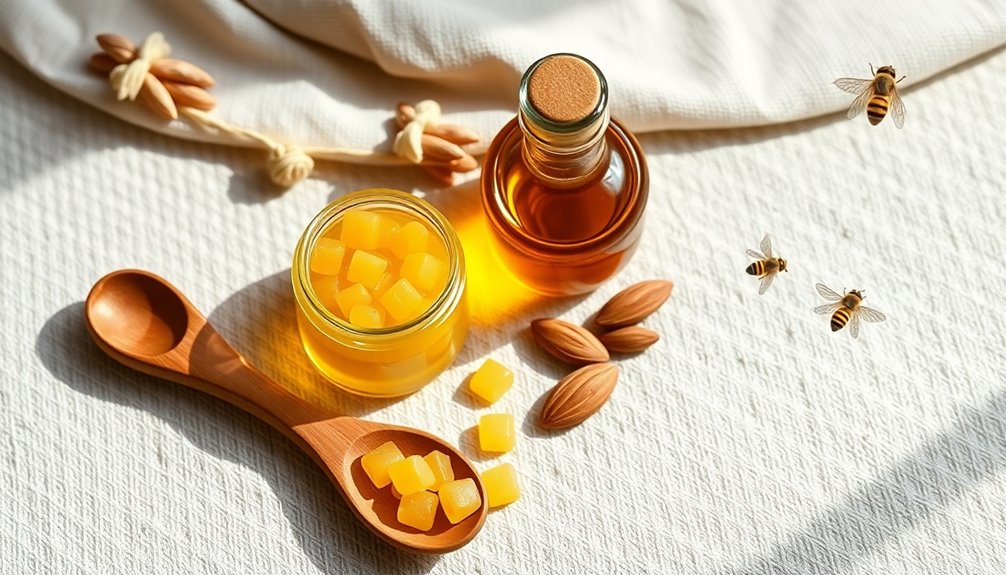
Before diving into your DIY honey lip balm project, you’ll want to gather all your supplies for a smooth experience.
Start by making a list of essential ingredients and tools like beeswax, honey, and containers. Check local craft stores or online supply sources for the best prices.
Don’t forget to take into account budget planning—buying in bulk can save you money if you plan to make multiple batches.
Look for natural ingredients to keep your balm healthy and eco-friendly.
Finally, make sure you have everything on hand before you start. This way, you won’t have to pause your creative flow searching for missing items. Additionally, being mindful of your expense tracking options can help you manage the costs associated with your project.
With your supplies ready, you’re set for a fun and rewarding DIY experience!
Step-by-Step Instructions for Making Lip Balm
Get ready to create your own honey lip balm with these simple step-by-step instructions. First, gather your natural ingredients: beeswax, coconut oil, honey, shea butter, and essential oil.
The lip balm benefits include nourishing your lips, locking in moisture, and providing a soothing layer against the elements. Using affordable hair products can also help maintain moisture in your curls during the colder months.
- Melt the beeswax and coconut oil in a double boiler.
- Stir in shea butter and honey until fully combined.
- Remove from heat and add a few drops of essential oil.
- Quickly pour the mixture into your chosen containers.
- Allow it to cool completely before using.
You’ll love the smooth texture and delightful scent, making your lips feel soft and hydrated! Enjoy your homemade creation!
Choosing the Right Container for Storage
Selecting the right container for your homemade honey lip balm is essential for preserving its quality and ensuring ease of use. You’ll want to take into account container materials that are safe and effective, such as glass or BPA-free plastic, which won’t leach harmful chemicals.
Small jars or tins are popular storage options, allowing you to keep the balm fresh while making application simple. If you prefer portability, look for lip balm tubes that are easy to carry in your pocket or purse.
Whichever option you choose, make sure the container is airtight to prevent contamination and maintain the balm’s consistency. Additionally, considering durability and sealing can enhance the longevity of your lip balm storage solution. By focusing on the right storage solution, you’ll enjoy your lip balm longer and keep it as effective as possible.
Customizing Your Lip Balm With Scents
Here are some fantastic scent combinations and flavor inspirations to contemplate:
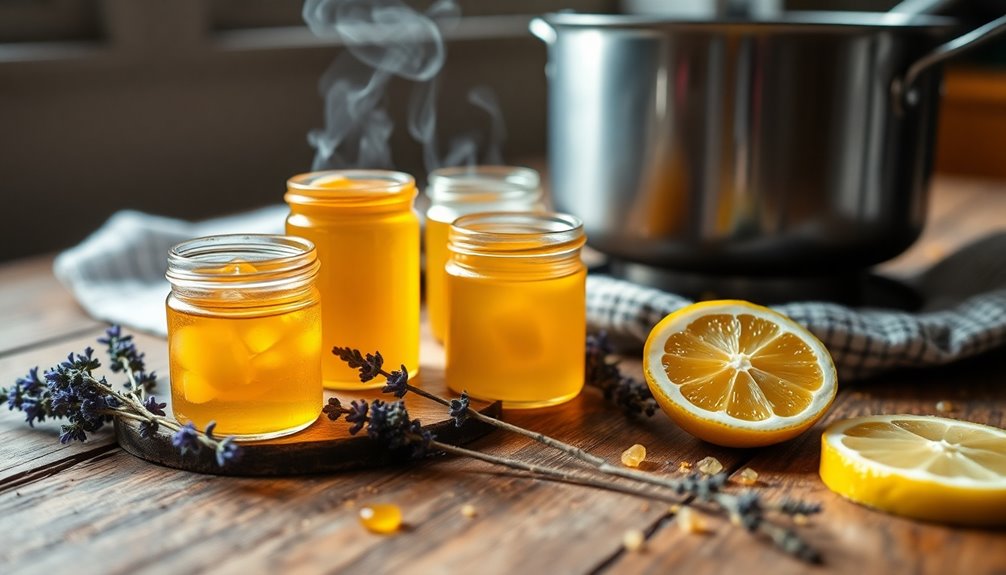
- Lavender and Vanilla: A calming blend perfect for relaxation.
- Citrus Burst: Mix orange and lemon for a revitalizing zing.
- Minty Fresh: Combine peppermint and eucalyptus for an invigorating twist.
- Sweet Berry: Blend raspberry and strawberry for a fruity delight.
- Chocolate Bliss: Add cocoa for a rich, indulgent scent.
Experimenting with these combinations not only personalizes your lip balm but also makes it uniquely yours. You can enhance your lip care routine with moisturizing ingredients that keep your lips soft and hydrated.
Adding Color to Your Lip Balm: Is It Possible?
Can you really add color to your homemade lip balm? Absolutely! There are several ways to achieve that perfect hue using coloring agents.
Natural pigments, like beetroot powder or cocoa powder, can give your balm a lovely tint without any synthetic additives. If you’re looking for something with a bit of sparkle, shimmer options like mica powder can add that extra flair.
When it comes to tinting methods, simply mix your chosen coloring agent into the melted balm before it cools. Start with a small amount, and adjust until you reach your desired color.
With these techniques, you can create a personalized lip balm that not only nourishes but also enhances your natural beauty! Additionally, ensure that you store your lip balm in an airtight container to maintain its quality and prevent spoilage.
Tips for Perfecting Your Lip Balm Texture
Here are some tips to help you perfect that luscious feel:
- Use more beeswax for a firmer balm that holds shape.
- Add extra oils like coconut or almond for a silky, moisturizing finish.
- Incorporate shea butter for a creamy, luxurious texture.
- Experiment with ratios; a 2:1 ratio of oils to wax often works well.
- Melt and mix thoroughly to guarantee all ingredients blend seamlessly.
Vacuum sealing can also help preserve the freshness of ingredients that you use in your lip balm recipes, ensuring they last longer.
With these adjustments, you’ll create a lip balm that glides on effortlessly and feels fantastic!
Common Mistakes to Avoid in Lip Balm Making
When making lip balm, measuring ingredients accurately is essential for achieving the right consistency. Skimping on quality oils can also lead to a product that doesn’t nourish your lips as intended. Let’s explore these common mistakes so you can create the perfect balm every time. Additionally, using budget-friendly ingredients can enhance both the quality and cost-effectiveness of your lip balm.
Measuring Ingredients Accurately
- Skipping the scale for small batches, leading to imprecise measurements.
- Using the wrong measuring spoons, which can alter ingredient ratios.
- Not leveling off dry ingredients, resulting in excess or deficiency.
- Estimating liquid amounts instead of measuring, risking consistency.
- Forgetting to account for ingredient density, especially with waxes.
Choosing Quality Oils
Choosing the right oils for your lip balm can make a significant difference in its texture and effectiveness, so it’s essential to avoid common pitfalls.
One mistake is overlooking the importance of quality carrier oil options. Oils like jojoba and sweet almond not only moisturize but also enhance the balm’s consistency.
Don’t forget to reflect on essential oil benefits; a few drops of lavender or peppermint can add soothing properties and a pleasant scent. However, be cautious with the amount you use—too much can irritate sensitive skin.
Finally, always choose oils that are cold-pressed and organic, ensuring you’re getting the best nutrients without harmful additives.
Your lips deserve the best, so choose wisely!
How to Store Your Homemade Lip Balm
Although you’ve crafted a wonderful homemade lip balm, proper storage is essential to maintain its freshness and effectiveness. To maximize your lip balm shelf life, choose the right storage containers and keep them in ideal conditions.
Here are some tips to help you store your balm effectively:
- Clean, airtight jars to prevent contamination
- Cool, dark places to avoid heat and light exposure
- Small tins for easy portability
- Label each container with the date you made it
- Avoid bathrooms where humidity can spoil your balm
Using Your Lip Balm: Best Practices
Now that you’ve stored your homemade lip balm properly, it’s time to enjoy its benefits. For effective lip balm application, start with clean, dry lips. Using your fingertip or a lip brush, apply a small amount evenly across your lips.
Reapply throughout the day, especially after eating or drinking, to keep your lips hydrated and protected.
Incorporating your lip balm into your daily lip care routine is essential. Consider applying it before bedtime to lock in moisture overnight. If you’re heading out, apply it before lipstick for a smoother finish.
Troubleshooting: What to Do If It Doesn’t Set?
If your lip balm doesn’t set properly, don’t worry; there are a few common issues you can troubleshoot. Here are some things to check:
- Set temperatures: Verify you’ve melted the ingredients at the right heat—too hot or too cool can ruin the texture.
- Ingredient ratios: Double-check your measurements; too much oil or not enough wax alters the consistency.
- Cooling time: Allow enough time for the balm to cool completely in the container.
- Container choice: Make sure you’re using the right type of container that can handle the balm’s thickness.
- Stirring method: Stir well during the melting process to blend everything evenly.
Ideas for Gifting Your DIY Lip Balm
Looking for a thoughtful gift?
Consider creating personalized gift sets that showcase your DIY lip balm alongside other goodies.
With some creative packaging ideas, you can make your gifts stand out and feel extra special.
Personalized Gift Sets
While crafting your DIY honey lip balm, consider how special it can be as part of a personalized gift set. This thoughtful gesture can brighten anyone’s day, especially when you add a personal touch.
Here are some ideas to elevate your gift:
- Personalized labels with the recipient’s name or a sweet message
- Themed packaging that reflects their favorite colors or patterns
- A small scented candle for a cozy vibe
- A cute mini notebook for jotting down thoughts
- A handwritten card to express your feelings
These elements come together to create a heartfelt gift that showcases your creativity and care.
Your DIY lip balm will surely be cherished!
Creative Packaging Ideas
After putting together a personalized gift set, it’s time to think about how to package your DIY honey lip balm beautifully.
Consider using eco-friendly packaging like small glass jars or biodegradable containers. These choices not only look great but also show you care about the environment.
For a personal touch, create creative labeling by designing your own stickers or tags. You can include the lip balm’s ingredients and a sweet message, making it feel special.
To take it a step further, wrap your lip balm in natural fabrics, like muslin or burlap, and tie it with twine. This adds charm and makes the gift even more memorable.
Your loved ones will appreciate the thoughtfulness behind every detail!
Conclusion
Now that you’ve crafted your own honey lip balm, imagine the delight on your friend’s face when they unwrap a little jar of your creation. Picture the soft, smooth lips they’ll enjoy, all thanks to your thoughtful gift. But wait—will you keep it for yourself or share this beauty secret? As you savor the sweet aroma, the choice is yours. Either way, you’ve revealed a simple yet luxurious treat that’s sure to impress. What will you do next?