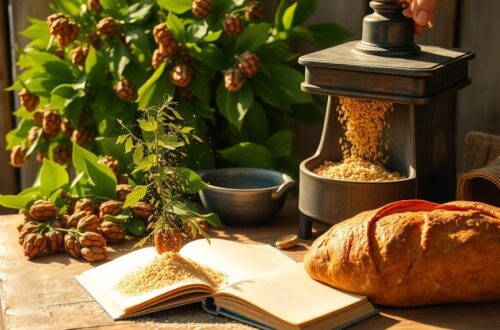
Making DIY incense cones is a fun and easy craft. Start by gathering natural binders like makko powder, fragrant herbs, and water. Mix your dry ingredients, then add water until you get a dough-like consistency. Shape the mixture into cones and let them dry for 24 to 48 hours. Store the finished cones in airtight containers to preserve their scent. Want to explore unique fragrance combinations and troubleshooting tips? There’s a lot more to discover!
What You Need to Make DIY Incense Cones

To create your own DIY incense cones, you’ll need a few essential materials. Historically, incense cones have been used in various cultures for spiritual and aromatic purposes, drawing on traditional methods that have stood the test of time.
First, gather natural binders like makko powder, which helps hold your cone together. You’ll also need powdered herbs or resins for fragrance, along with water to achieve the right consistency. Incorporating natural ingredients can enhance not only the aroma but also the eco-friendliness of your incense.
Gather natural binders like makko powder, along with powdered herbs or resins for fragrance, and water for the perfect consistency.
A mold or cone shape is vital for forming your incense. Finally, consider a mixing bowl and spoon for your ingredients.
With these materials in hand, you’re well on your way to crafting your fragrant creations while honoring the rich history of incense making. Enjoy the process!
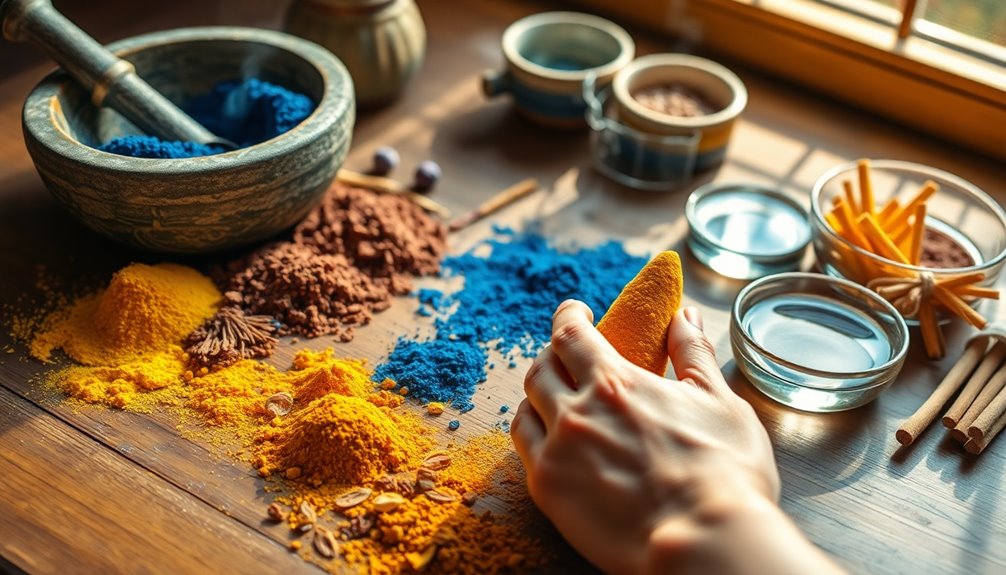
Choosing the Right Ingredients for Your Fragrance
When you’re crafting your own incense cones, selecting the right ingredients is essential for achieving the perfect fragrance.
Think about popular natural resins, your favorite essential oils, and some herbal additives that can enhance the scent profile.
Each choice you make will shape the aroma and overall experience of your incense. Additionally, experimenting with various tea types can inspire unique scent combinations that elevate your incense-making journey.
Popular Natural Resins
Choosing the right natural resins is essential for crafting incense cones that truly resonate with your desired fragrance. Popular natural resin types include frankincense, myrrh, and copal. Each brings a unique aroma and character to your cones.
When selecting your resin, consider the resin harvesting techniques used, as these can affect the quality and scent profile. For instance, sustainably harvested resins often provide a more vibrant smell and better burning properties.
Experimenting with different resins can lead to delightful combinations, enhancing your incense’s overall experience. Remember to source your resins from reputable suppliers to guarantee authenticity and purity.
With the right natural resins, your incense cones won’t only smell amazing but also connect you to nature’s fragrant gifts.
Essential Oils Selection
While selecting essential oils, it’s crucial to understand how each scent can complement your chosen resins. Different essential oils have unique fragrance profiles, which can enhance or balance the overall aroma of your incense cones.
Start by experimenting with popular oils like lavender, sandalwood, or frankincense; these can create soothing or grounding blends.
Consider how the oils interact—some might blend harmoniously, while others may clash. Create oil blends that reflect your desired mood or intention.
For instance, a combination of citrus oils can energize, while earthy scents can promote relaxation. Trust your instincts; the right combination can transform your incense and elevate your space.
Enjoy the process, and don’t hesitate to tweak your blends until you find the perfect harmony!
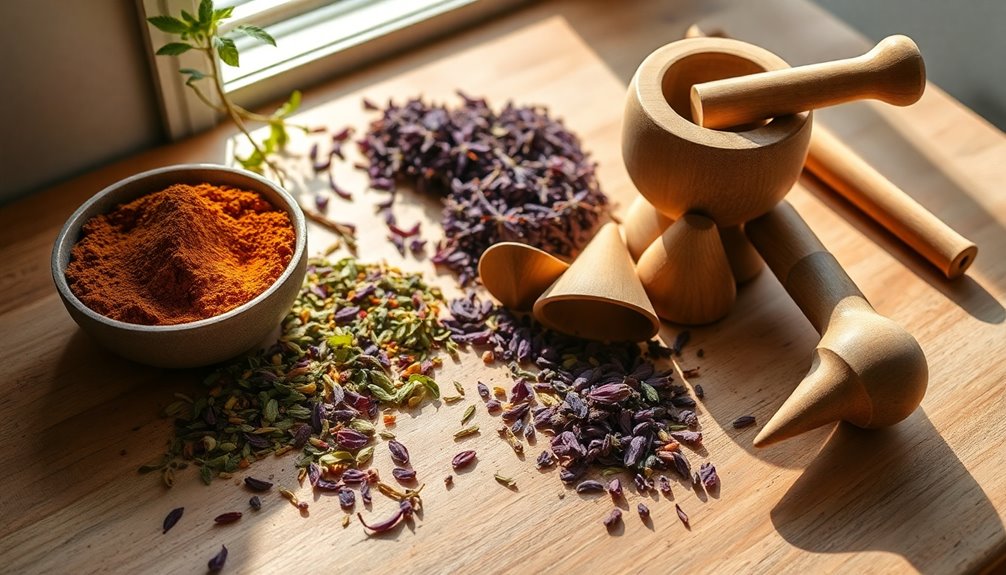
Herbal Additives Options
Herbal additives can elevate your incense cones by adding depth and complexity to their fragrance. When choosing your ingredients, think about the herbal benefits each option brings.
For instance, lavender not only smells wonderful but also promotes relaxation, while eucalyptus can clear the mind.
Experiment with different scent combinations to create a unique blend.
Try mixing chamomile for its calming effects with rosemary, which is known for its stimulating properties. You could also combine dried rose petals with cinnamon for a warm, inviting aroma.
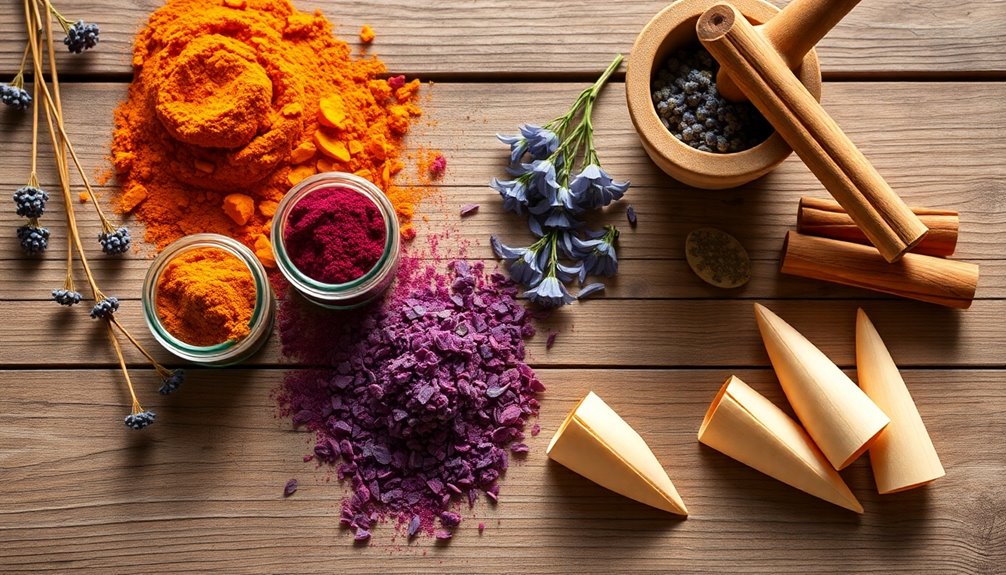
Step-by-Step Instructions for Crafting Incense Cones
Now that you’ve chosen your ingredients, it’s time to start crafting your incense cones. You’ll need to gather essential supplies, mix them properly, and shape your cones just right. After that, I’ll share tips for drying and storing them to keep your creations fresh. Additionally, ensure you use non-toxic ingredients to create safe and enjoyable incense for your space.
Essential Ingredients Needed
To craft your own incense cones, you’ll need a few essential ingredients that blend together to create delightful aromas. Start with a base like makko powder, which helps the cones burn evenly.
Next, gather your choice of natural fragrances—these can be herbs, essential oils, or resins. For safety, make certain you’re using non-toxic materials, as incense cone safety is vital for a pleasant experience.
Mixing different fragrances allows for unique scent combinations, so don’t hesitate to experiment with fragrance blending. You’ll also need water to help bind the ingredients together.
With these essentials in hand, you’re ready to create aromatic cones that enhance your space beautifully. Happy crafting!
Mixing and Shaping Process
With your ingredients ready, it’s time to start mixing and shaping your incense cones.
Begin by combining your dry ingredients in a bowl using effective mixing techniques. You want a consistent blend before adding your binder.
Once mixed, gradually incorporate water until you achieve a dough-like consistency.
Here are some key shaping methods to contemplate:
- Hand-rolled: Shape the dough into small cones using your fingers.
- Molded: Press the mixture into a cone-shaped mold for uniformity.
- Piped: Use a piping bag to create intricate designs.
- Compressed: Flatten the mixture and cut it into cone shapes.
Choose the method that suits your style, and make sure the cones hold their shape before moving on!
Drying and Storage Tips
Once you’ve shaped your incense cones, drying them properly is crucial for achieving ideal burn quality.
Place the cones on a wire rack in a cool, dry area with good airflow. This helps with moisture evaporation and promotes scent retention. Avoid direct sunlight, as it can alter the fragrance.
Depending on humidity control, let them dry for 24 to 48 hours. Once fully dried, store your cones in an airtight container to maintain their scent and prevent moisture absorption.
Label the container with the fragrance for easy identification. Keep them in a cool, dark place, away from heat sources.
Following these tips guarantees your incense cones burn evenly and release their delightful aromas when lit.
Tips for Drying and Storing Your Incense Cones
While creating beautiful incense cones is a rewarding process, properly drying and storing them is essential to guarantee their longevity and effectiveness. Here are some tips to help you achieve ideal results:
- Control humidity: Keep your cones in a dry, well-ventilated space to prevent mold.
- Choose the right container: Use airtight containers to protect your cones from moisture and dust.
- Allow ample time to dry: Let your cones dry completely for at least 24-48 hours before storing them.
- Label your containers: Mark the date and scent for easy reference in the future.
- Consider the right app for tracking expenses: Utilizing an expense tracking app can help you keep track of the costs involved in sourcing materials for your incense-making.
Creative Ways to Use Your DIY Incense Cones
Using your DIY incense cones can transform your space into a calming sanctuary, enhancing both ambiance and mood.
Beyond traditional use, consider some alternative uses for your cones. For instance, you can break them into smaller pieces and use them in a simmer pot with water to release their fragrance.
Another idea is to create personalized incense gifts for friends; package a few cones with a decorative holder and a note about the scents.
You can also place them in a small bowl as a decorative centerpiece, adding a lovely aroma to your living space. Additionally, incorporating eco-friendly practices in your home can further enhance the relaxation experience while promoting a healthier environment.
Troubleshooting Common Issues When Making Incense Cones?
Creating incense cones can be a rewarding experience, but it’s not without its challenges. You might encounter some common mistakes along the way. Here are a few issues and their solution strategies to help you out:
- Too crumbly: If your mixture crumbles, add a bit more water or binding agent.
- Difficult to shape: If the dough is too wet, let it sit for a few minutes to firm up.
- Burns too quickly: To slow the burn, adjust the ratio of fragrant materials to binder.
- Foul odor: Confirm your ingredients are fresh; stale herbs can ruin the scent. Additionally, ensuring your materials are free from harmful chemicals can enhance both safety and aroma.
Conclusion
Now that you’ve crafted your own incense cones, you’re ready to fill your space with enchanting aromas. Like a painter with a fresh canvas, each scent you create can transform your atmosphere into a serene sanctuary. Remember, practice makes perfect—don’t hesitate to experiment with different blends until you find your signature fragrance. Light your creations and let the fragrant smoke carry you away on a journey of relaxation and inspiration. Happy crafting!